


Step 1 of 8
Ink up the stamp from Imala Apartments, vertically, with the 4 Izink Dye ink pads, as shown in this image.








Prices change straight away. Every language is our own translation, not Google.
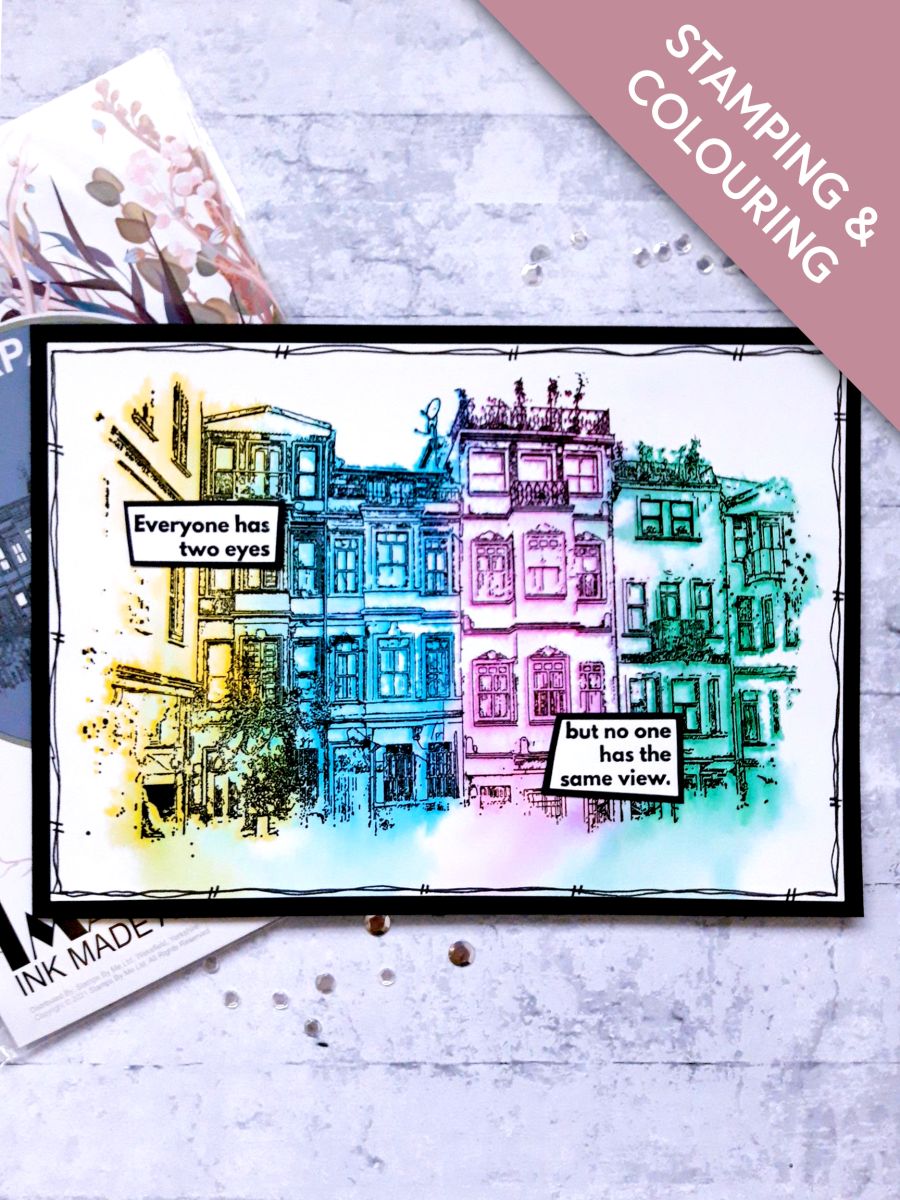
Ink up the stamp from Imala Apartments, vertically, with the 4 Izink Dye ink pads, as shown in this image.
Spritz the inked stamp with water, and stamp on to the white card (7 3/4 x 5 1/4").
Spray the stamped image with water, and allow the ink to bleed. Mop up any excess water.
Repeat this step as many times as you wish, reinking and spraying the image, until you are happy with the effect. You can dry with a heat gun, in between layers, if you prefer.
Keep your card and stamp in place, for the next step.
Once your artwork is completely dry, ink up the same stamp, with the Onyx Black Versafine.
Stamp over your image again, to re-add all the fine detail.
Set to one side.
Ink up the sentiment from the Celebrate And Create Stamp Collection, with the Onxy Black Versafine.
Stamp on to the small piece of white card.
Cut the sentiment in to 2 strips.
Glue the 2 sentiment strips on to the small piece of black cardstock.
Cut around each one, to create a black mat.
Set to one side.
Glue your dried artwork on to the black, top folding card blank, landscape view.
Use a black pen to draw a decorative frame around your artwork.
Adhere the 2 sentiment strips on to your completed card, where required.
Share your make with the Stamps By Me community - and keep this guide for next time.
Prefer the previous layout? Open the old page.



