Step 1 of 6
Trim this paper to 6 1/4 x 4 1/4". Place inside the Wild & Beautiful embossing folder so the floral image goes around the top right corner and run it through your machine.








Prices change straight away. Languages are translated by Google.
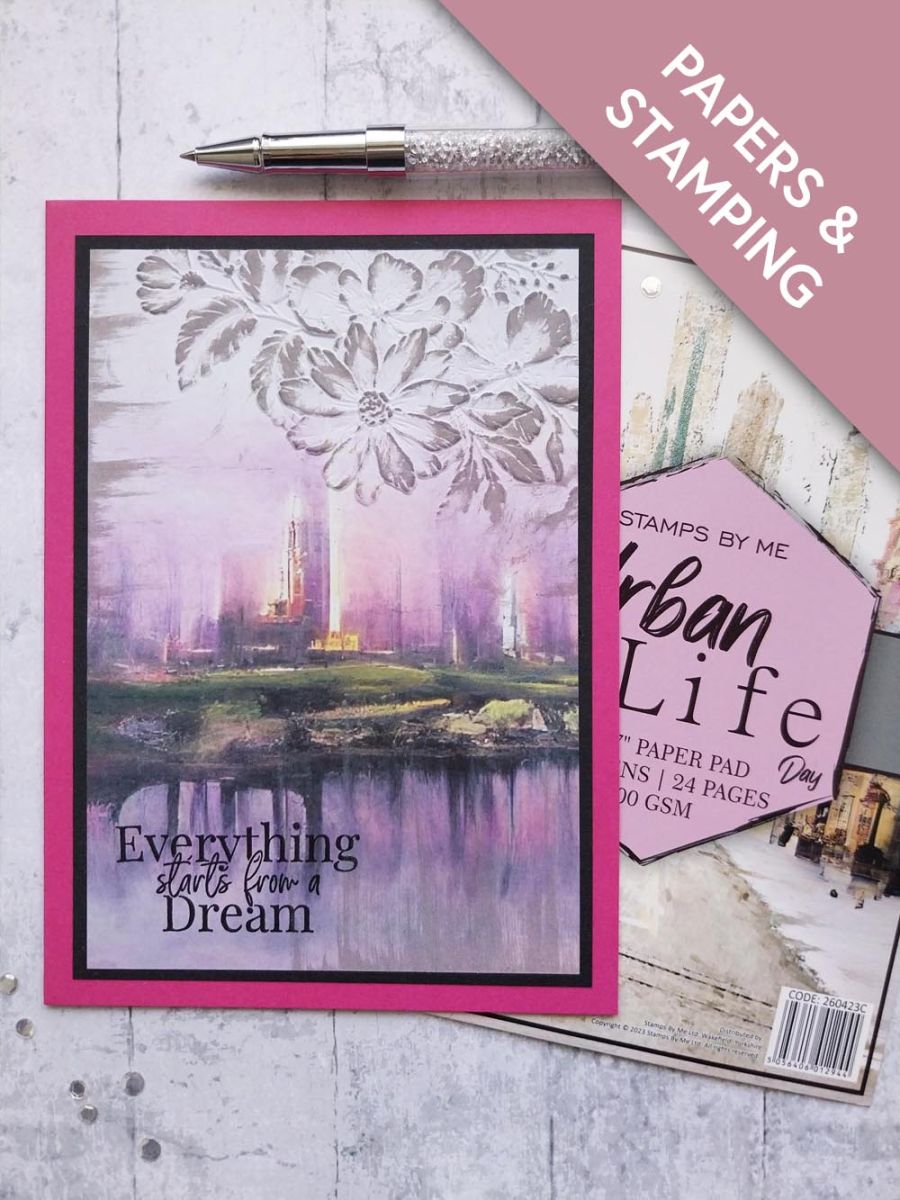
Trim this paper to 6 1/4 x 4 1/4". Place inside the Wild & Beautiful embossing folder so the floral image goes around the top right corner and run it through your machine.
Gently rub your Hickory Smoke ink pad over the raised areas of the embossed image.
Swipe your ink pad coming in across the top, left edge of the paper.
Repeat the ink swiping technique, this time swiping the ink pad up from the bottom paper edge.
Stamp your sentiment in Midnight, in the bottom left corner of your artwork.
Mount your artwork on to black card cut to 6 1/2 x 4 1/2" and then on to your Fushia card blank, to complete your project.
Share your make with the Stamps By Me community - and keep this guide for next time.
Prefer the previous layout? Open the old page.