Give your friends $10 off their first order!
Refer a FRIEND


WHAT YOU WILL NEED:
Cream Card blank 6 x 8"
Cream cardstock
Vellum
Foliage Adornments Floral Dimensions
Southern Magnolia Floral Dimensions
Pebble Dash Embossing Folder
Tailored Threads 8 x 8 Foundation Pack
Floral Fusion Die Collection
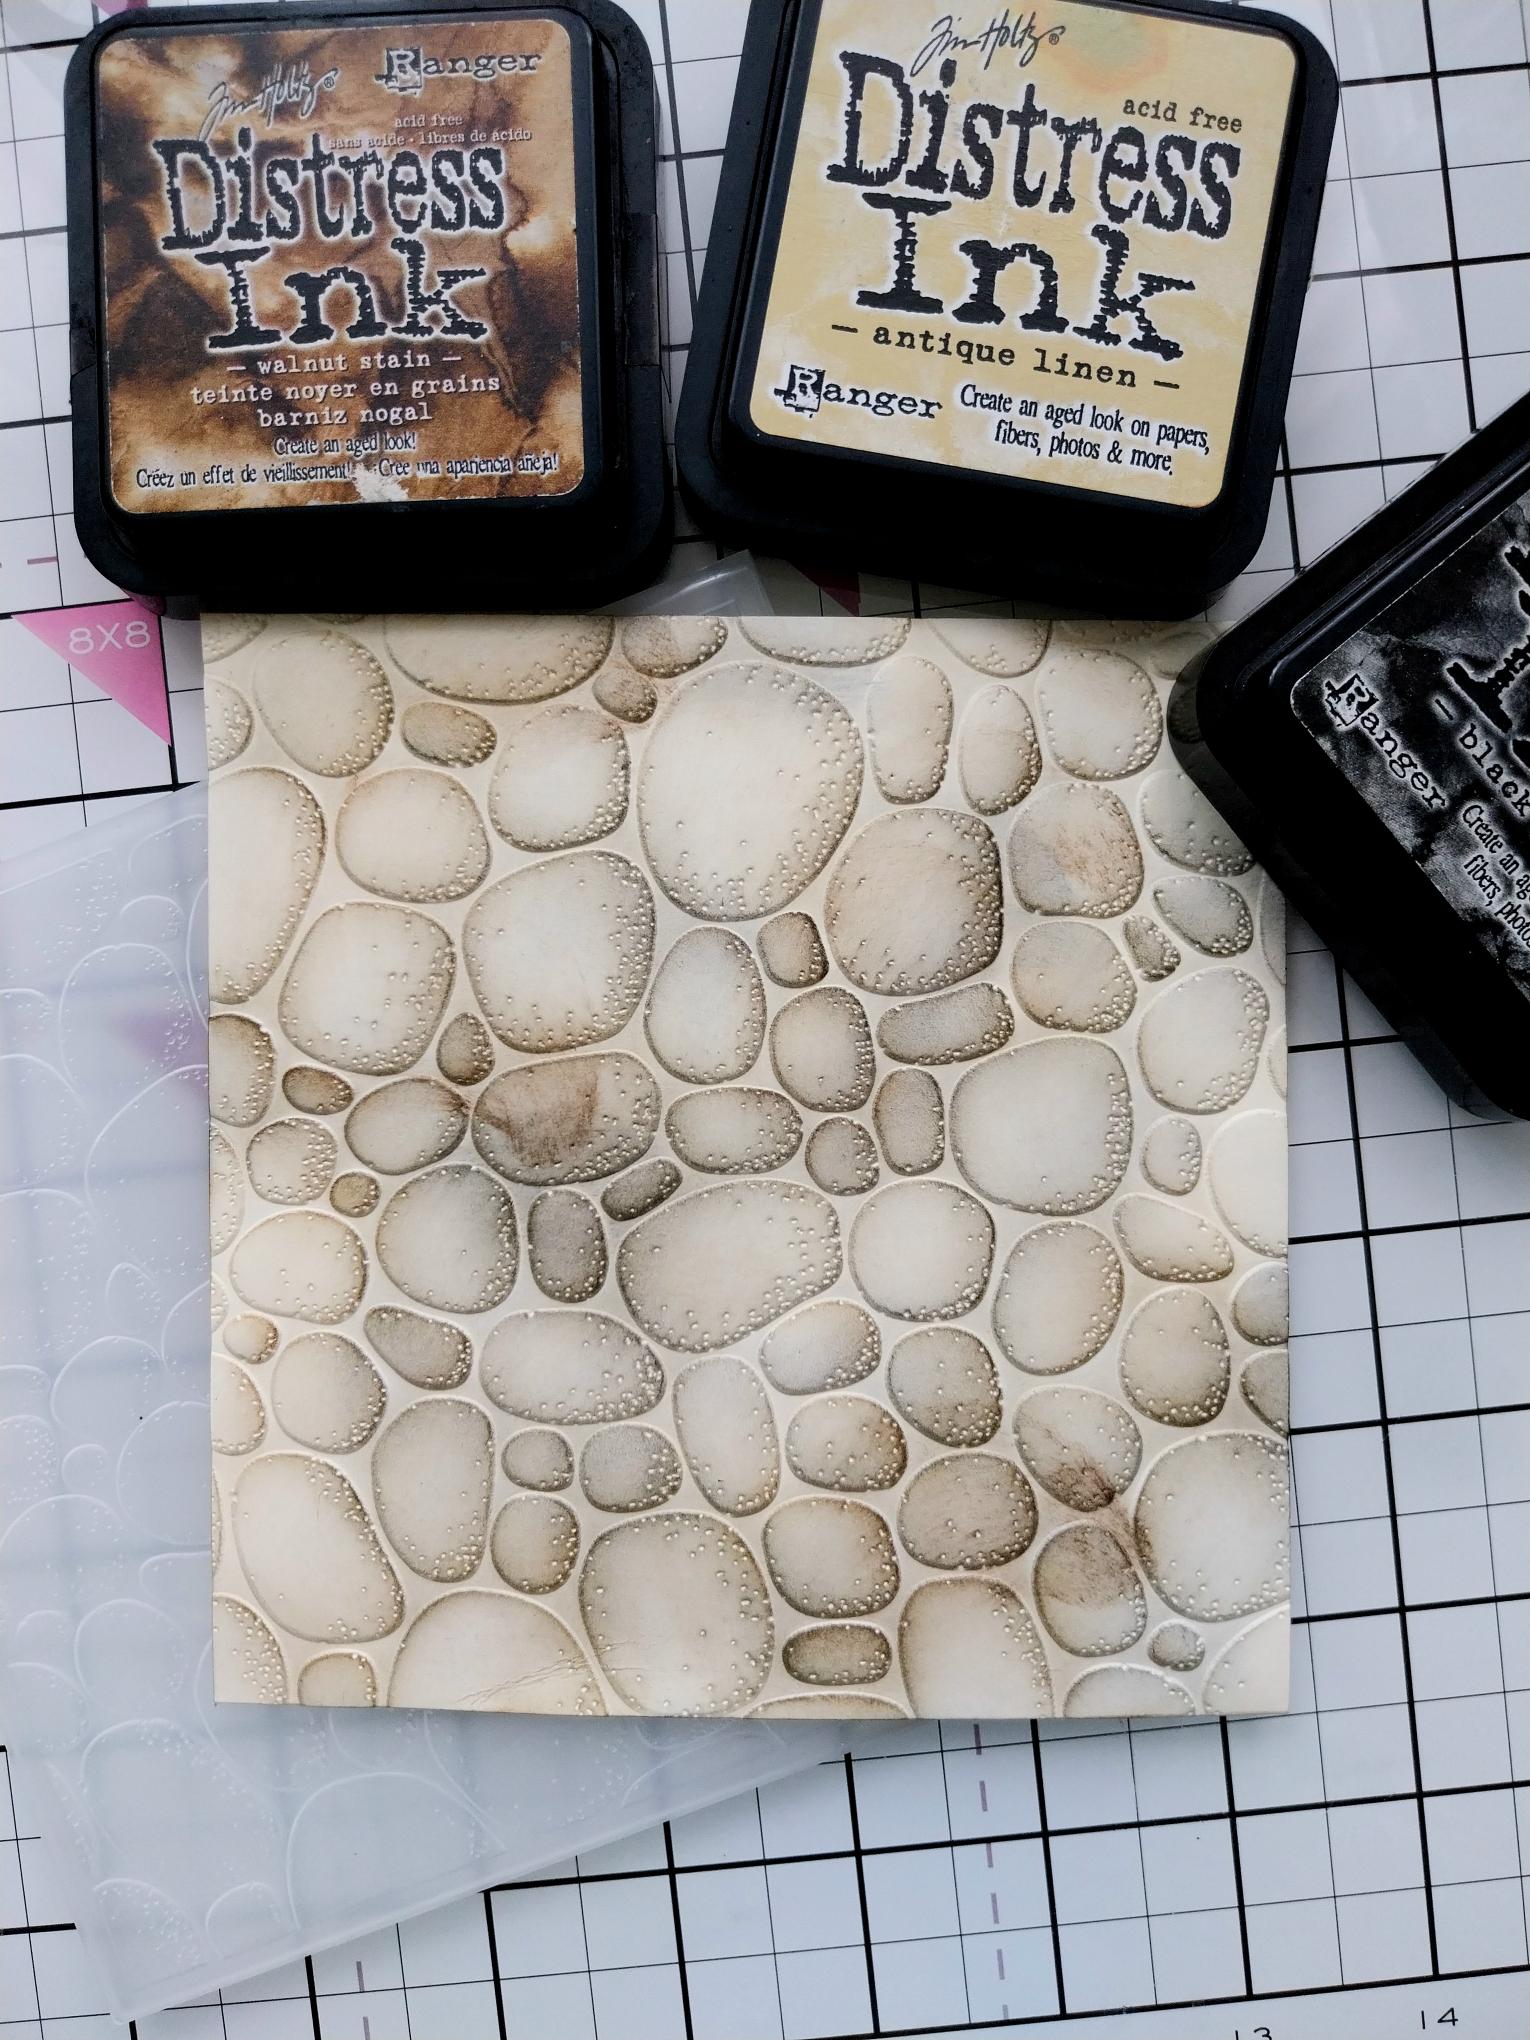
Distress Ink/Oxide Ink Pad: Walnut Stain, Antique Linen, Black Soot
Blending brush
Banner tag punch
Sequins
Stickles/glitter
SBM A3 Magnetic glass mat
Paper Trimmer
Glue
Foam Pads/3D silicon glue gel
Double-sided adhesive tape/tape runner
Die Cutting machine
[click image to enlarge] 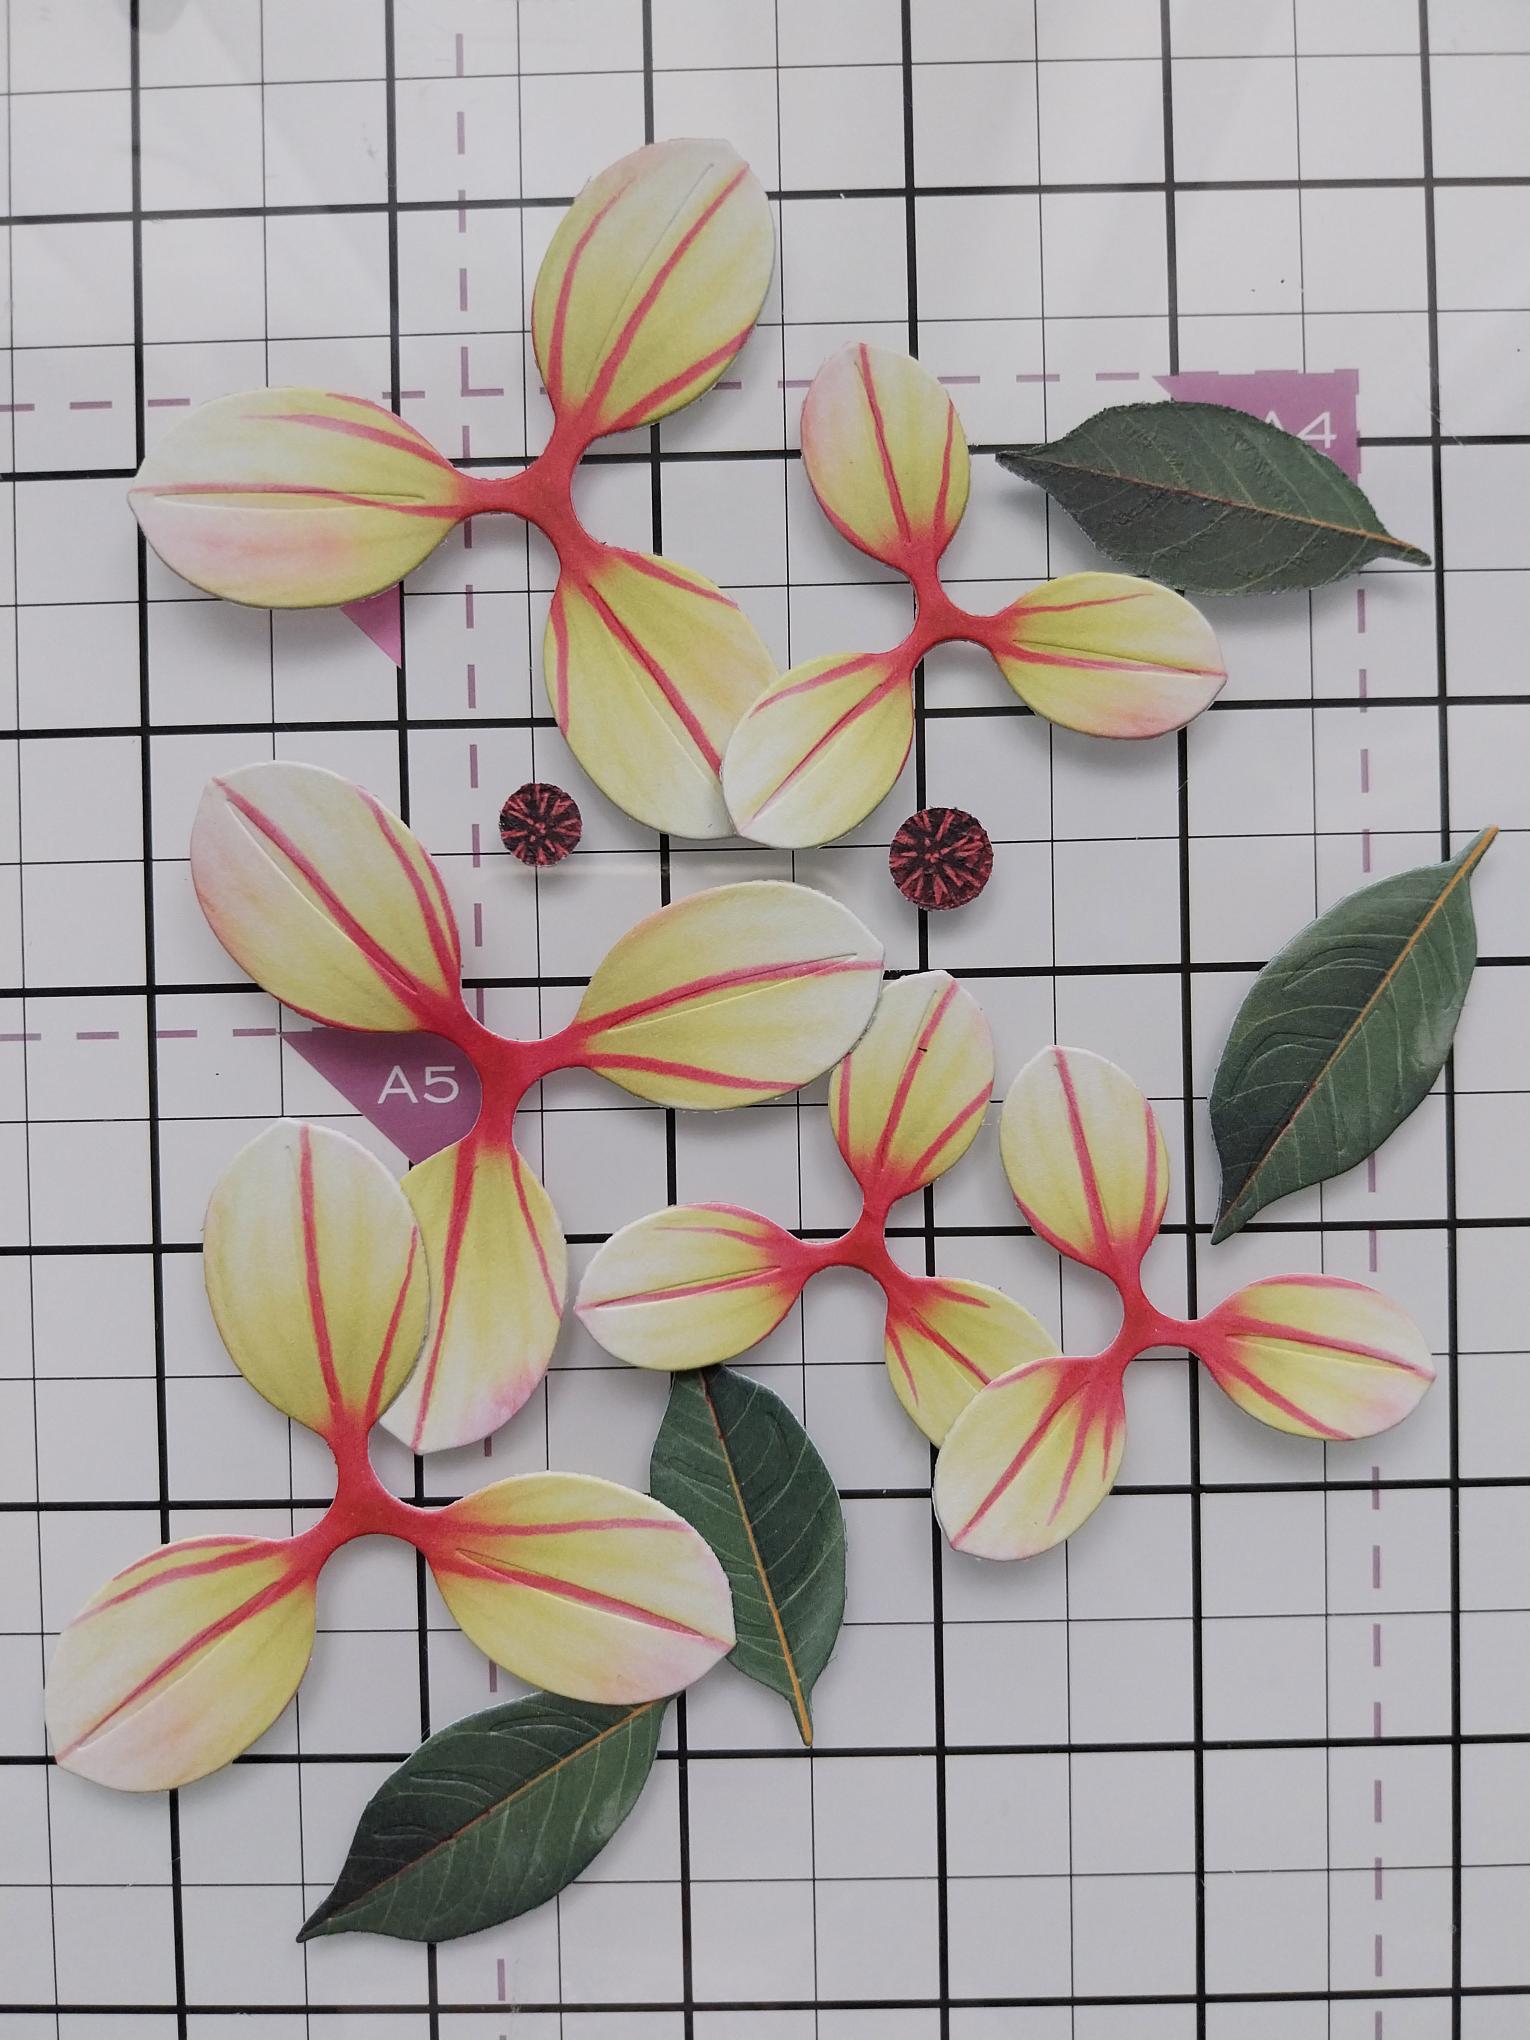
|
PLace the dies on the coordinating papers and run through your machine. If you find they wont line, up then just turn the paper over. |
|
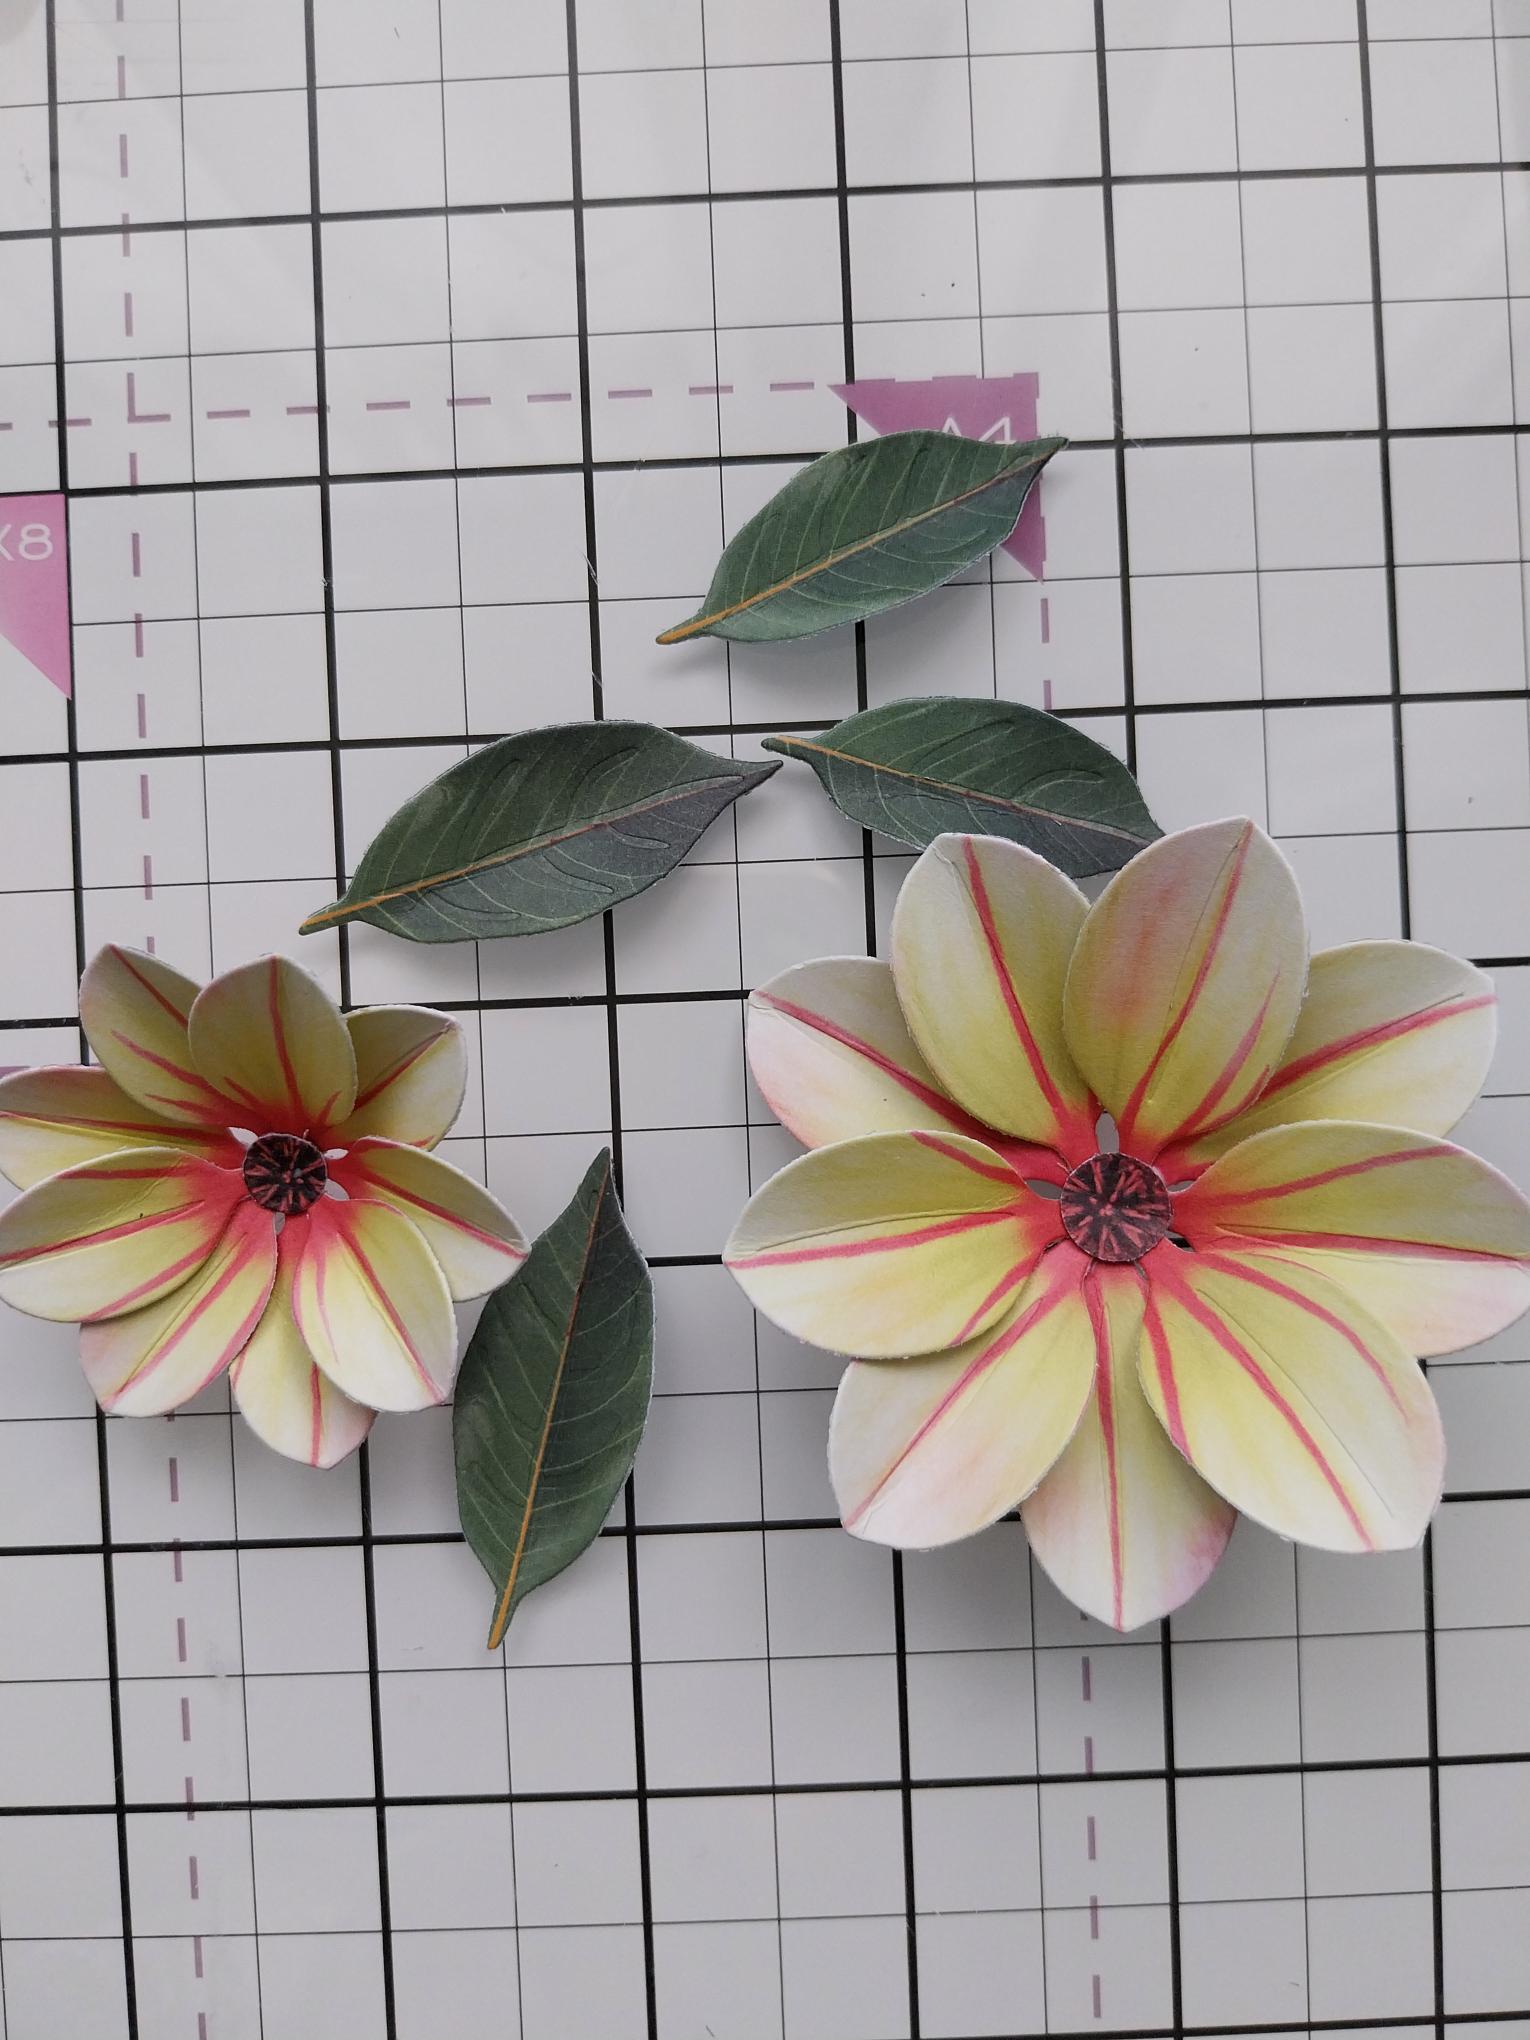
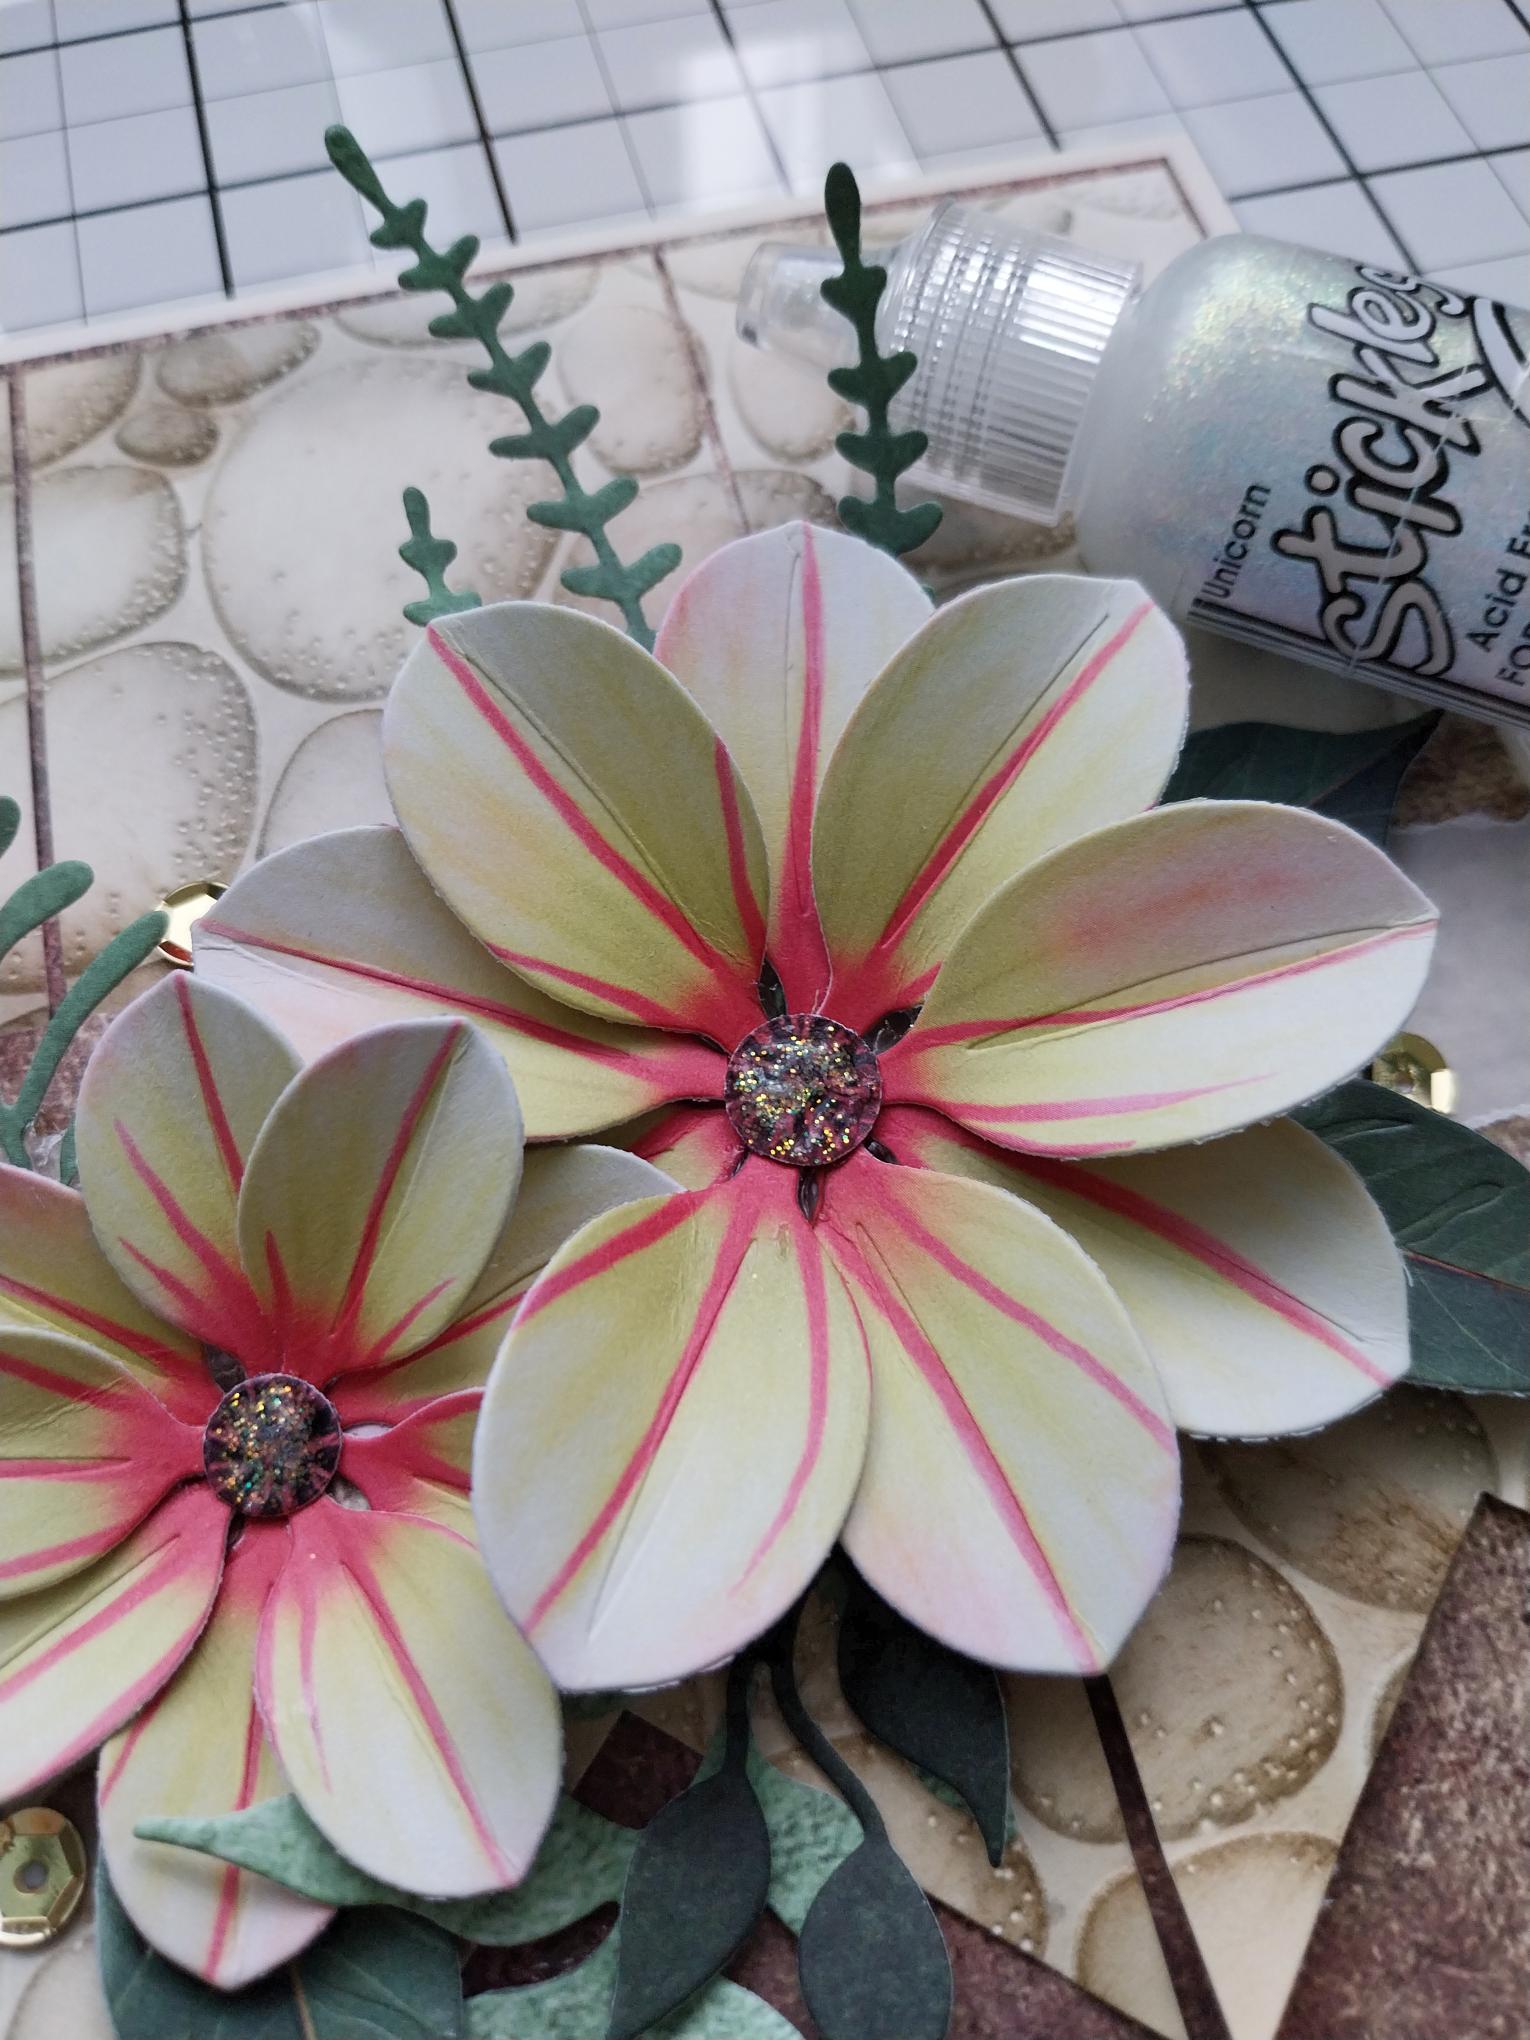
Mould the papers with your fingers then adhere together to create two 3D flowers. How many petals you add is up to you. |
|
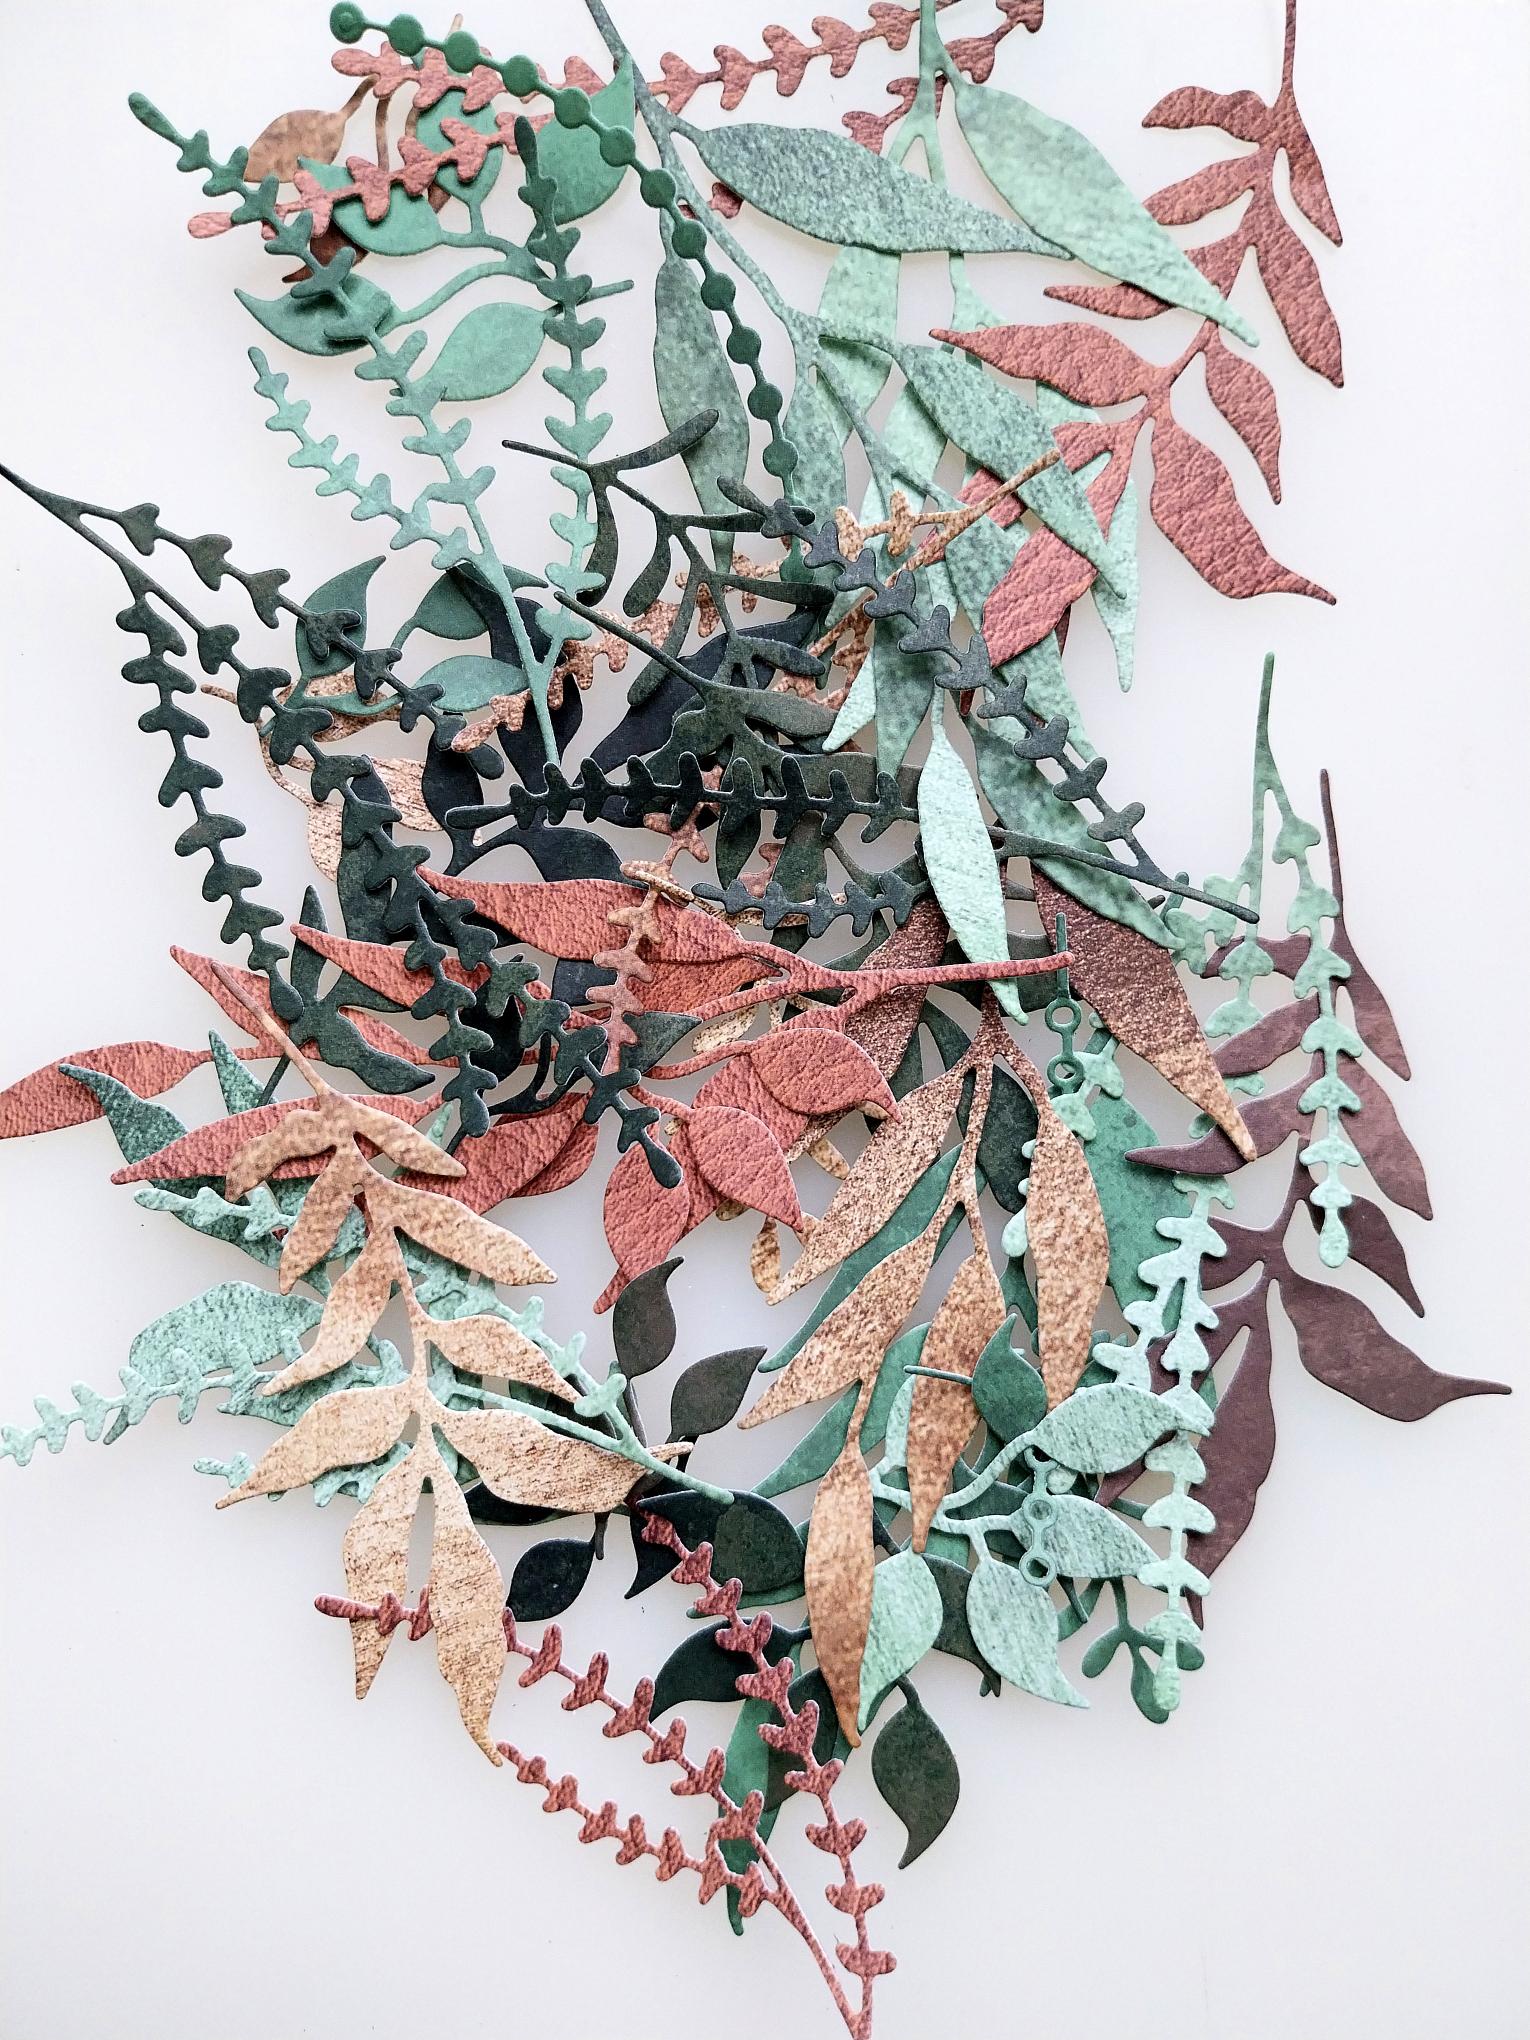
Use the Foliage Adorments to die cut LOTS of foliage from different papers you may have...then you can keep them all in a tub for future use! |
|
Trim a piece of cream card to 6 x 6" and run through the Pebble Dash embossing folder. Use your Distress inks to add colour. |
|
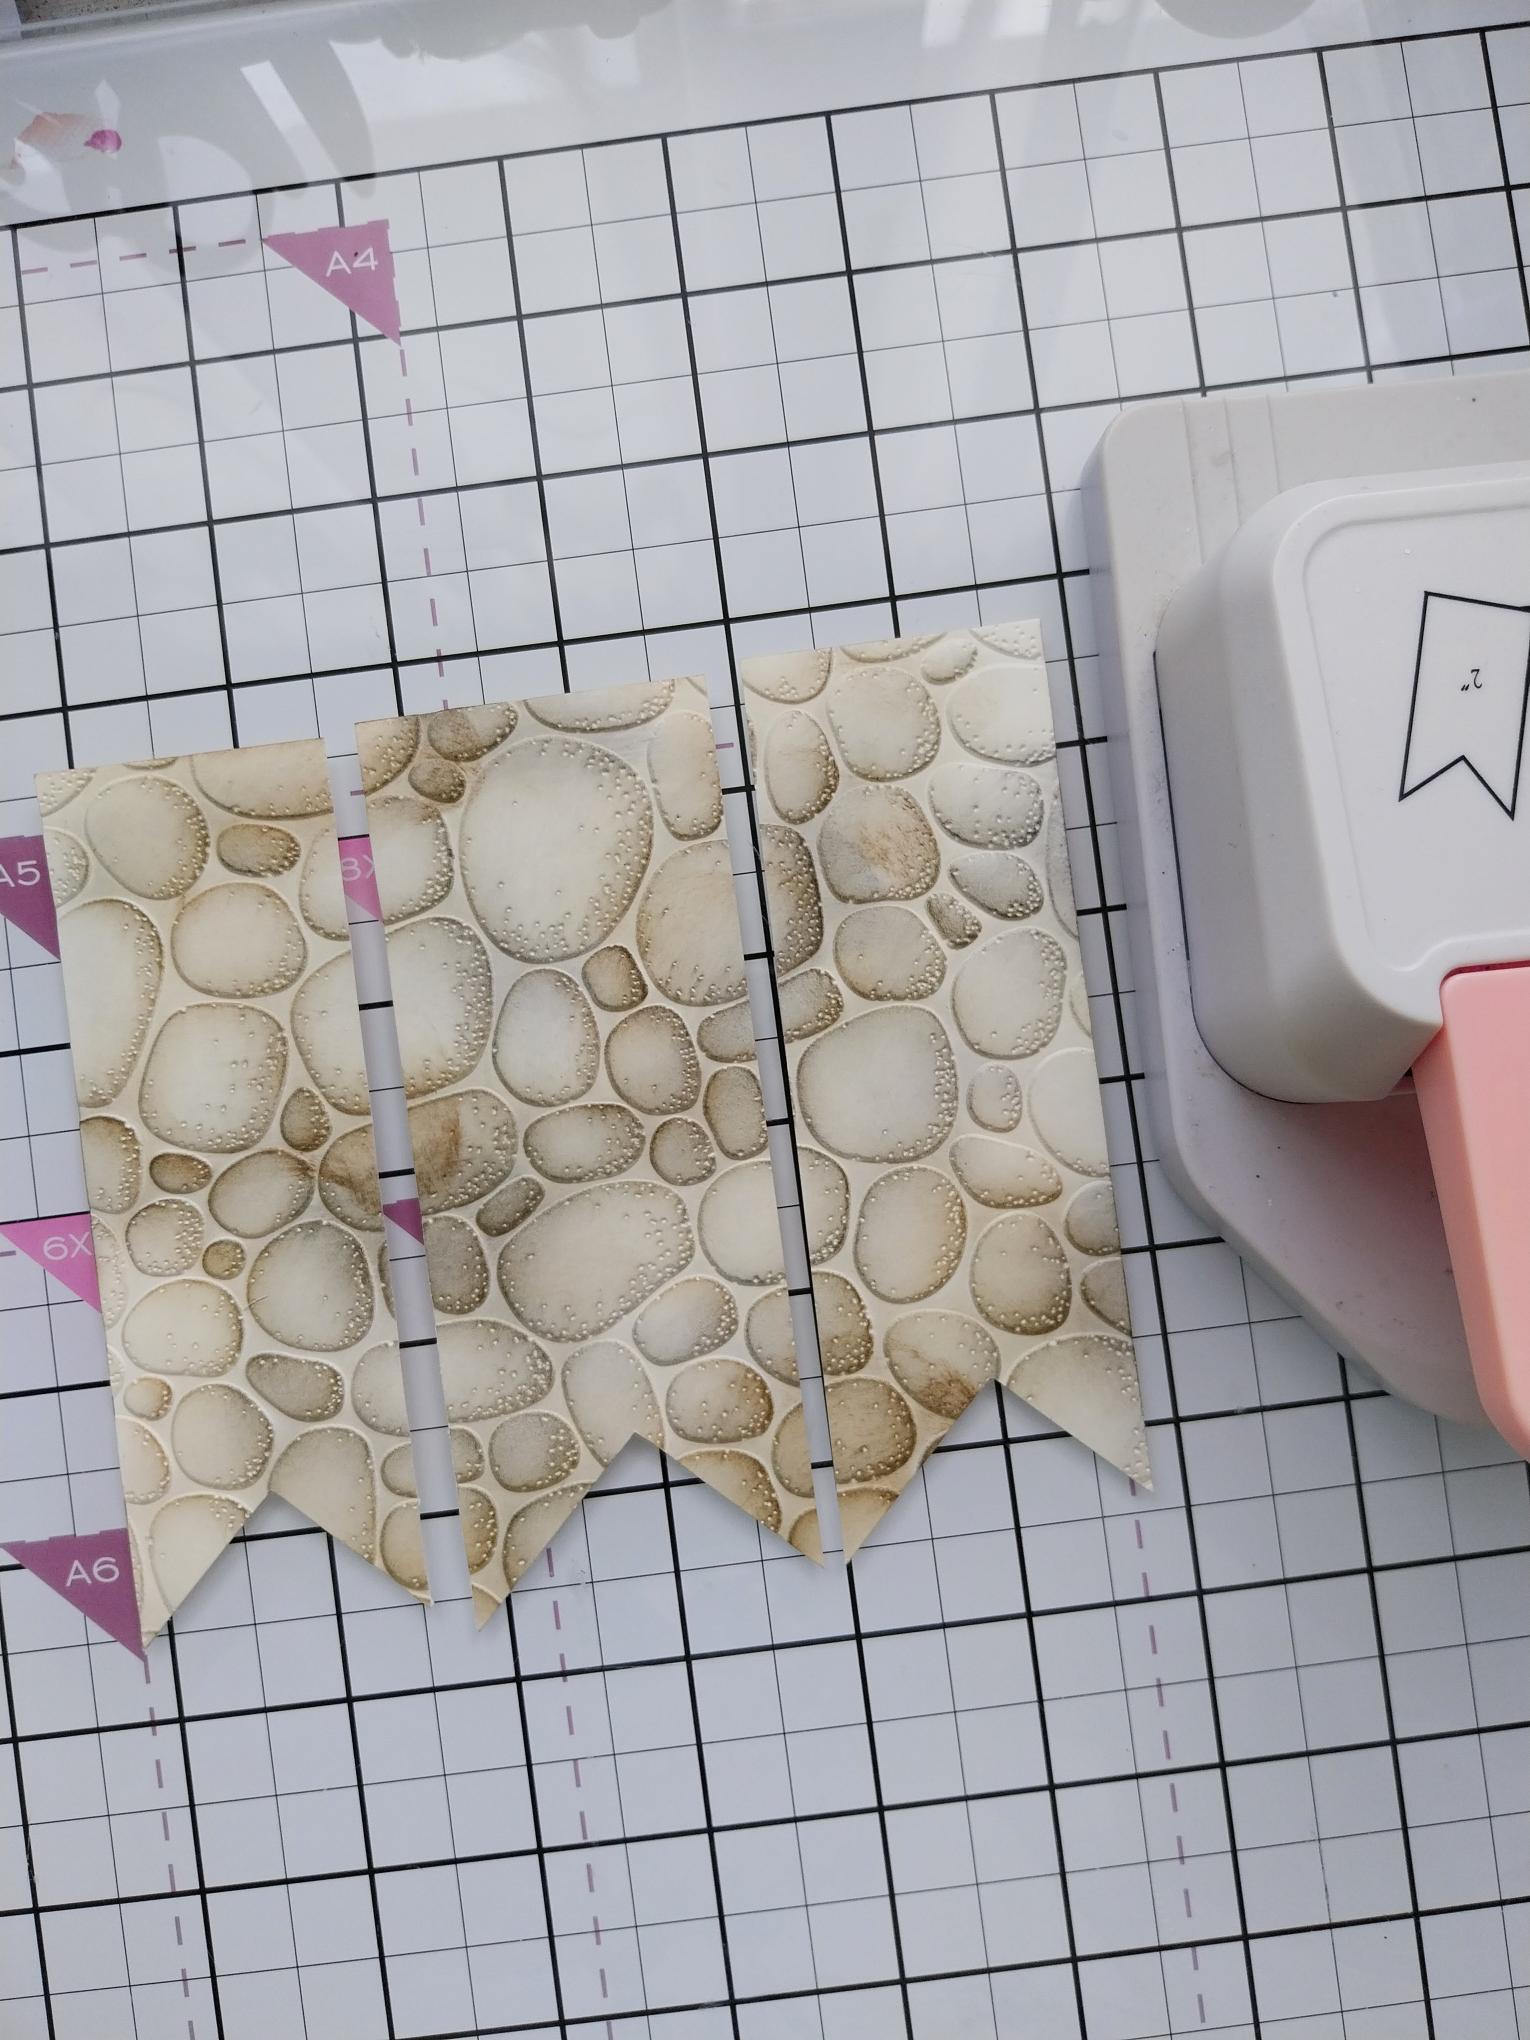
Use your trimmer and banner punch to create three banner tags. |
|
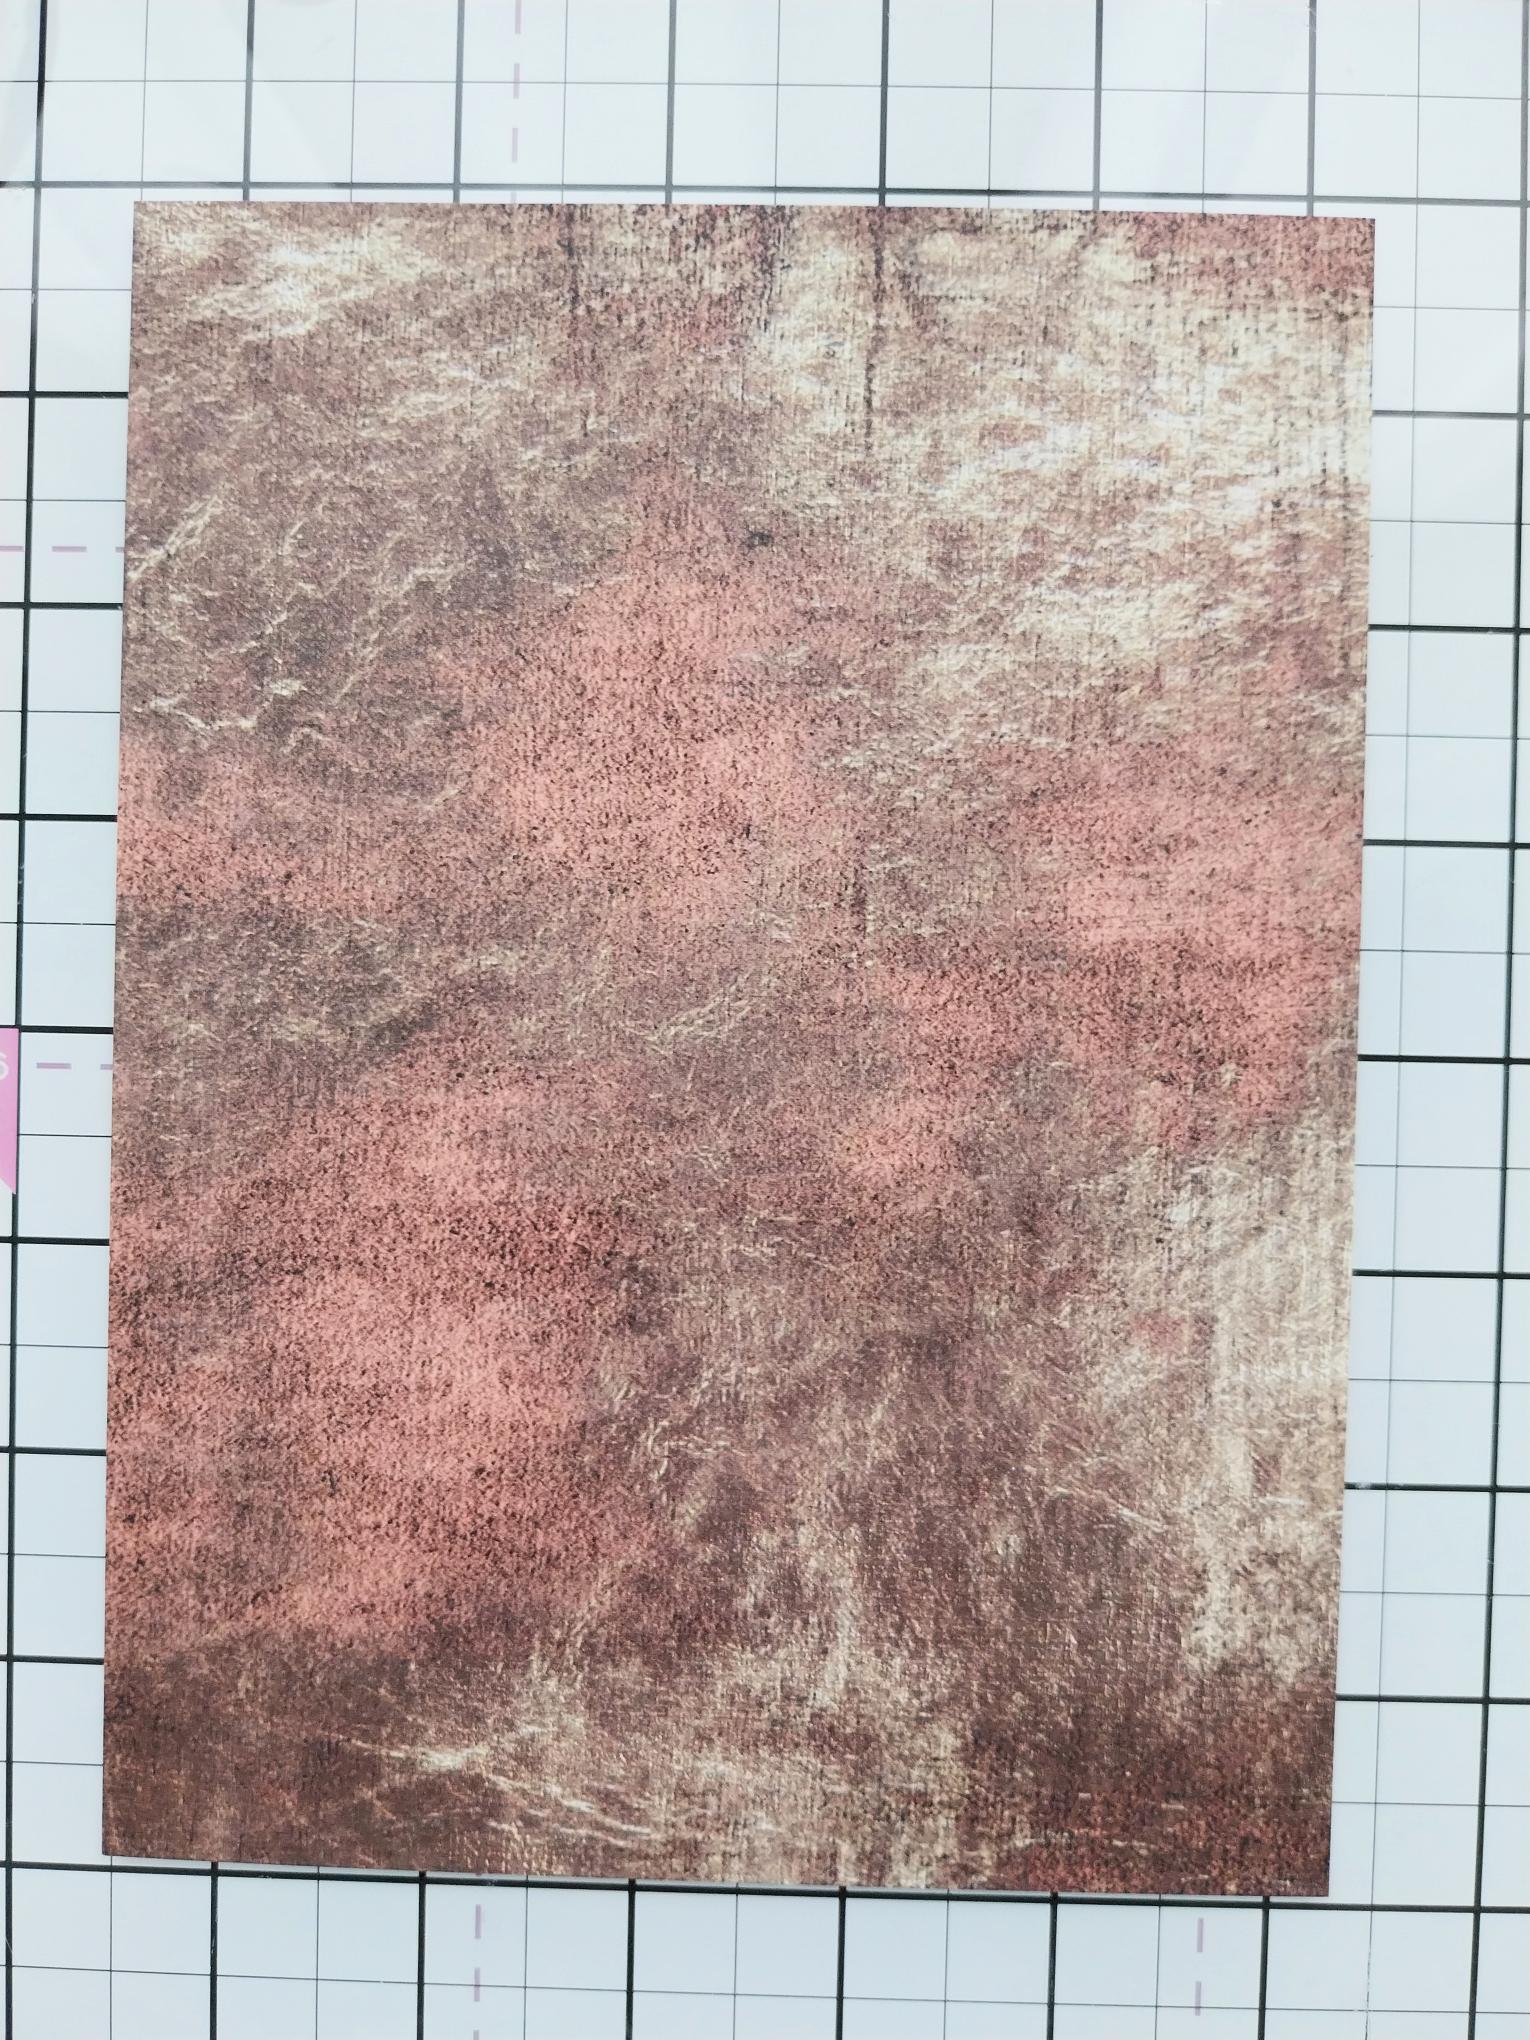
Trim coordinating paper from the Tailored Threads Foundation Pack, to 5 3/4 x 7 3/4". |
|
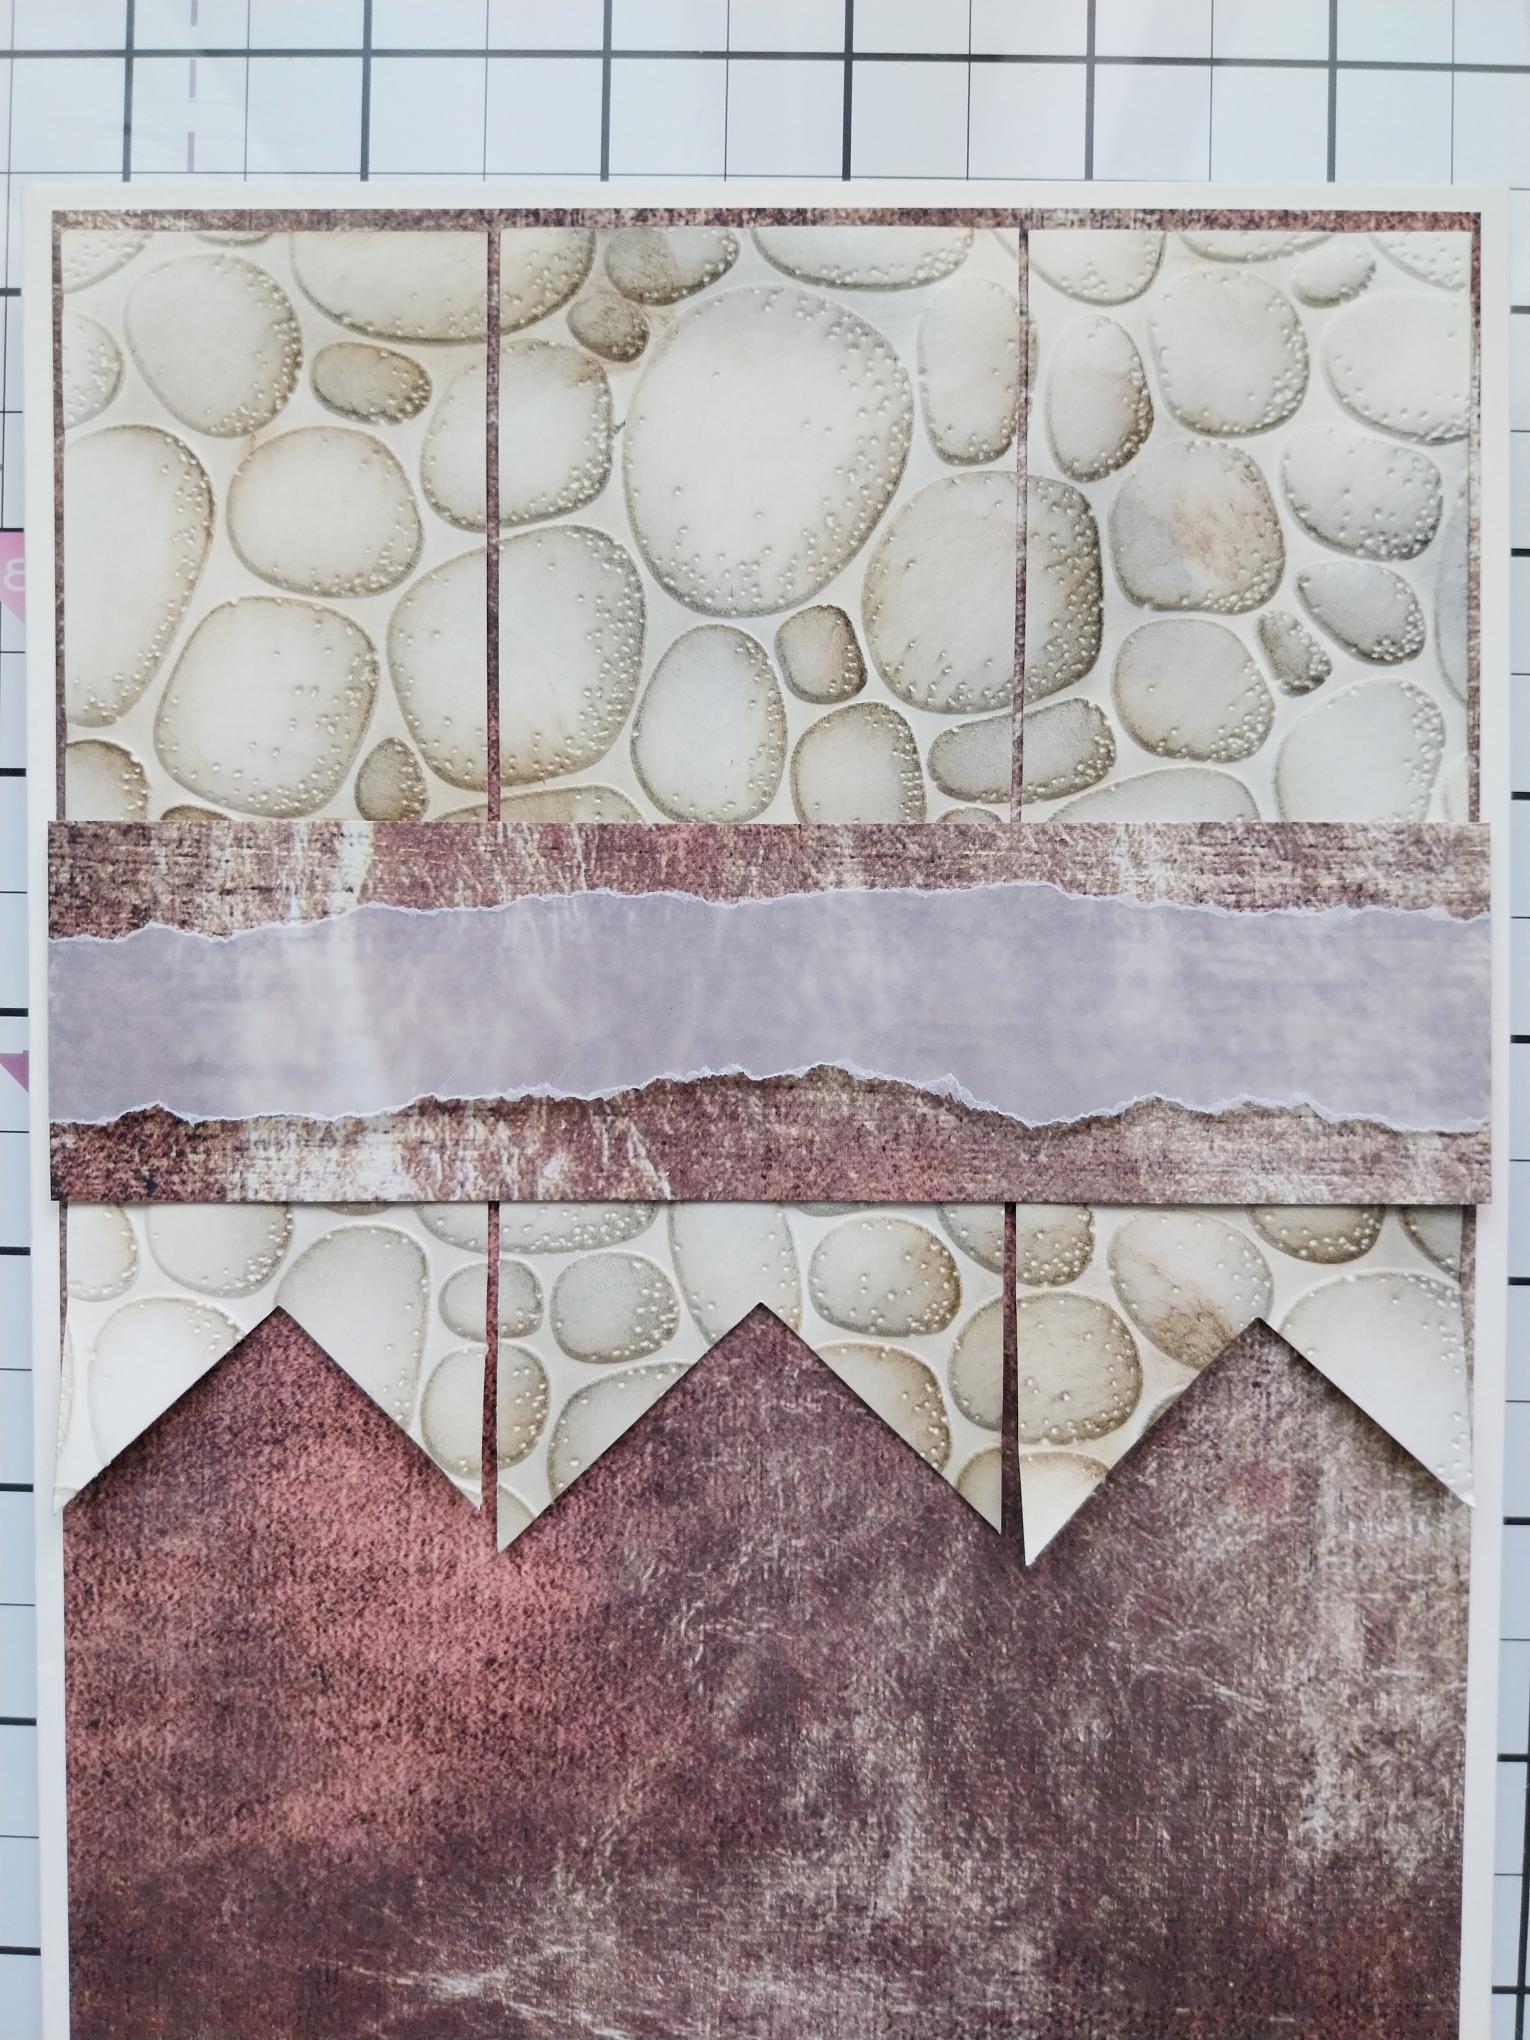
Adhere the three embossed tags onto the paper. Cut a narrow panel from the same paper and adhere across the tags as seen here. Tear a smaller panel of vellum and place across the paper panel, tuck the ends over and adhere on the reverse with a tape runner or double-sided adhesive tape. Adhere this to the front of your cream card blank. |

|
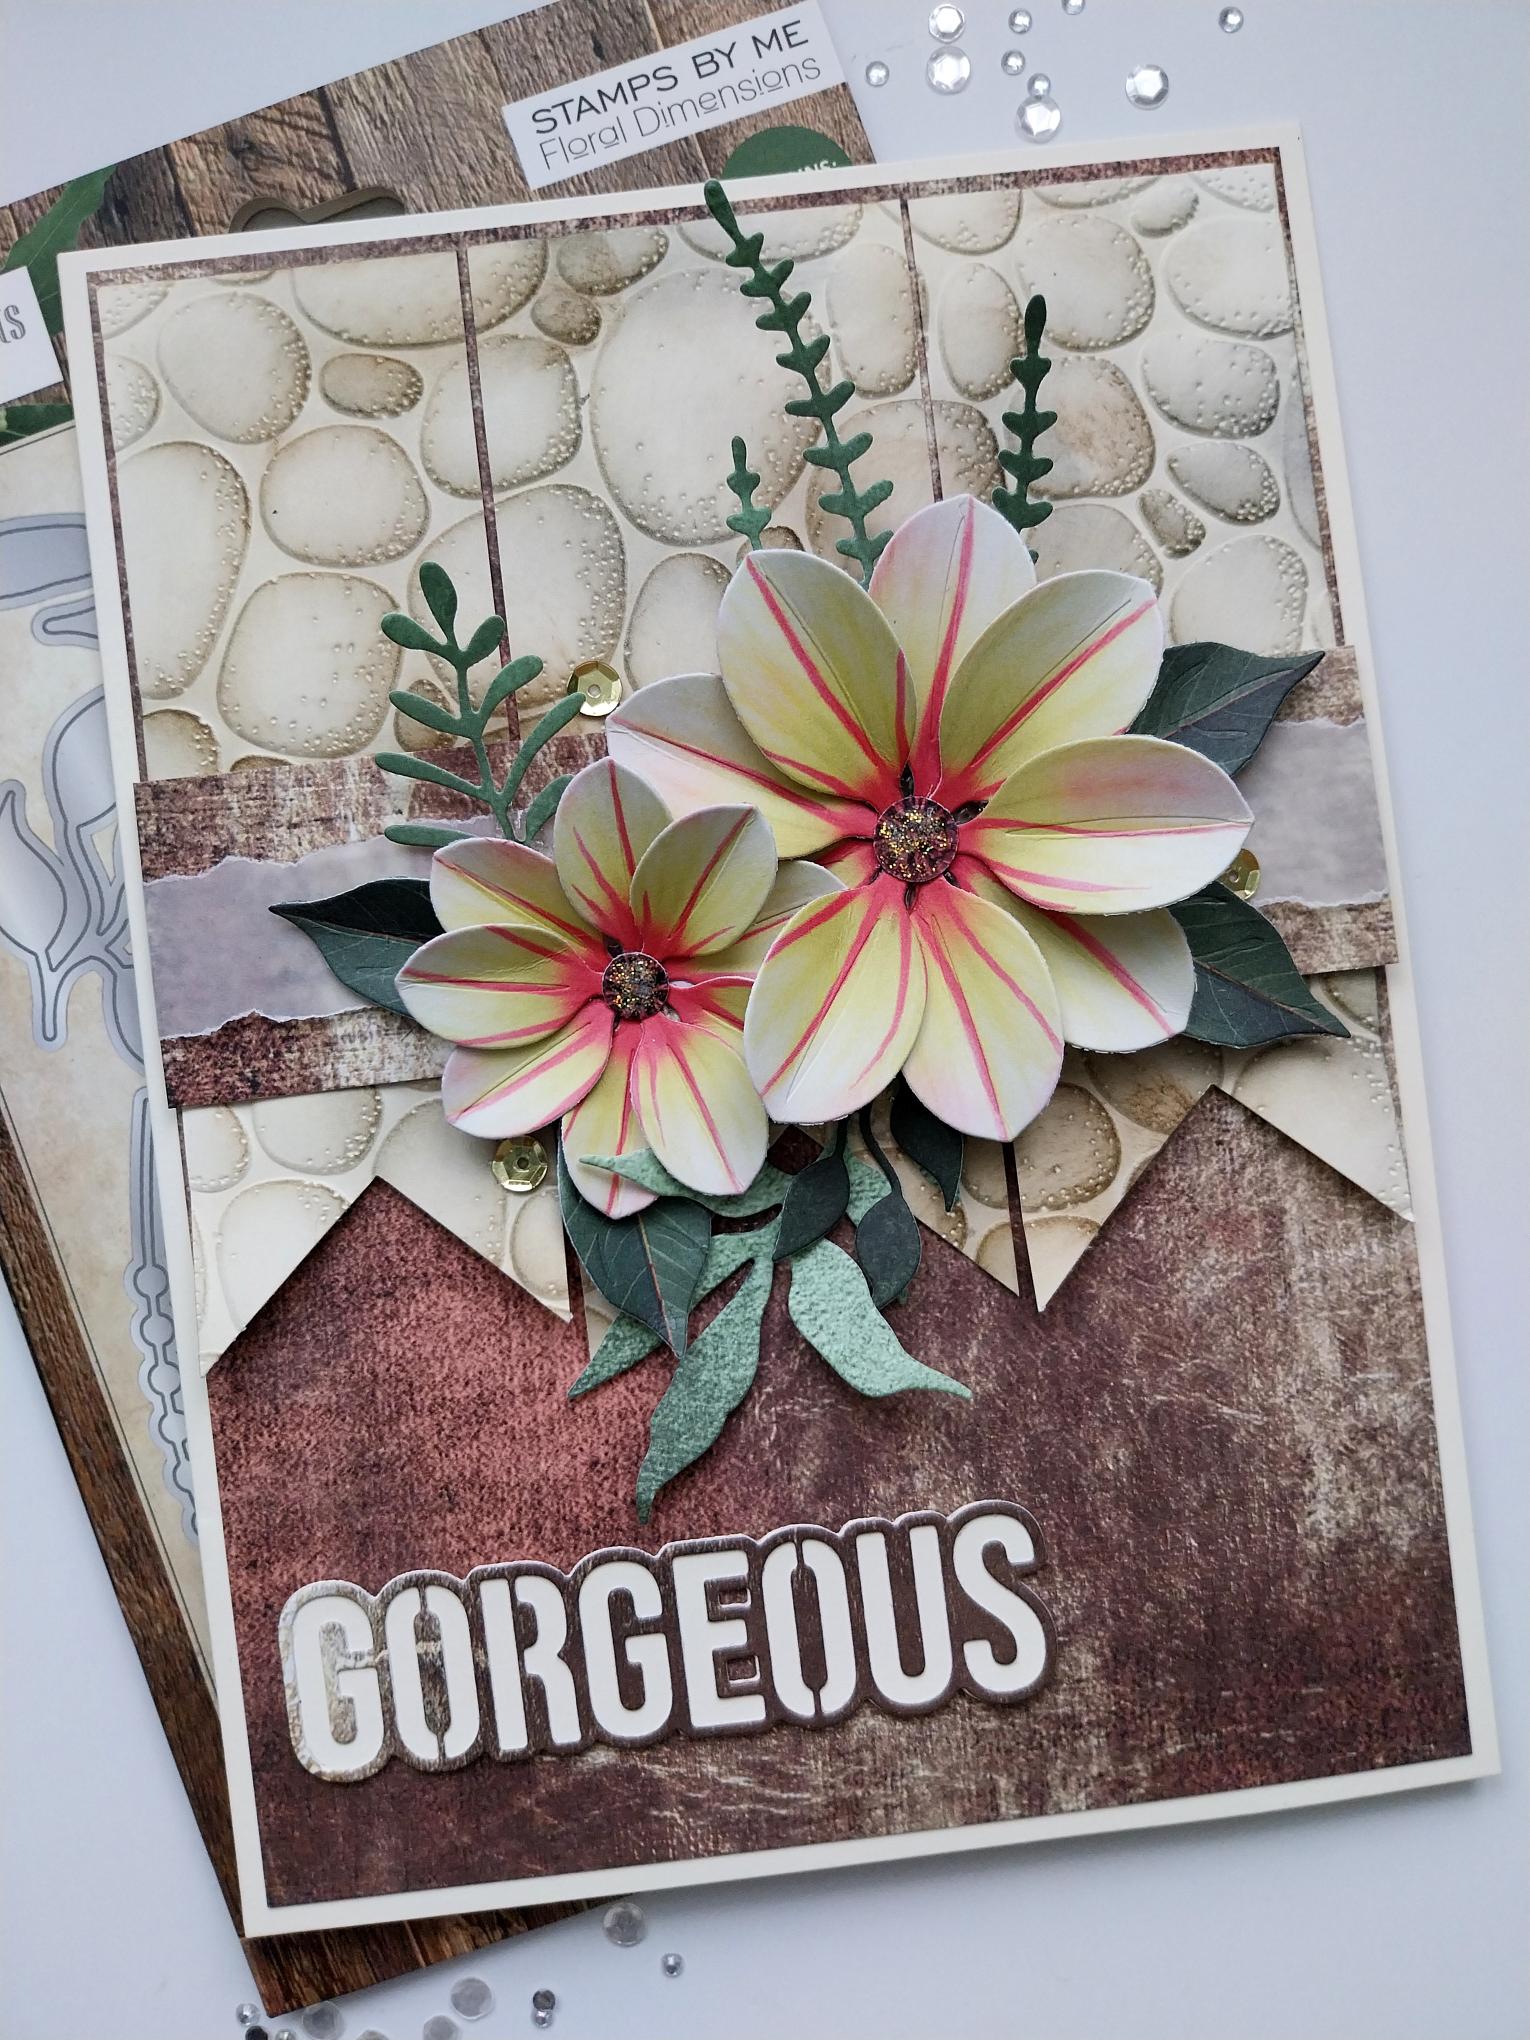
Use foam pads or 3D glue gel to create and adhere your floral display. Add a few sequins around, on and just poking out, from your display. |
|
Use stickles to add glitter and sparkle to your card. |
|
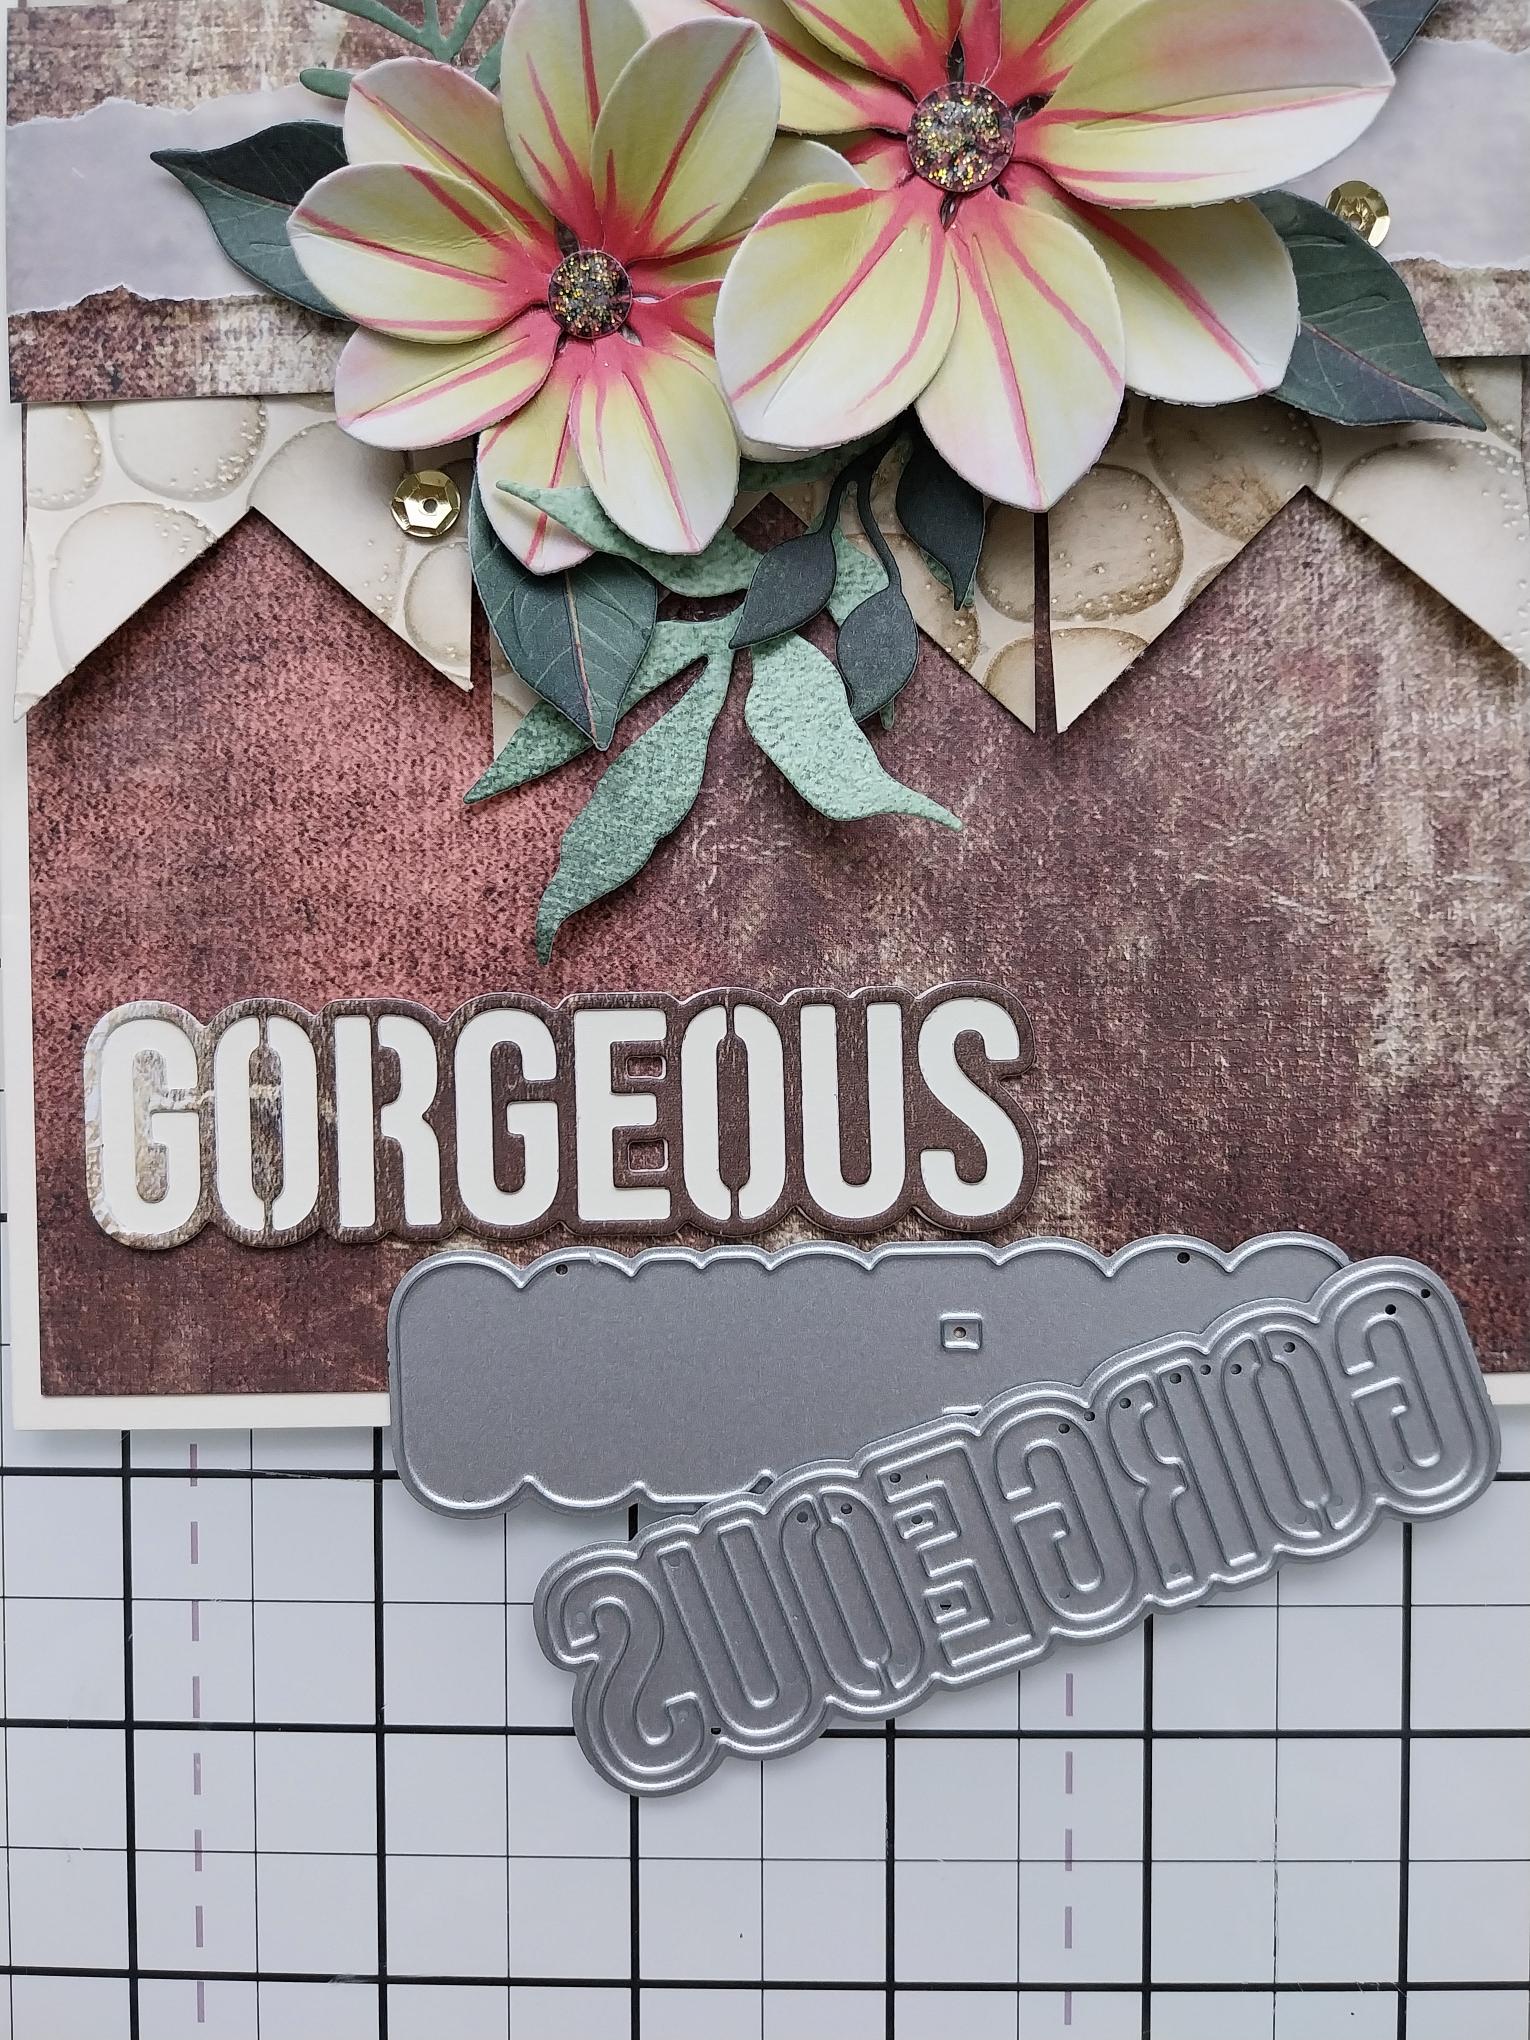
To finish, cut the solid GORGEOUS (Floral Fusion Collection) from coordinating paper and the detailed from cream card. Adhere together and secure at the bottom of your card. |