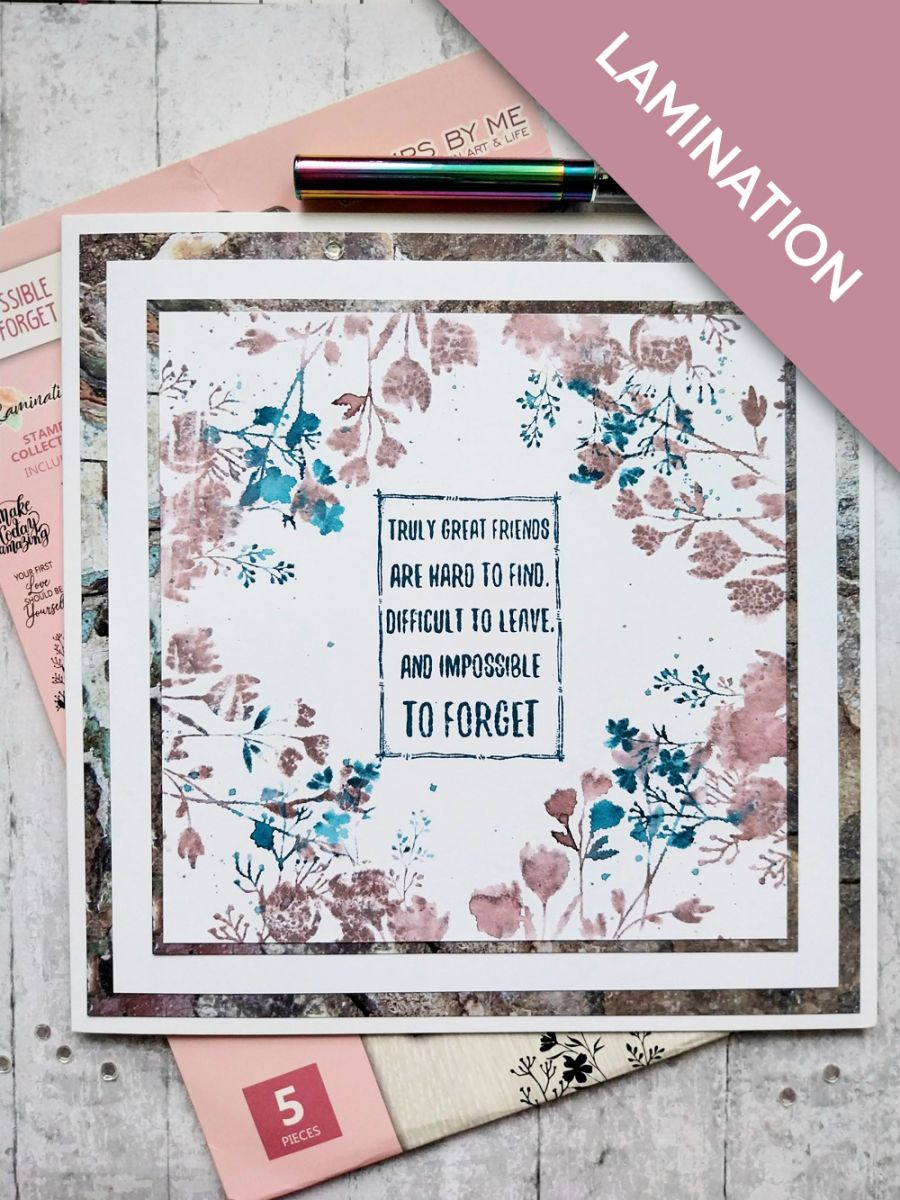
Everything you need
0 of 12 ready
The list
From your craft stash
Step by step tap a picture to see it big · tap DONE as you go - this device remembers
1
Step 1 of 9
Cut a piece of white card to 6 x 6" and place in the bottom right corner of your Eureka 101. Secure with the bar magnet. .
Ink up the floral stamp with the Heather and Tiffany. Spritz the stamp with water and stamp so the design comes on to the left edge of the card.
DO NOT MOVE THE STAMP FOR THIS TECHNIQUE.....
✓ DONE
2
Step 2 of 9
Turn the white card 45 degrees and secure back in place in the bottom right corner of the Eureka.
Repeat the inking and stamping process as before, down the next left side of the card, thus creating 2 floral border edges.
DO NOT MOVE THE STAMP....
✓ DONE
3
Step 3 of 9
Repeat this process TWICE more, to create a stamped floral border around all FOUR sides of the card.
✓ DONE
4
Step 4 of 9
Smoosh a little of the inks on to your glass mat, add water and splatter over your artwork.
✓ DONE
5
Step 5 of 9
Stamp the sentiment using Tiffany, in the centre of your floral-edged card.
Stamp the Dash Frame, with Tiffany, to frame your sentiment.
✓ DONE
6
Step 6 of 9
Cut this paper, from the Painted Fragments paper pack, to 6 1/4" square.
✓ DONE
7
Step 7 of 9
Mat your artwork on to the decorative paper and then on to white card, cut to 7" square.
✓ DONE
8
Step 8 of 9
Trim another sheet from Painted Fragments, to 7 1/2" square and adhere your artwork on to here.
✓ DONE
9
Step 9 of 9
Adhere to your 8 x 8" white card blank, to complete your make.
✓ DONE
You made it!
Share your make with the Stamps By Me community - and keep this guide for next time.
Prefer the previous layout? Open the old page .