


Step 1 of 9
Stamp this fabulous collage image in the Midnight ink, on to this patterned paper from the Watercolour Brights pack. Then randomly stamp the "textures" part of the image, around the edges of the paper.








Prices change straight away. Every language is our own translation, not Google.
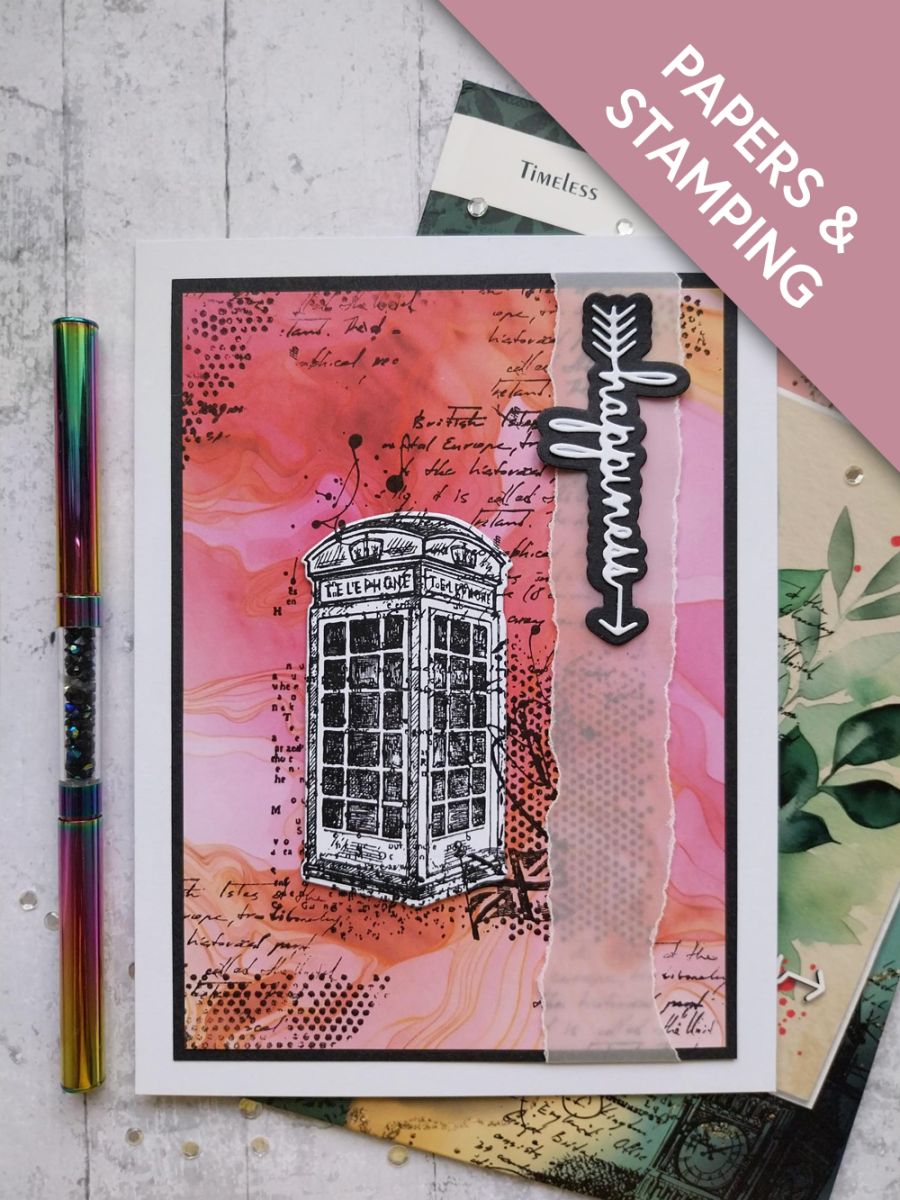
Stamp this fabulous collage image in the Midnight ink, on to this patterned paper from the Watercolour Brights pack. Then randomly stamp the "textures" part of the image, around the edges of the paper.
Re-ink and stamp it on to a piece of white card.
Use the coordinating die to cut out the Telephone Box element.
Use foam pads to affix the die cut element over your stamped image.
Mat your artwork on to black card cut to 5 1/4 x 7 1/4".
Tear a panel of vellum, place down the right side of your card, tuck the ends over and secure on the reverse with double-sided tape.
Die cut the detailed "happiness" in white card and the outline die in black card. Adhere together to create your arrow sentiment.
Adhere vertically, down the vellum panel.
Adhere your artwork to your card blank, to complete your project.
Share your make with the Stamps By Me community - and keep this guide for next time.
Prefer the previous layout? Open the old page.



