


Step 1 of 10
Remove this decorative sheet from the Life In Full Colour paper pack and trim to 7 x 5".








Prices change straight away. Every language is our own translation, not Google.
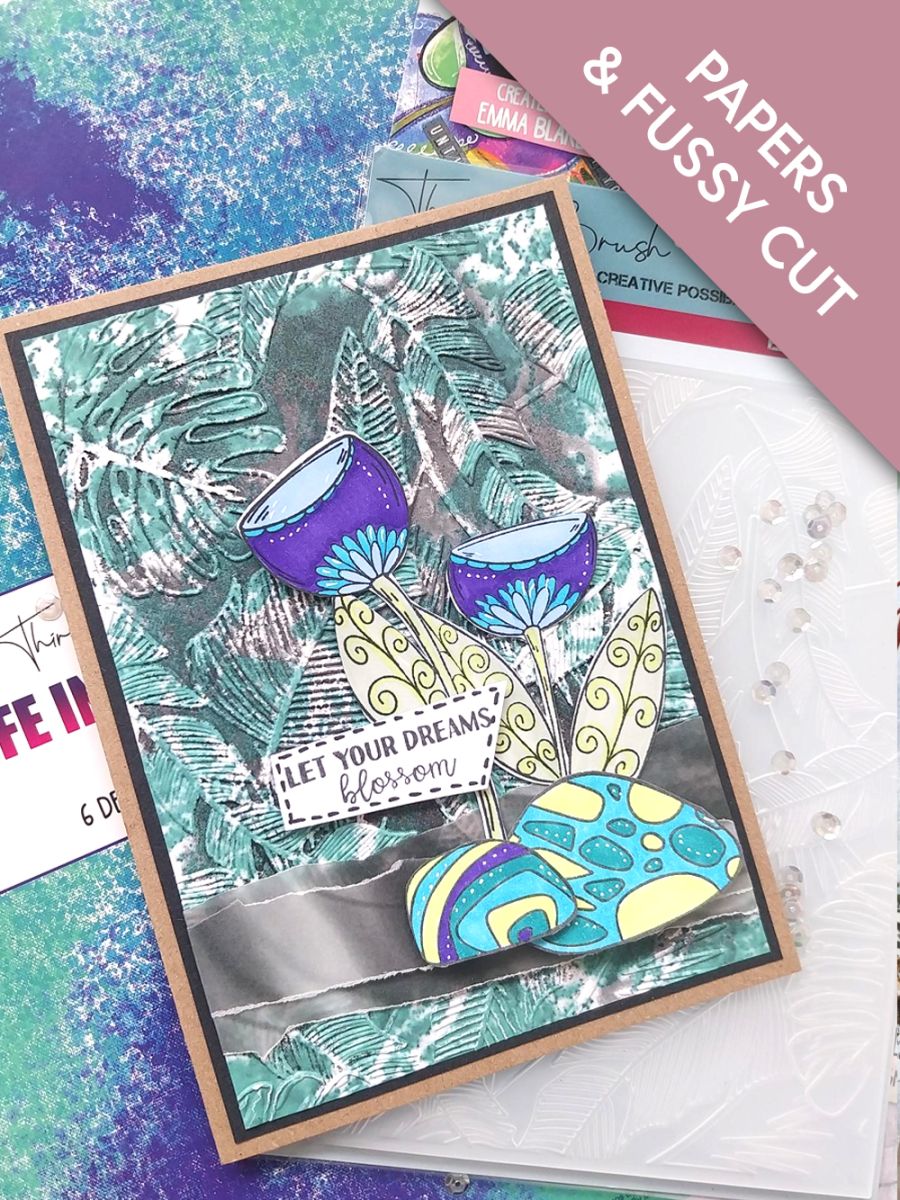
Remove this decorative sheet from the Life In Full Colour paper pack and trim to 7 x 5".
Randomly ink both sides of the Greenery embossing folder with the Black Soot ink pad and spritz lightly with water. Place the decorative paper inside and run it through your embossing machine. Trim to 6 1/2 x 4 1/2", before deciding which side you want to use for your background.
Remove this beautiful, decorative vellum from the Life In Full Colour Vellum Pack and tear 2 panels, one narrower than the other, as seen here.
Place the widest vellum panel across the bottom third of the embossed paper, tuck the edges over and secure on the reverse with double-sided adhesive tape or a tape runner. Lay the other panel across the first, again securing the overhang on the reverse.
Adhere to the black cardstock, on to your kraft card blank and then pop to one side.
Stamp the floral and garden rocks in Midnight, on to a piece of white cardstock.
Use your Gossip alcohol pens to colour them in, popping a sheet of copy paper underneath. This will protect your work surface from the alcohol ink that bleeds through the card.
Use your Imala white gel pen to add accents and highlights, to your 3D elements.
Secure your floral elements in place, to the right of your card, tucking one of the stems under the top vellum panel.
Use foam pads to secure your garden rocks at the base of your floral element.
Ink up your sentiment stamp with Midnight and stamp on to a piece of white card. Trim as required before using a black pen to add a stitched frame.
Adhere with foam pads, to complete your gorgeous project.
Share your make with the Stamps By Me community - and keep this guide for next time.
Prefer the previous layout? Open the old page.



