Step 1 of 7
Remove the snowflakes page from the colouring book and trim off the perforated edge.
Use your alcohol pens to colour it in.








Prices change straight away. Every language is our own translation, not Google.
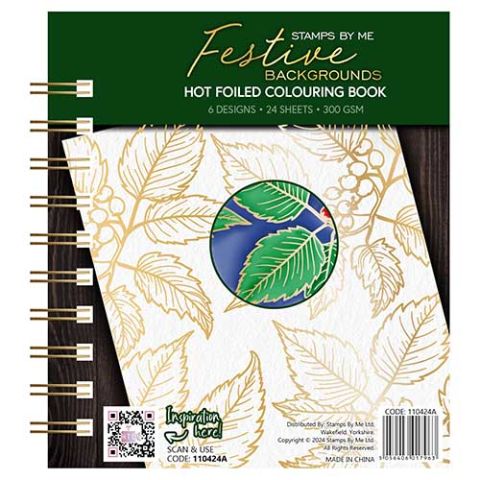 Stamps By Me - Hot Foiled Coloring Book - Festive BackgroundsFestive Backgrounds Hot Foiled Colouring Book$14.99BUY✓ ADDED
Remove the snowflakes page from the colouring book and trim off the perforated edge.
Use your alcohol pens to colour it in.
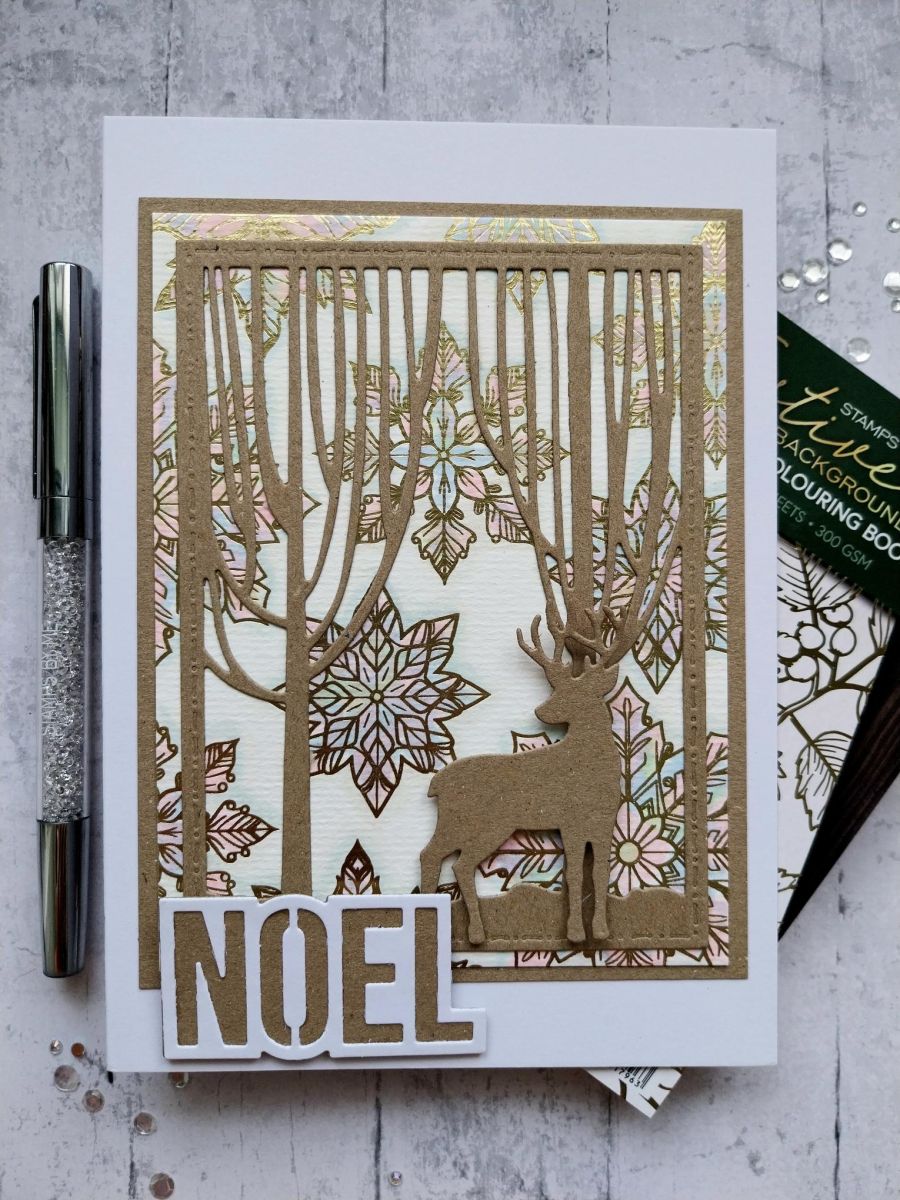
Die cut the Winter Woodland forest and Stag from kraft card. For a more substantial 3D element, cut 2/3 of each and adhere together.
Adhere your die cut elements in place on your coloured background, using a combination of wet glue and foam pads. This will create depth and dimension to your scene.
Mat onto a piece of kraft card trimmed to 4 1/2 x 5 3/4".
Mat onto the front of your card blank.
From the Festive Baubles die set, cut the detailed NOEL from white card and the mat from kraft. Adhere together.
To finish, use foam pads to adhere your sentiment to the bottom left of your card.
Share your make with the Stamps By Me community - and keep this guide for next time.
Prefer the previous layout? Open the old page.