


Step 1 of 13
Stamp the "planet" background stamp on to a masking sheet, or you can use copy paper and fussy cut to create a "mask".








Prices change straight away. Every language is our own translation, not Google.
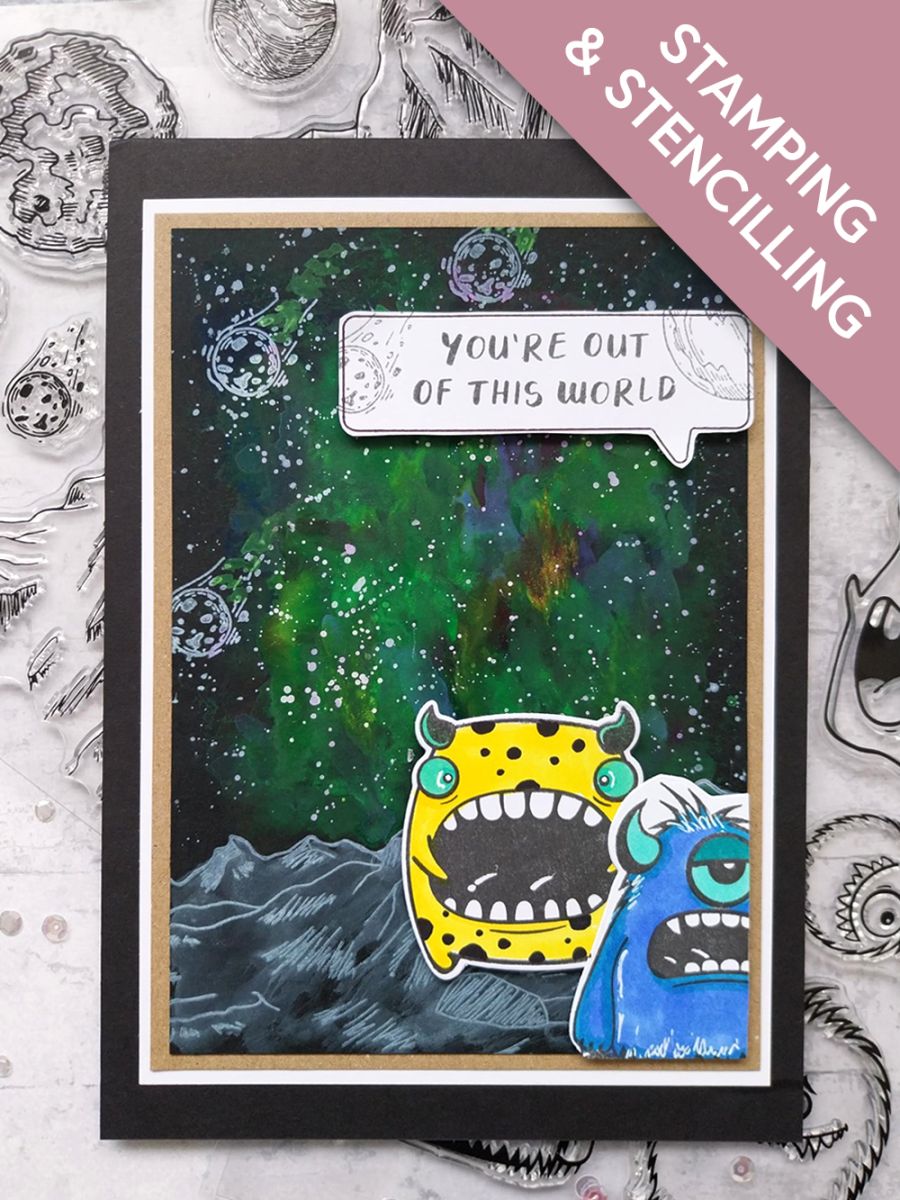
Stamp the "planet" background stamp on to a masking sheet, or you can use copy paper and fussy cut to create a "mask".
Place your "mask" across the bottom third of the black card cut to 6 3/4 x 4 3/4".
Create a galaxy background using your neon paints.
Once the ink is completely dry, splatter with the Cotton ink. If possible allow to dry naturally, although pigment ink is slow drying and you may need to give it a helping hand with your heat tool.
Remove the mask and restamp the background with the Cotton ink, using your paint brush and a little water to move the ink, creating shadows to your planet.
Stamp a few random comets/meteors on to your background, before setting it to one side to dry.
Stamp these cheeky monsters/aliens, on to white card with the hybrid Midnight ink. Use the coordinating dies to cut them out.
Colour in with your Gossip alcohol pens.
Tip: Place a sheet of copy paper underneath, to protect your work surface from the alcohol ink that bleeds through the card.
Adhere one flat in the bottom right corner and the second one with foam pads, in front of the first, trimming off any overhang, as seen here.
Pop to one side.
Use a black pen to draw around one of the speech bubbles. Stamp the sentiment in the centre, with the Midnight ink, before cutting it out.
Randomly stamp the comet and Moon off the edges of the sentiment bubble, in the Midnight ink.
Adhere your artwork on to the kraft card, cut to 7 x 5", then on to the white card cut to 7 1/4 x 5 1/4 and finally on to the front of your black card blank.
Adhere your sentiment bubble with foam pads, where required.
To finish, use your black pen and white gel pen to add detail, accents and highlights to your monsters/aliens, as required.
Share your make with the Stamps By Me community - and keep this guide for next time.
Prefer the previous layout? Open the old page.



