


Step 1 of 9
Stamp our cheeky monster in Midnight, on to a piece of white card and use the coordinating die to cut it out.








Prices change straight away. Every language is our own translation, not Google.
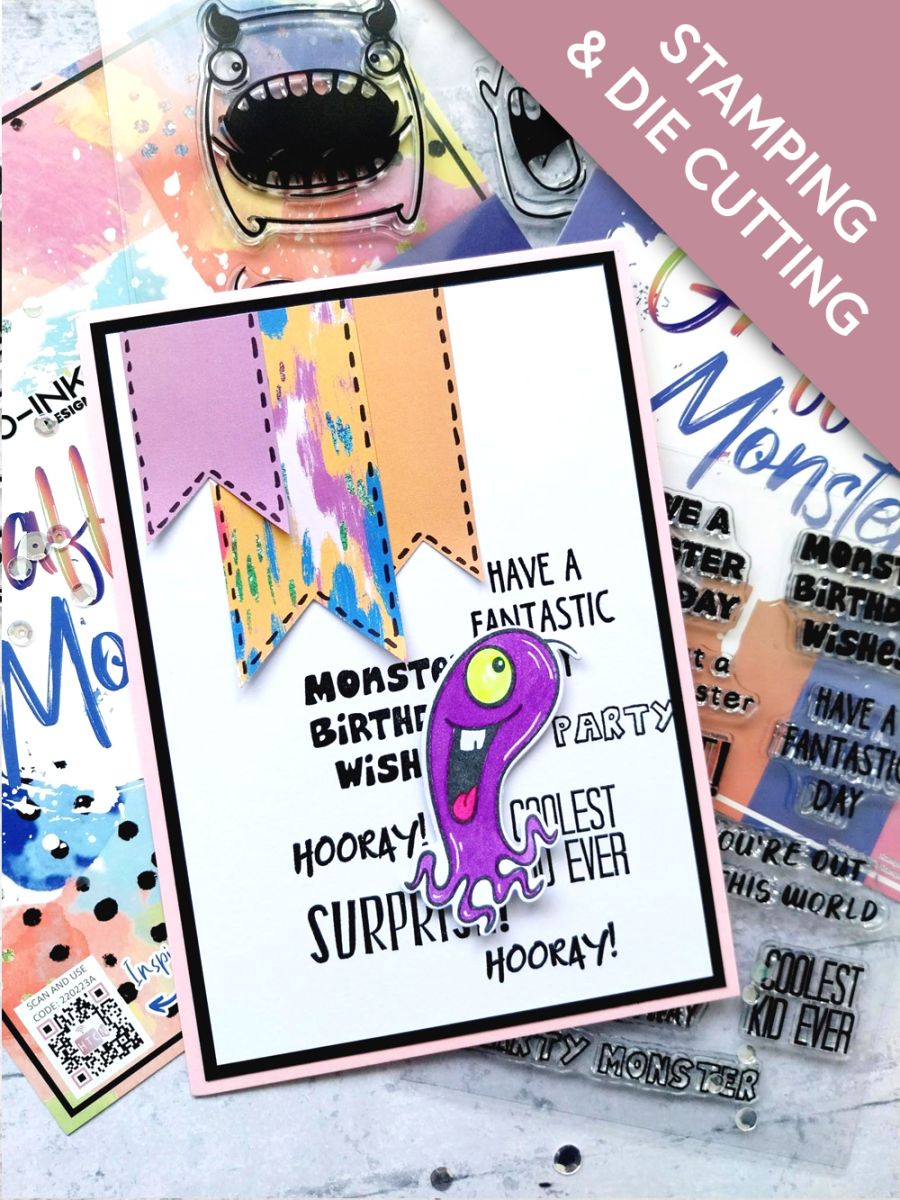
Stamp our cheeky monster in Midnight, on to a piece of white card and use the coordinating die to cut it out.
Paint your monster with the neon paints.
Once the paints are completely dry, use a white gel pen to add accents and highlights as required.
Using your die cut monster as a positional guide, stamp a selection of sentiments from the stencil and stamp set, in the Midnight, on to the white card cut to 6 1/2 x 4 1/2", so they create a background for our monster to sit on.
Use foam pads to adhere your monster over the stamped sentiments and pop to one side.
Cut THREE coordinating panel strips from the patterned and foundation papers, in various widths.
Use the banner tag punch on one end of each strip, then cut them to the desired lengths (see finished card).
Use a black pen to add stitched detail to each.
Adhere the paper banners so they are hanging down from the top left corner of the white card, allowing the "tails" to hang loose.
To finish, adhere to the black card cut to 6 3/4 x 4 3/4" and then on to the front of your 7 x 5" pink card blank.
Share your make with the Stamps By Me community - and keep this guide for next time.
Prefer the previous layout? Open the old page.



