


Step 1 of 11
Remove this patterned envelope, from the Charcoal Roses Fold & Send Envelopes Collection. Fold along the pre-scored lines and adhere in place.








Prices change straight away. Every language is our own translation, not Google.
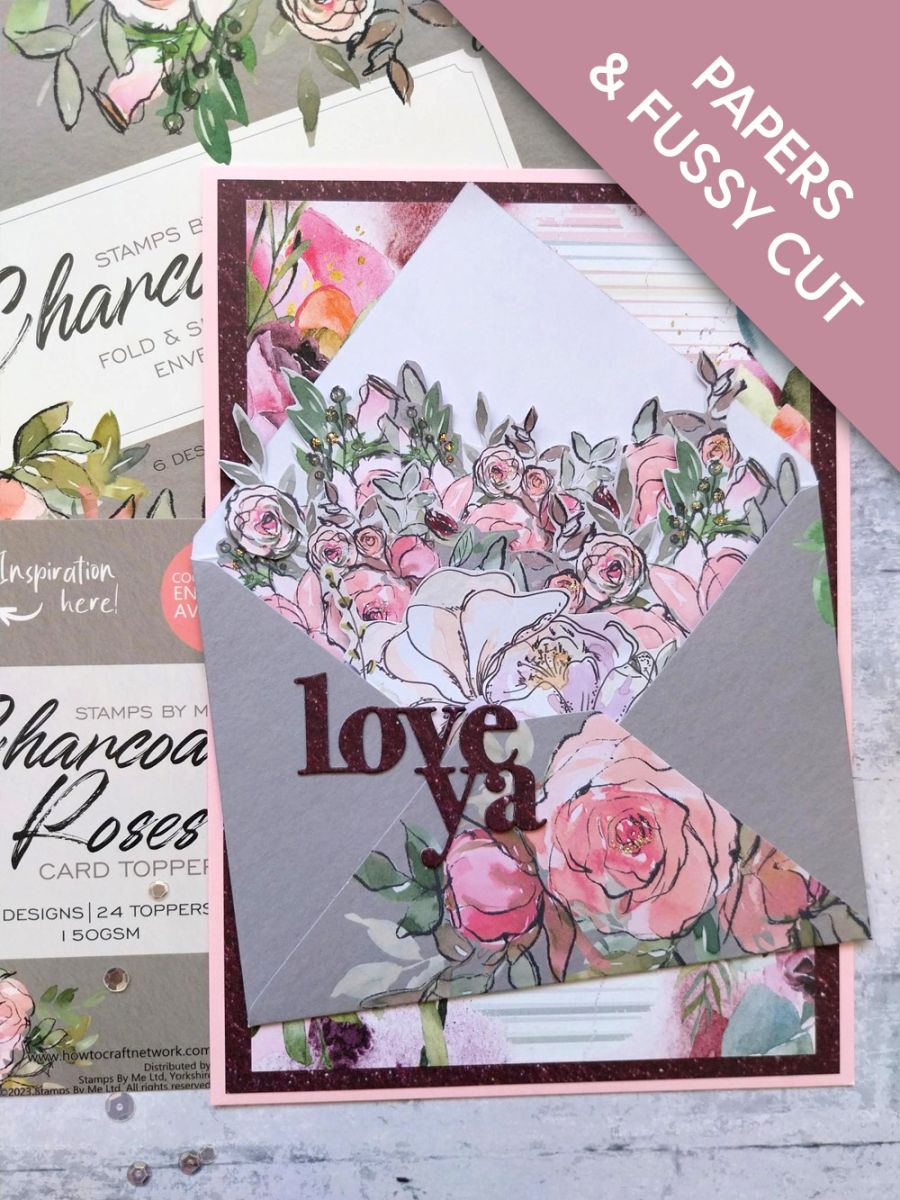
Remove this patterned envelope, from the Charcoal Roses Fold & Send Envelopes Collection. Fold along the pre-scored lines and adhere in place.
Fussy cut a variety of floral and foliage elements, from toppers out of both the Charcoal and Floral Garden Topper Collections.
I started with these 3 focal elements, then cut foliage and smaller elements as needed.
Adhere all your elements so they are peeking out from inside the enevelope, as shown here. You can mould elements with your fingers, ensuring you leave some loose and free. Pop to one side.
This is known as a loaded envelope.
Trim this decorative paper, from the SBM Box Kit magazine, to 7 3/4 x 5 1/4".
Trim this paper, from the Burgundy All Surfaces Paper Pack, to 8 x 5 1/2".
Adhere your decorative, floral paper on top of the burgundy sheet.
Adhere to the front of your pink card blank.
Adhere your loaded envelope on to your card.
Die cut TWO "Love Ya" sentiments, out of the Burgundy paper you had left over.
Glue them together before adhering to your loaded envelope.
Finish off by adding a touch of sparkle and glitter, to your floral elements.
Share your make with the Stamps By Me community - and keep this guide for next time.
Prefer the previous layout? Open the old page.



