Step 1 of 8
Remove this pretty textured paper from the Classic Celebration Textured paper pack and trim to 6 3/4 x 4 3/4".








 The Thursday DropTomorrow 1pm
 The Friday Final CutFri 6 Nov 5am
 Community ShowcaseMon 9 Nov 5am
Prices change straight away. Every language is our own translation, not Google.
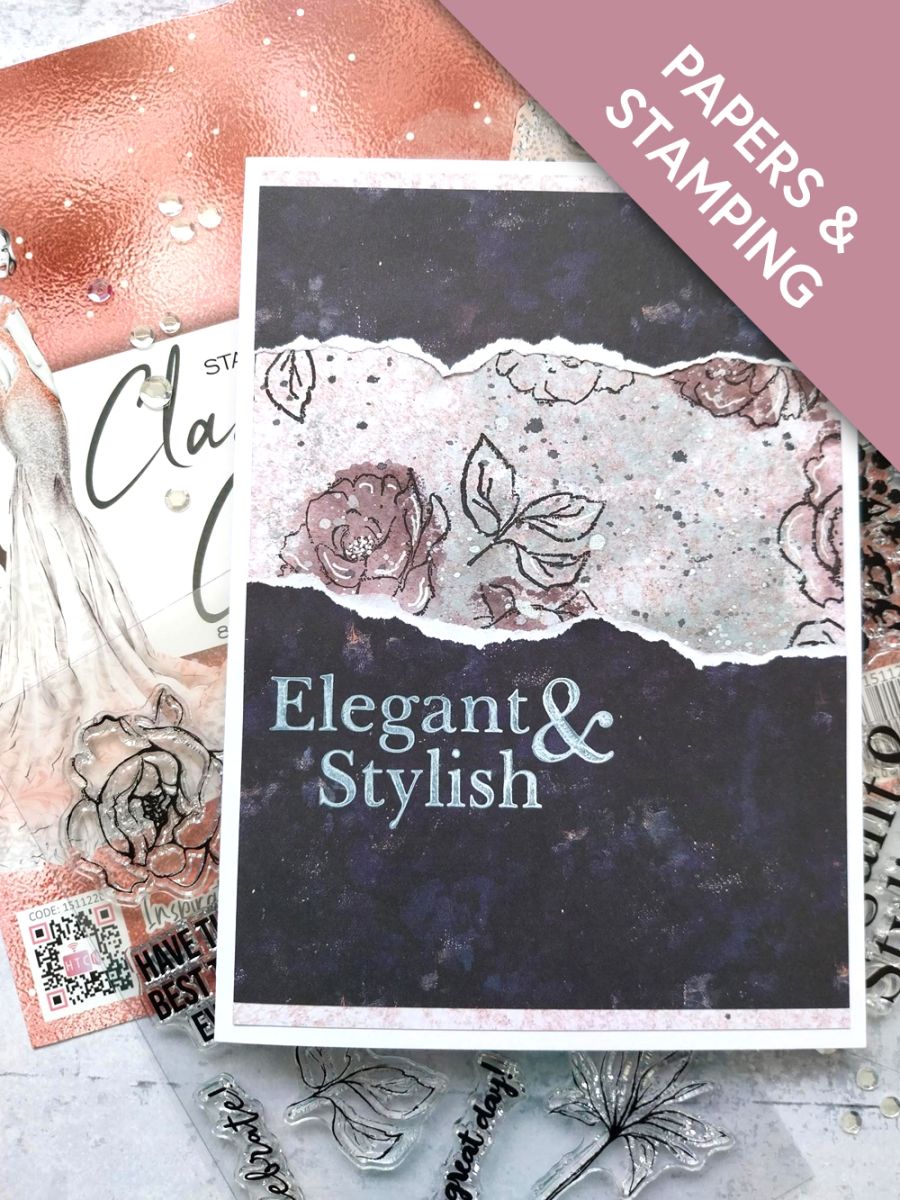
Remove this pretty textured paper from the Classic Celebration Textured paper pack and trim to 6 3/4 x 4 3/4".
Remove this darker textured paper and trim to the same size as the first.
Tear across the paper to create a top panel, then tear off a piece from the bottom panel, thus leaving a "gap" of your chosed width.
Swipe the Iced Spruce ink pad on to your glass mat and spritz with water. Pick up the ink on to the lighter, patterned paper and give it a quick blast with your heat tool.
Choose a couple of the small floral stamps, from Let's Celebrate and ink the REVERSE of the stamps with Heather. Spritz the inked stamp with water, then using your torn papers as a guide, randomly stamp the florals so they will be visible in the "gap".
Give the ink a quick blast with a heat tool.
Ink up the correct side of the floral stamps and some of the foliage stamps, with Midnight, Stamp the detail over the solid stamped images and then randomly stamp a few elsewhere, ensuring you take some off the edges of the paper.
Swipe a little of the Midnight ink on to your glass mat, add water and splatter over your artwork. Dry off with your heat tool.
Scrunch and lift the torn edges of the two paper panels, before adhereing them on top of your stamped paper. You can adhere them flush with the top and bottom of the stamped paper but I chose to leave a small border visible top and bottom.
Ink the sentiment stamp from Like A Diamond, with the Cotton pigment ink, stamp to the left and blast with your heat tool. Pigment ink is very slow drying and it will smudge if not dry!
Adhere to the front of your white card blank.
To finish, use your white gel pen to add a few highlights to your stamped images.
Share your make with the Stamps By Me community - and keep this guide for next time.
Prefer the previous layout? Open the old page.



