


Step 1 of 8
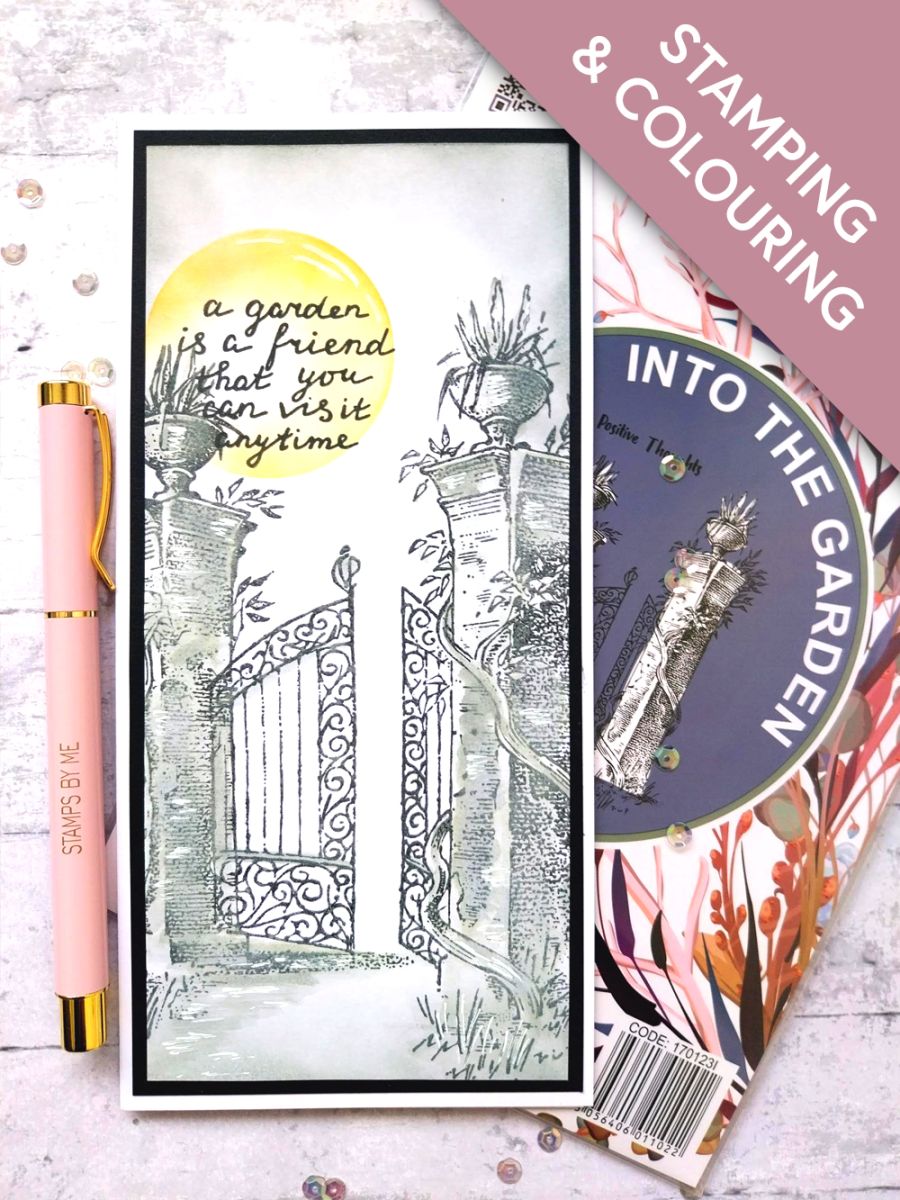
Ink up this beautiful stamp with the Iced Spruce, spritz with water and stamp just off the bottom of the white card.
DO NOT MOVE THE STAMP OR CARD.








Prices change straight away. Every language is our own translation, not Google.
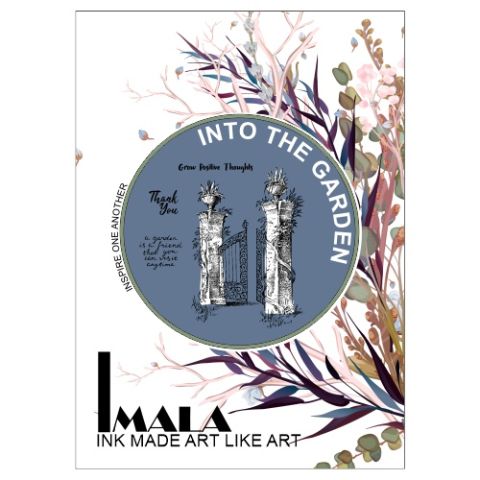 Imala - Into The Garden Stamp SetImala In To The Garden Stamp Collection$17.99BUY✓ ADDED
Ink up this beautiful stamp with the Iced Spruce, spritz with water and stamp just off the bottom of the white card.
DO NOT MOVE THE STAMP OR CARD.
Spritz your stamped image with water, allowing the ink to "bleed" before mopping up any excess ink/water with a paper towel.
KEEP STAMP AND CARD IN POSITION.
Reink the stamp with the Iced Spruce and stamp back over your image. Using a paint brush, move the ink and colour on the shaded areas of your artwork. You can add more ink to deepen the depth of shadow and to colour in the foreground, thus grounding your image.
Once your artwork is dry, ink up the sentiment stamp with the Midnight hybrid ink and stamp in the top left corner, connecting your sentiment to your stamped image.
Once your sentiment is dry, place your circle aperture stencil over your stamped sentiment.
Using a blending tool, apply the Fossilized Amber, fading the ink out as you blend inwards.
Adhere your artwork on to the black card.
Adhere to the front of your white, DL card blank.
To finish, use your Imala white gel pen to add accents and highlights where required.
Share your make with the Stamps By Me community - and keep this guide for next time.
Prefer the previous layout? Open the old page.



