


Step 1 of 8
Place the Timeless Stitch detailed die in the top centre of the white card, cut to 6 1/2 x 4 1/2" and run it through your die cutting machine.








Prices change straight away. Every language is our own translation, not Google.
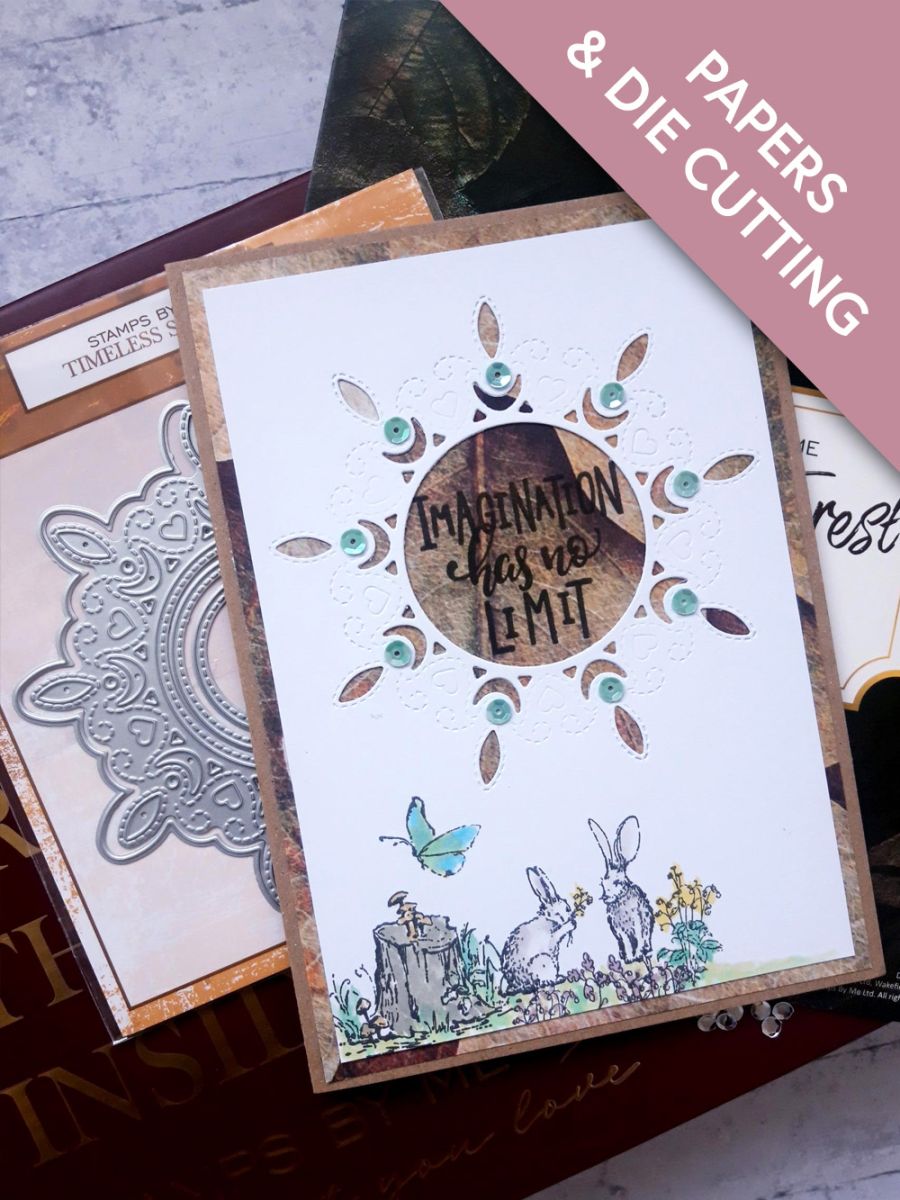
Place the Timeless Stitch detailed die in the top centre of the white card, cut to 6 1/2 x 4 1/2" and run it through your die cutting machine.
Ink up a selection of your stamps from the Pretty Things Inside stamp sets, with the Midnight hybrid ink, and create a scene, as shown here.
Using your Premium ink pads, the Iced Spruce Oxide and a little water, watercolour your stamped artwork as required.
Remove one of the decorative sheets from the Secret Forest paper pack and trim to 6 3/4 x 4 3/4".
Using the die cut aperture as a guide, ink up the sentiment stamp with the Midnight ink and stamp so it will be visible through the aperture.
Adhere your die cut artwork in place, over the stamped decorative paper.
Adhere to the front of your kraft card blank.
Finish off by adding sequins on the detailed points of the die cut aperture, as seen here.
Share your make with the Stamps By Me community - and keep this guide for next time.
Prefer the previous layout? Open the old page.



