tap a picture to see it big · tap DONE as you go - this device remembers
Step 1 of 14
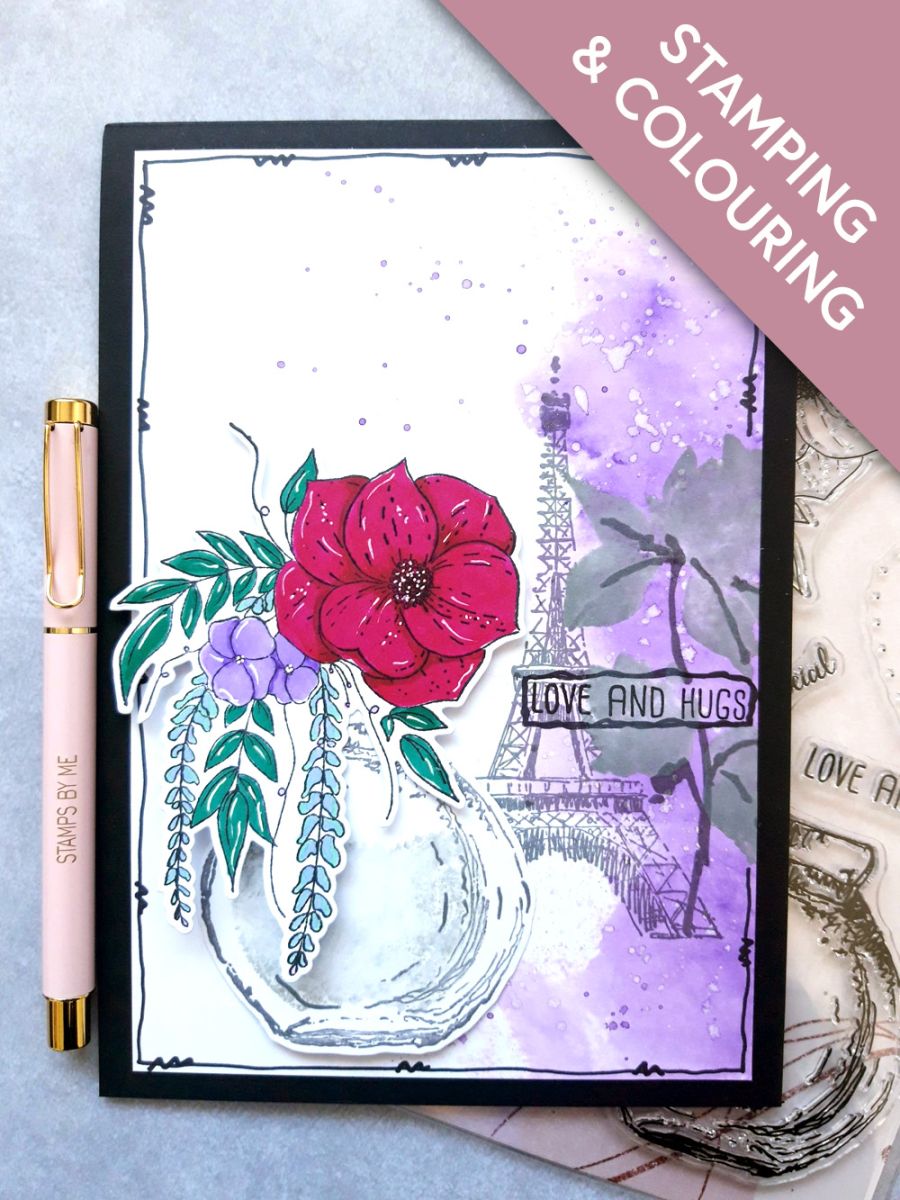
Ink up the perfume bottle with the Smoky Grey Versafine and stampon to a section of the A4 white card. Tear off and set the remaining card to one side, for later.
Ink up the solid lamination stamp with the Iced Spruce Oxide, spritz with water and stamp within your perfume bottle.
Step 2 of 14
Use the coordinating die to cut it out, then set to one side.
Step 3 of 14
Ink up the perfume floral stamp with the Tuxedo Black Memento and stamp on the white card you set aside.
Die cut with the co-ordinating die, then colour in with your Gossip alcohol pens.
Don't forget to pop a sheet of copy paper or card underneath, as the alcohol will bleed through the card and may damage your work surface.
Step 4 of 14
Pop some of the Indigo ink on to your glass mat and spritz with the Pearlywinks Glitter Pearl Mist.
Pick up the ink down the right hand side of the white card, cut to 7 3/4 x 5 1/4".
Step 5 of 14
Splatter more Pearly Mist on to the ink, then dry with your heat tool, before moving to the next step.
Step 6 of 14
Ink up the stamp from the Stronger Lamination collection with the Smoky Grey Versafine and stamp just off the right edge of your inky background.
Step 7 of 14
Ink up the solid, floral lamination stamp, with the Iced Spruce Oxide, spritz with water and stamp in place over your stamped image.
Step 8 of 14
Once the Oxide was dry, I went back in with a black pen to emphasise the line detail, within the floral element.
Step 9 of 14
Pop a little Indigo ink on to your craft mat, add water and splatter over your artwork. Add a few splats with the Pearl Mist, then dry your artwork.
Step 10 of 14
Ink up the sentiment stamp, from Just For You, with the Onyx Black Versafine and stamp across your artwork.
Step 11 of 14
Use a black pen to draw a decorative frame around your artwork.
Step 12 of 14
Adhere your background on to your black card blank.
Step 13 of 14
Mould the perfume bottle with your fingers, then DOUBLE PAD and adhere to the left of your artwork.
Step 14 of 14
Finally, use a white gel pen to add accents and highlights to your artwork.
You made it!
Share your make with the Stamps By Me community - and keep this guide for next time.
Hello! I'm Toni's AI craft helper - I know the projects from Toni's shows, our guides and everything in the shop. Ask me anything, like "which dies go with this stamp set?" or "what do I need to start ink blending?"
An AI helper (not Toni herself), answering from Toni's shows and our shop - please check the product page before you buy.