tap a picture to see it big · tap DONE as you go - this device remembers
Step 1 of 9
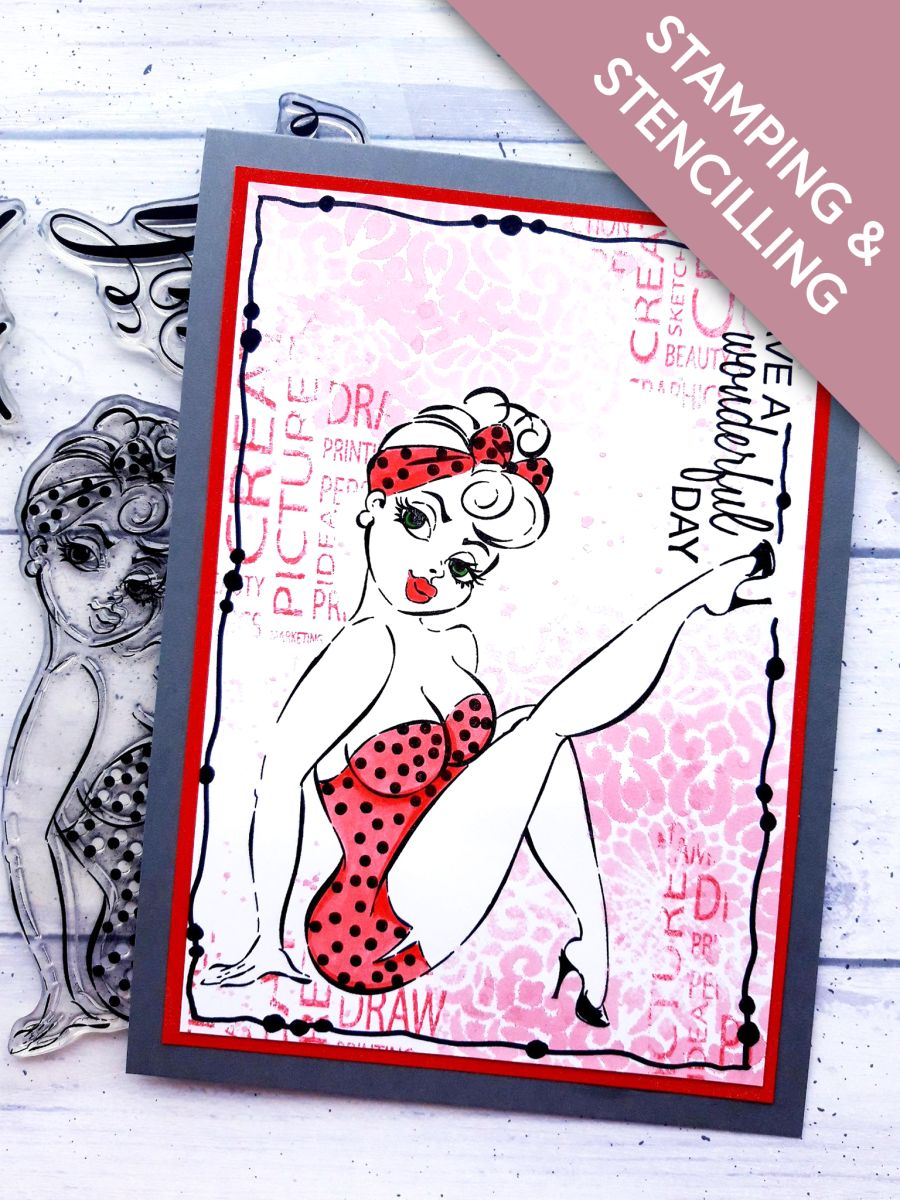
Ink up the stamp from Pin Up, with the Onyx Black Versafine, and stamp on to your white cardstock.
Stamp the image again, on your masking sheet, and cut out. ( You can stamp it on a piece of copier paper, which can be held in place using low tack tape).
Step 2 of 9
Place your mask over the top of your stamped image.
Pop your card in a spray box, place the Ornate and Colourful stencil over the bottom right corner, and spray through with the Izink Shiny Rose Poudre.
Repeat, placing the stencil off the top left edge.
Let the ink dry, or use a heat gun.
Step 3 of 9
Ink up the Handmade With Love Background stamp, in the Izink Grenadine Dye ink pad, and stamp randomly around your artwork, giving it a distressed look.
Dry thoroughly.
Step 4 of 9
Once all the ink is dry, carefully remove the mask, to reveal your clear and clean stamped image.
Step 5 of 9
Apply a little of the Izink Raspberry Beret Pigment on to a glass or craft mat, add a little water, and paint the swimsuit and headband.
Add a little of the Izink Wet Meadow on to your mat, and paint the lady's eyes.
Step 6 of 9
Ink up the sentiment stamp from the Wonderful Day collection, in the Onyx Black Versafine, and stamp down the right side of your artwork.
Step 7 of 9
Use a black pen to create a decorative frame around your artwork.
Step 8 of 9
Mat your artwork on to the red Gossip glitter card.
Step 9 of 9
Mat this on to your grey top folding note card, to finish.
You made it!
Share your make with the Stamps By Me community - and keep this guide for next time.
Hello! I'm Toni's AI craft helper - I know the projects from Toni's shows, our guides and everything in the shop. Ask me anything, like "which dies go with this stamp set?" or "what do I need to start ink blending?"
An AI helper (not Toni herself), answering from Toni's shows and our shop - please check the product page before you buy.