


Step 1 of 13
Place masking tape along all 4 edges of the white card, cut to 7 3/4 x 4", to create a panel as shown here.








Prices change straight away. Every language is our own translation, not Google.
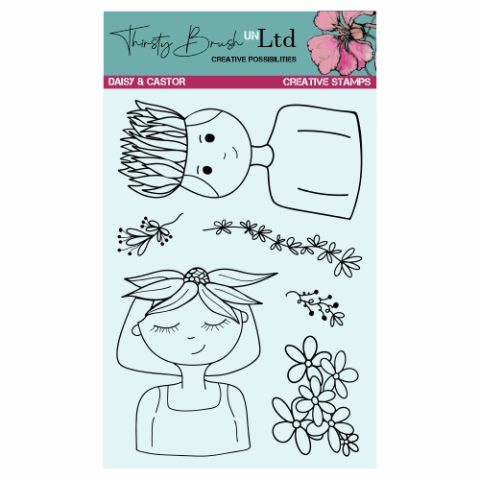 Thirsty Brush Unltd - A5 Stamp - Daisy & CastorThirsty Brush UnLtd Daisy & Castor Creative Stamps$17.99BUY✓ ADDED
Place masking tape along all 4 edges of the white card, cut to 7 3/4 x 4", to create a panel as shown here.
Apply a little of the Surfboard ink to your craft mat and spritz with water.
Lightly spritz the masked panel too, before blending the ink, as this gives a lighter, distressed watercoloured effect.
Lightly and randomly, blend the Indigo through the Abundant Lush stencil.
Repeat the previous step with the Surfboard, through the Leafy stencil.
Blast your background with your heat tool.
Ink up the bubble leafy stamp, from the Flowery set, with the Memento and randomly stamp on to your inky background.
Blast your background with your heat tool.
Splatter water on to your background, wait a few seconds, then lift up the ink with a paper towel.
Dry your background with your heat tool.
Carefully remove the masking tape, to reveal your inky, stamped panel.
Use a black pen to draw a decorative, wiggly frame around your panel.
Ink up one of the sentiment stamps from the Word Sprays set, with the Memento and stamp down one side of the inky panel.
Adhere your artwork on to your black card blank and set to one side.
Ink up both Daisy and the floral stamp, with the Memento ink and stamp on to the 6 x 6", super smooth white card.
Place a sheet of copy paper, or scrap card underneath, before colouring in the images with your Gossip alcohol pens. Alcohol ink bleeds through paper and card, hence the need for something underneath to protect your work surface.
Fussy cut your images.
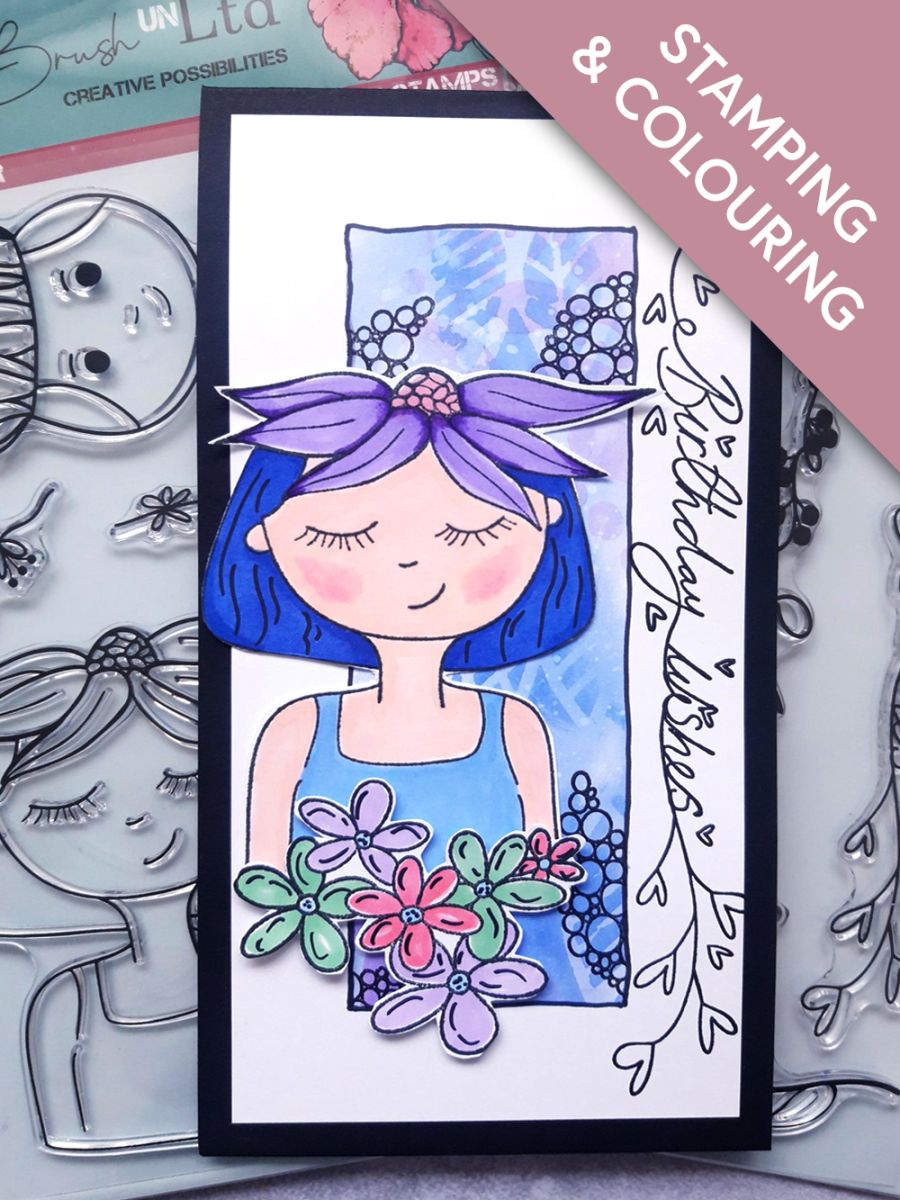
Adhere Daisy to the left of your inky panel, then adhere the flowers with foam pads, for added dimension.
To finish, draw accents, shadow and movement lines, on your stamped images, with a black pen.
Share your make with the Stamps By Me community - and keep this guide for next time.
Prefer the previous layout? Open the old page.



