


Step 1 of 13
Apply the Sherbet ink pad on to your craft mat, spritz with water and mop up the ink on the white card cut to 6 3/4 x 5 1/4". Give the ink a blast with your heat tool.
Repeat with the Magenta ink pad and dry the ink.








Prices change straight away. Every language is our own translation, not Google.
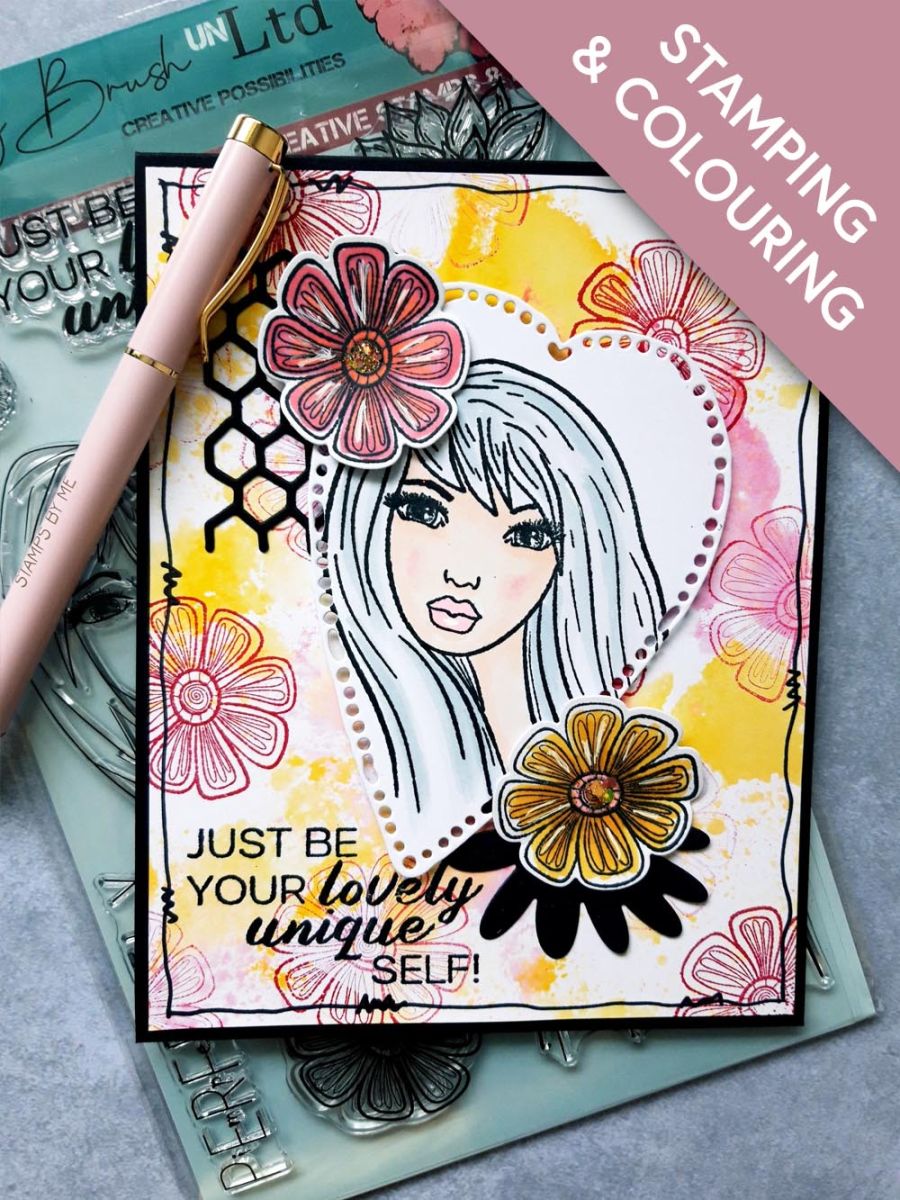
Apply the Sherbet ink pad on to your craft mat, spritz with water and mop up the ink on the white card cut to 6 3/4 x 5 1/4". Give the ink a blast with your heat tool.
Repeat with the Magenta ink pad and dry the ink.
Ink up this floral stamp, from the Perfectly Imperfect set, with the Magenta ink and randomly stamp on to your inky background. Stamp some off the edges of the card and use first and second generation stamping, to create your pretty background.
Use a black pen to draw a decorative, wiggly frame around your card.
Ink up the sentiment stamp, from the same set, with the Memento ink and stamp in the bottom left corner, of your background.
Adhere your background on to your black card blank and set to one side.
Ink up this stamp with the Memento ink and stamp on to white card.
Die cut it using one of the heart dies, from the Framed Hearts Collection.
Use your Gossip alcohol pens to colour her, in your chosen colours.
Tip: Super smooth card is better when using alcohol pens. Always put a sheet of copy paper under your colouring, as the alcohol bleeds through the card.
Adhere her on to your card, at an angle, using foam pads in the centre only.... you will be tucking die cuts under the heart.
Use these dies from the Perfectly Imperfect and Alphabet Texure Collections, to die cut elements from black card.
Stamp two of these flowers, from the Perfectly Imperfect set, with the Onyx Black Versafine, on to white card.
Apply a little of the Sherbet and Magenta inks to your craft mat, add a little water and loosely paint your flowers.
Use the coordinating die to cut them out.
Adhere the black die cut honeycomb tucked just under the top left of the heart topper and one of the floral die cuts on top, using foam pads.
Adhere this black die cut element so it's tucked under the bottom right of the heart and the other floral element on top with foam pads.
To finish, use a white gel pen to add accents and highlights to your artwork and glitter to the centres of the flowers.
Share your make with the Stamps By Me community - and keep this guide for next time.
Prefer the previous layout? Open the old page.



