


Step 1 of 9
Tear this decorative paper from the Imala Collage Paper Pad and cut to 6 1/2 x 6 1/2".








Prices change straight away. Every language is our own translation, not Google.
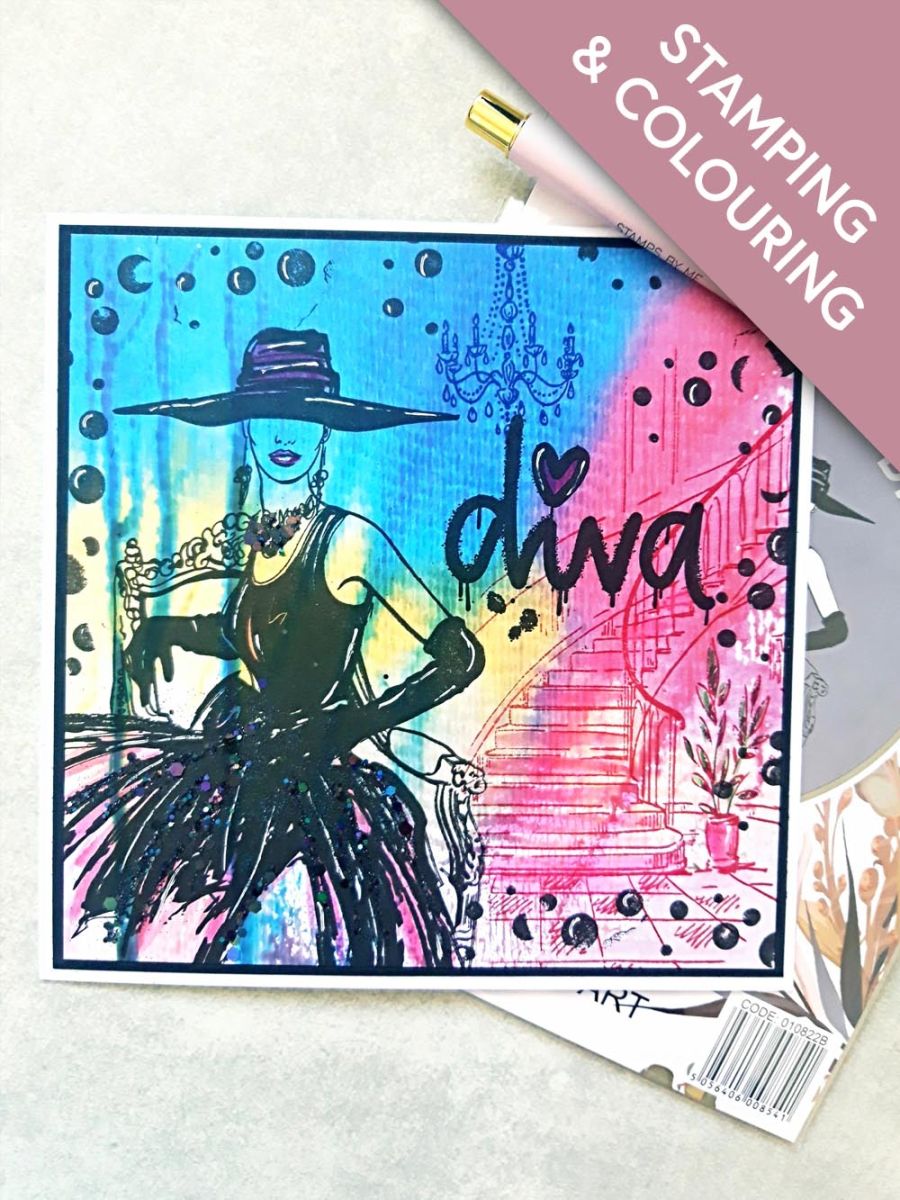
Tear this decorative paper from the Imala Collage Paper Pad and cut to 6 1/2 x 6 1/2".
Ink up our Diva with the Onyx Black Versafine and stamp just off the left edge of the decorative paper.
Ink up the Chandelier stamp with the Magenta and Surfboard ink pads and stamp off the right edge of the paper.
Apply a little of the Magenta and Hedgerow to your craft mat, add a little water and use your paint brush to add a hint of colour and shade to the staircase, foliage, her lips, hat and gown.
Using the Rose stamp with all the dots surrounding it, from the Imala Wildflower Collection, ink up just the dots, with the Versafine and stamp around the edges of the paper, to create a decorative border.
Ink up the "diva" sentiment stamp with the Versafine and stamp to the right of our lady.
Use a little of the Magenta ink with water, to paint the heart.
Mat your artwork on to the black card and then on to the front of your card blank.
Use a white gel pen to add accents and highlights to the lady, sentiment and dots border, as required.
To finish, add the black glitter, from the Feras Gold Twinkle Collection, to her gown, necklace and earrings.
Share your make with the Stamps By Me community - and keep this guide for next time.
Prefer the previous layout? Open the old page.



