


Step 1 of 13
Spray the Izink Butterscotch on to your craft mat, spritz with water and pick up the ink with the white card (7 1/4 x 4 3/4").
Repeat with the Rusty Saffron, then dry off your background with a quick blast from your heat gun.








Prices change straight away. Every language is our own translation, not Google.
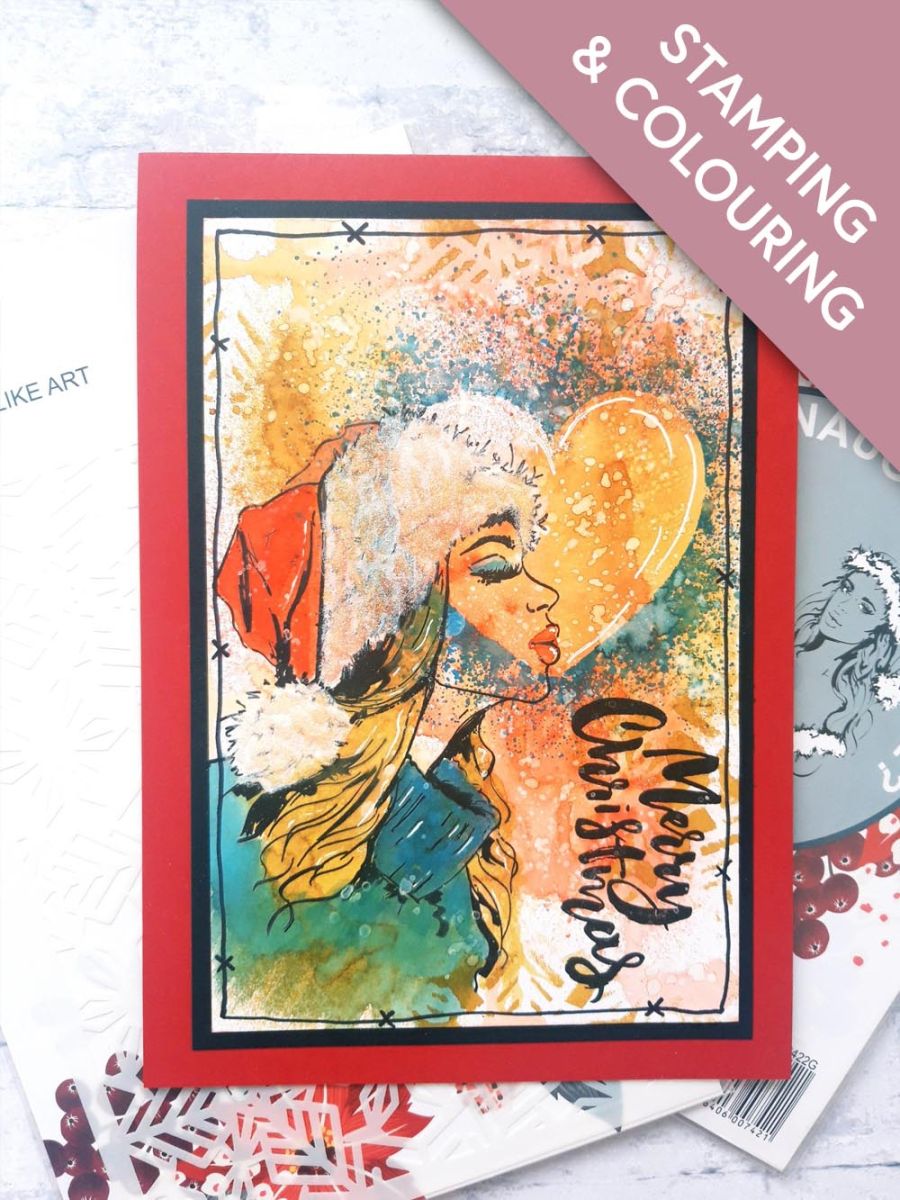
Spray the Izink Butterscotch on to your craft mat, spritz with water and pick up the ink with the white card (7 1/4 x 4 3/4").
Repeat with the Rusty Saffron, then dry off your background with a quick blast from your heat gun.
Add water to your Confetti ink, then using a paint brush, splatter your background.
Dry the Confetti Ink with your heat tool, although allowing it to dry naturally leaves a slightly raised effect.
Ink up the Imala Heart Art stamp with the Unchartered Mariner Oxide and stamp just off the top right, of your background.
Ink up this beautiful lady, from the Imala Naughty Or Nice? Stamp Collection, with the Onyx Black Versafine.
Stamp her just off the left edge of your background.
Using your Izink sprays and the Distress Oxide, paint your stamped image.
Spray the Izink Butterscotch on to your craft mat, pick up the ink with your blending tool and blend randomly through the Imala Gorgeous Snowflake stencil, around your artwork.
Ink up the sentiment stamp, from the Imala Time To Sparkle Stamp Collection, with your Onyx Black Versafine.
Stamp it down the right hand, bottom corner of your artwork.
Draw a decorative, wiggly frame around your artwork, with a black pen.
Spray the Pearlywinks Glitter Mist on to your craft mat and using a paint brush, add splatters around your artwork, as required. I like lots of splats and sparkle, especially at Christmas!!
Once your artwork is completely dry, adhere it on to the black card.
Adhere this on to the front of your red, top folding card blank.
Apply PVA glue to the Christmas hat trim and bobble, then liberally sprinkle on the Midas American Smooth Glitter. Allow this to dry naturally, for lots of festive sparkle and dimension!
Finally, use a white gel pen to add accents and highlights to the heart and your naughty...or nice...lady!
Share your make with the Stamps By Me community - and keep this guide for next time.
Prefer the previous layout? Open the old page.



