


Step 1 of 11
Take each Izink Pigment ink pad, and swipe it from left, to right, on to the white card (7 3/4 x 3 1/2").
Vary the length, width and vibrancy of each swipe.








Prices change straight away. Every language is our own translation, not Google.
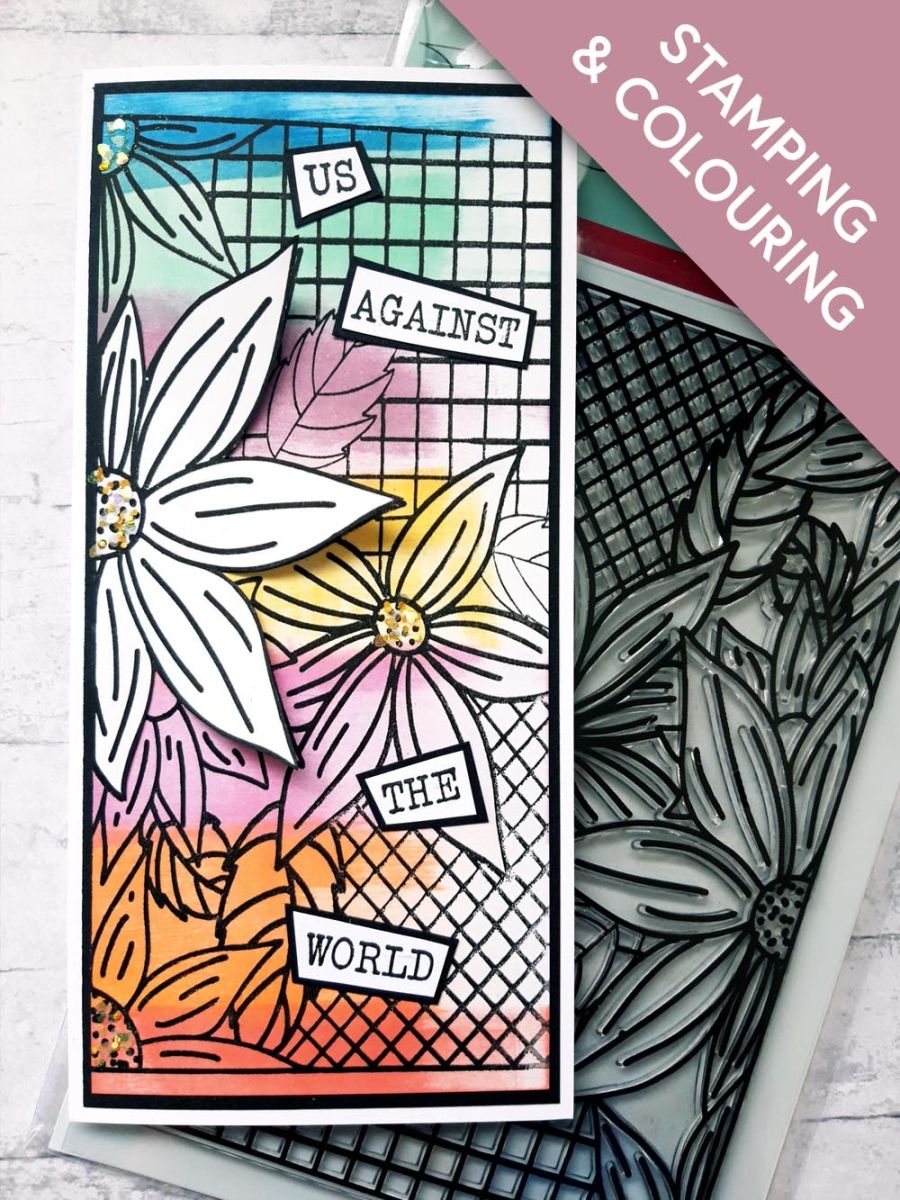
Take each Izink Pigment ink pad, and swipe it from left, to right, on to the white card (7 3/4 x 3 1/2").
Vary the length, width and vibrancy of each swipe.
Ink up the Flower Grid stamp, with the Onyx Black Versafine, and stamp it over your inked background, ensuring the larger flowers are just off the left edge of your card.
Set this to one side.
Ink up the stamp again, and stamp on to the white card (6 x 3"), ensuring that you get the large, centre flower, on the left hand edge, stamped clearly.
Ensure the ink is dry, before cutting out the large flower. You need a straight, left hand edge, as shown here.
Mould the petals of the cut out flower, then apply glue just along the straight, left hand edge.
Adhere it on to the left hand edge of your card, so it sits over your stamped artwork, but offsetting it from the same flower underneath, so it adds extra dimension to your artwork.
Adhere this on to the black card (8 x 3 3/4").
Adhere this on to the front of your DL card blank.
Add the chunky glitter to the centre of your flowers.
Ink up your chosen sentiment words, from the More Than Words Creative Stamps, with the Onyx Black Versafine.
Stamp on to the white card (3 x 3"), then cut each in to a strip.
Adhere each word strip on to the black card (3 x 3"), then cut around them, so they each have a black mat.
Adhere your sentiments where required, flat with wet glue, or raised with foam pads.
Share your make with the Stamps By Me community - and keep this guide for next time.
Prefer the previous layout? Open the old page.



