


Step 1 of 11
Ink up this stamp, from the Precious Sweetpea Stamp collection, with the Onyx Black Versafine, and stamp coming up from the bottom left corner of the white cardstock (5 1/2 x 5 1/2").








Prices change straight away. Every language is our own translation, not Google.
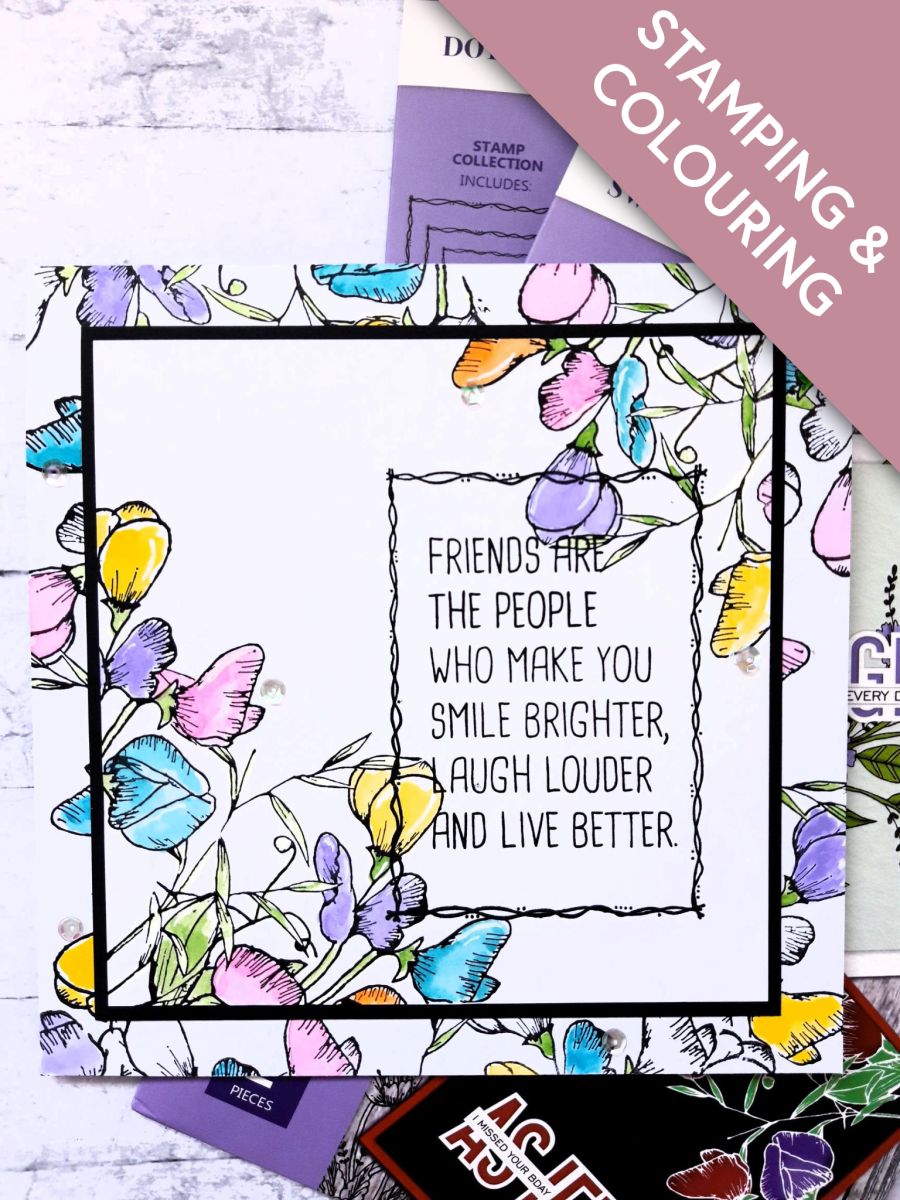
Ink up this stamp, from the Precious Sweetpea Stamp collection, with the Onyx Black Versafine, and stamp coming up from the bottom left corner of the white cardstock (5 1/2 x 5 1/2").
Ink up the same stamp again, and stamp it coming down from the top right corner, stamping slightly less of the image this time.
Use your watercolour paints to colour in your stamped images.
Once the paint is dry, use your white gel pen to add accents and highlights to your artwork.
Ink up the sentiment, from the Go After Your Dreams Lamination Stamp Collection, with the Versafine.
Stamp on to your artwork, to the right hand side, ensuring you leave sufficient space to stamp a frame around it, in the next step.
Ink up one of the frame stamps, from the Dot Frame Stamp Collection, with the Versafine, and stamp it around your sentiment.
Once all your artwork is dry, adhere on to the black cardstock (5 3/4 x 5 3/4"), and set it to one side.
Ink up the same floral stamp, with the Versafine, and stamp randomly, around the edges of your white card blank. Don't worry about the centre, as this will be covered by your artwork.
Use your watercolour paints to colour in the stamped images, but this time leave some unpainted, as this will give a different dimension to your background.
Once all the background artwork is dry, adhere your painted topper on to the front of your stamped card blank. You can use wet glue, or foam pads for added dimension.
To finish, add sequins on to your artwork as required.
Share your make with the Stamps By Me community - and keep this guide for next time.
Prefer the previous layout? Open the old page.



