


Step 1 of 10
If using a spray box, pop the white card inside.
Place the Imala Masonry stencil on top of the card, and spray through it with your Imala sprays.
Dry off the ink thoroughly.








Prices change straight away. Every language is our own translation, not Google.
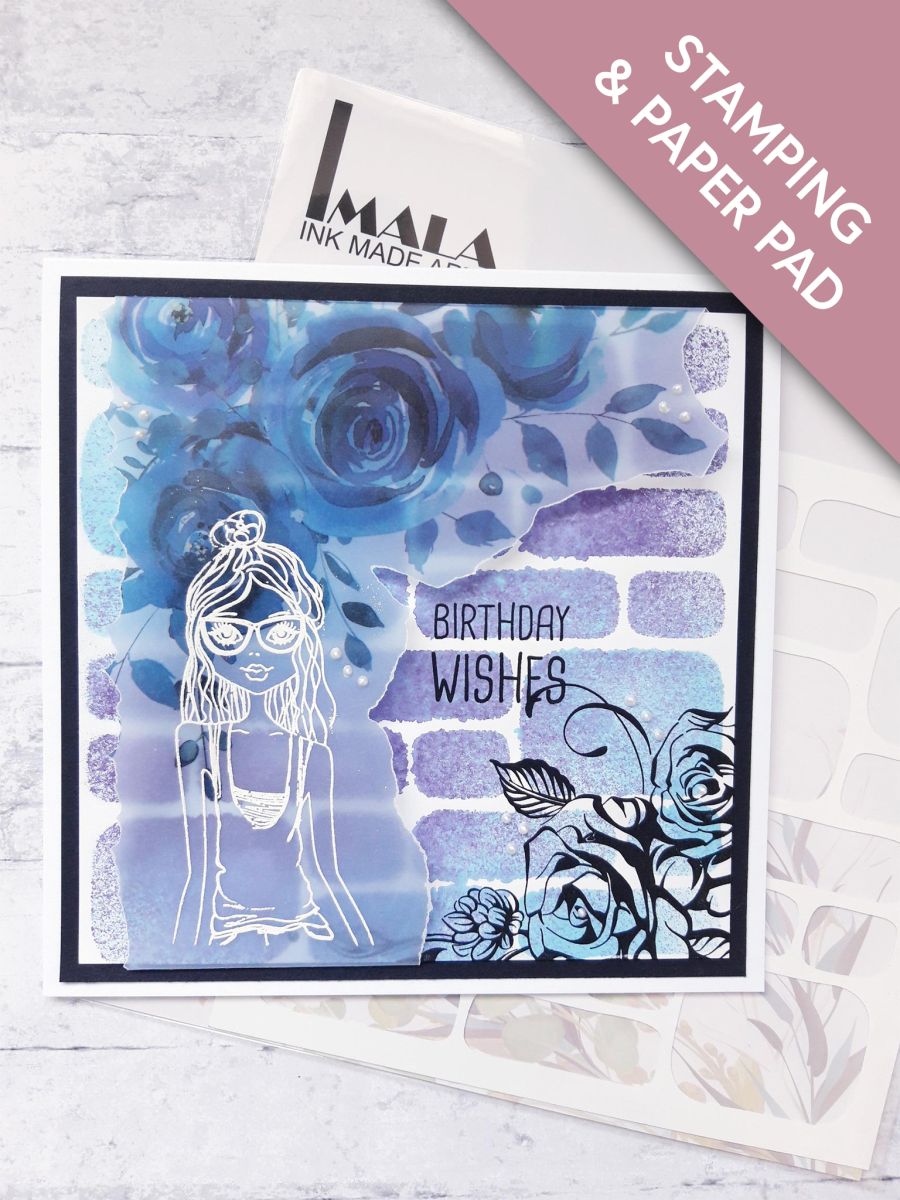
If using a spray box, pop the white card inside.
Place the Imala Masonry stencil on top of the card, and spray through it with your Imala sprays.
Dry off the ink thoroughly.
Tear this decorative sheet of vellum, out of the Time To Grow, A4 Vellum paper pack.
Using your Craft Academy Best Of Friends stamp as a guide, tear the decorative vellum, to fit over your stencilled background, as shown here in the photo. You want the floral element to be almost as wide as the card, at the top, then narrowing down to slightly wider than the stamp. You need to leave an overhang of vellum, at the top and bottom of the stencilled background.
Wipe the anti static bag over your torn vellum strip.
Ink up the Best Of Friends stamp, with the Versamark sticky ink, and stamp on to the vellum, as shown here.
Apply the white embossing powder over the sticky, stamped image.
Once your heat gun is hot, heat set the embossing powder, moving your heat gun as soon as the powder turns, to avoid burning or warping the vellum.
Ink up the Imala Rose Ornament with the Onyx Black Versafine, and stamp off the bottom right corner of the stencilled background.
Dry off the ink thoroughly, before proceeding to the next step.
Lay your stamped, decorative vellum in place, over the top of your stencilled background.
Fold the overhanging vellum over the top and bottom, of the card, and secure on the reverse, with your red liner tape.
Ink up the sentiment from the Wonderful Day Lamination Stamp Collection, with the Onyx Black Versafine.
Stamp it so it's just kissing the top left, of the stamped Rose Ornament.
Once the ink is dry, adhere on to the black cardstock.
Adhere on to the front of your card blank.
To finish, add Liquid Pearl Drops on, and around your artwork, where required.
Share your make with the Stamps By Me community - and keep this guide for next time.
Prefer the previous layout? Open the old page.



