


Step 1 of 14
Tear this decorative sheet from the Time To Grow A4 Paper Pad, and cut down to 7 3/4 x 5 1/4".








Prices change straight away. Every language is our own translation, not Google.
Tear this decorative sheet from the Time To Grow A4 Paper Pad, and cut down to 7 3/4 x 5 1/4".
You need to create a mask for the stamp from Imala She Is.
You can lay it on a piece of acetate and cut around it, as shown here. Alternatively you can stamp it on to a masking sheet, or copier paper, and cut it out.
Place your She Is mask just off the left hand edge, of the decorative paper.
Place the open Imala Downtown stencil near the top of the decorative paper, over the She Is mask.
Blend the Hickory Smoke Oxide through it, darker at the top and blending it out to nothing, about an inch down the stencil, as shown here.
Repeat the previous step, placing the stencil in a different position, below the first one, as seen here.
Place the same stencil below the other 2 stencilled images, so it now goes off the bottom edge of the paper.
Ink through the complete stencil, this time making it dark throughout.
Keep the stencil in place.
Place the coordinating detailed stencil, inside the open stencil, as shown here.
Blend the Black Soot Oxide through the detailed stencil, making it as dark as possible.
Remove both of the Downtown stencils, and the She Is mask.
Dry off your artwork.
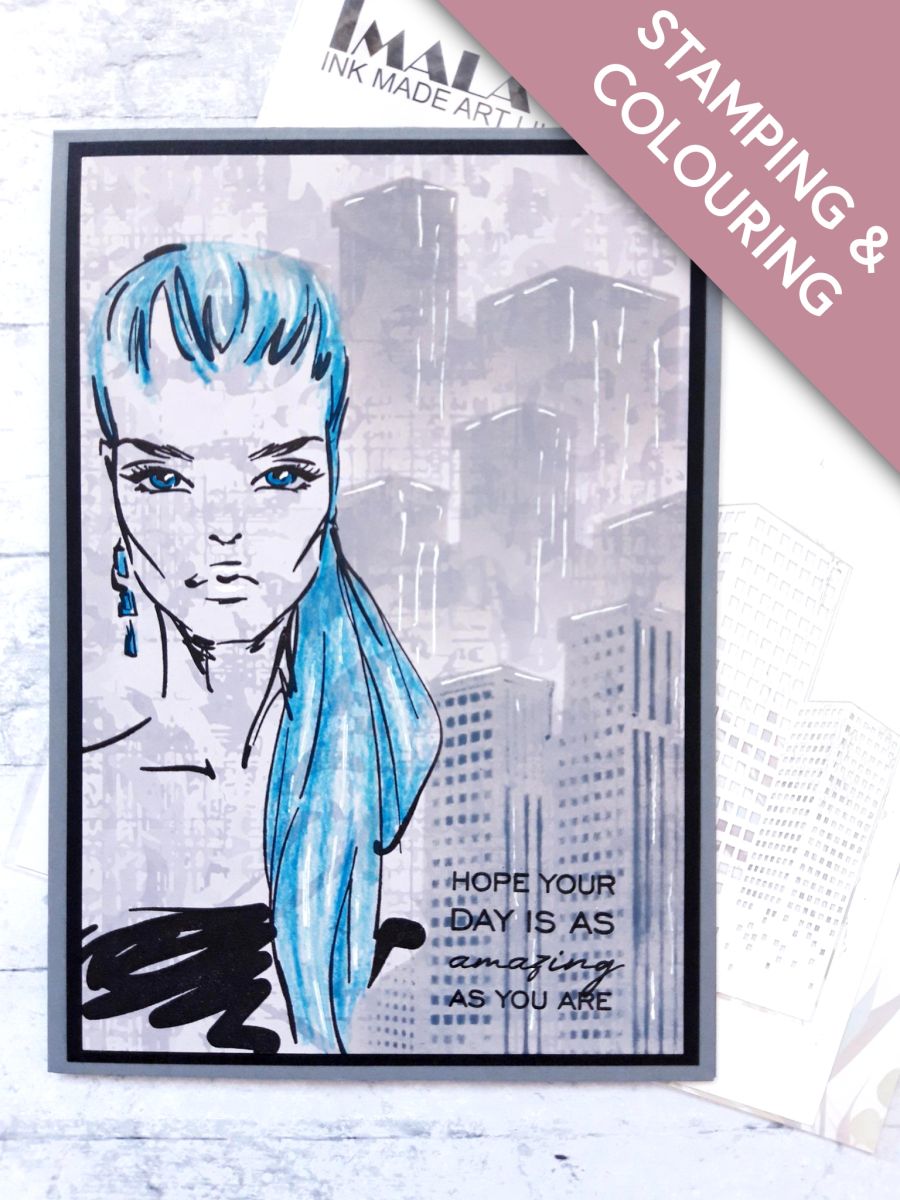
Ink up the Imala She Is stamp, with the Onyx Black Versafine, and stamp in the space you created with your mask.
Colour in her hair, eyes and earring, with the HIMI Oil Pencils.
Use a white gel pen to add accents, and highlights, to the coloured in areas, including the stencilled images, as required.
Ink up the sentiment stamp, from the Choose Happy Lamination Stamp Collection, with the Versafine.
Stamp bottom right of your artwork.
Once your artwork is dry, adhere on to the black card.
Adhere this on to the front of your grey, top folding, card blank.
Share your make with the Stamps By Me community - and keep this guide for next time.
Prefer the previous layout? Open the old page.



