


Step 1 of 9
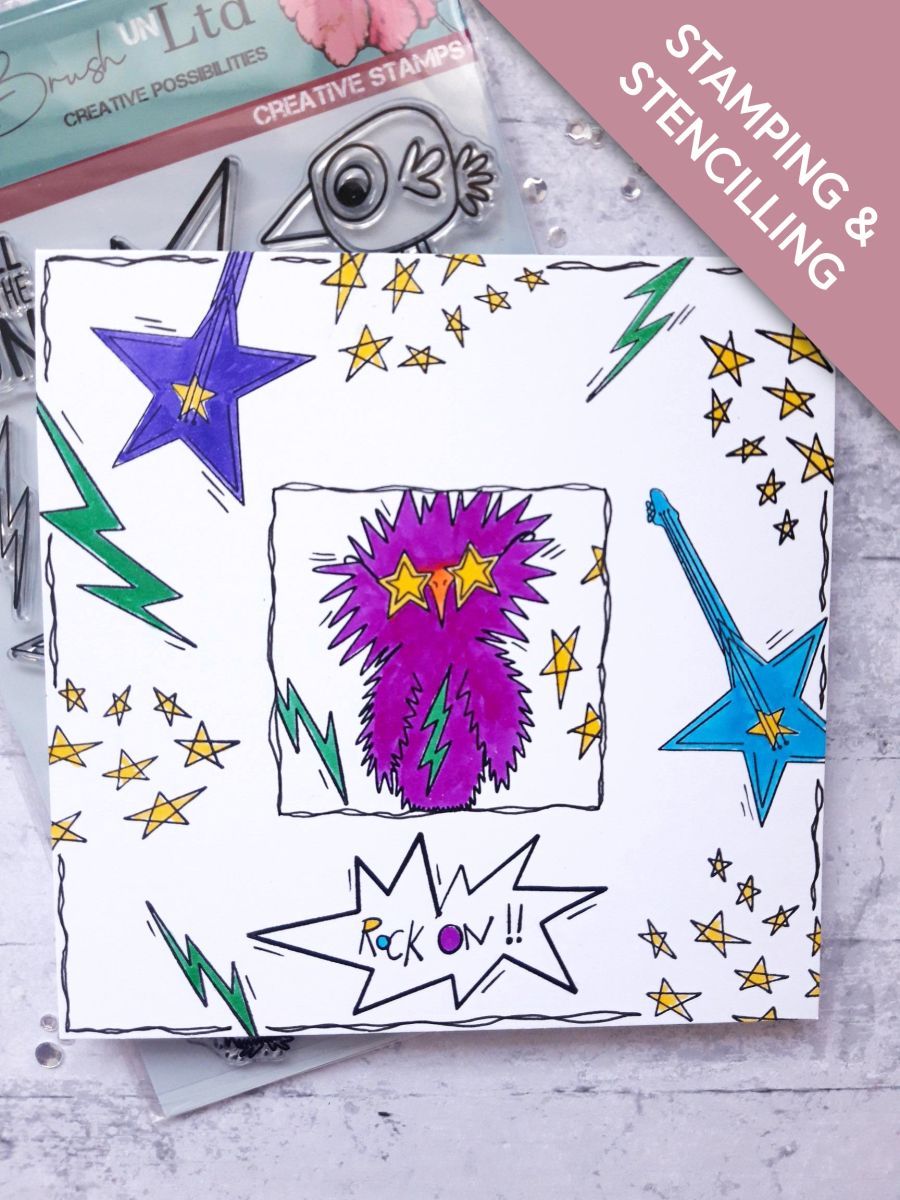
Lay your aperture square stencil in the centre of your card blank. You can secure with a little removable tape/washi tape, if required.








Prices change straight away. Every language is our own translation, not Google.
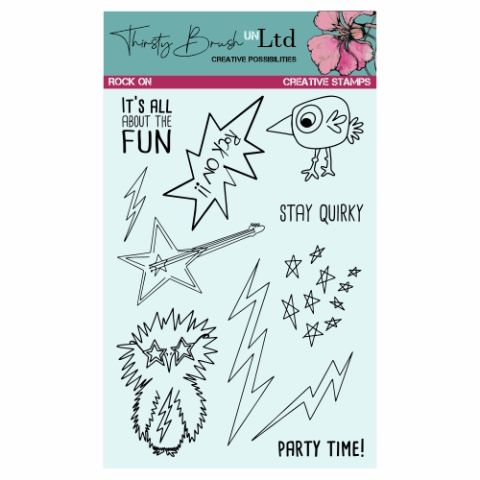 Tv - Thirsty Brush Unltd - A5 Stamp - Rock OnStamps from Thirsty Brush UnLtd Rock On Creative Stamps$17.99BUY✓ ADDED
Lay your aperture square stencil in the centre of your card blank. You can secure with a little removable tape/washi tape, if required.
Ink up the Rock Birb, from the Thirsty Brush UnLtd Rock On Creative Stamps set, with the Onyx Black Versafine .
Stamp inside your square aperture.
Ink up some of the small embellishment stamps, and stamp them within the aperture, as required.
You can now remove the square stencil, and dry off the ink, before proceeding to the next step.
Use a black pen to draw a decorative, wiggly square frame, around your image.
If you do not want to do this freehand, you can lay your square stencil back in place, and use it as a guide.
Now the fun begins!
Ink up all the different element stamps, in the same stamp set, with the Versafine.
Stamp them randomly around your card blank, ensuring some are taken off the edges of the card.
Use your Gossip Glitter Colouring pens to colour in all your stamped images, as required.
Use your black pen to draw a decorative, wiggly frame, around the edges of your card blank. This frames your artwork, and draws the eye in.
To finish, use your black pen to add accents, and "movement" lines, to your artwork.
Share your make with the Stamps By Me community - and keep this guide for next time.
Prefer the previous layout? Open the old page.



