Give your friends $10 off their first order!
Refer a FRIEND








A project from our live show HOBBYMAKER TV - Join us for the latest show - Broadcast 4 p.m. (UK) 7th May 2026 · 05/07/2026 · watch it from 40:00
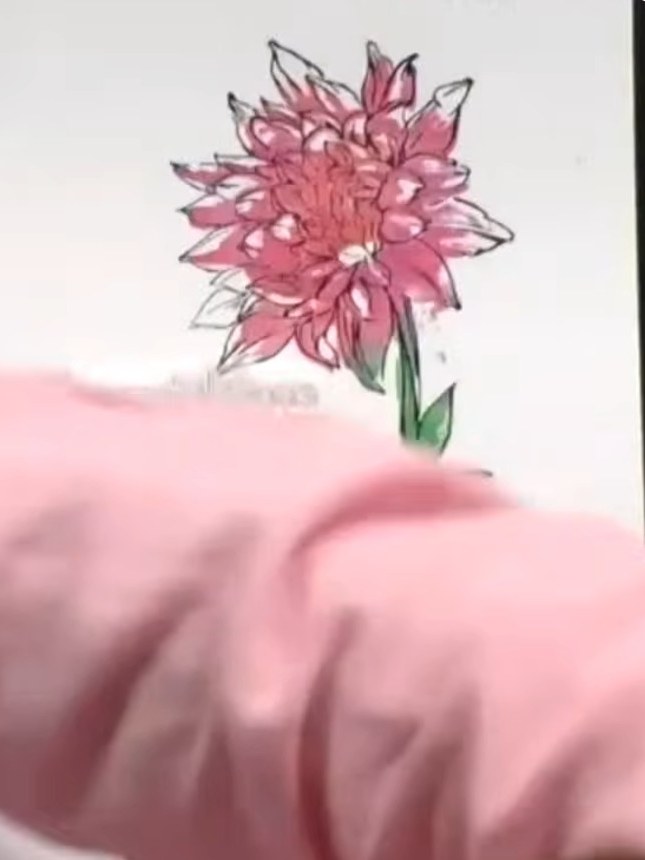
Create a beautiful watercolour effect card featuring a delicate pink dahlia flower with green foliage. Using a two-part lamination stamp system with coloured inks and water spray, you'll achieve an artistic, hand-painted look without needing any painting skills. The technique produces a soft, illustrative finish perfect for elegant greeting cards.
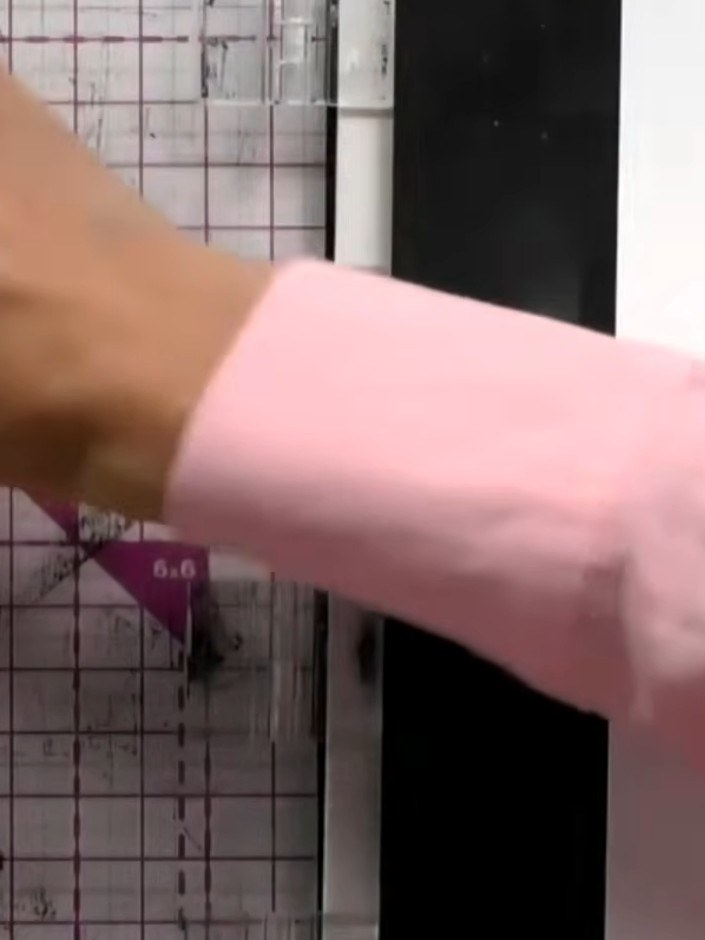
Apply ink directly from multiple ink pads onto white or watercolour cardstock. Use different colours in the areas where you want colour to appear. Rattle or tap the ink pad on the card surface to deposit the ink.
▶ watch this step (41:30)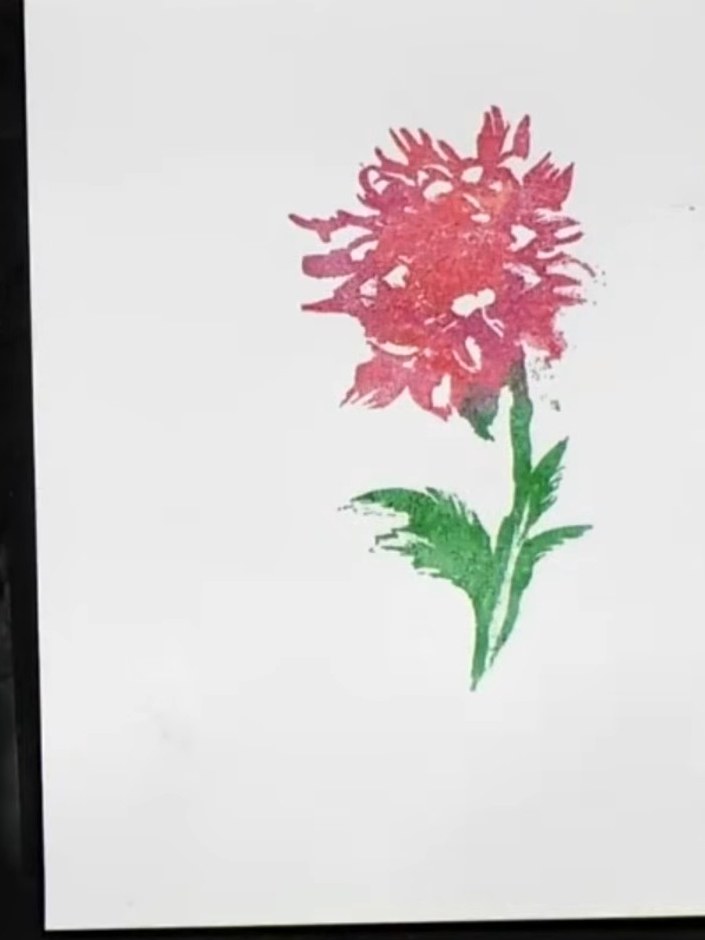
Lightly spray the inked card with water to allow the colours to blend and spread naturally. Don't worry about being precise - the water will create organic blending effects.
▶ watch this step (42:00)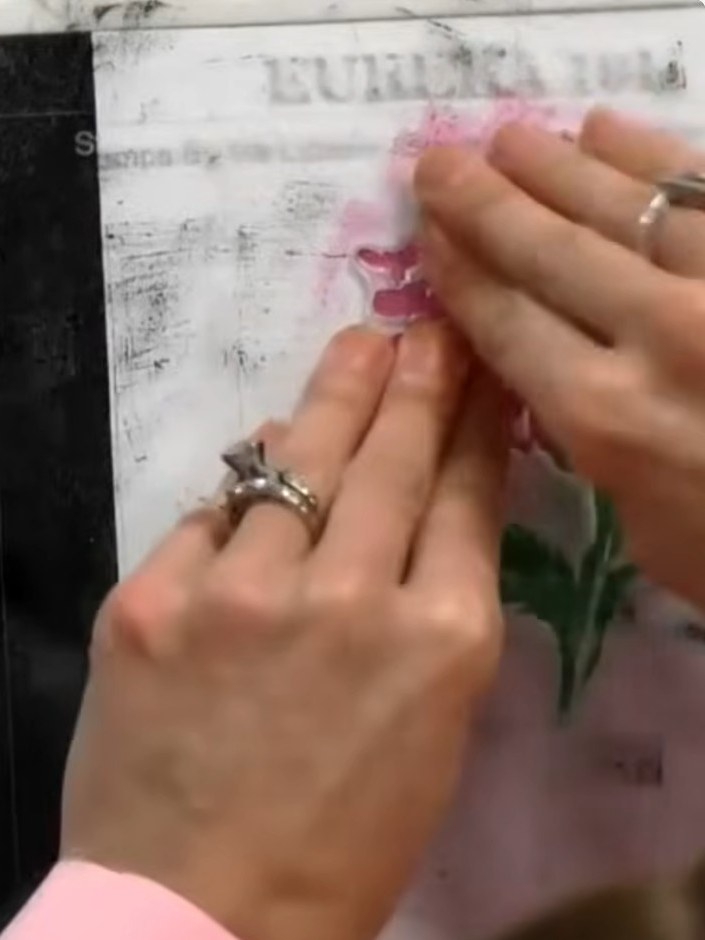
Stamp the solid portion of the lamination stamp onto the wet, coloured card. Press firmly to transfer the image, creating the base layer of your flower design.
▶ watch this step (42:30)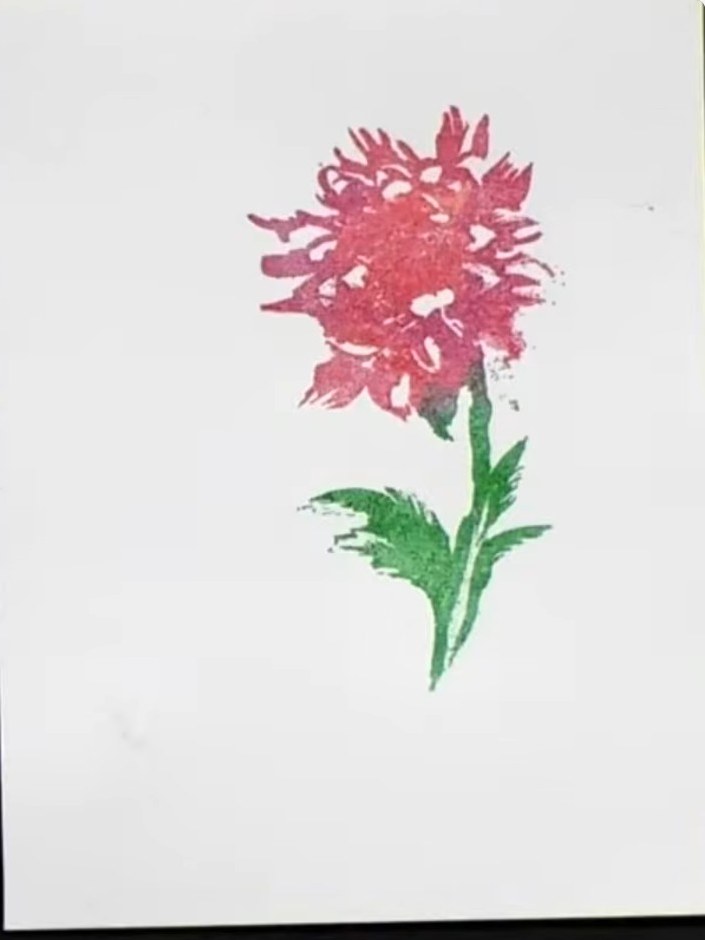
Allow the stamped and coloured flower card to dry completely before proceeding. The watercolour effect should look like a pencil sketch with the pink flower head and green stem fully dried.
▶ watch this step (43:00)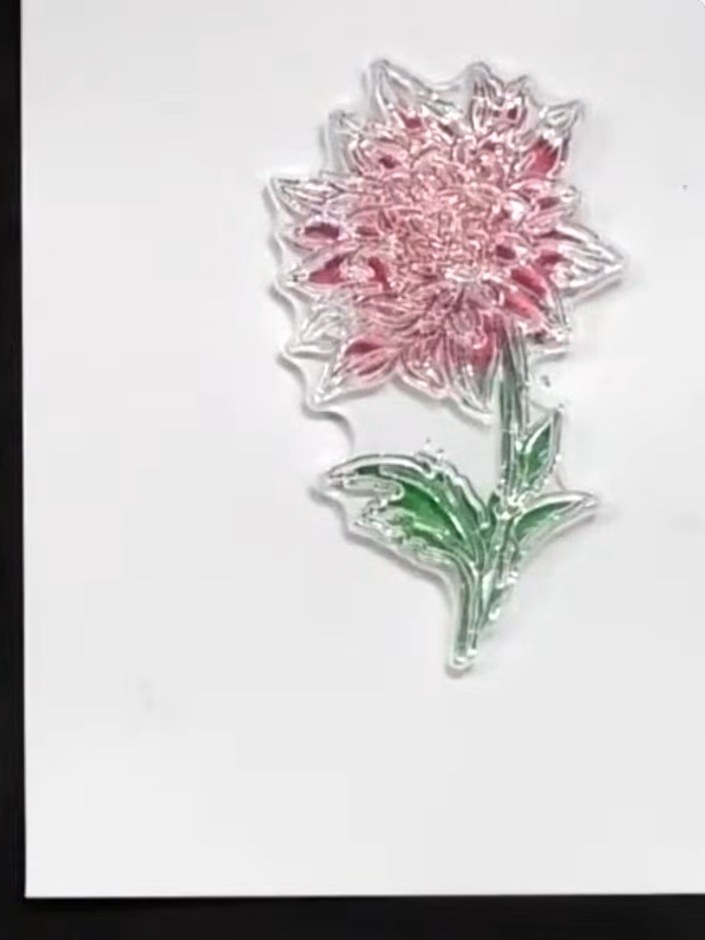
Stamp the detail portion of your image using black or grey ink to add fine definition to the flower. This creates crisp outlines and detail over the watercoloured background.
▶ watch this step (43:30)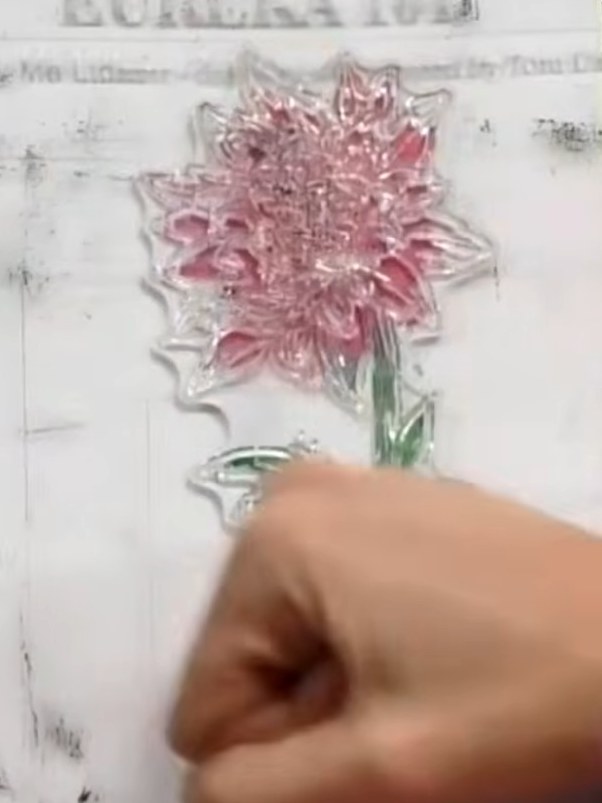
For extra watercolour bleed effects, spray additional water on top of the stamped flower. This will create more colour diffusion and a softer watercolour appearance.
▶ watch this step (44:00)Written up from the show itself. See every guide from our shows · free how-to guides · watch live on My Telly