QUICK LINKS

Welcome to the How to Craft Network
 
SBM SHOP
GIVE YOUR FRIENDS $10 OFF REFER A FRIEND › DISCOVER MY-TELLY.COM › WE JUST GOT SMARTER GET THE APP › AWARD WINNING CHANNEL ON YOUR TV › JOIN THE CLUB FOR SAVINGS ›
 

Peony Quattro Layered Card with Heat Embossing

A project from our live show THE THURSDAY DROP - Latest Products from Toni - Broadcast 28th May 2026 · 05/28/2026 · watch it from 34:45
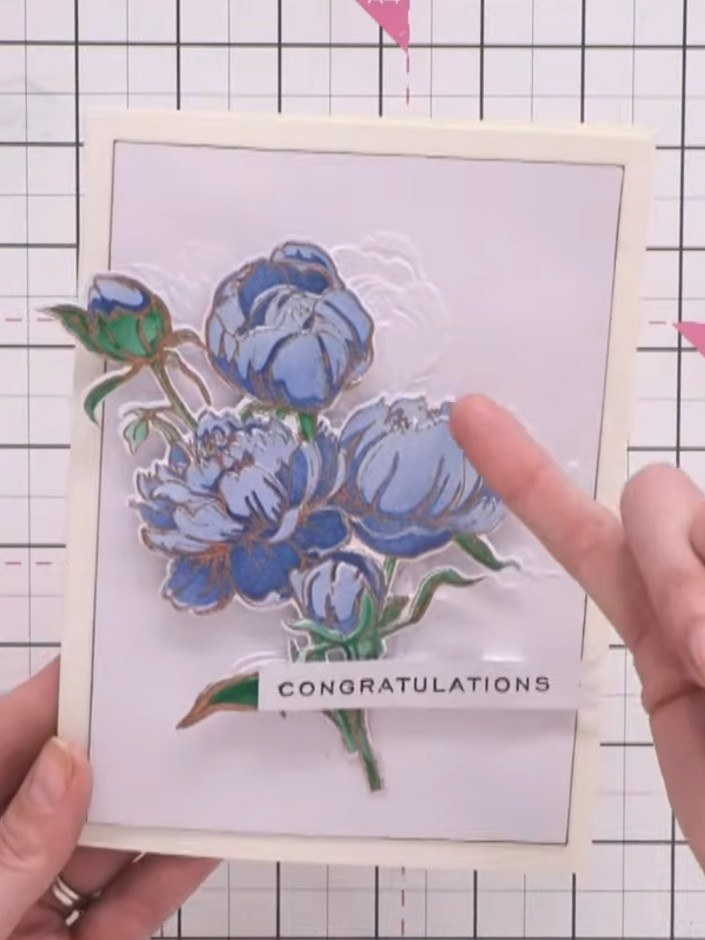
Peony Quattro Layered Card with Heat Embossing - the finished project
The finished project

Create a stunning layered card featuring beautiful blue peonies with dimensional detail. This elegant design uses the Quattro stencil system to build up colour progressively, combined with copper sparkle heat embossing and embossed texture for a professional finish. The main techniques include layered stencilling, stamping, die-cutting and heat embossing to achieve a sophisticated 3D effect.
You will need

Stamps By Me Quattro D - Peonies - 100622AStamps By Me Quattro D - Peonies - 100622ASEE IT

DOWNLOAD THIS GUIDE (PDF)

Step by step

  1. Step 1: Start with stencil number one and tap off excess ink from your brush. Apply ink through the stencil onto white

    Start with stencil number one and tap off excess ink from your brush. Apply ink through the stencil onto white card using light pressure.

    ▶ watch this step (35:15)
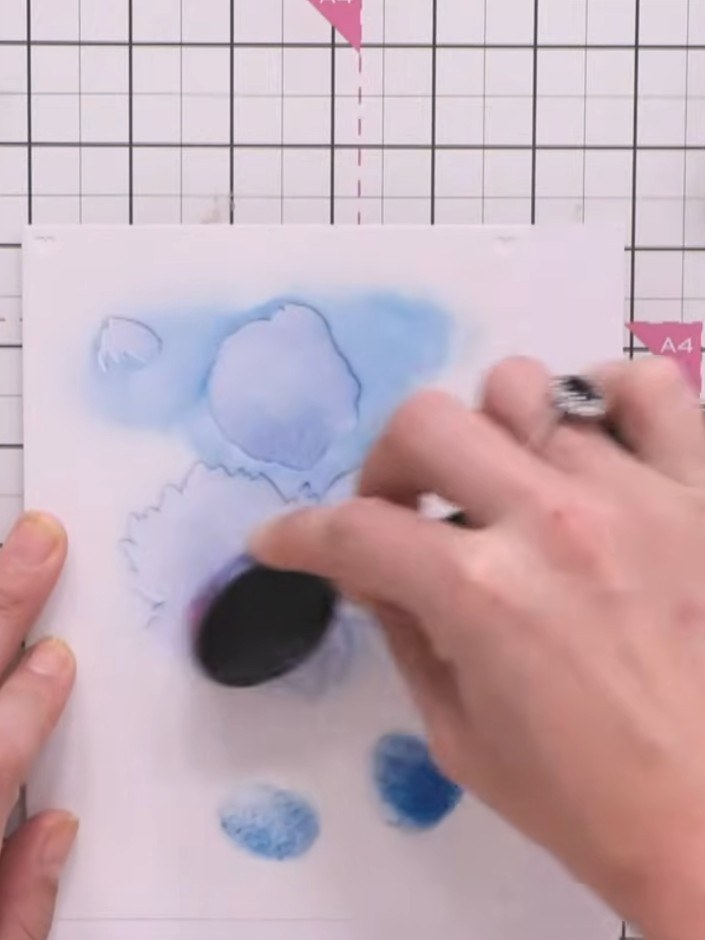
  2. Step 2: Position stencil number two over your card and apply blue ink using a blending tool with slightly more pressur

    Position stencil number two over your card and apply blue ink using a blending tool with slightly more pressure than the first layer to build up colour intensity.

    ▶ watch this step (36:30)
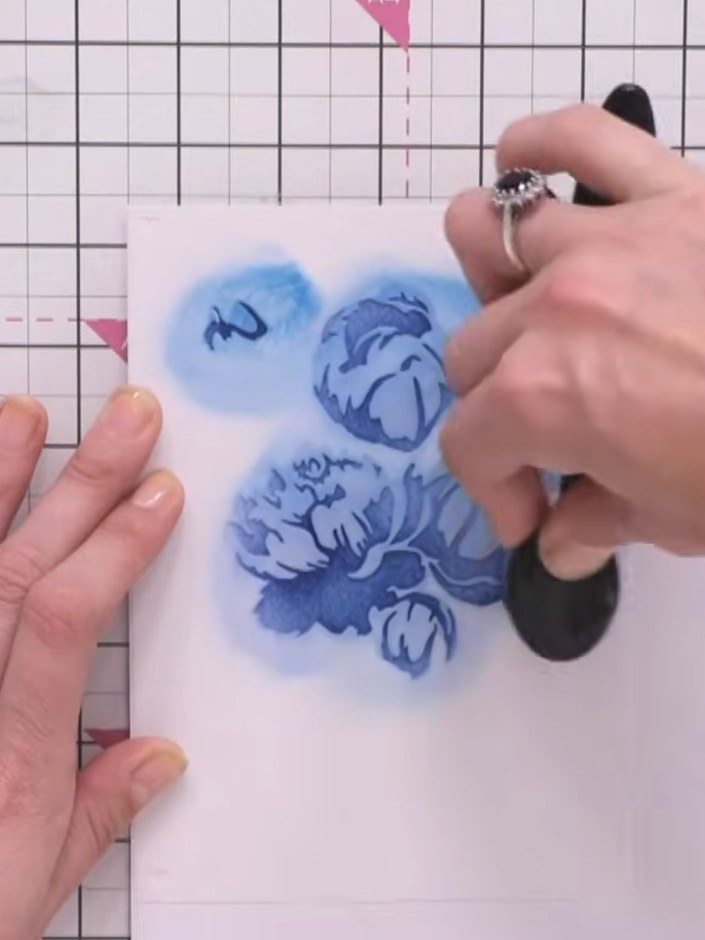
  3. Step 3: Apply the third stencil layer using green ink, pressing slightly harder to build up colour depth on the peony

    Apply the third stencil layer using green ink, pressing slightly harder to build up colour depth on the peony design.

    ▶ watch this step (37:15)
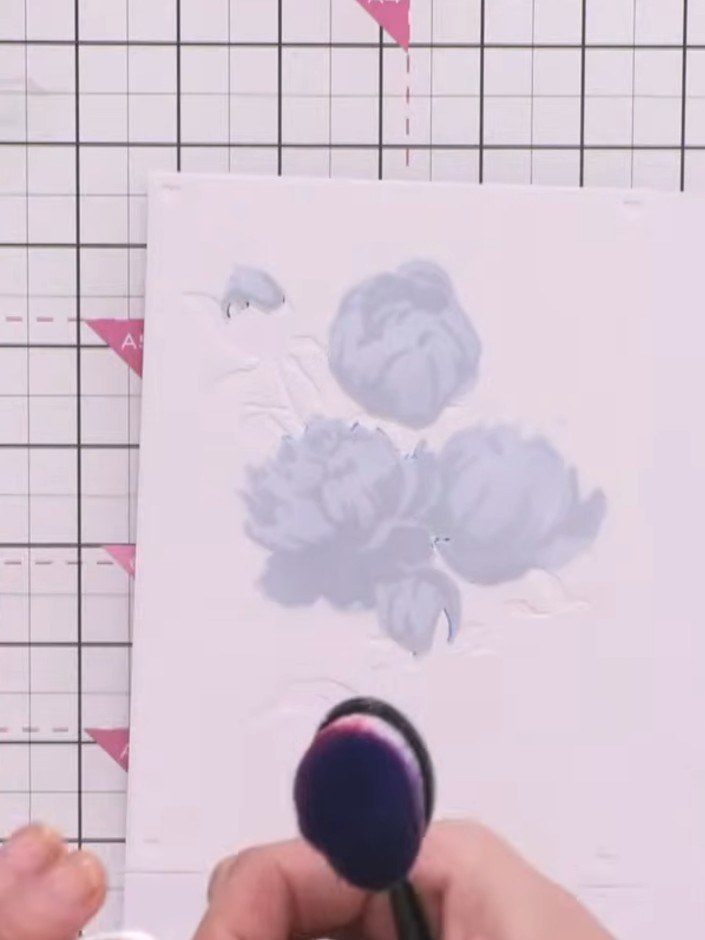
  4. Step 4: Apply stencil number four using the same green ink pad. Press quite firmly through the stencil to create the d

    Apply stencil number four using the same green ink pad. Press quite firmly through the stencil to create the darkest layer of the peony design.

    ▶ watch this step (38:00)
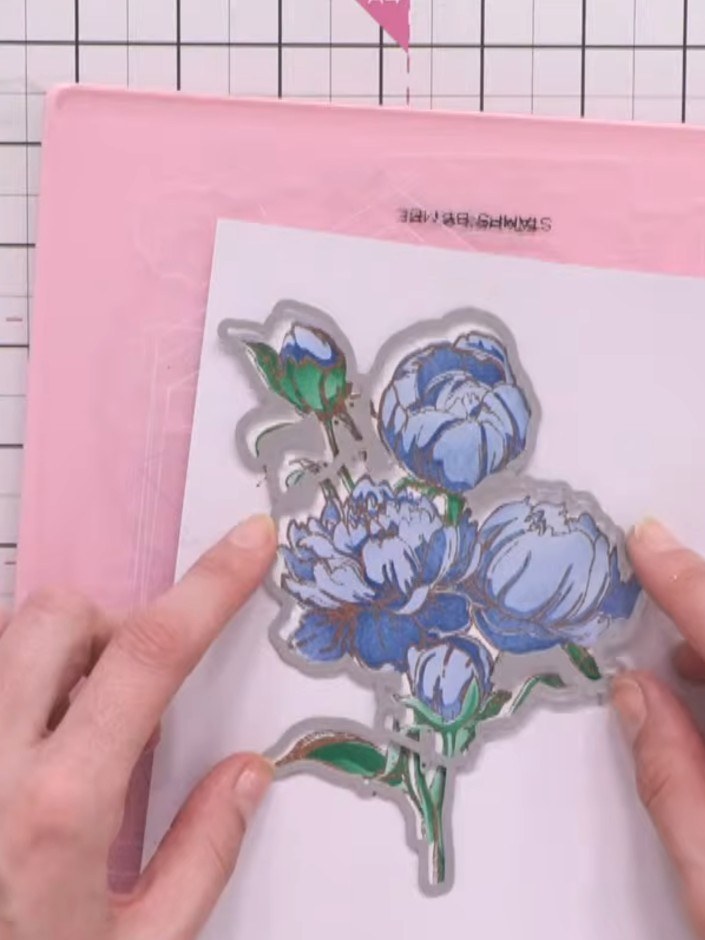
  5. Using your embossing ink pad, stamp the peony detail onto your stencilled piece. Stamp twice to ensure full coverage of the image. ▶ watch 42:00
  6. Dry the stamped ink with a heat gun. Apply copper sparkle embossing powder over the stamped image, then heat set with your heat gun until the powder melts and changes colour to create a raised, metallic finish. ▶ watch 42:45
  7. Step 7: Die-cut your heat embossed peony using the coordinating outline die, carefully lining it up with the stamped d

    Die-cut your heat embossed peony using the coordinating outline die, carefully lining it up with the stamped design on the white cardstock.

    ▶ watch this step (51:00)
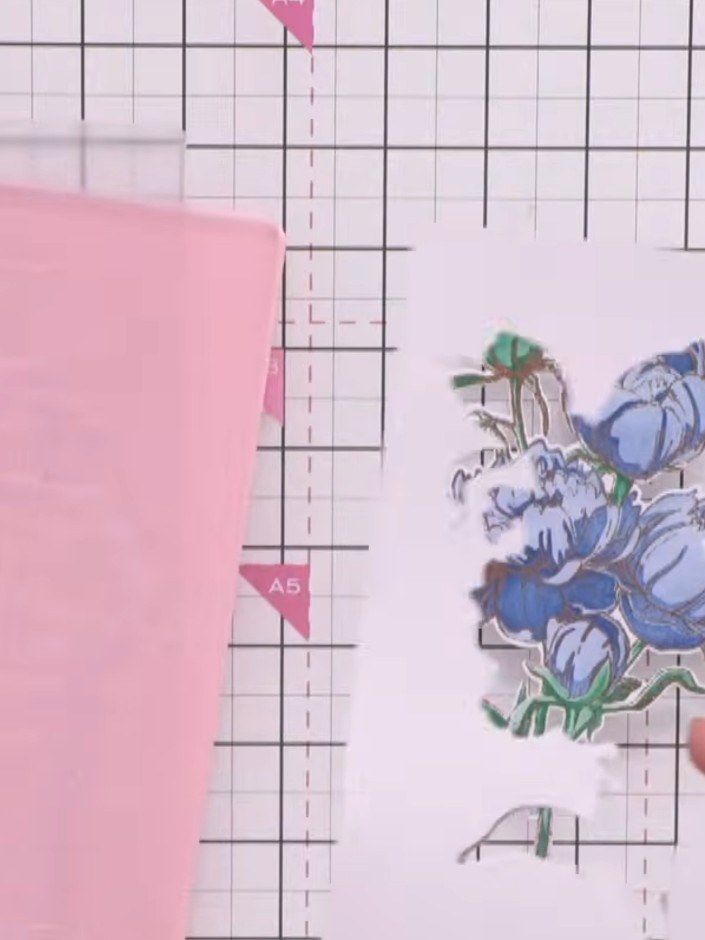
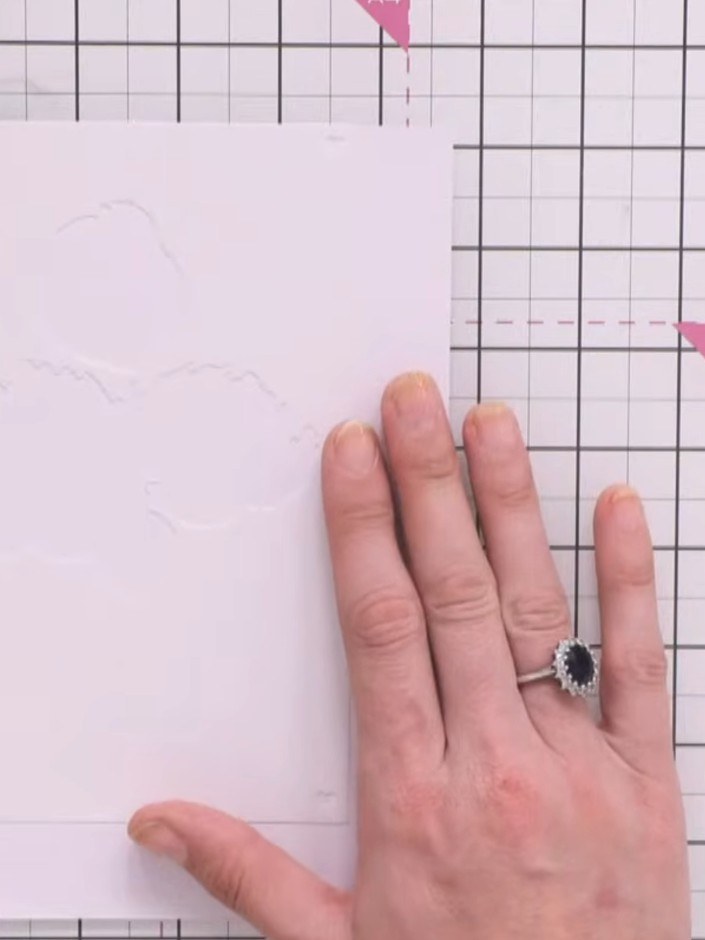
  8. Step 8: Place the die-cut peony piece into the embossing folder, aligning it with the front edge. Run through your die

    Place the die-cut peony piece into the embossing folder, aligning it with the front edge. Run through your die-cutting machine to add dimension to the design.

    ▶ watch this step (52:30)
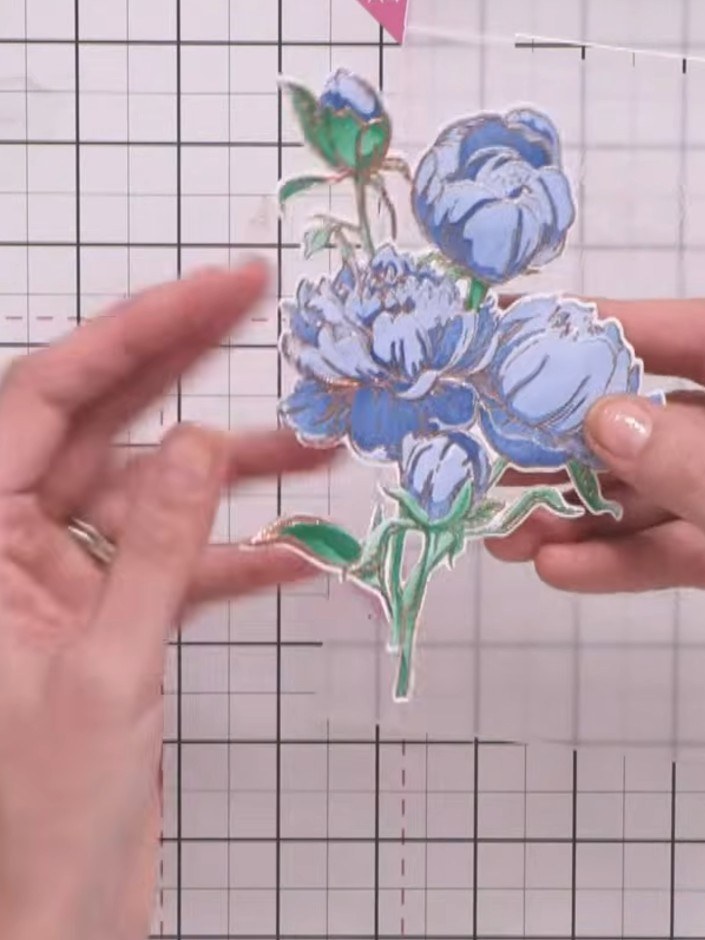
  9. Step 9: Layer your embossed peony piece onto cream card using foam pads for dimension. The coloured floral design shou

    Layer your embossed peony piece onto cream card using foam pads for dimension. The coloured floral design should be positioned centrally on the cream backing.

    ▶ watch this step (55:15)
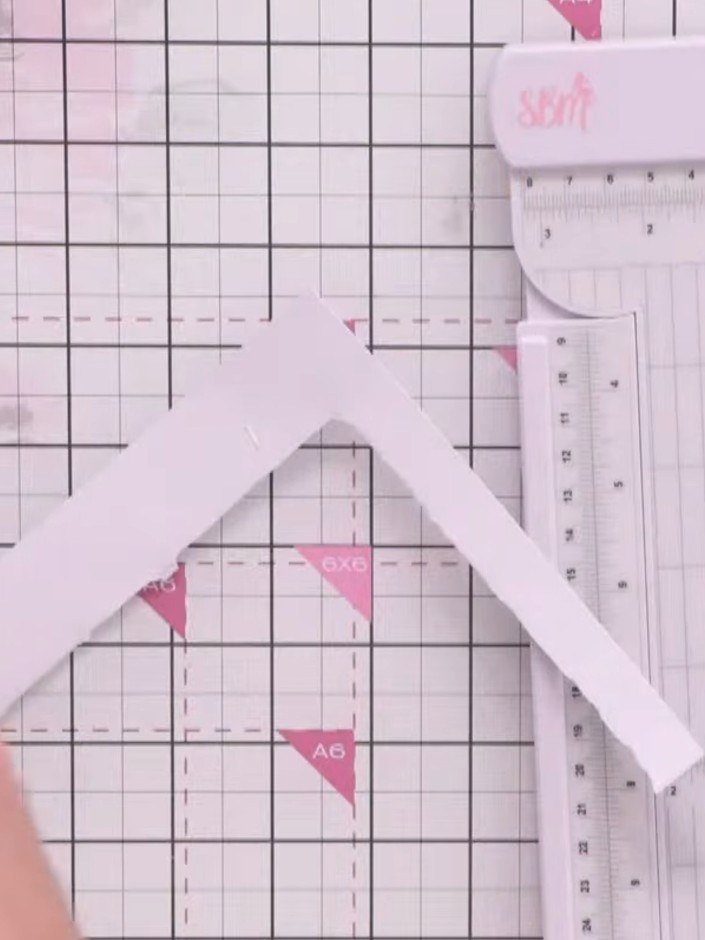
  10. Stamp a sentiment such as 'Congratulations' onto white card using black ink. Trim the sentiment neatly and edge with black ink using an ink pad. ▶ watch 1:02:30
  11. Step 11: Assemble the card by layering the sentiment piece and peony at angles to create visual interest. Add foam pads

    Assemble the card by layering the sentiment piece and peony at angles to create visual interest. Add foam pads behind the elements for dimension.

    ▶ watch this step (1:04:00)

Tips from the show

More from this show

Written up from the show itself. See every guide from our shows · free how-to guides · watch live on My Telly







