Give your friends $10 off their first order!
Refer a FRIEND








A project from our live show THE THURSDAY DROP - Latest Products from Toni - Broadcast 11th June 2026 · 06/11/2026 · watch it from 42:30
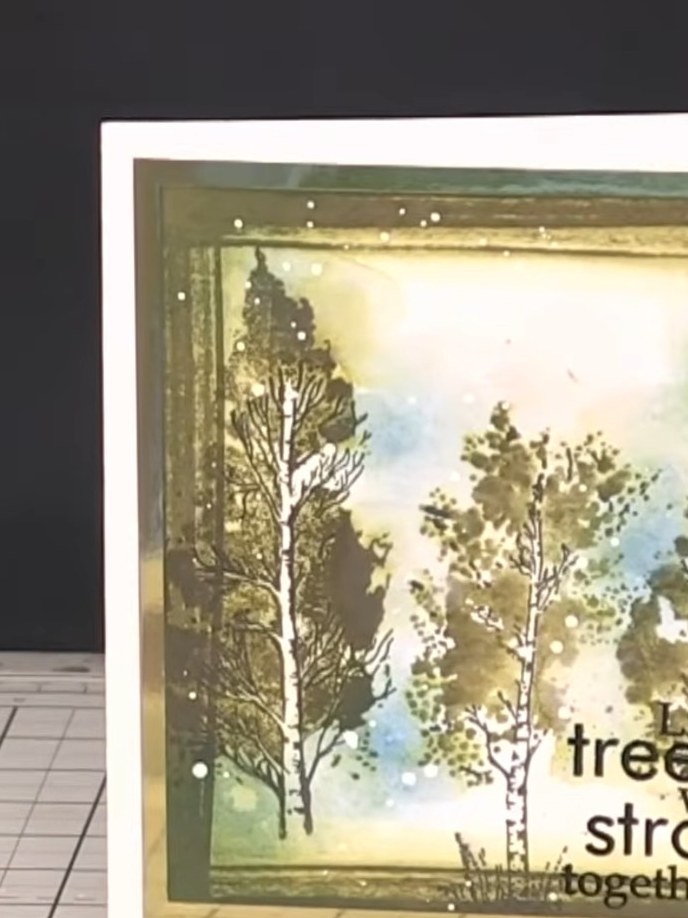
Create a beautiful card-on-card design featuring laminated trees in soft watercolour tones with added sparkle. The trees are built up using green and pink inks with black outline details for a hand-painted effect, finished with layered sentiment banners and crystal-clear glitter accents. This dimensional piece combines watercolour techniques with lamination for a stunning seasonal greeting card.
 Stamps By Me Lamination Stamp Bundle - Beauty of Nature & Grow Stronger - 121125ASEE IT
 Stamps By Me - Floral Dimensions - Floral Banners - 190225JSEE IT
 Stamps By Me - Floral Dimensions - Foliage Adornments -190225ISEE IT
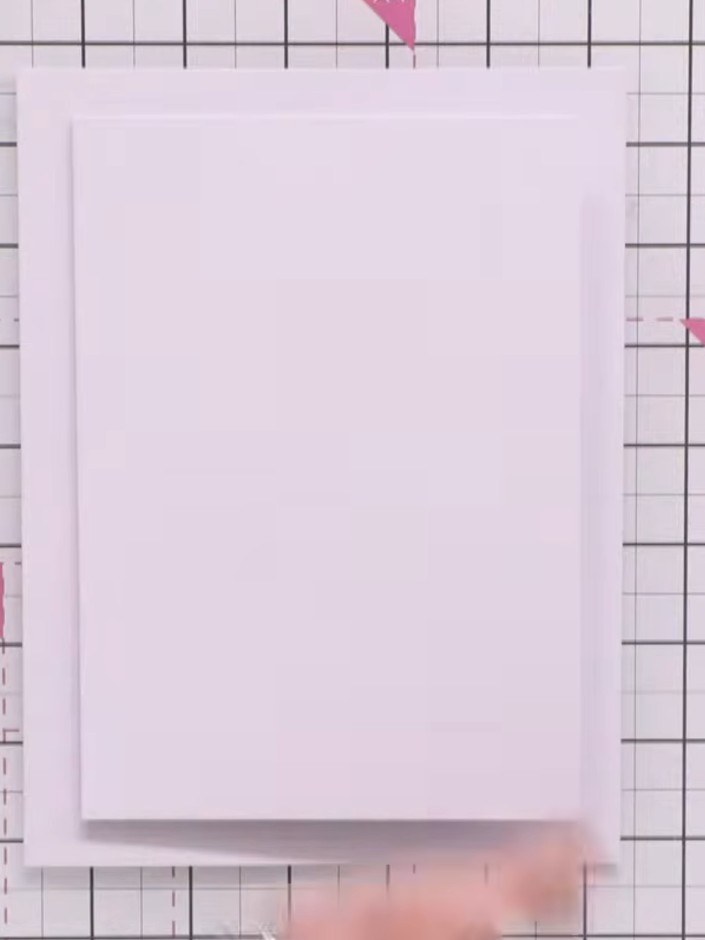
Cut two card blanks from white cardstock: one measuring 8 by 6 inches and one measuring 5 by 7 inches. The smaller card will open as a flap on the larger card.
▶ watch this step (45:30)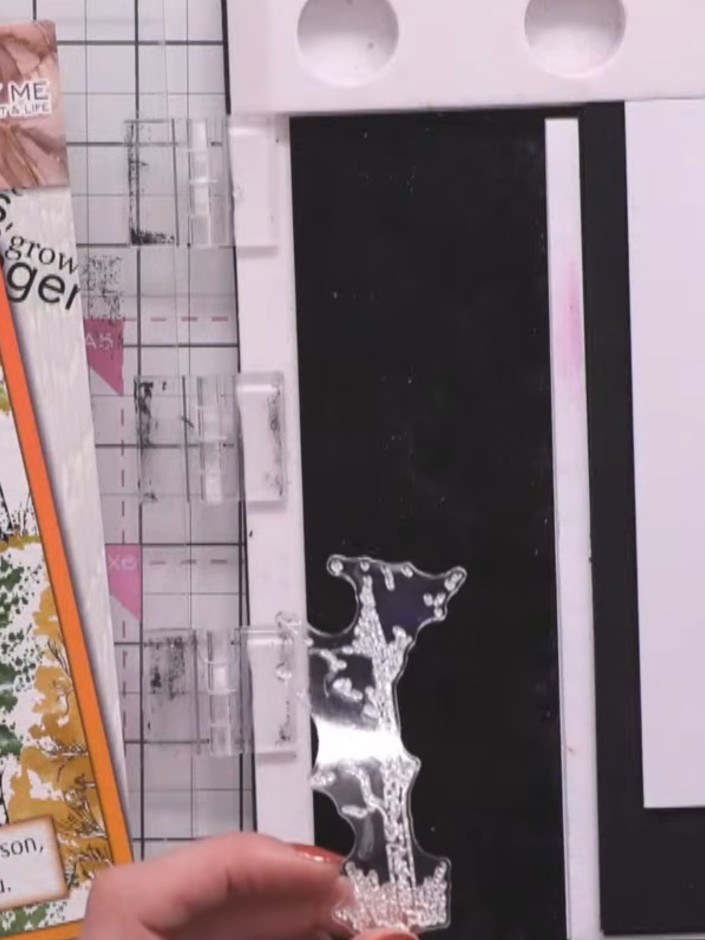
Using black ink, stamp the detail portions of the tree stamps over the dried watercoloured trees to add branch and outline definition.
▶ watch this step (50:45)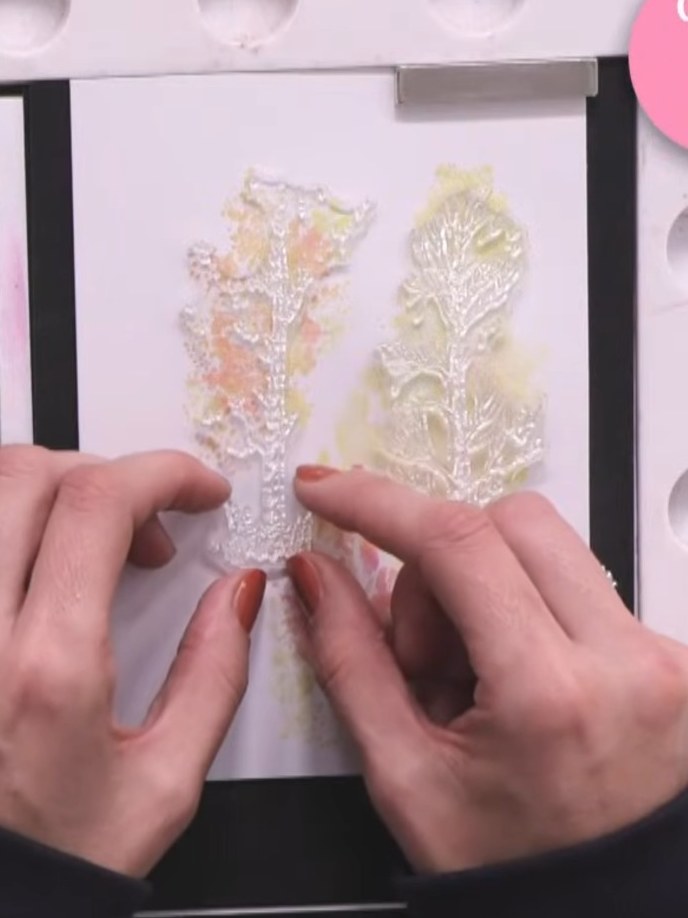
If the black stamped detail appears too dark, go back over the trees with green ink to soften and balance the contrast. This will help blend the colours and create a more harmonious effect.
▶ watch this step (52:00)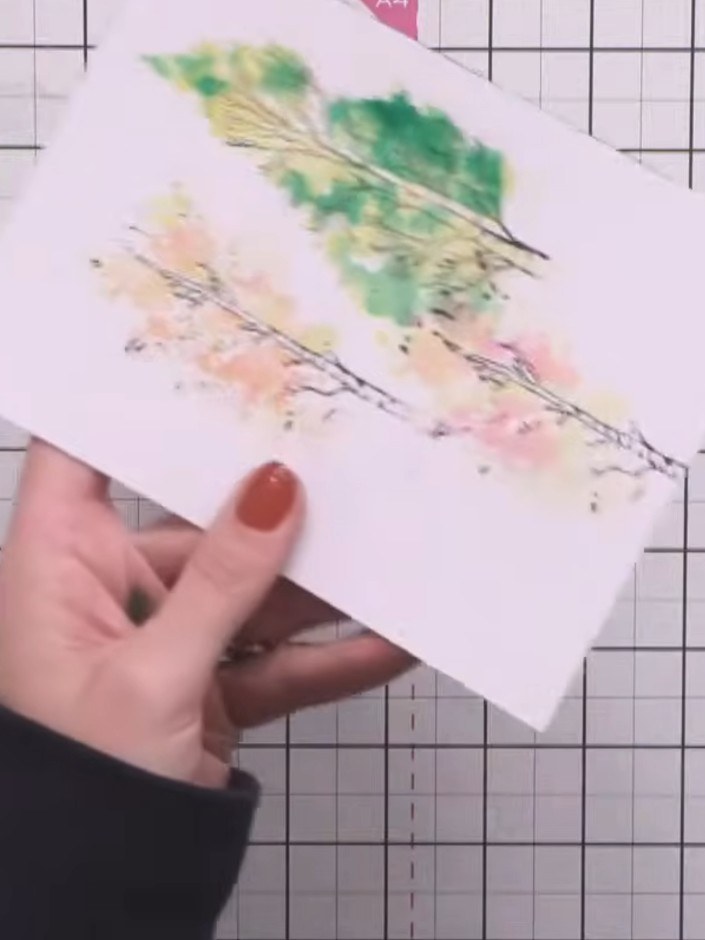
Die-cut the floral banner and foliage adornment dies from white card. Use a pokey tool to carefully pop out all the die-cut pieces from the card.
▶ watch this step (1:04:45)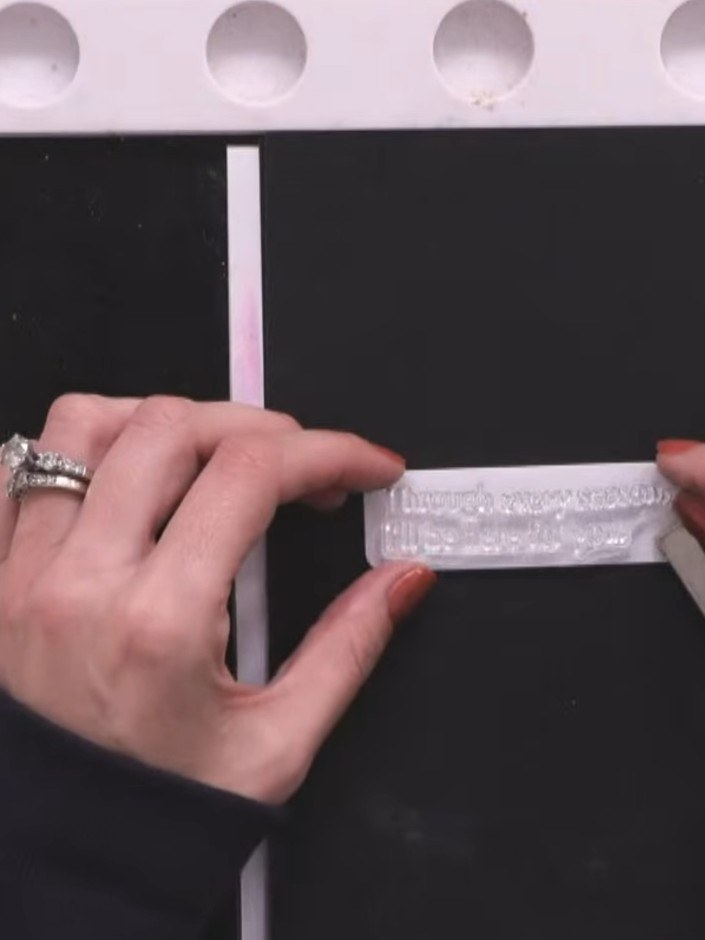
Stamp a sentiment into the white banner die-cut using a stamp that fits the space. Position the stamp centrally on the banner and press firmly to create a clear impression.
▶ watch this step (1:07:45)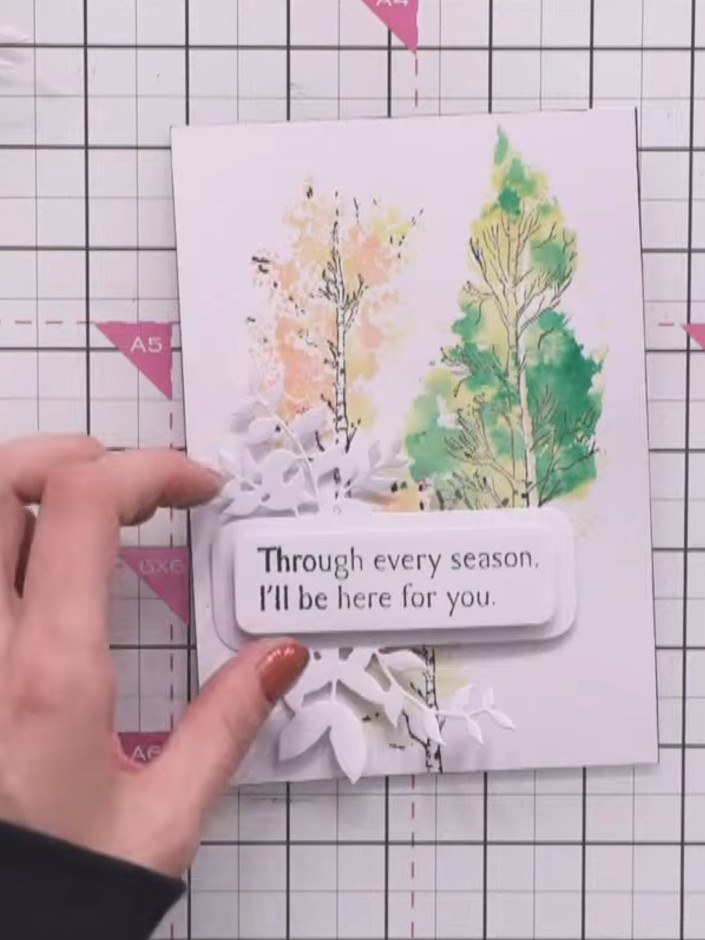
Adhere the stamped tree card to the front of the larger card blank using a tape pen or glue. Position it centrally on the card front, ensuring the sentiment panel and foliage elements are visible.
▶ watch this step (1:11:00)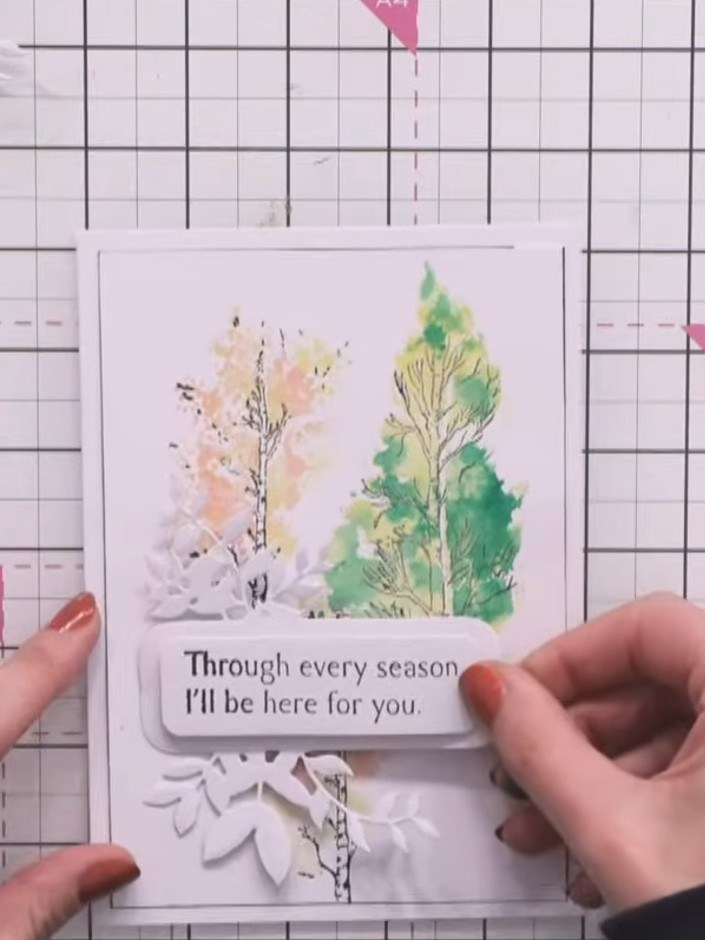
Adhere the sentiment banner to the inside of the card as a focal point. Position the white foliage adornment die-cut below the sentiment for added dimension and layering.
▶ watch this step (1:12:15)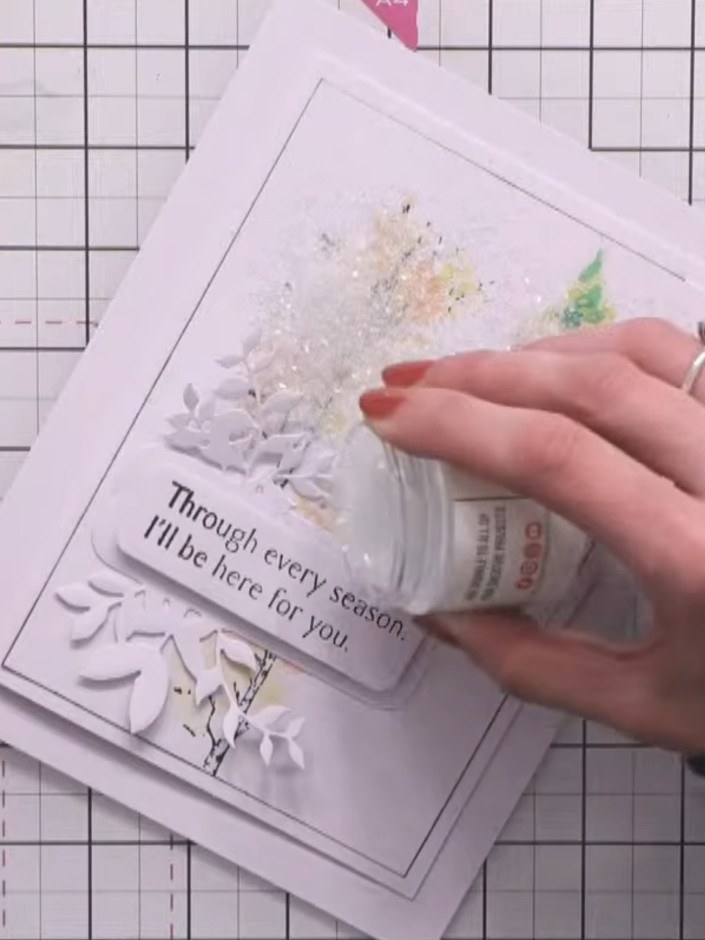
Apply chunky colourless glitter glue to the watercoloured trees to add crystal-clear shimmer. Allow the glue to dry completely before proceeding.
▶ watch this step (1:15:30)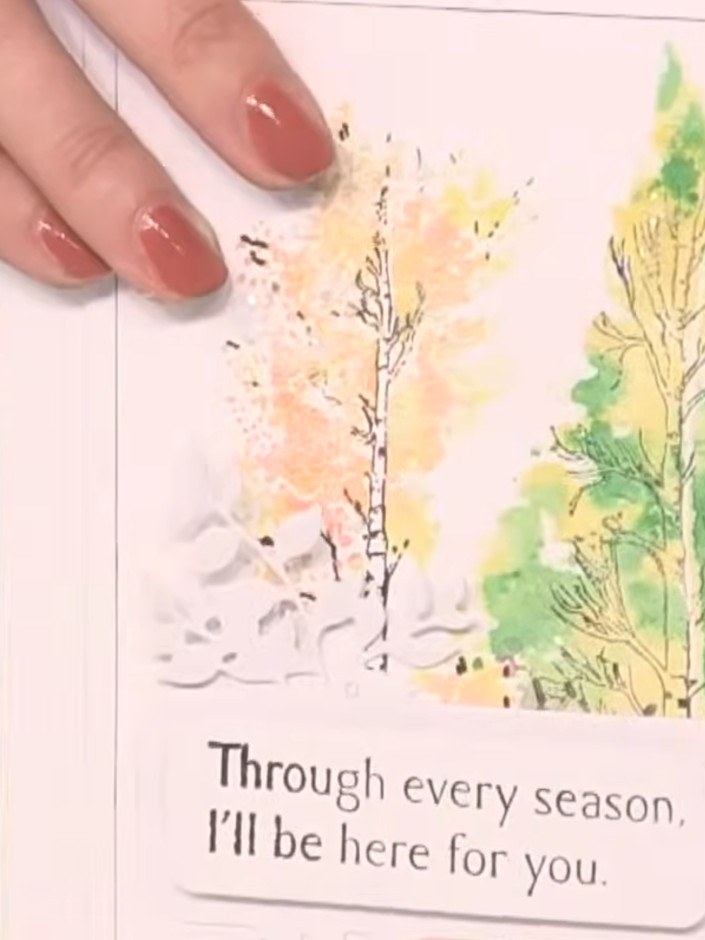
Edge the smaller card panel with black ink pad to define the mat layer and add dimension to the card-on-card design.
▶ watch this step (1:20:30)Written up from the show itself. See every guide from our shows · free how-to guides · watch live on My Telly