Give your friends $10 off their first order!
Refer a FRIEND








A project from our live show THE THURSDAY DROP - Latest Products from Toni - Broadcast 18th June 2026 · 06/18/2026 · watch it from 46:30
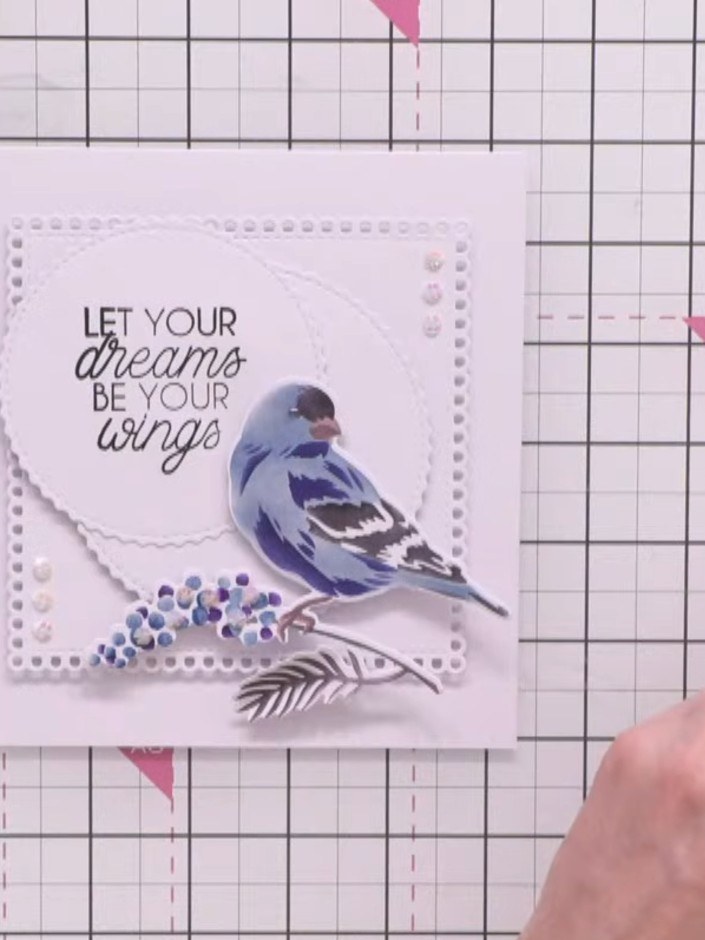
Create this elegant layered card featuring a beautiful blue bird perched on a branch with delicate berries and foliage. Using coordinating stencils and soft blue, purple and grey inks, you'll build up a detailed bird design with subtle dimension and sparkle accents. The sentiment 'Let your dreams be your wings' is framed within a scalloped circle, surrounded by a decorative dotted border for a charming finishing touch.
 Stamps By Me - Feathered Finesse - 170526BSEE IT
 Stamps By Me - Coordinating Paper Pack - 170526CSEE IT
 Stamps By Me - Nesting Squares - 140626BSEE IT
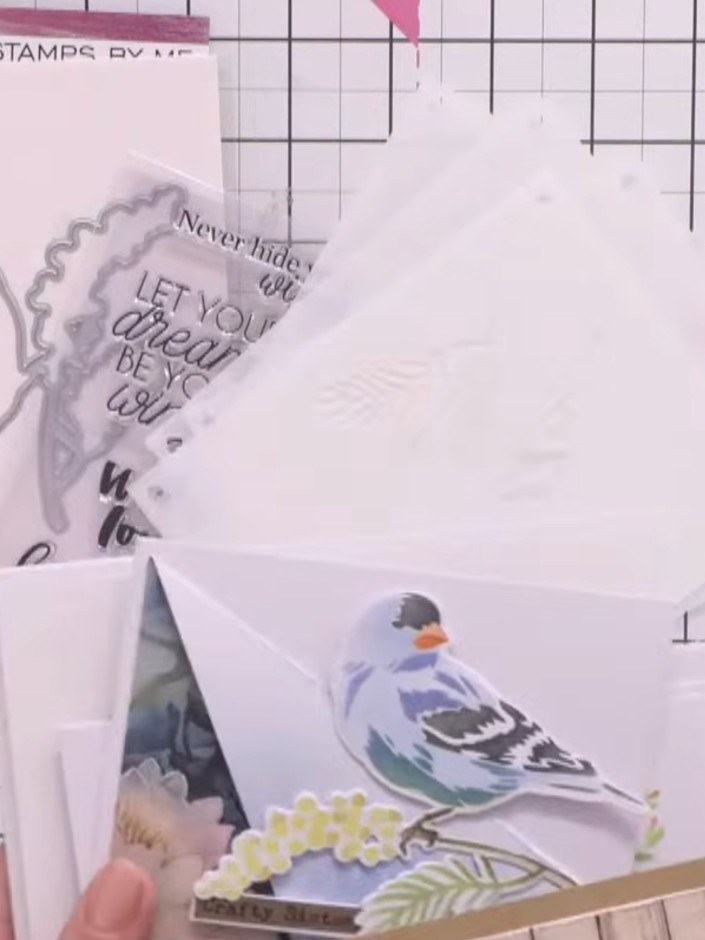
Cut a white card blank to approximately 5 by 5 inches (13 x 13 cm).
▶ watch this step (46:30)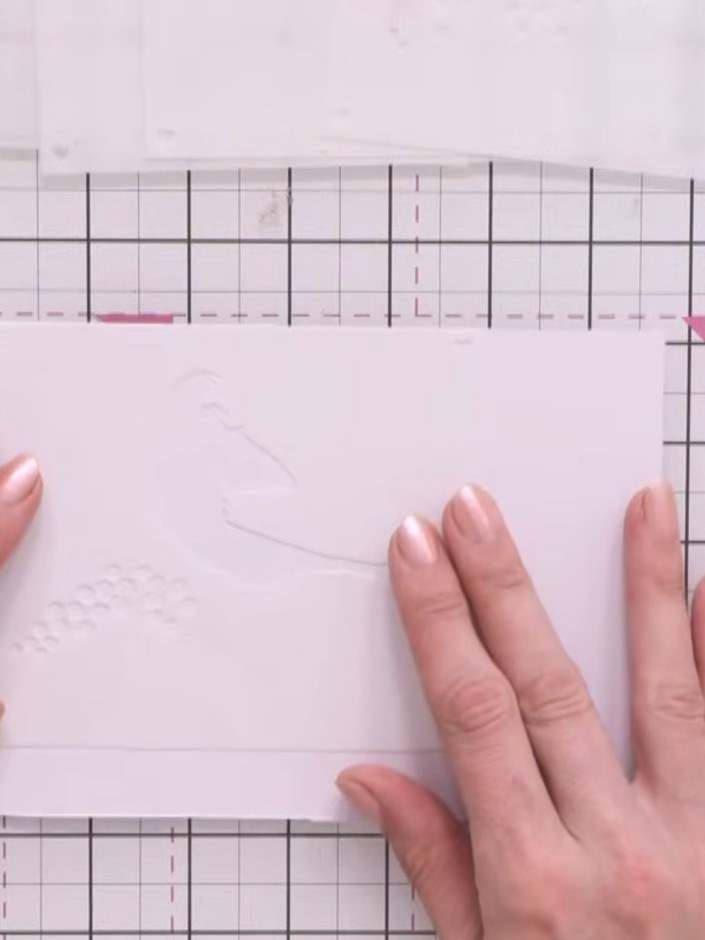
Position the first numbered stencil on your card base, aligning it with the edge of the page. Ensure the stencil is flat and secure before proceeding.
▶ watch this step (48:30)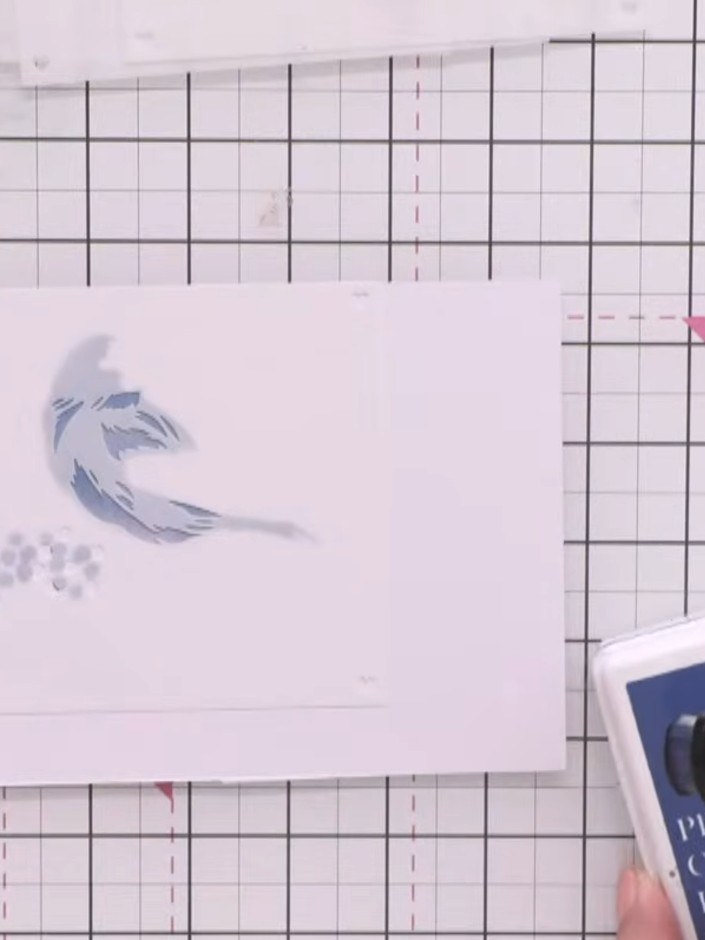
Remove the first stencil and position the second stencil over the bird image. Apply blue ink through the stencil to add depth to the bird's wings and body.
▶ watch this step (50:15)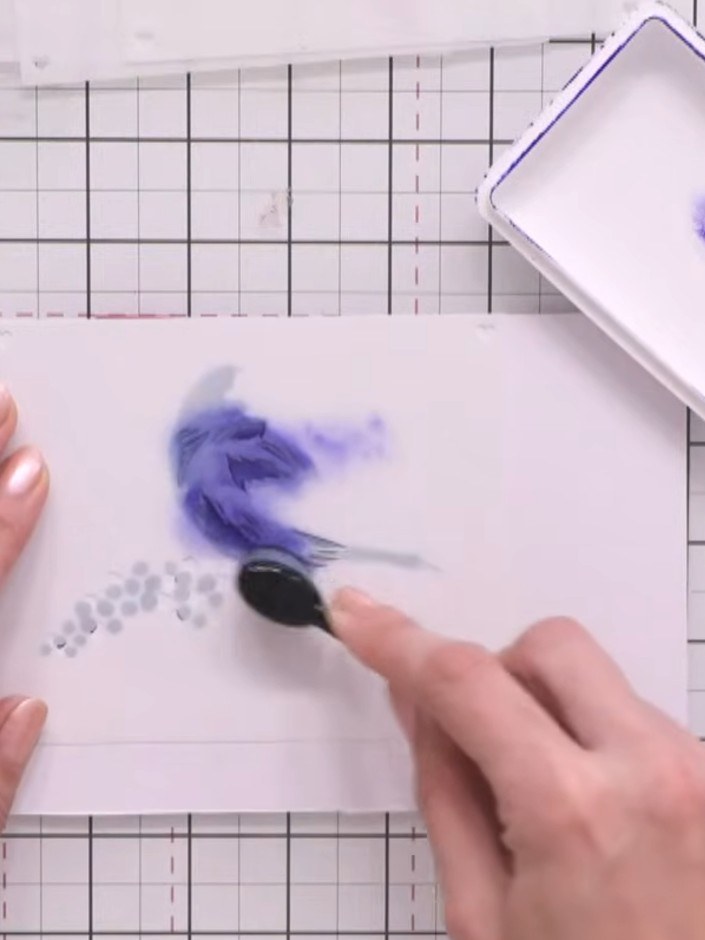
Use a blending tool or sponge to apply purple ink through the stencil, adding berries and buds around the stamped bird image.
▶ watch this step (51:00)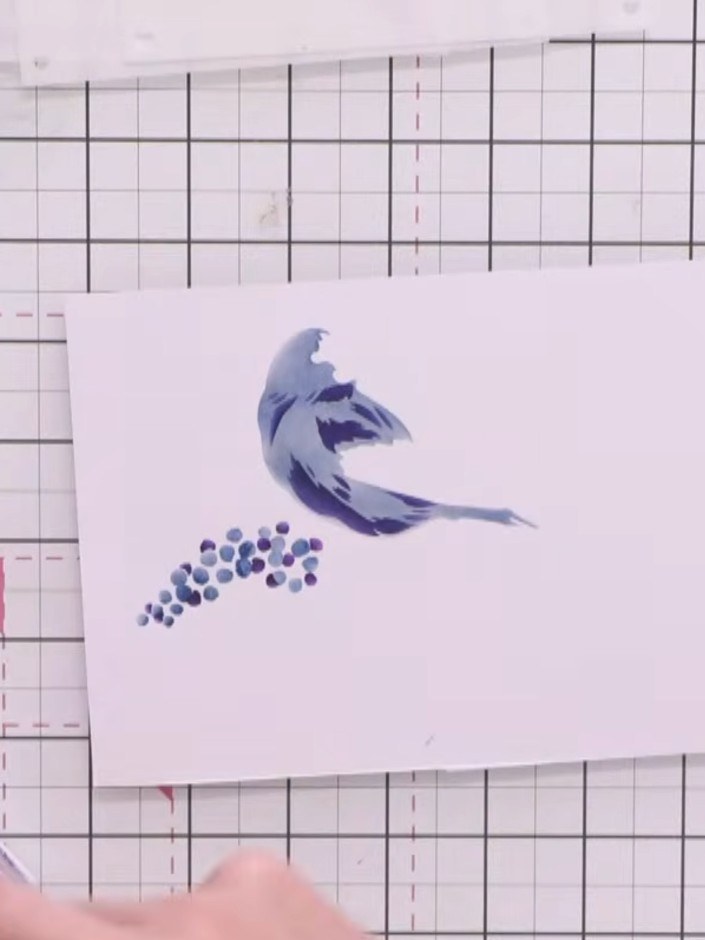
Position the third stencil over the stamped bird image. Using a light purple or lavender ink, lightly apply colour to the bird's beak and feet through the stencil.
▶ watch this step (51:30)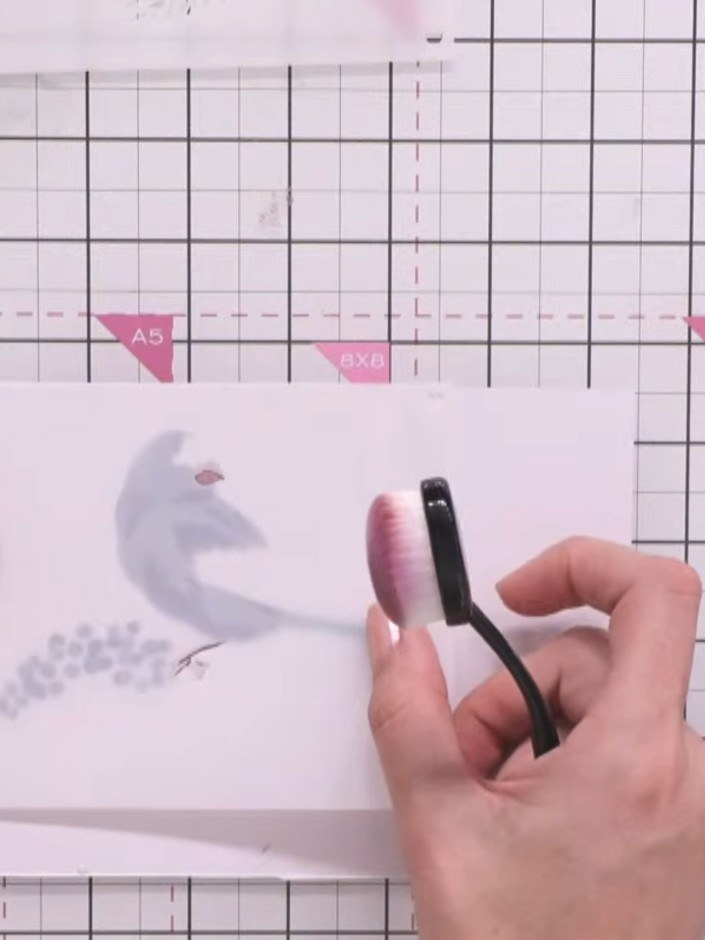
Apply the fourth stencil layer using the same light colour ink to add dimension to the beak and foot details of the swan.
▶ watch this step (52:30)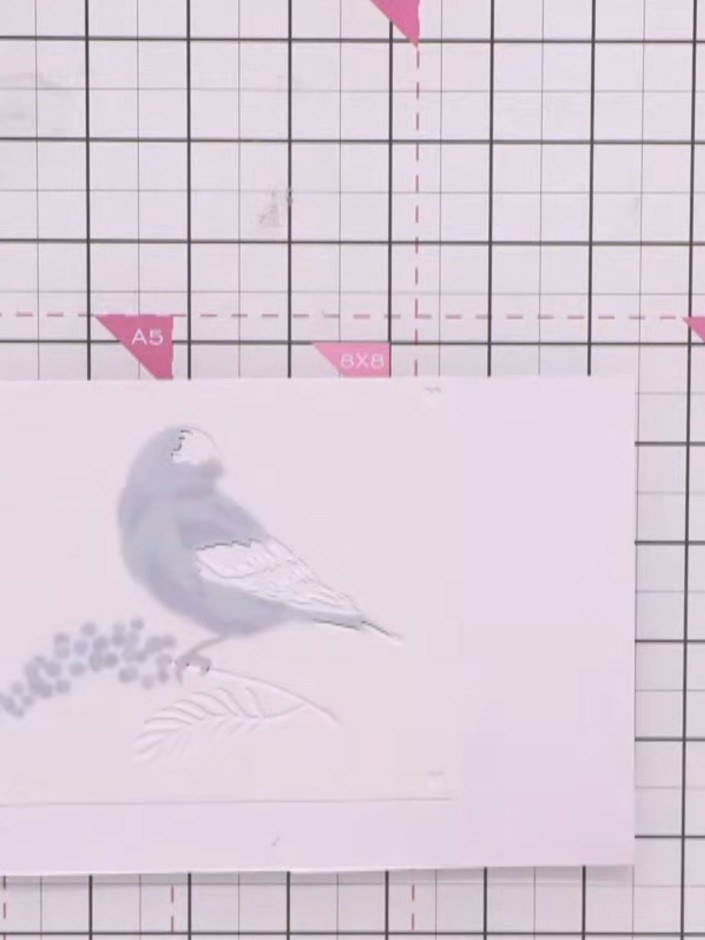
Use the fifth stencil layer with black ink to add definition to the bird's eye and tail feathers. Position the stencil carefully over the stamped bird image and apply the black ink with a blending tool.
▶ watch this step (57:00)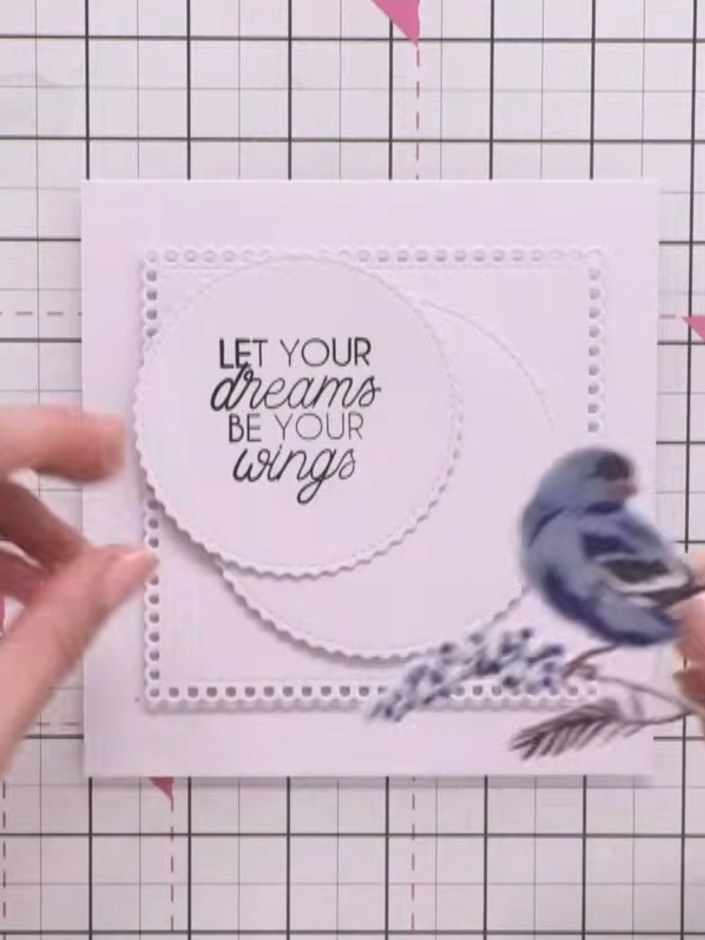
Mount the layered bird design onto the sentiment card using foam pads for dimension. Position the bird and feather elements to the lower right of the card front.
▶ watch this step (1:17:45)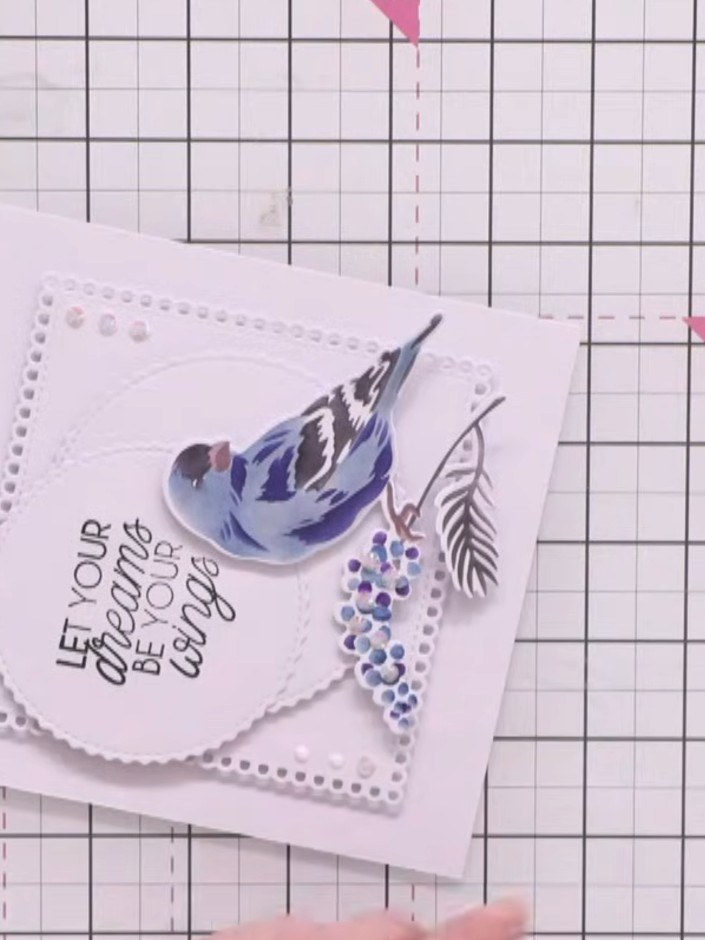
Add small clear gems to the white space around the bird and in the corner areas to balance the design and add sparkle to your finished card.
▶ watch this step (1:20:00)Written up from the show itself. See every guide from our shows · free how-to guides · watch live on My Telly