Give your friends $10 off their first order!
Refer a FRIEND








Prices change straight away. Every language is our own translation, not Google.
A project from our live show HOBBYMAKER TV - Join us for the latest show - Broadcast 6 p.m. (UK) 18th September 2026 · 09/18/2026
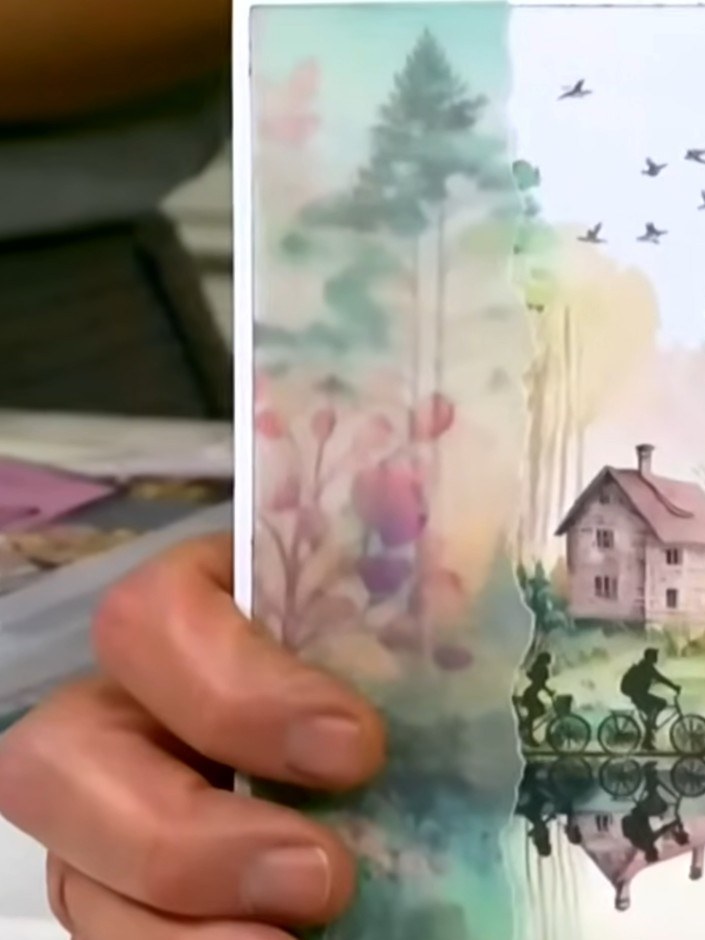
Create a stunning card featuring an autumnal landscape scene with a built-in water reflection effect. Using stamps from the Reflection Collection, you'll create a vibrant sunset scene with trees and foliage in warm oranges, reds, and yellows against a dramatic sky. The stamping technique captures both the landscape and its mirror image in water, creating a complete reflected scene with minimal effort.
 1
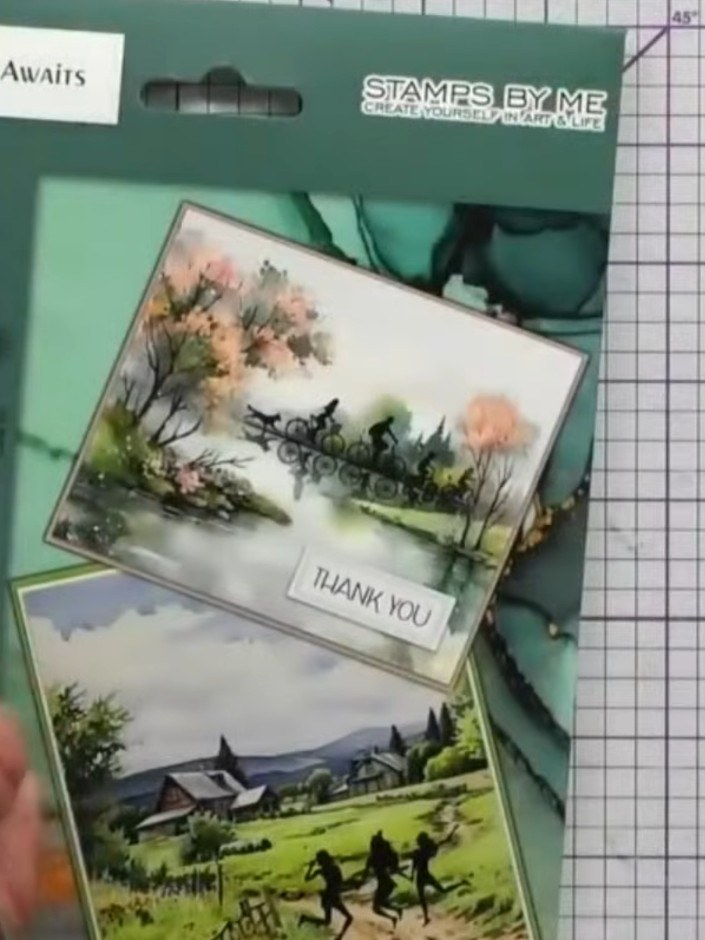
Select a background paper from the Urban Life paper pad in your chosen colour scheme. Alternatively, use your own card stock in coordinating colours such as peaches, creams, and yellows.
 2
Select a stamp from the Adventure Awaits Reflection Collection. The collection includes silhouette designs of cyclists, dancers, trees and countryside scenes that work well for creating reflection effects.
 3
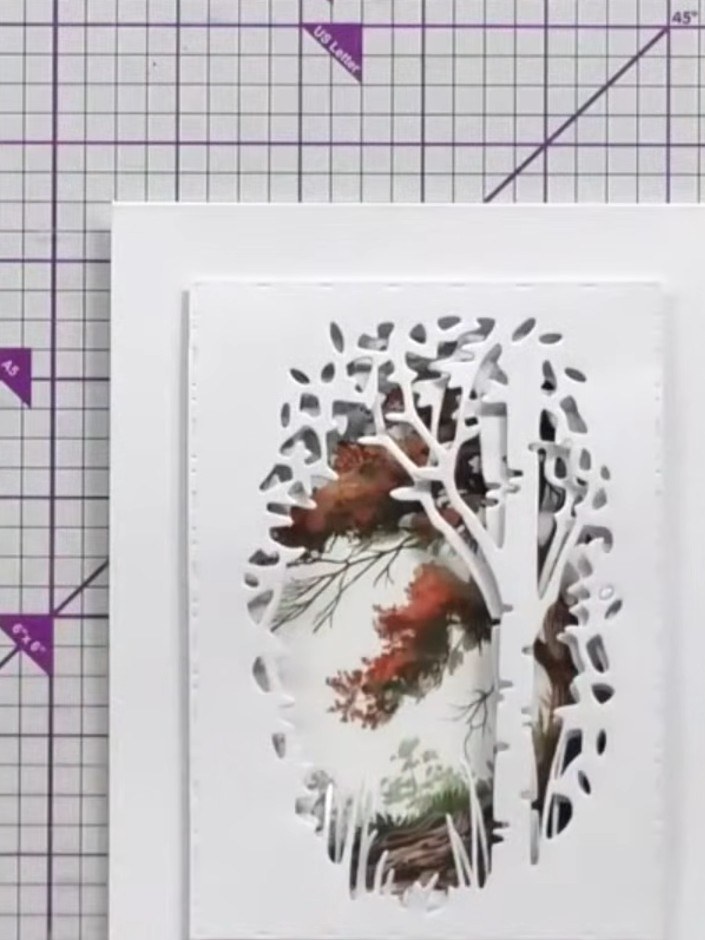
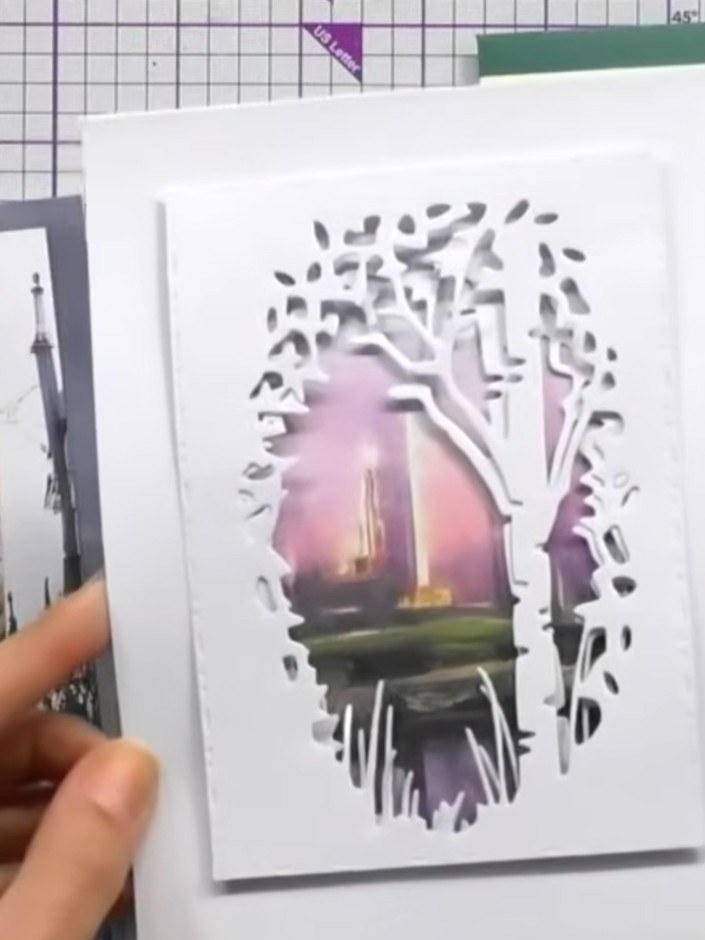
Ink up your chosen stamp from the Adventure Awaits collection with your selected ink colour. Stamp the image onto your background paper, positioning it centrally within the stencilled frame to create a layered scene effect.
 4
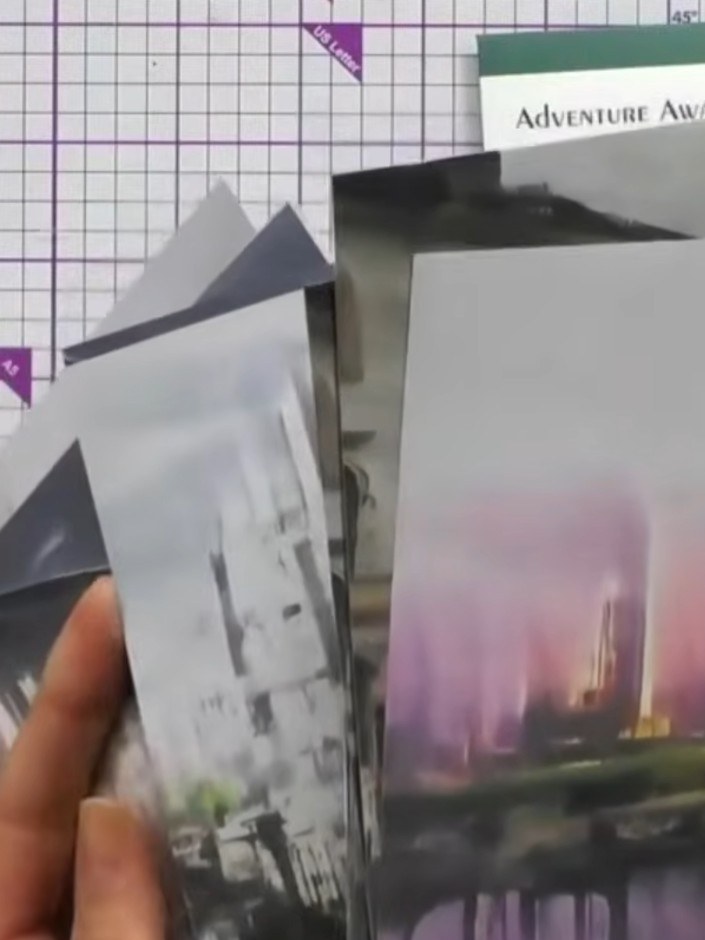
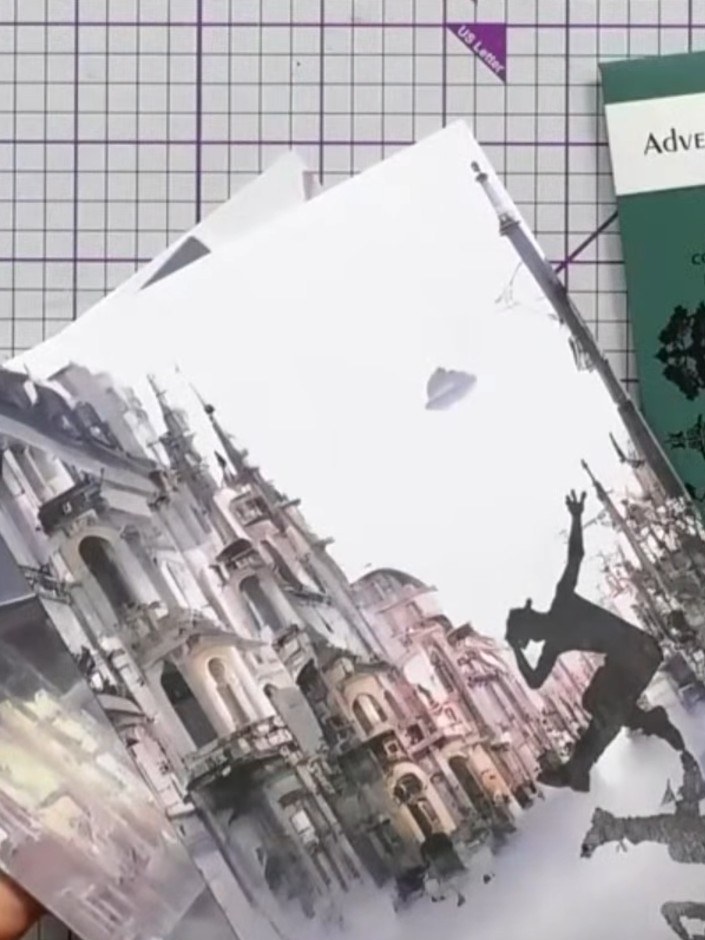
To create a variation, stamp only the top portion of the image without the reflection. This creates a scene showing just the main subject, such as buildings or landscapes, without the water reflection below.
 5
Add finishing touches to complete your card. Layer torn vellum pieces over the stamped scene for a soft, ethereal effect. Position sentiment stamps or additional embellishments as desired to enhance the design.
Share your make with the Stamps By Me community - and keep this guide for next time.
Written up from the show itself. See every guide from our shows · free how-to guides · watch live on My Telly · the previous layout