Give your friends $10 off their first order!
Refer a FRIEND








A project from our live show CREATE AND CRAFT TV - Join Toni for her brand new launch show 1 - broadcast 16th Oct 23 · 10/16/2023 · watch it from 34:00
Create a charming slimline card featuring a rustic window frame with a delightful scene beyond. Using innovative window dies with shadow-drop pieces, you'll build realistic depth and perspective, showcasing a bicycle with flowers against a soft background. The coloured shadow elements create a three-dimensional effect that brings the window scene to life.
 Christmas Window Die - Look & See - 060323DSEE IT
 Stamps By Me - in the Countryside 6 X 6 Painted Mounts - 141222BSEE IT
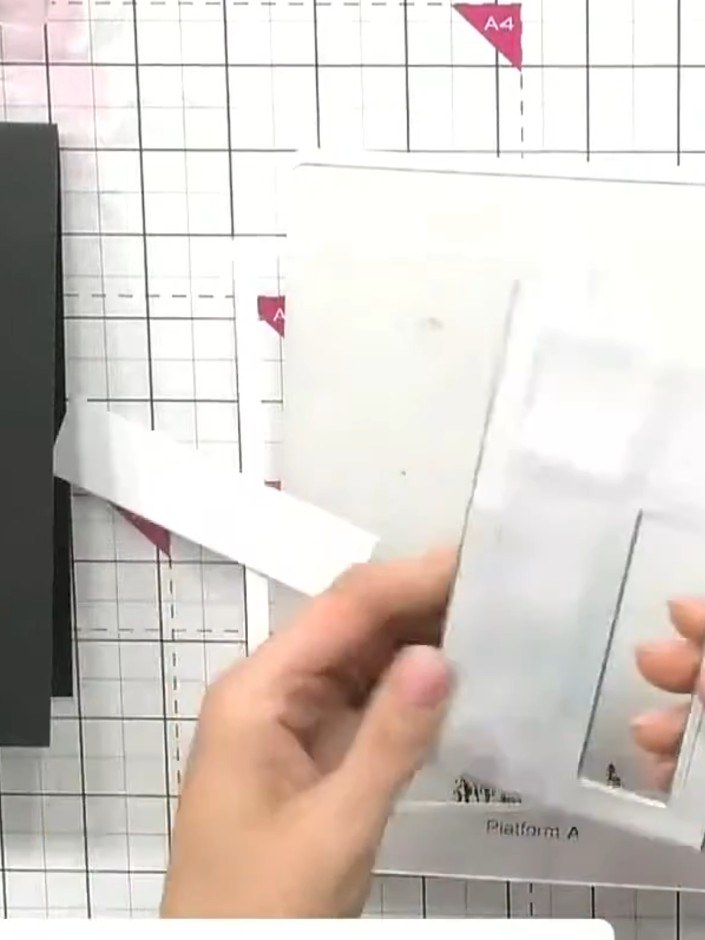
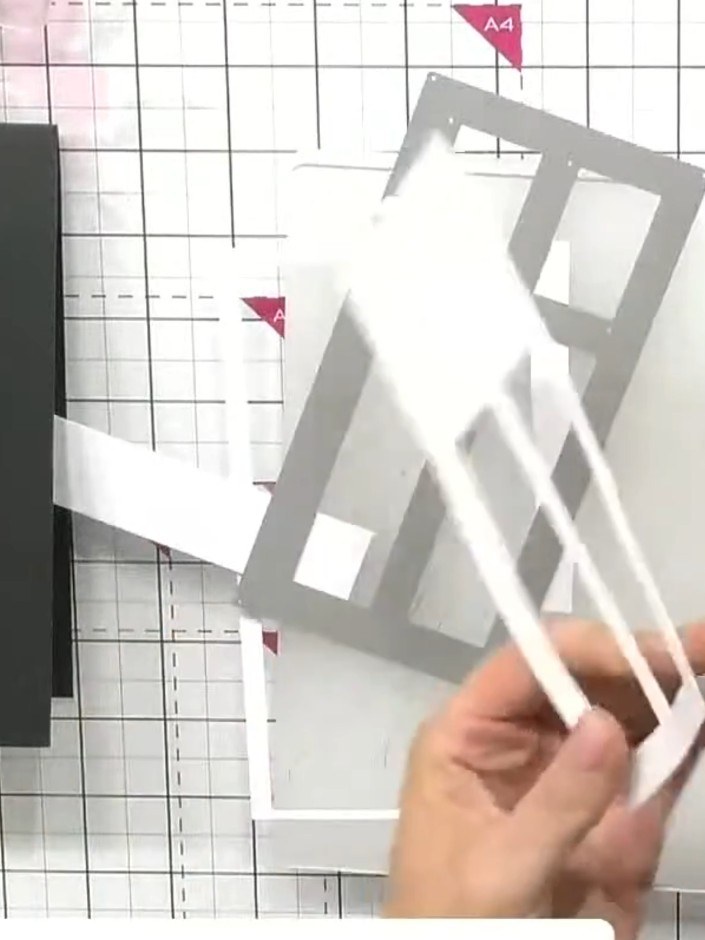
Cut the slimline window die from white card using your die-cutting machine. Remove the die-cut window frame carefully from the card.
▶ watch this step (34:00)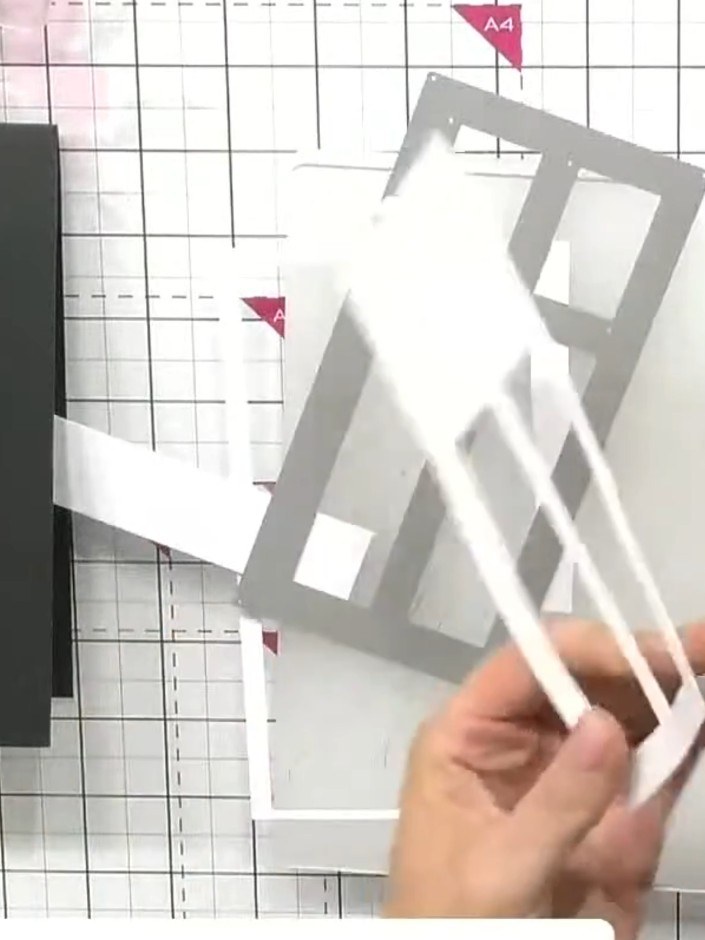
Observe the shadow pieces that drop out from the window frame die cut. These grey shadow pieces will be used to create depth and dimension in your card design.
▶ watch this step (34:15)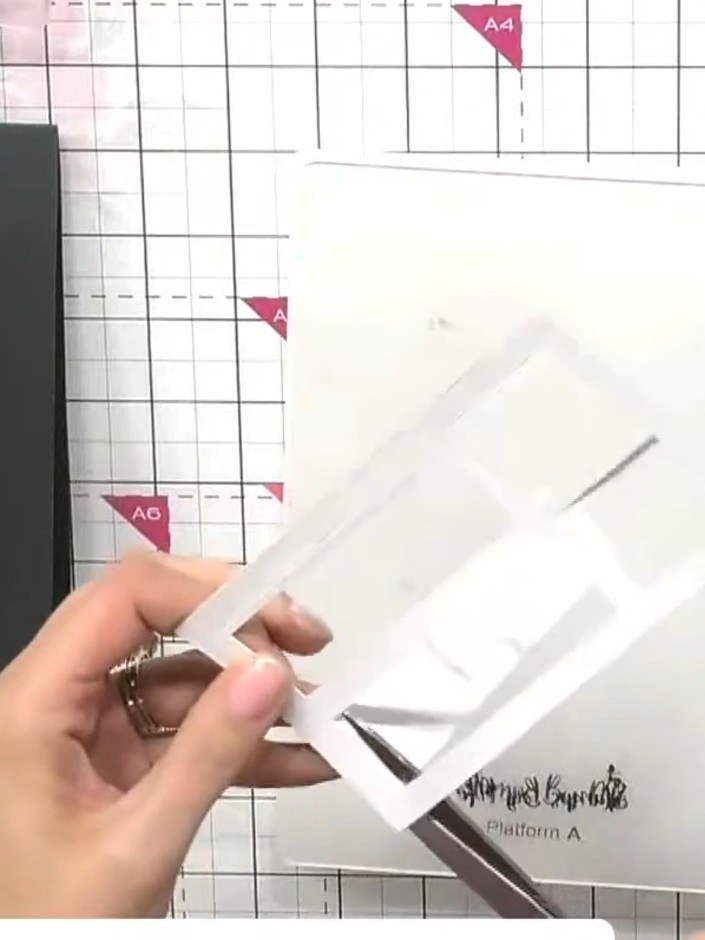
Colour the shadow pieces using a grey water brush or ink pad. Apply the colour randomly and lightly to create a subtle shadow effect.
▶ watch this step (35:00)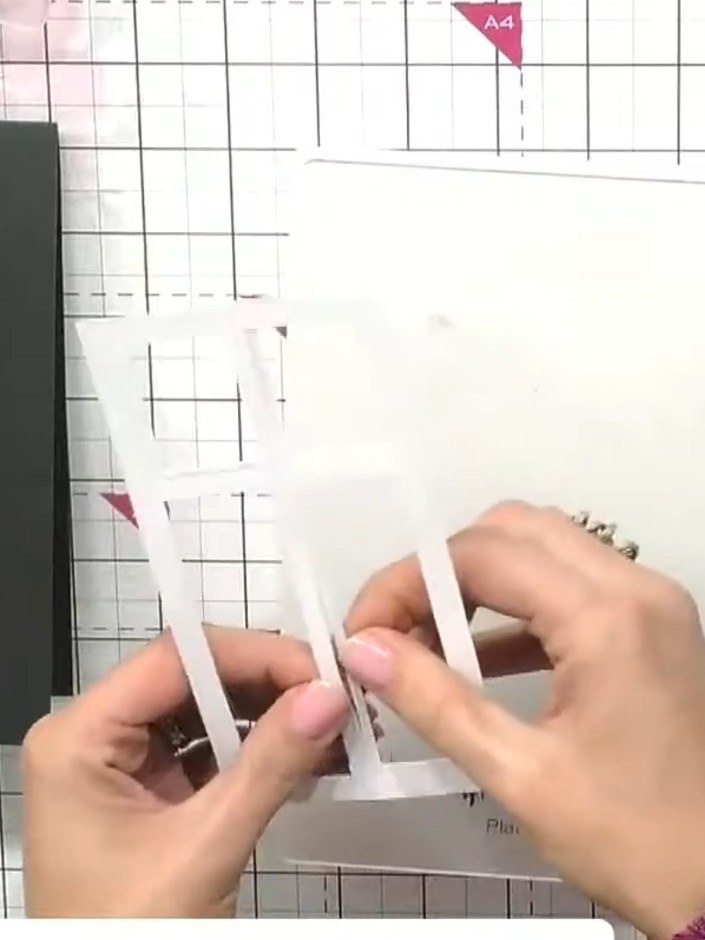
Glue the coloured shadow pieces back into the corresponding window openings in the frame to create a 3D layered effect.
▶ watch this step (35:30)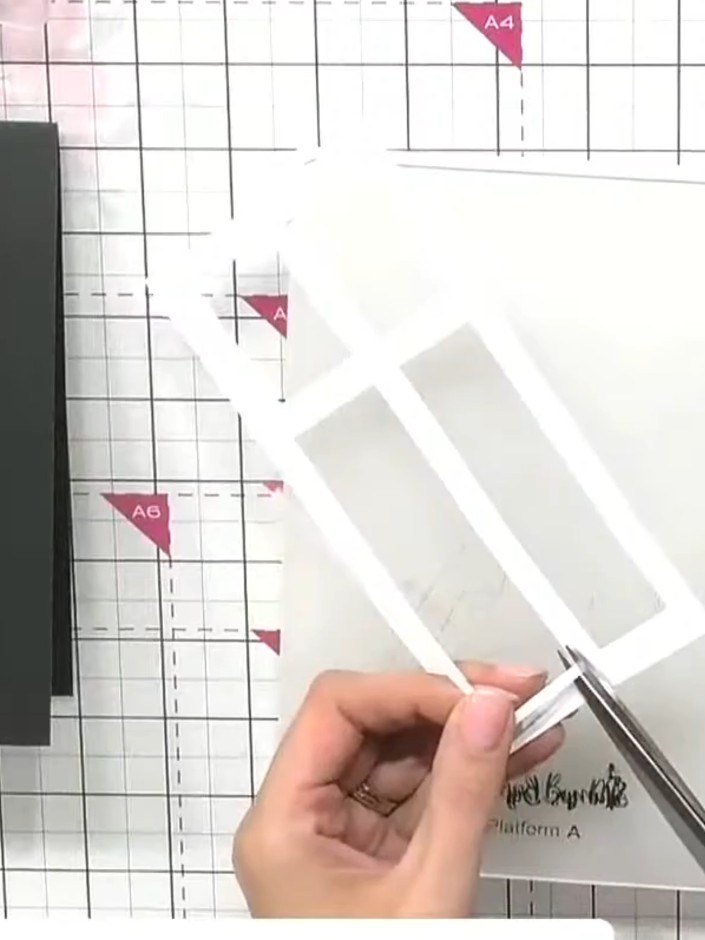
Select a pre-printed mounted scene from your collection to place behind the window frame. Choose a design that complements your card theme and will show through the window opening.
▶ watch this step (36:00)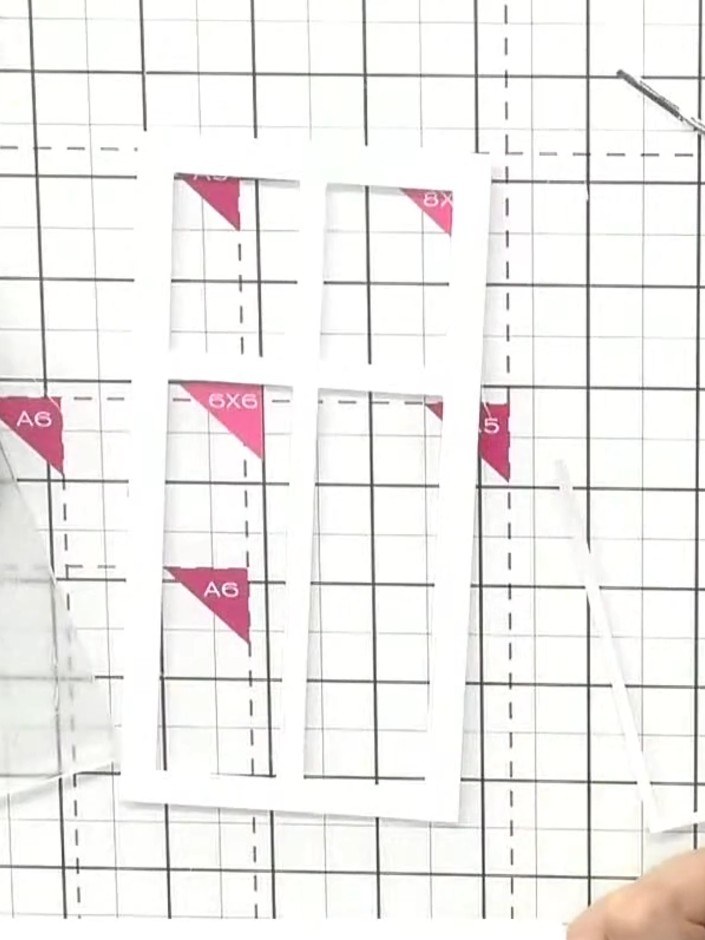
Mount the completed window frame onto your card base, positioning it so the key elements of the scene (such as the bicycle and flowers) show through the window panes.
▶ watch this step (36:30)Written up from the show itself. See every guide from our shows · free how-to guides · watch live on My Telly