Give your friends $10 off their first order!
Refer a FRIEND








A project from our live show CREATE AND CRAFT TV - Join Toni for her brand new launch show 1 - broadcast 16th Oct 23 · 10/16/2023 · watch it from 12:00
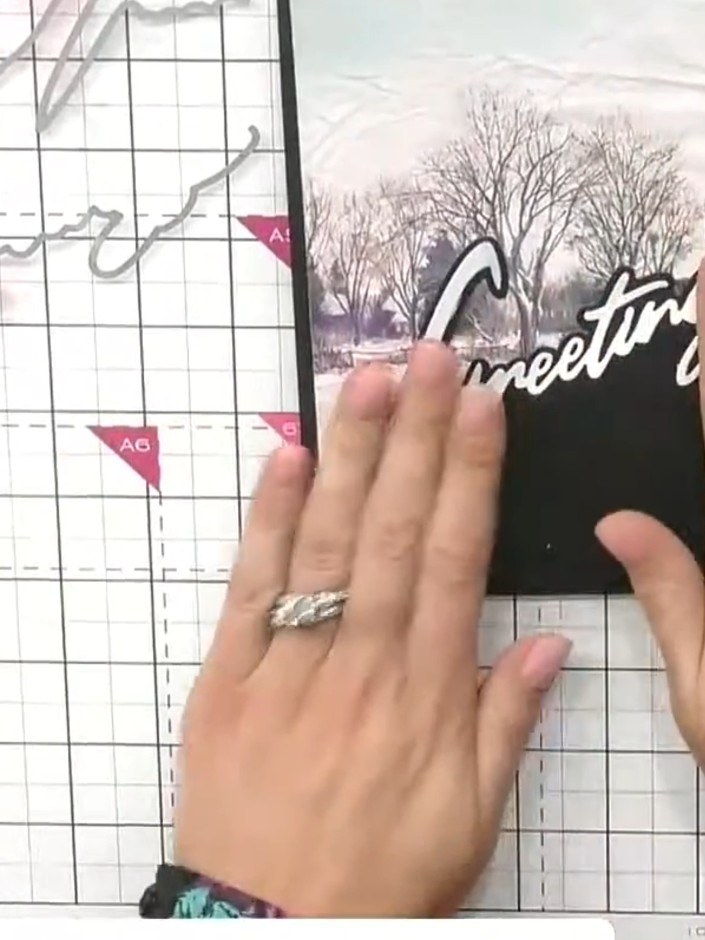
Create a stunning winter scene card featuring a traditional snowy landscape with a window frame overlay and a decorative 'Greetings' sentiment. The design combines a pre-printed vintage snow scene with bare trees and sledging figures, mounted within a black window frame to create depth and dimension. This elegant card uses die-cutting and layering techniques to achieve a sophisticated festive look with muted winter tones.
 Christmas Snow Drift Die - Greetings - 060323BSEE IT
 Christmas Snow Drift Die - Joy - 060323CSEE IT
 Stamps By Me - in the Countryside 6 X 6 Painted Mounts - 141222BSEE IT
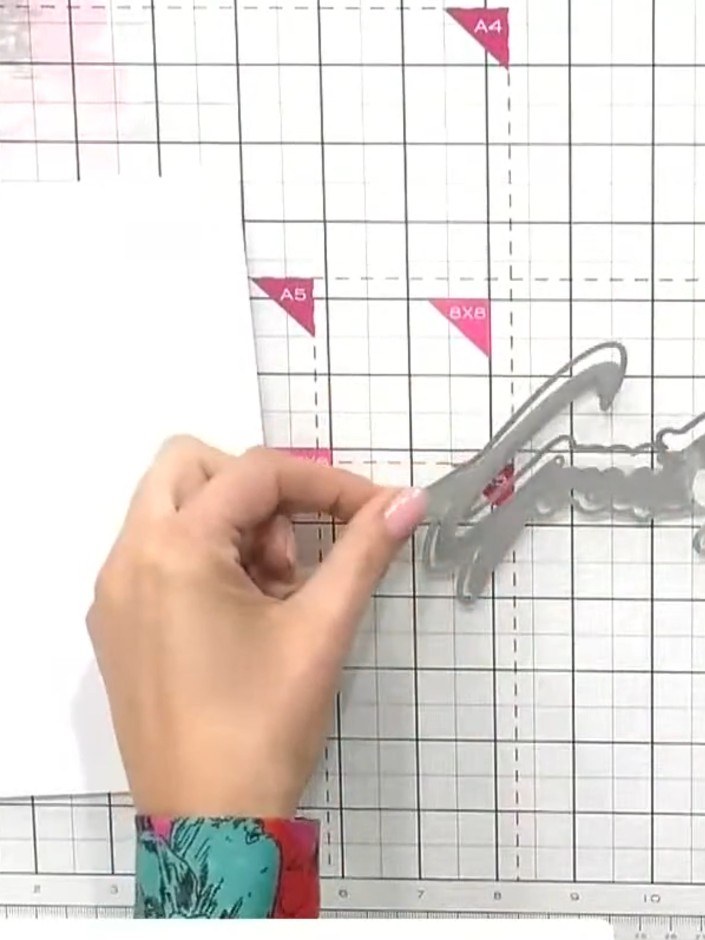
Cut the snow drift word die (such as 'Greetings') from white card using your die-cutting machine.
▶ watch this step (12:00)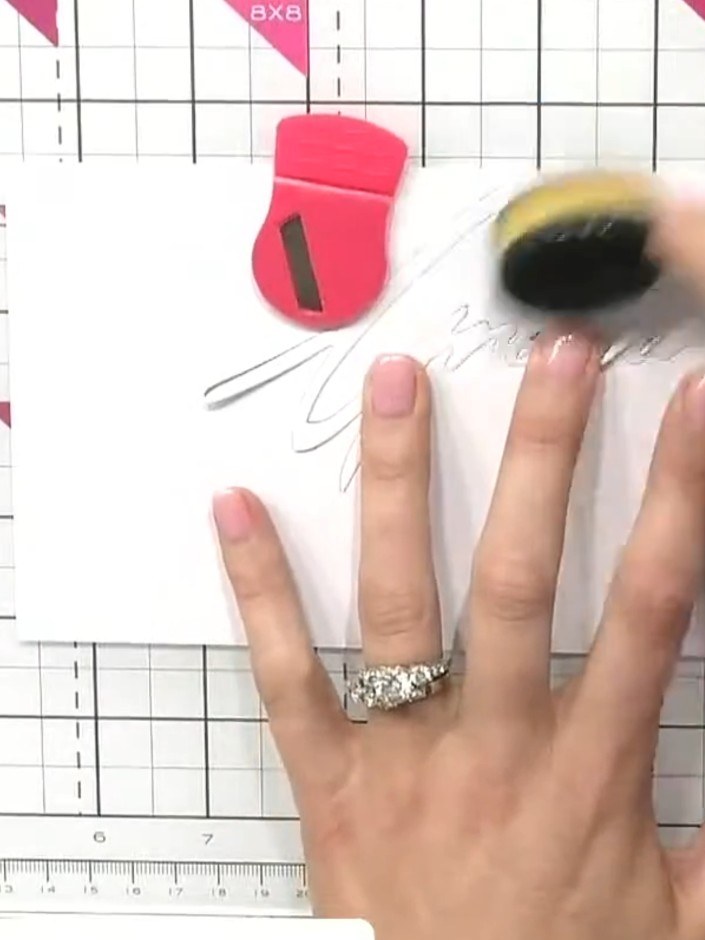
Place the die back into the cutting plate to hold it steady. Use weathered wood and funky fossil ink with a blending brush to shade the top and bottom edges of the die-cut sentiment.
▶ watch this step (14:15)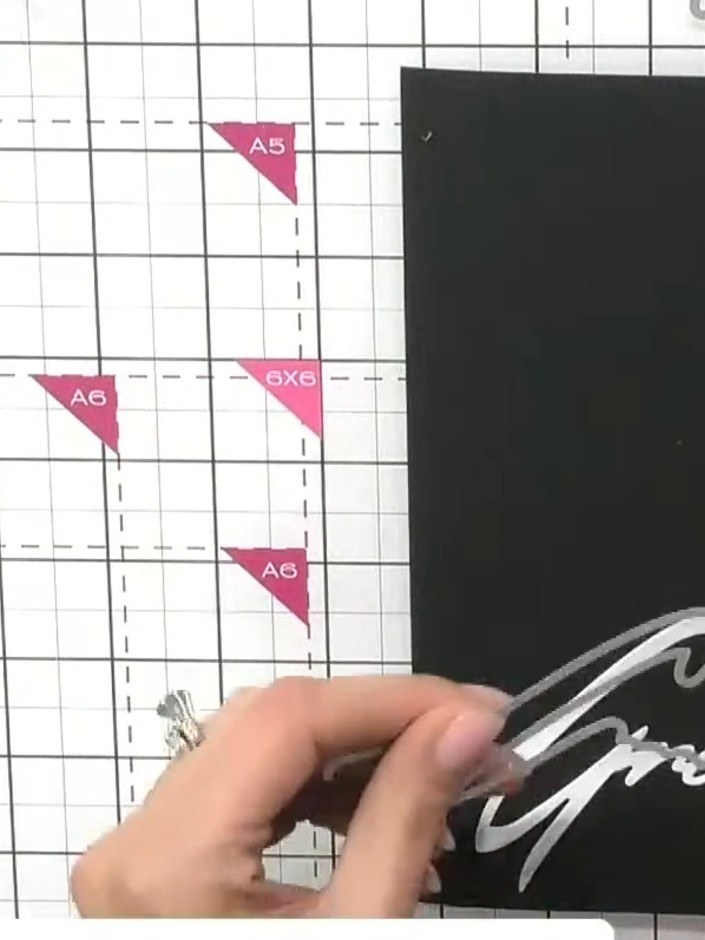
Cut the 'Greetings' snow drift word die from black card. Position it at an angle on the card base, with the word towards the bottom right corner.
▶ watch this step (15:30)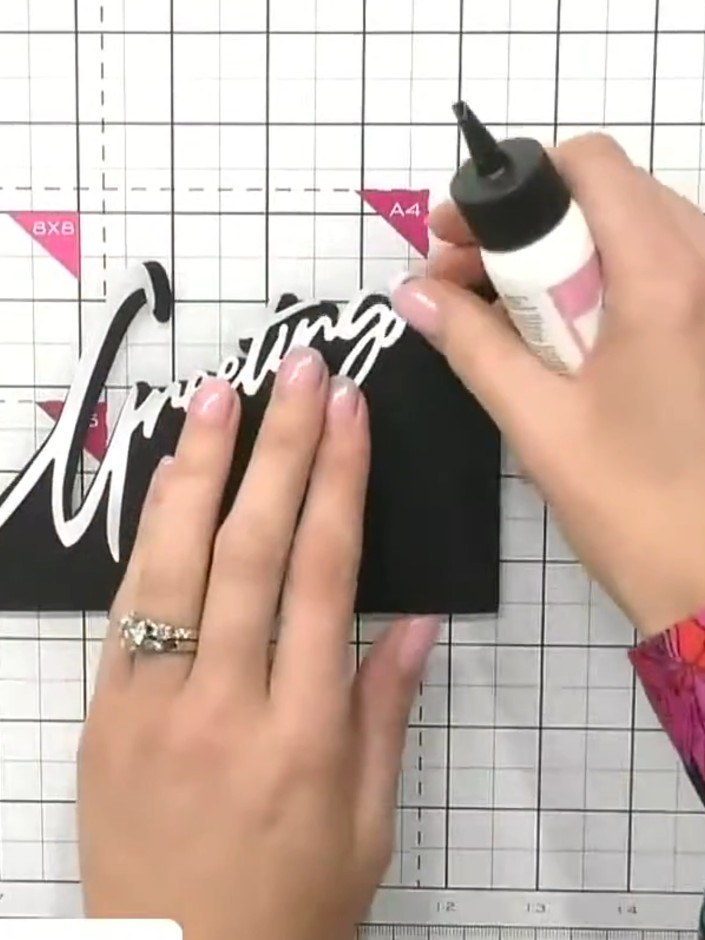
Select one of the pre-printed mounted scenes from your chosen set. Apply glue to the back of the mounted scene, ensuring even coverage.
▶ watch this step (17:30)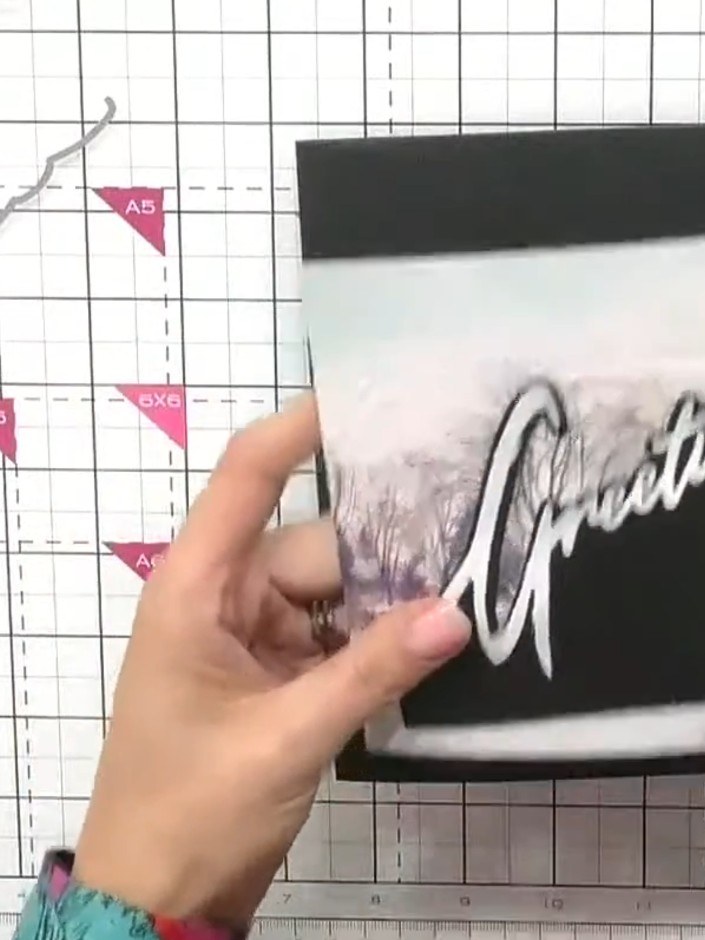
Position the mounted scene piece on top of the snow drift card base, offsetting it slightly to one side rather than centring it.
▶ watch this step (19:00)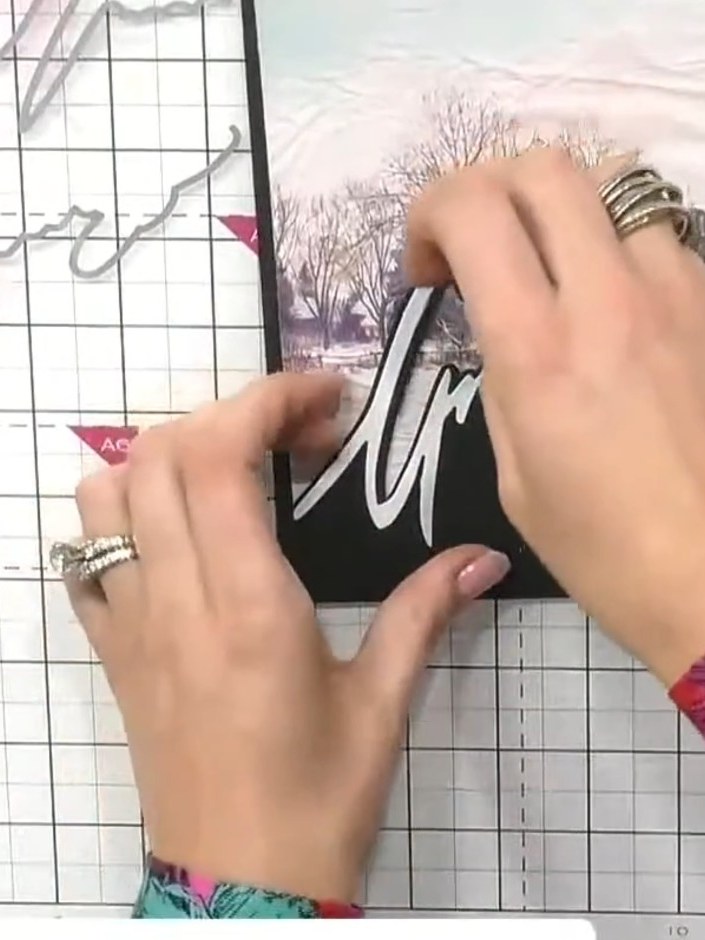
Glue the shadow pieces back into the window frame on the black card mount to create depth and perspective. Position each piece carefully to align with the corresponding areas of the scene.
▶ watch this step (19:45)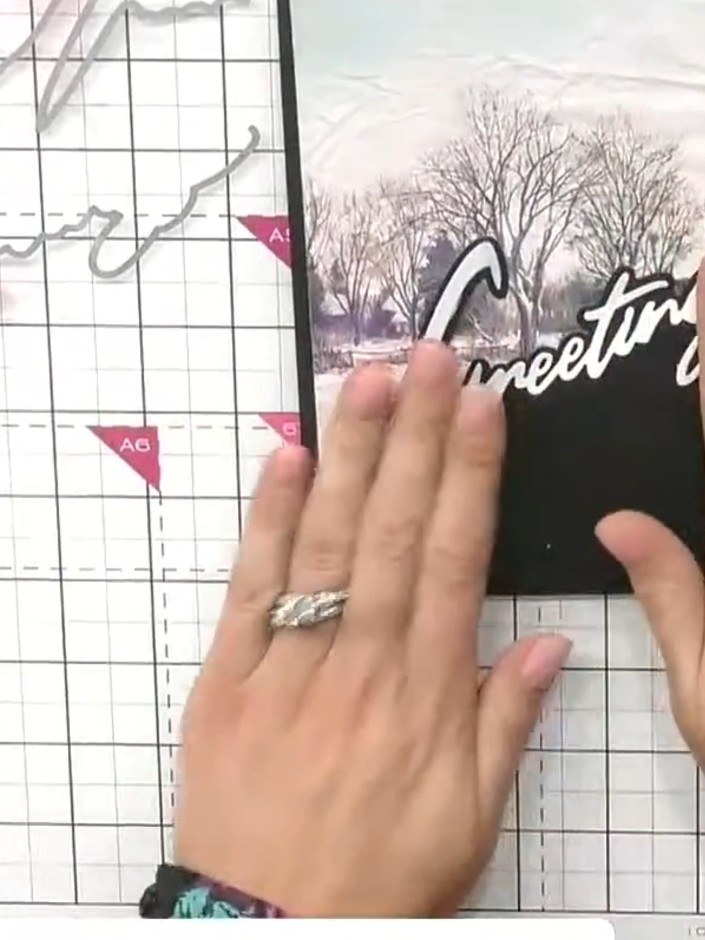
Mount the completed layered piece with the window scene onto a black card base to frame and enhance the design.
▶ watch this step (20:15)Written up from the show itself. See every guide from our shows · free how-to guides · watch live on My Telly