Give your friends $10 off their first order!
Refer a FRIEND








A project from our live show CREATE AND CRAFT TV - Join Toni for her brand new launch show 2 - broadcast 16th Oct 23 · 10/16/2023 · watch it from 36:00
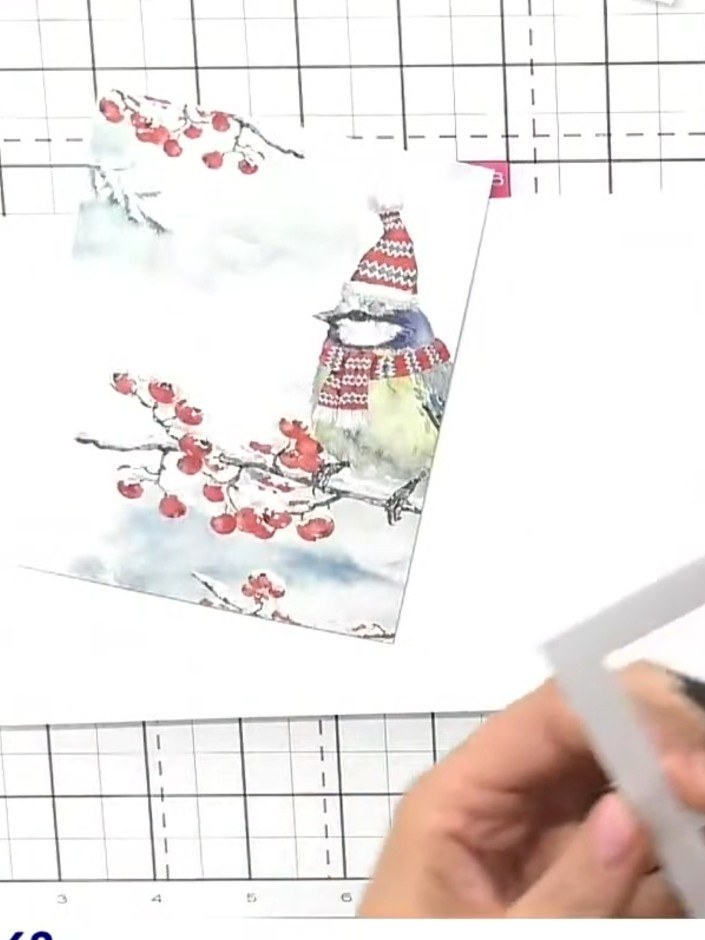
Create an elegant four-window card featuring delicate apertures with shaded details that add depth and dimension. This charming design showcases winter imagery including a bird in a festive hat, red berries, and a bright red cardinal, all framed within individual windows. The shading technique creates the illusion of looking into miniature scenes, enhanced by fussy-cut elements layered on top for a professional finish.
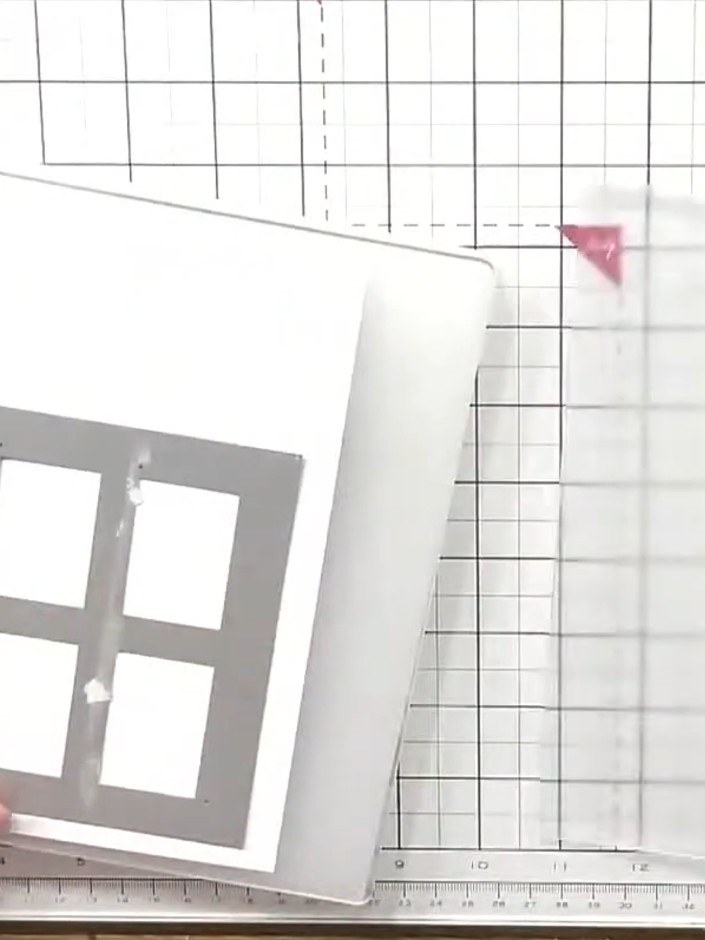
Die-cut the four-window frame from white card stock using the Christmas Window die. Position the die on your white card and run it through your die-cutting machine.
▶ watch this step (36:00)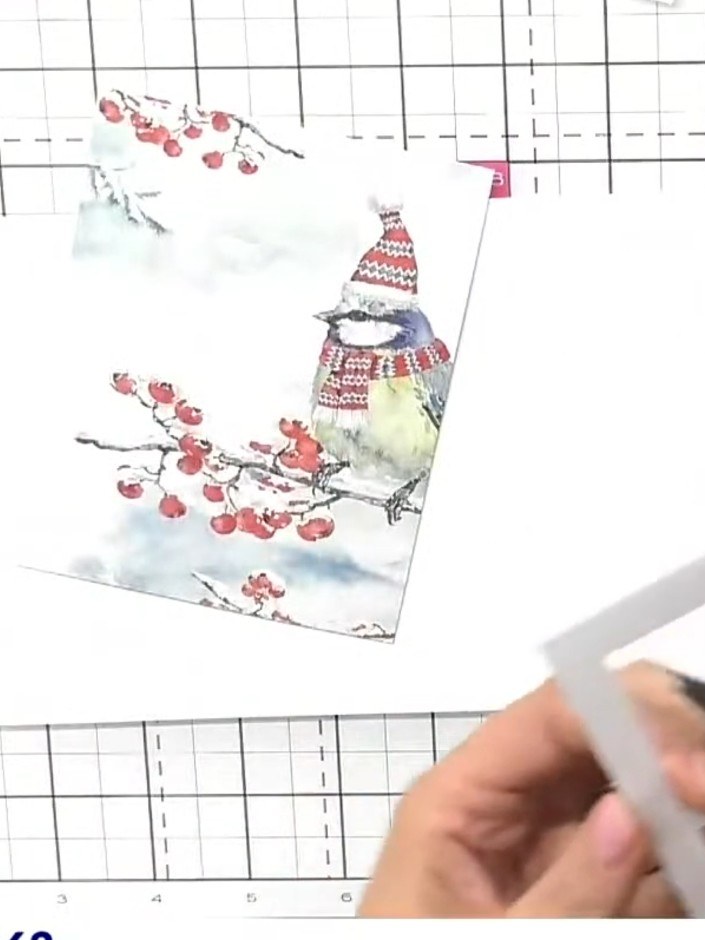
Colour all four shadow details with grey watercolour or ink, keeping the light source consistent. The bird's hat, scarf and berries should have shadows on the same side.
▶ watch this step (37:30)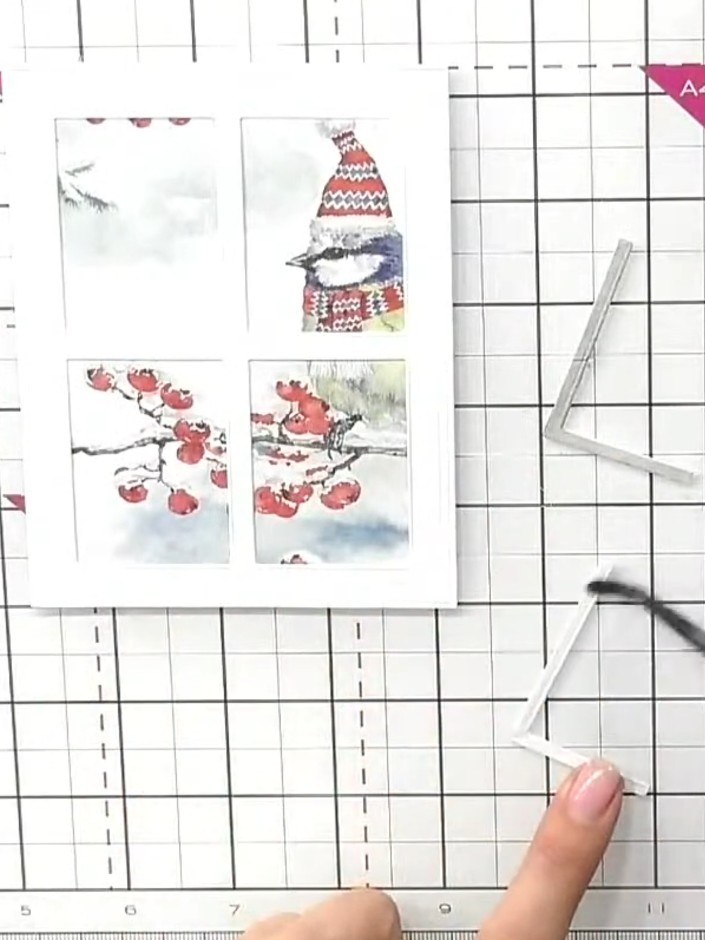
Select a painted mount featuring a bird or scene from the Ruby Blooms paper pad. Position it behind one of the window apertures on the frame, ensuring the design is centred and visible through the opening.
▶ watch this step (38:45)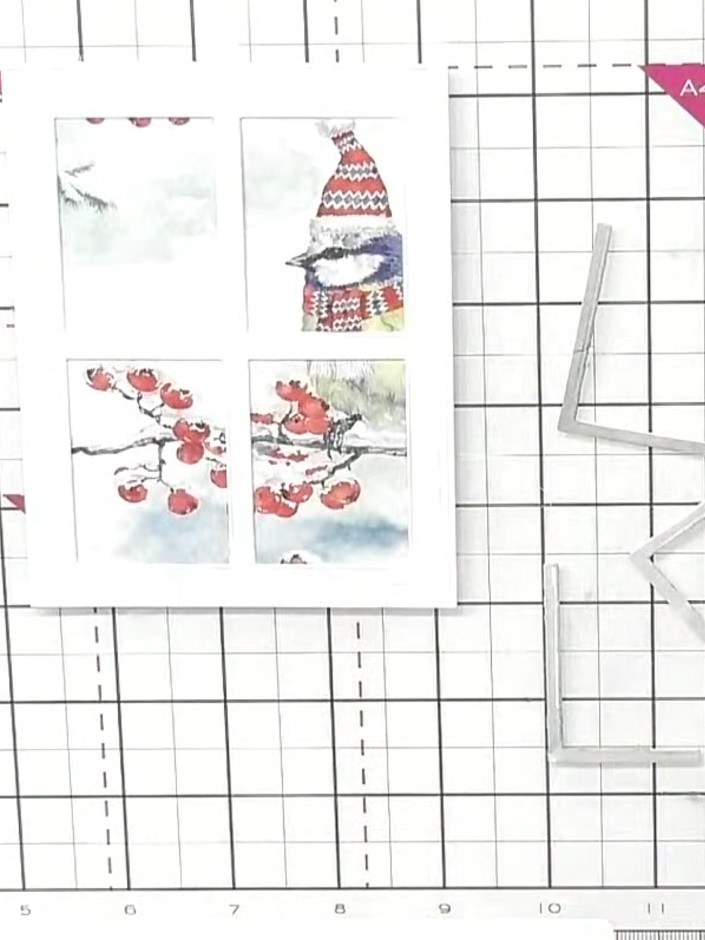
Glue the window frame onto the mounted scene, aligning carefully so that the stamped image shows through each of the four apertures.
▶ watch this step (39:30)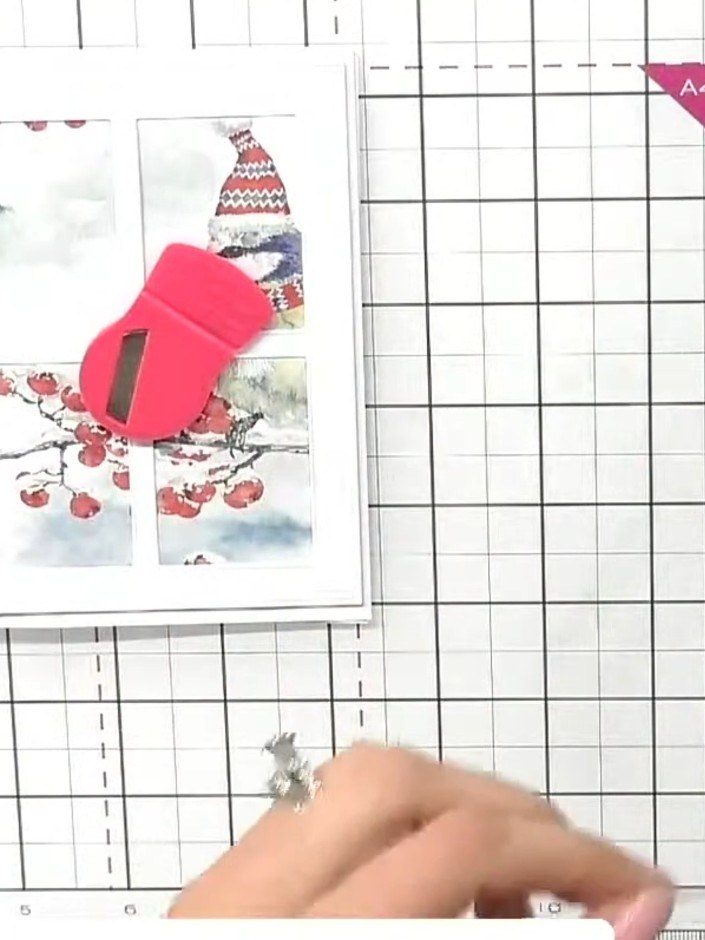
Fussy cut a second bird from the Festive Friends Painted Mounts pack, cutting roughly around the edges to create a slightly imperfect outline.
▶ watch this step (40:15)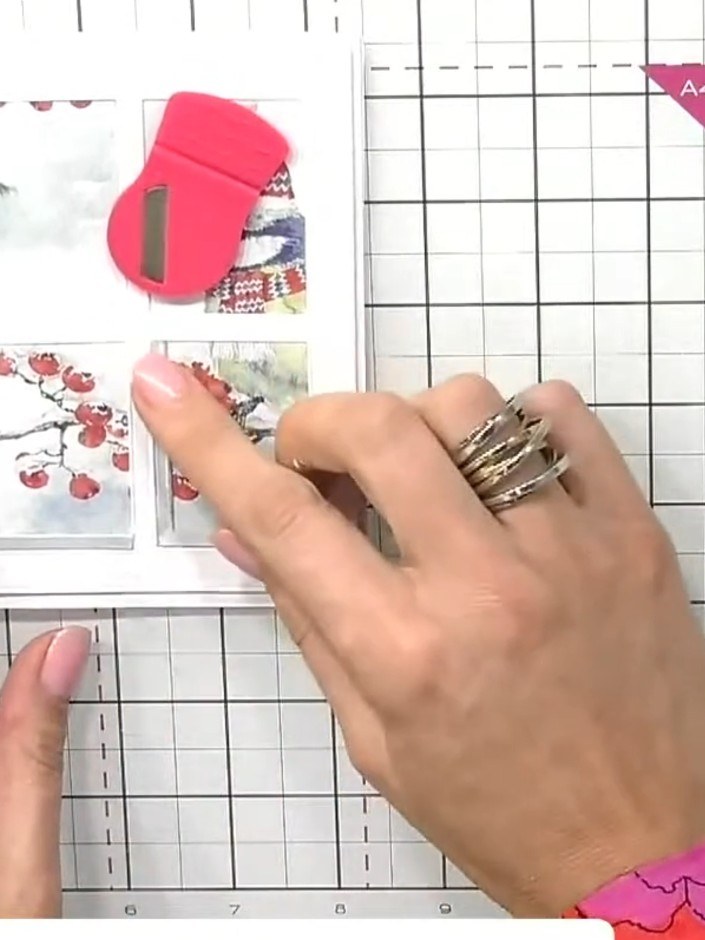
Add foam pads to the back of the fussy-cut bird. Layer the bird on top of the card to create a 3D effect.
▶ watch this step (41:00)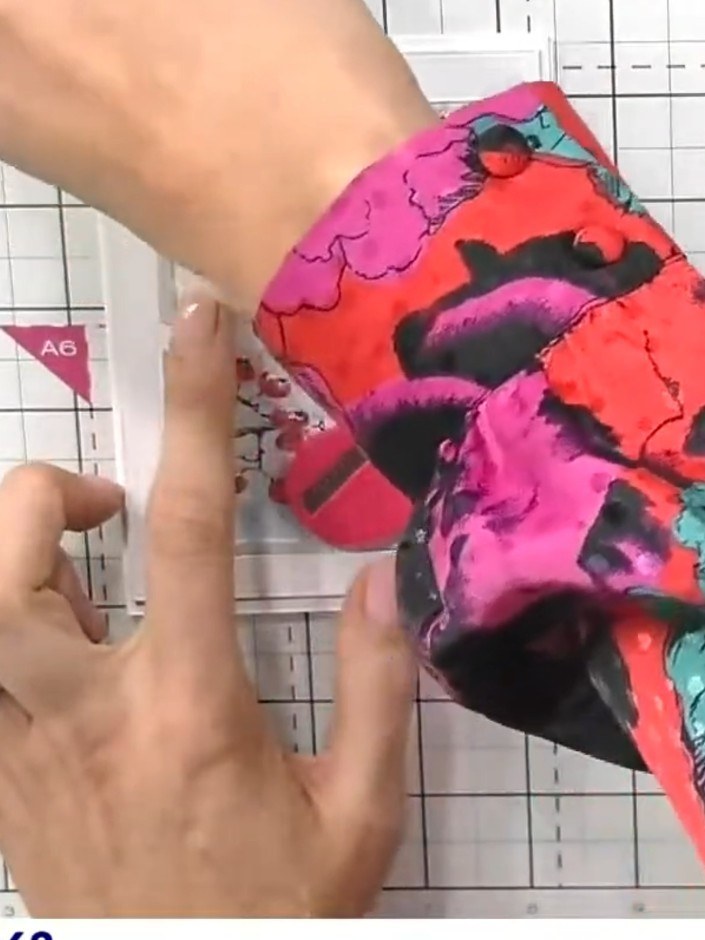
Mount the finished four-window design onto a folded card base, aligning it centrally to complete your card.
▶ watch this step (42:00)Written up from the show itself. See every guide from our shows · free how-to guides · watch live on My Telly
