Give your friends $10 off their first order!
Refer a FRIEND








A project from our live show CREATE AND CRAFT TV - Join Toni for her brand new launch show 3 - broadcast 17th Oct 23 · 10/17/2023 · watch it from 36:30
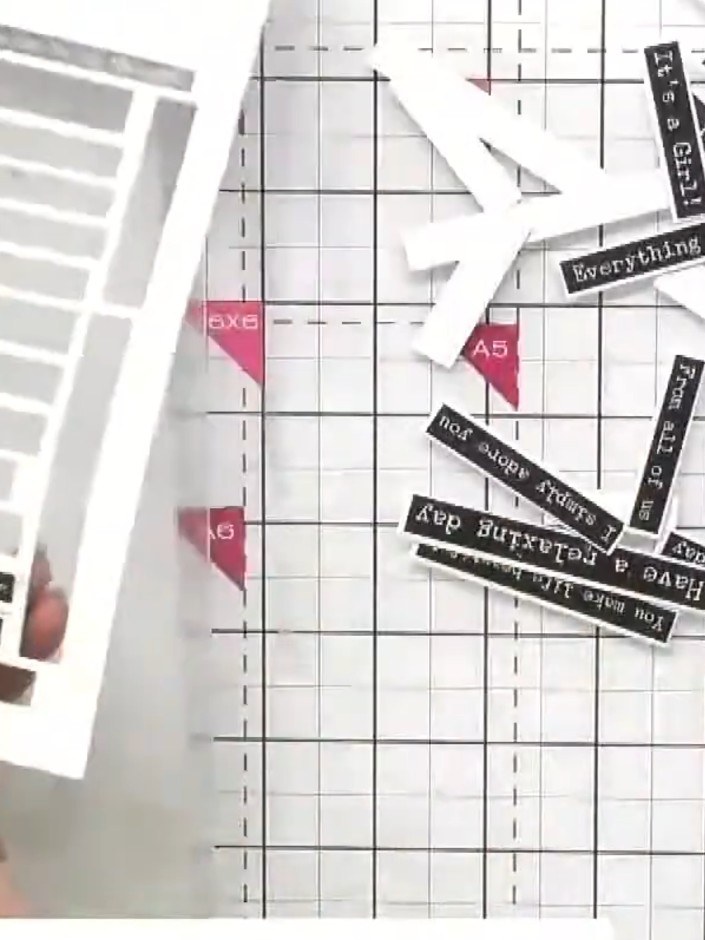
Create an elegant greeting card featuring die-cut washi tape sentiments on a dark patterned background. The transparent washi tape allows the card colour to show through the letters, creating beautiful white script text against the textured backdrop. This simple yet striking technique combines die-cutting with washi tape application for a sophisticated handmade card.
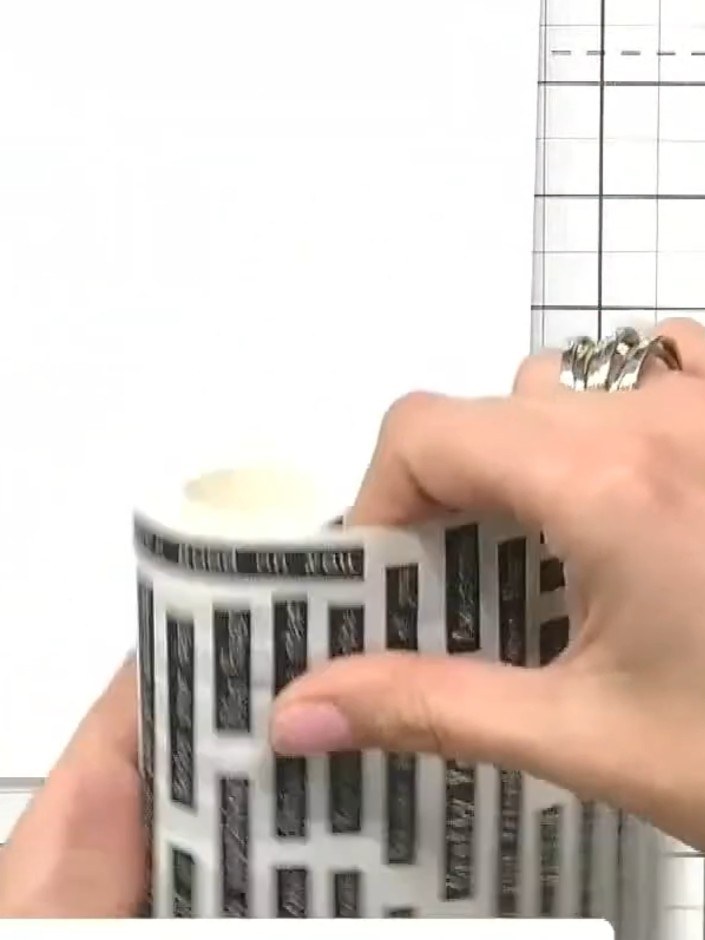
Position your washi tape roll on your card stock or acetate. Apply the tape smoothly, ensuring you don't get any curly edges by running your dye over it as you go.
▶ watch this step (36:30)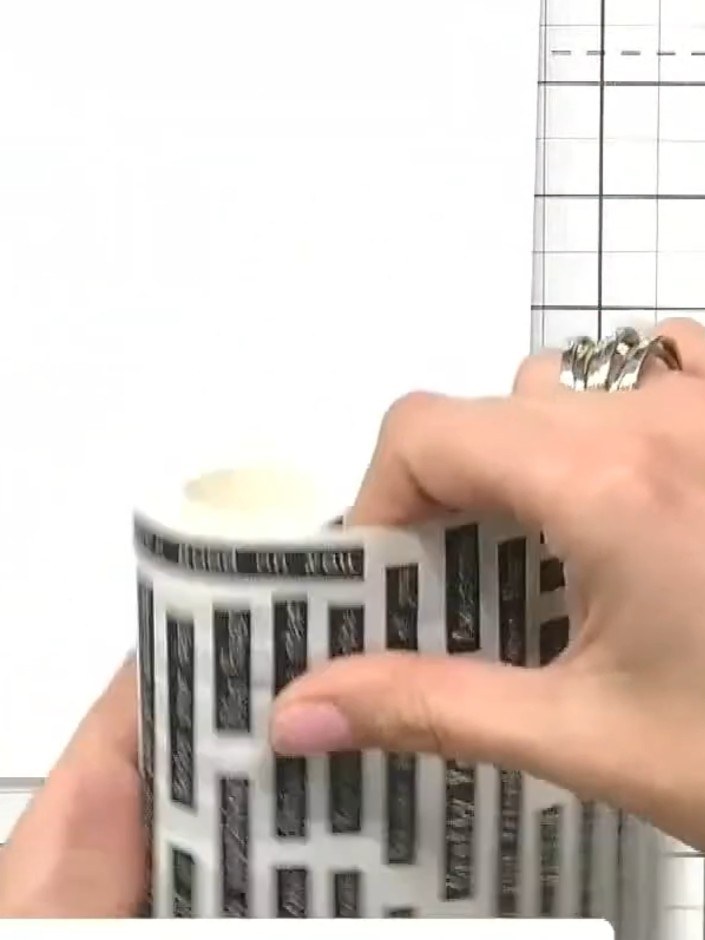
Position your sentiment die over the washi tape strip on your card base, ensuring it's aligned where you want the sentiment to appear. The die should be placed centrally over the tape to create a clean cut-out.
▶ watch this step (37:00)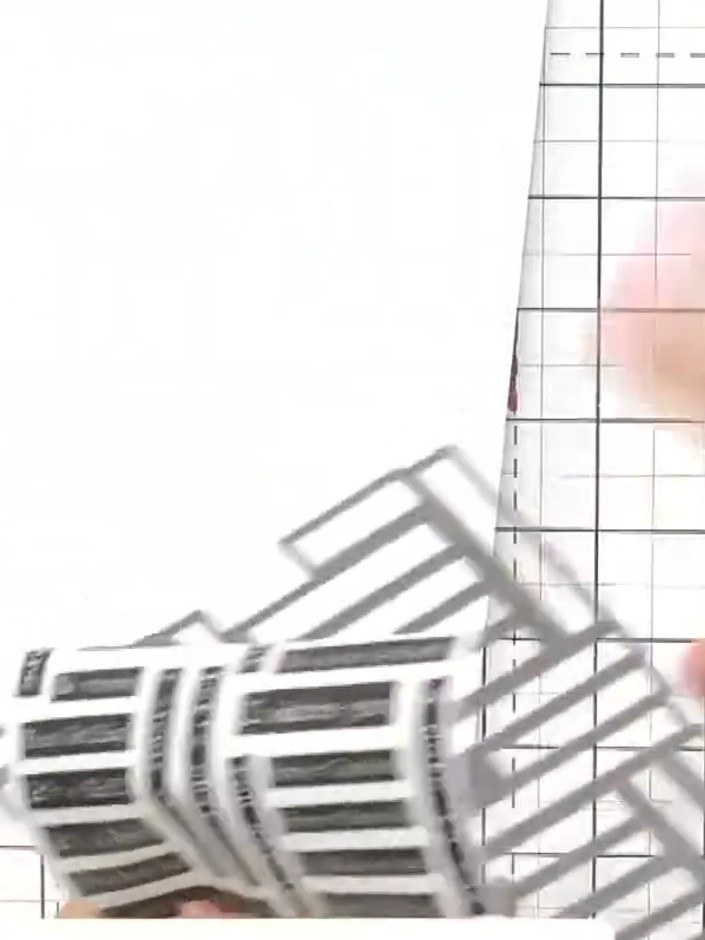
Run the die with the washi tape through your die-cutting machine to cut out the sentiment. The die cuts through both the washi tape and its backing, creating a sticky-backed sentiment piece.
▶ watch this step (37:30)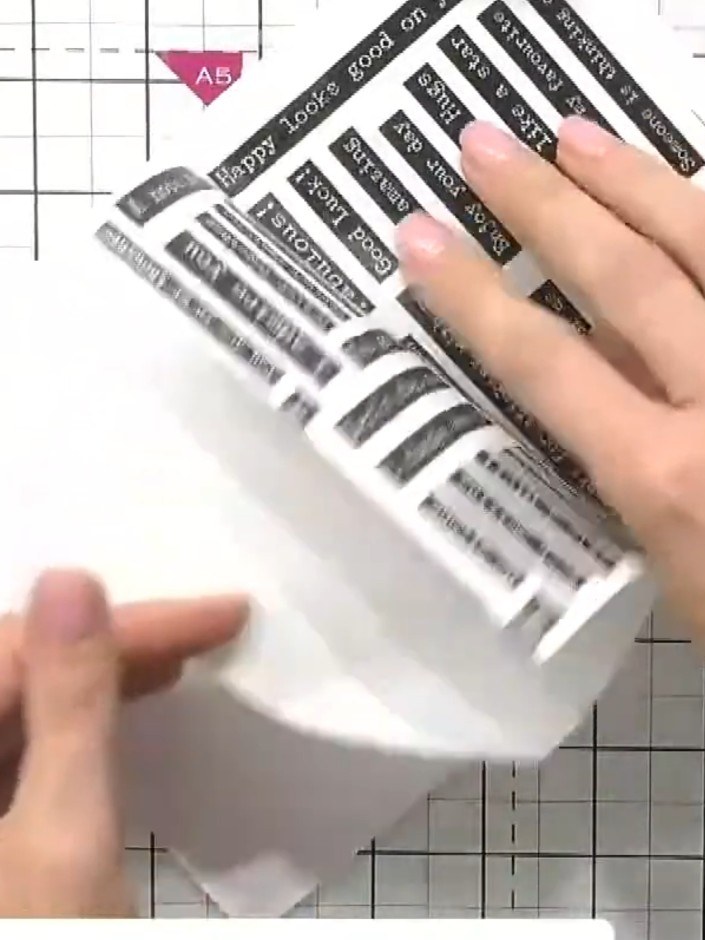
Peel away the backing from the sticky-back washi tape sentiment sheet. Position the acetate sheet you want to use on top of the adhesive side of the sentiment sheet.
▶ watch this step (38:00)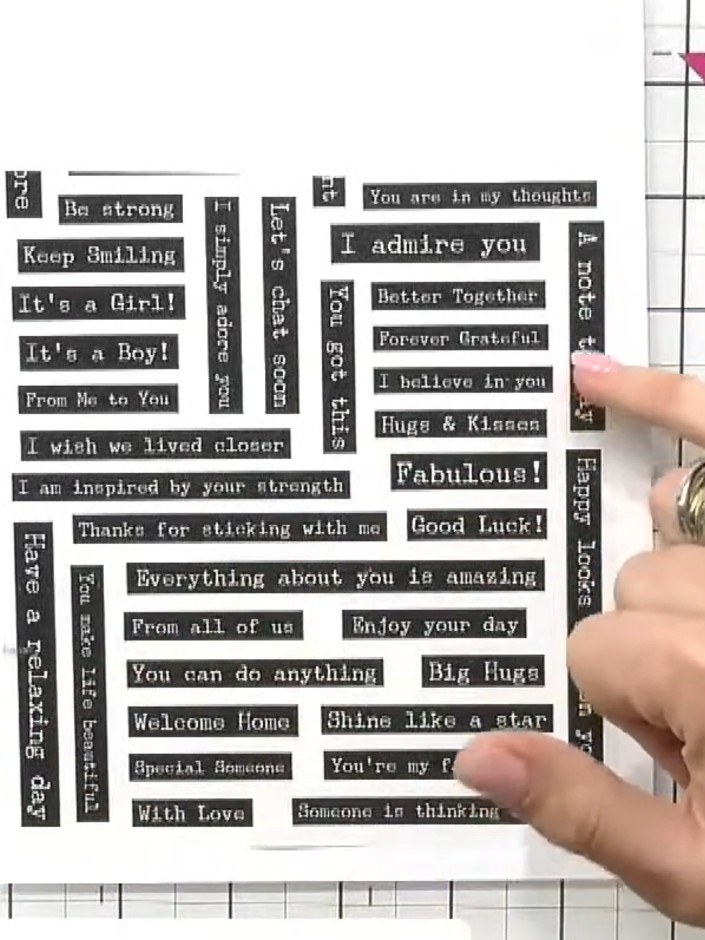
Position your chosen sentiment sticker onto your card, pressing down gently to adhere it in place.
▶ watch this step (38:30)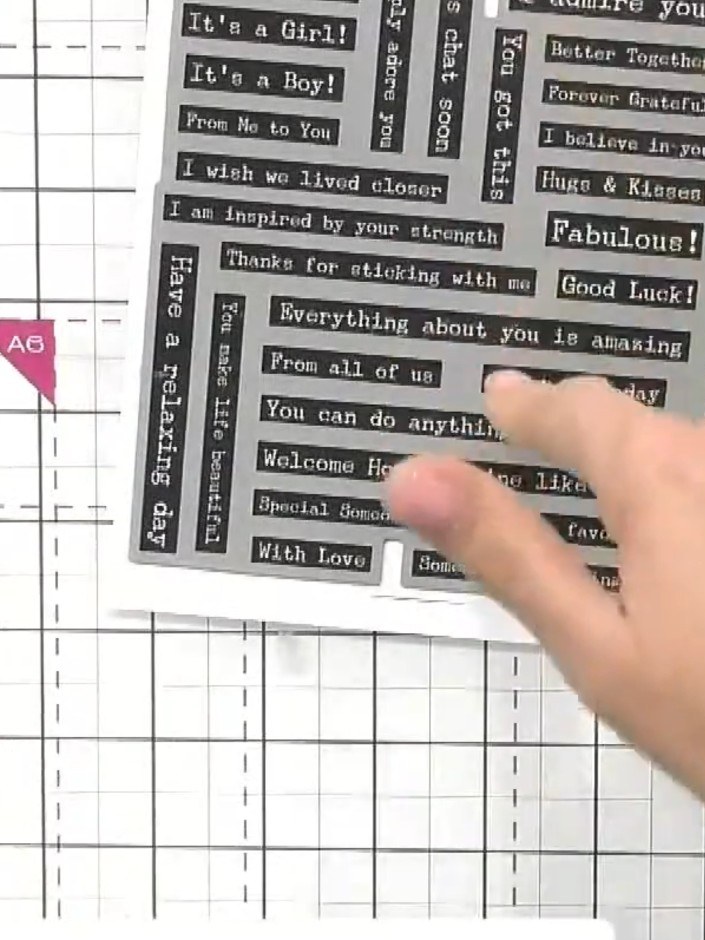
Position your chosen sentiment sticker onto the card. You can reposition it before fully burnishing it down if needed to get the perfect placement.
▶ watch this step (39:00)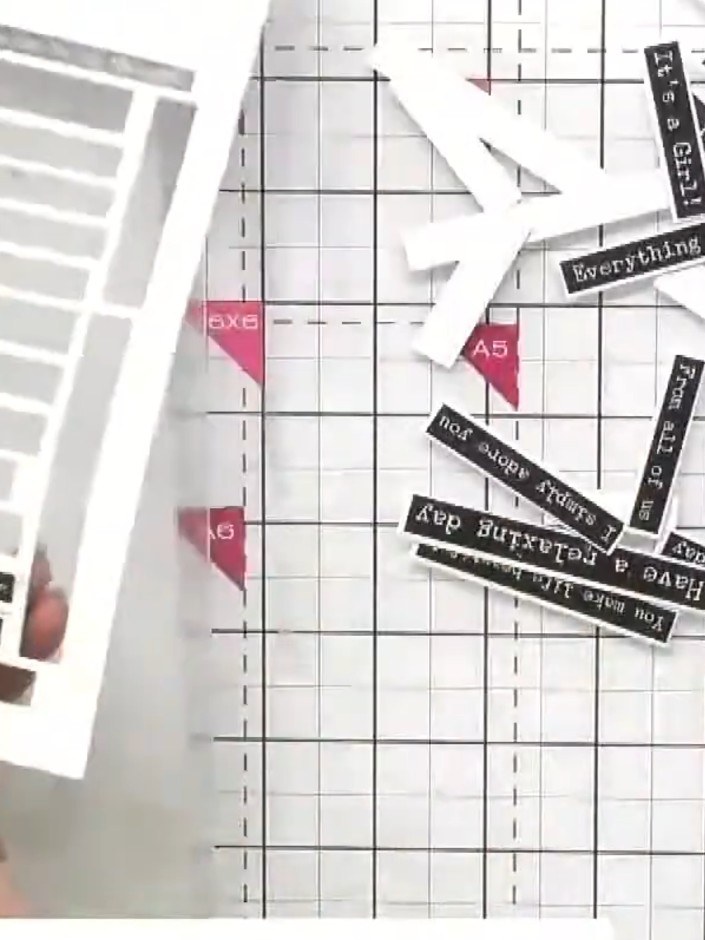
Optional: Layer your finished card onto a painted mount or other card base for added dimension and visual interest.
▶ watch this step (40:45)Written up from the show itself. See every guide from our shows · free how-to guides · watch live on My Telly