Give your friends $10 off their first order!
Refer a FRIEND








A project from our live show CREATE AND CRAFT TV - Join Toni for her brand new launch show 3 - broadcast 17th Oct 23 · 10/17/2023 · watch it from 19:15
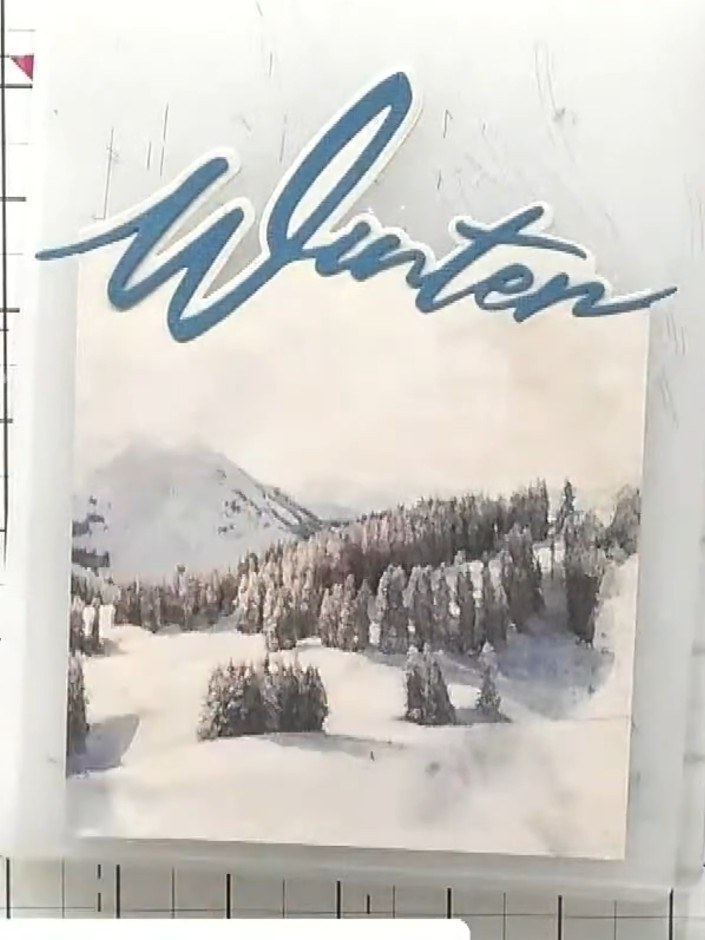
Create a sophisticated layered card featuring a beautiful winter scene with snow-covered mountains and trees. The design uses blue-toned painted mounts with multiple snow drift word dies positioned at different points across the card for added visual interest and depth. This elegant card combines watercolour-style imagery with die-cut sentiment words for a contemporary festive look.
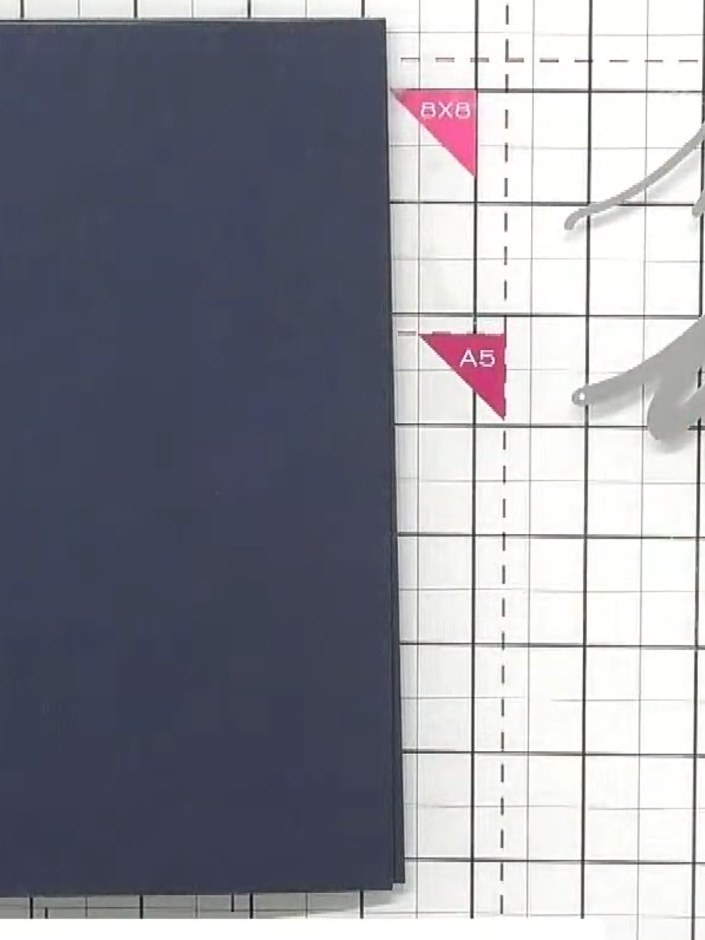
Select two blue-toned painted mounts from your collection. Place them on your cutting mat to use as base layers for your card.
▶ watch this step (19:30)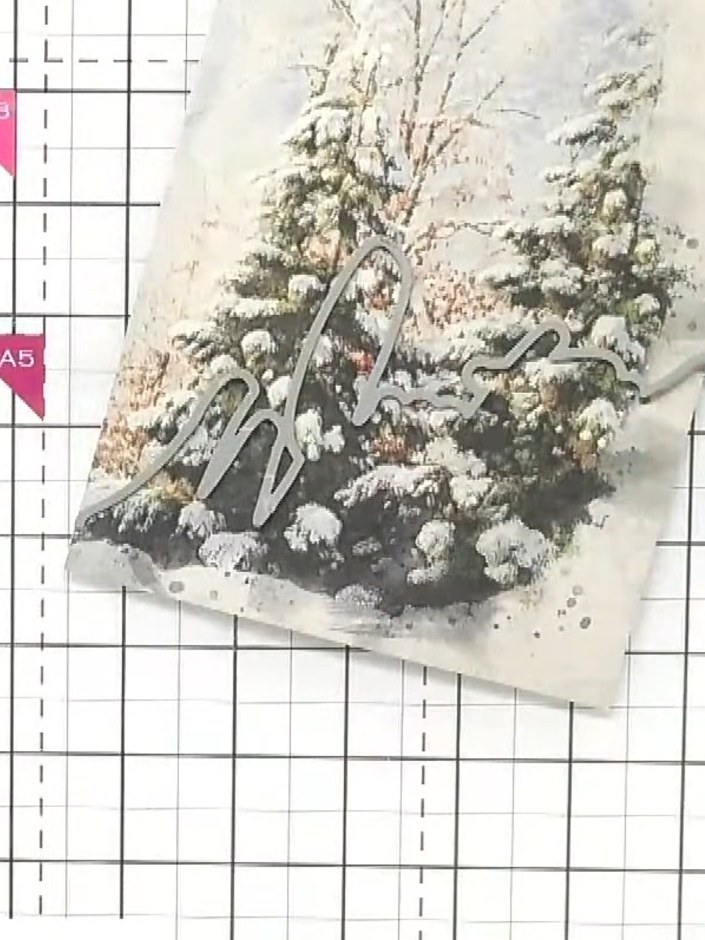
Cut out the top portion of your first snow drift word die (Winter) using your cutting machine. Remove the die-cut piece from the backing card.
▶ watch this step (20:00)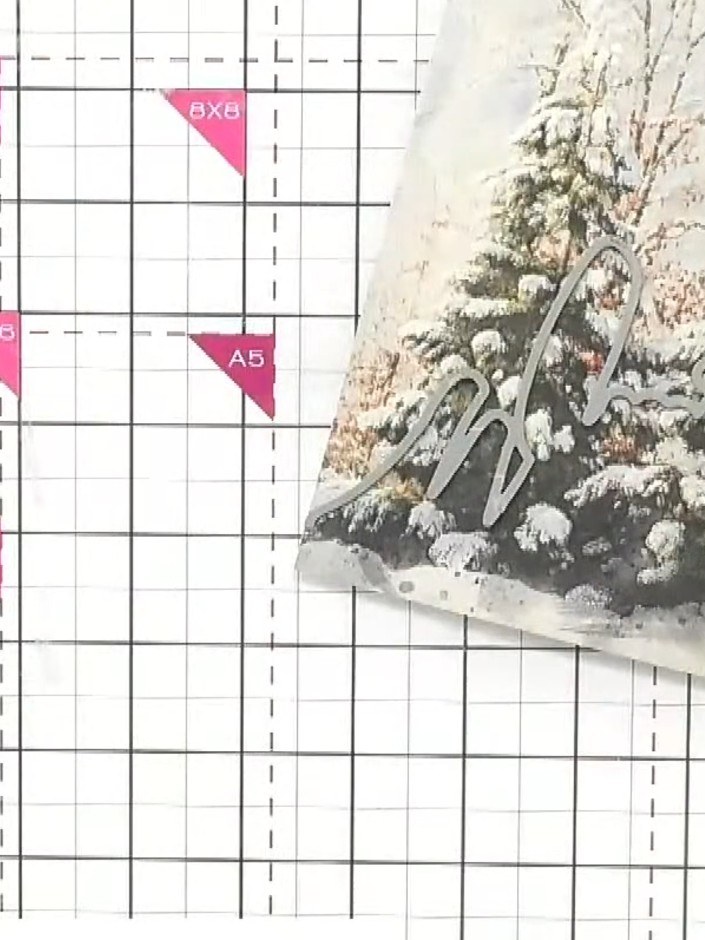
Position and adhere the first snow drift word cut-out to the top of your card base, aligning it with the winter scene image.
▶ watch this step (20:15)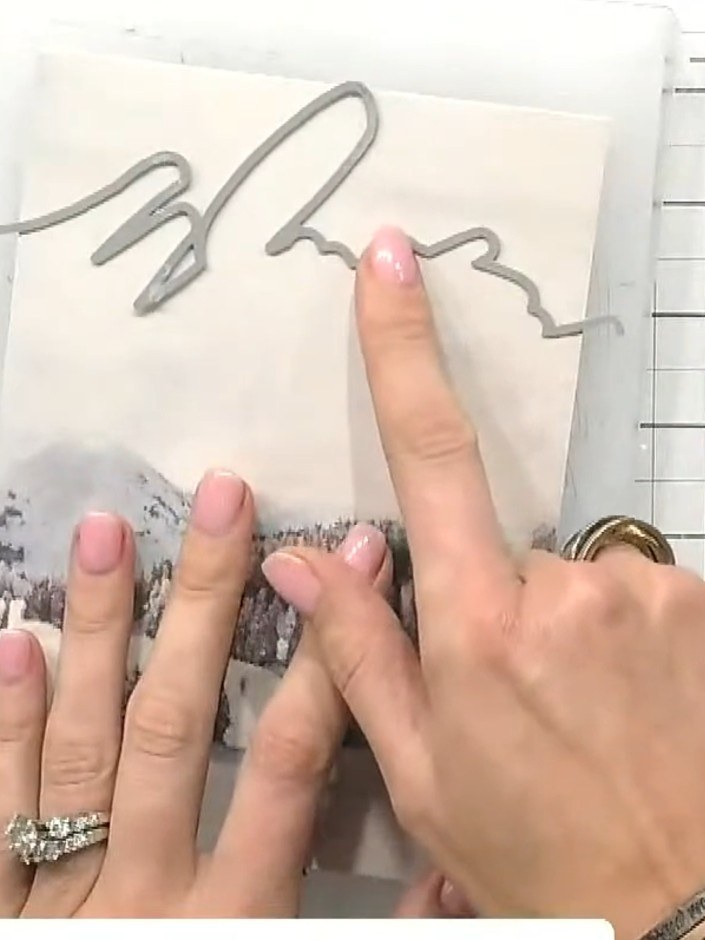
Die cut a second 'Winter' word from the snow drift die set. Position this die-cut on the right side of the card, overlapping the winter scene image.
▶ watch this step (20:45)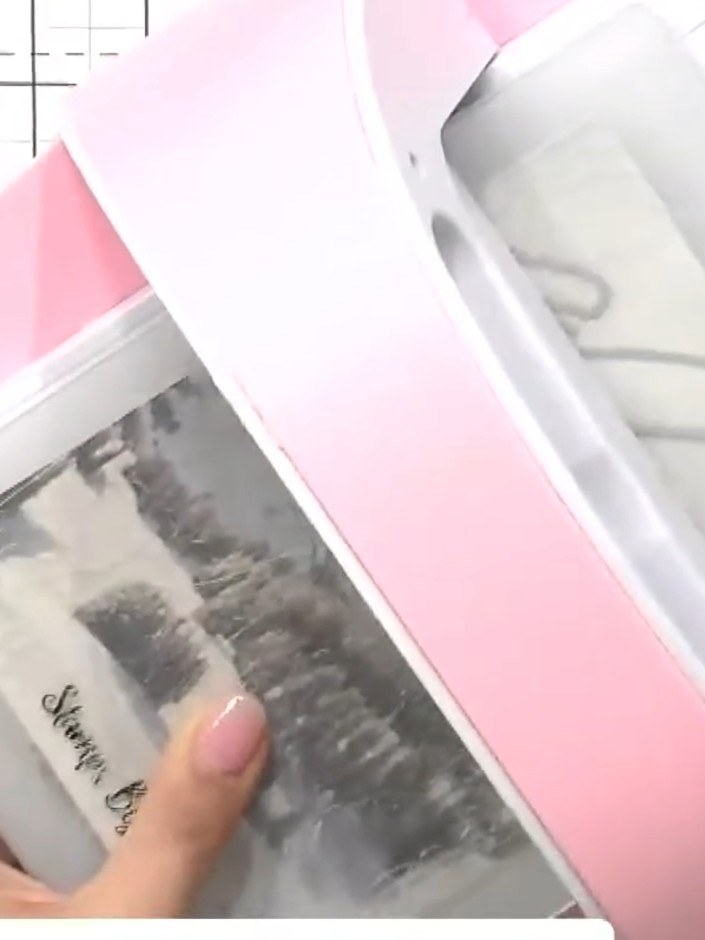
Layer the first painted mount onto the card base using foam pads to add dimension.
▶ watch this step (21:00)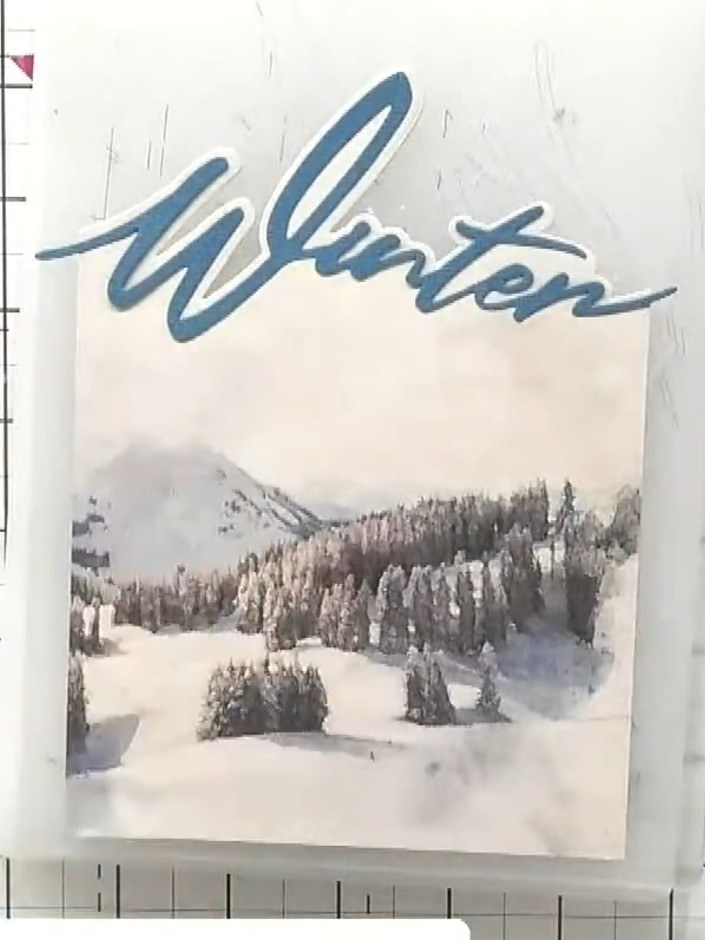
Position the second painted mount on top of your card, aligning it carefully with the 'Winter' word die-cut already in place. Ensure the blue-toned winter scene sits nicely below the sentiment.
▶ watch this step (21:30)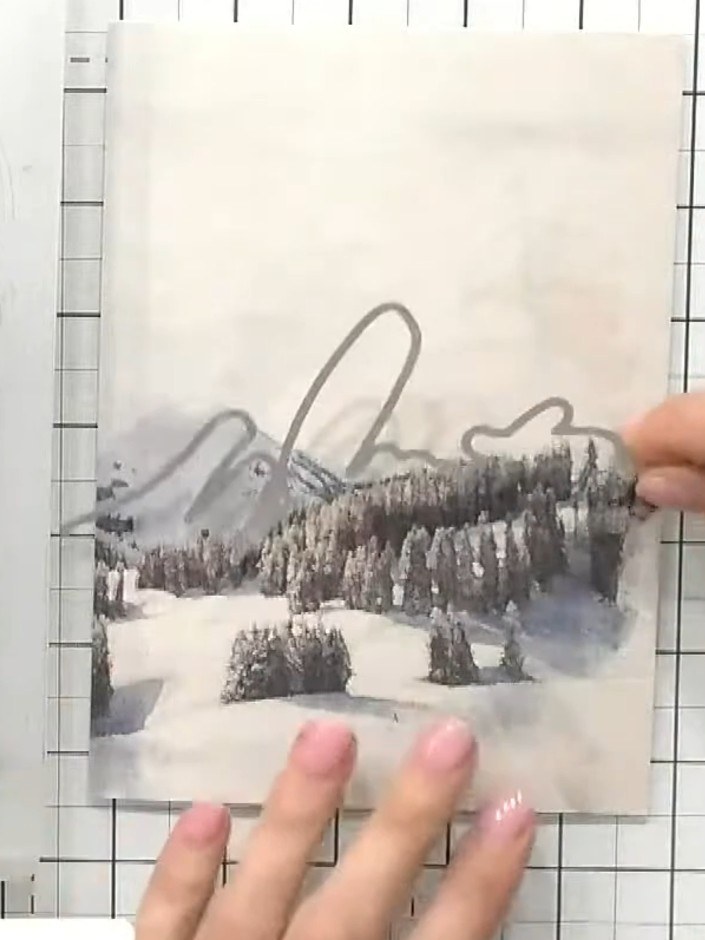
Apply white ink to the base of the card using a blending tool or sponge to create a wintry, sparkly effect at the bottom edge.
▶ watch this step (22:00)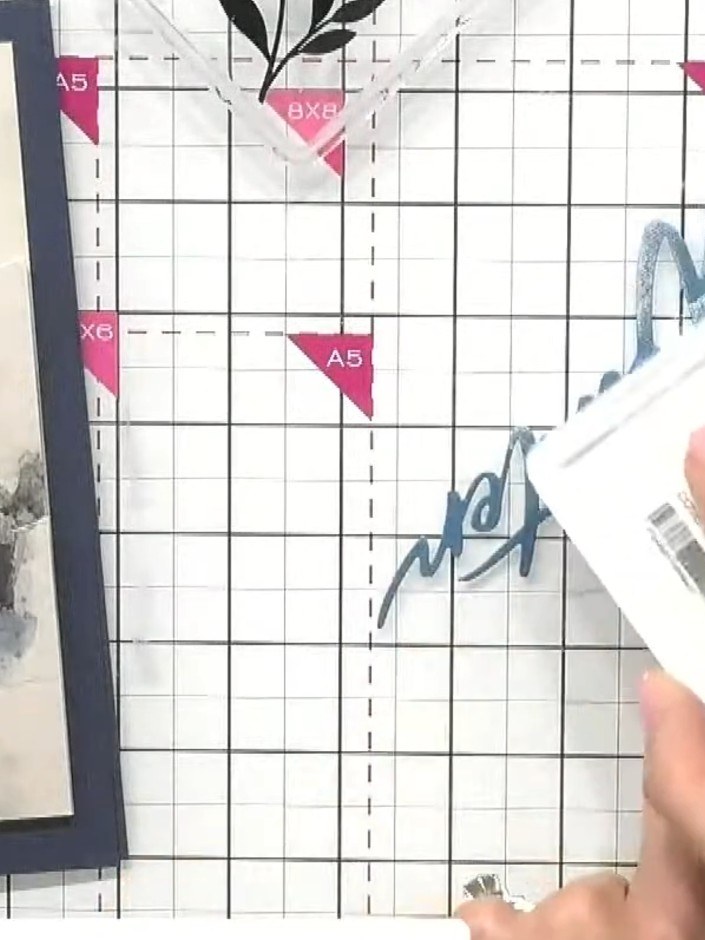
Add any final embellishments such as glitter or additional details to complete your layered winter scene card.
▶ watch this step (26:00)Written up from the show itself. See every guide from our shows · free how-to guides · watch live on My Telly

