Give your friends $10 off their first order!
Refer a FRIEND








A project from our live show CREATE AND CRAFT TV - Join Toni for her brand new launch - broadcast 23rd Oct 23 · 10/23/2023 · watch it from 49:30
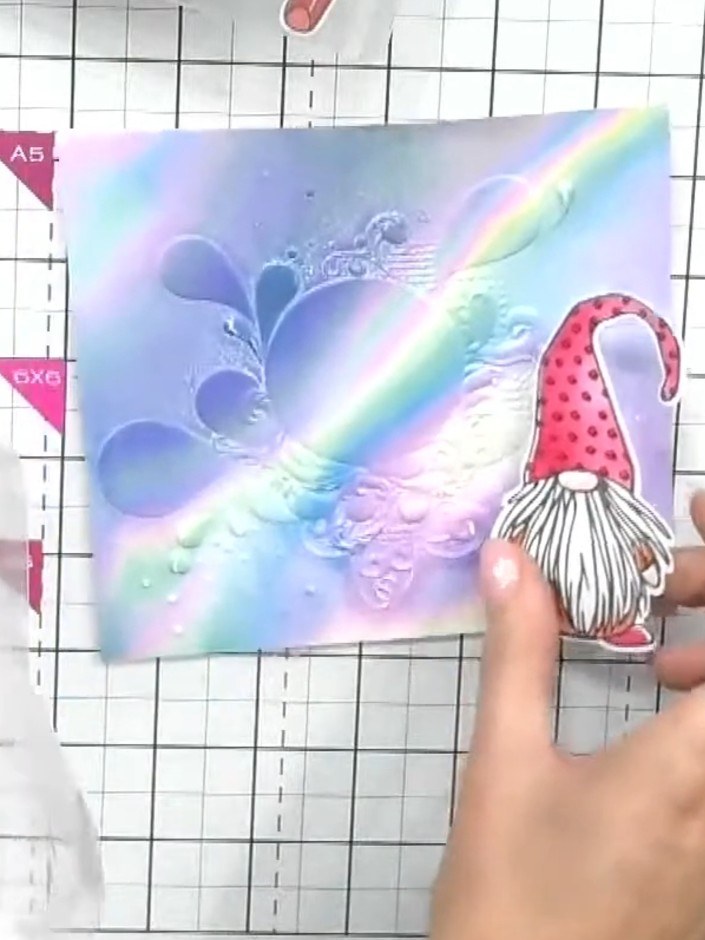
Create a stunning card featuring a charming gnome design on shimmering holographic paper. Using 3D embossing folders, you'll create raised texture that catches the light beautifully, then enhance the embossed details with white ink for a delicate, elegant finish. The rainbow hues of the holographic background combined with the crisp white highlights make this perfect for any special occasion.
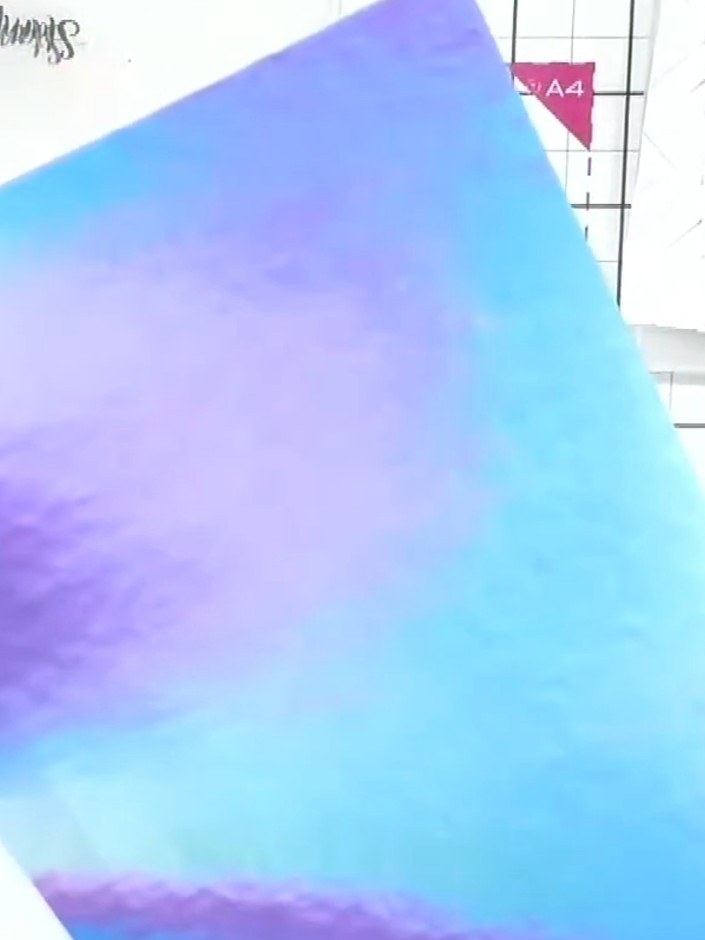
Select a sheet of holographic-effect uncoated paper from your pad. This paper has a beautiful iridescent finish with blue and purple tones that will create a stunning holographic look when embossed.
▶ watch this step (49:45)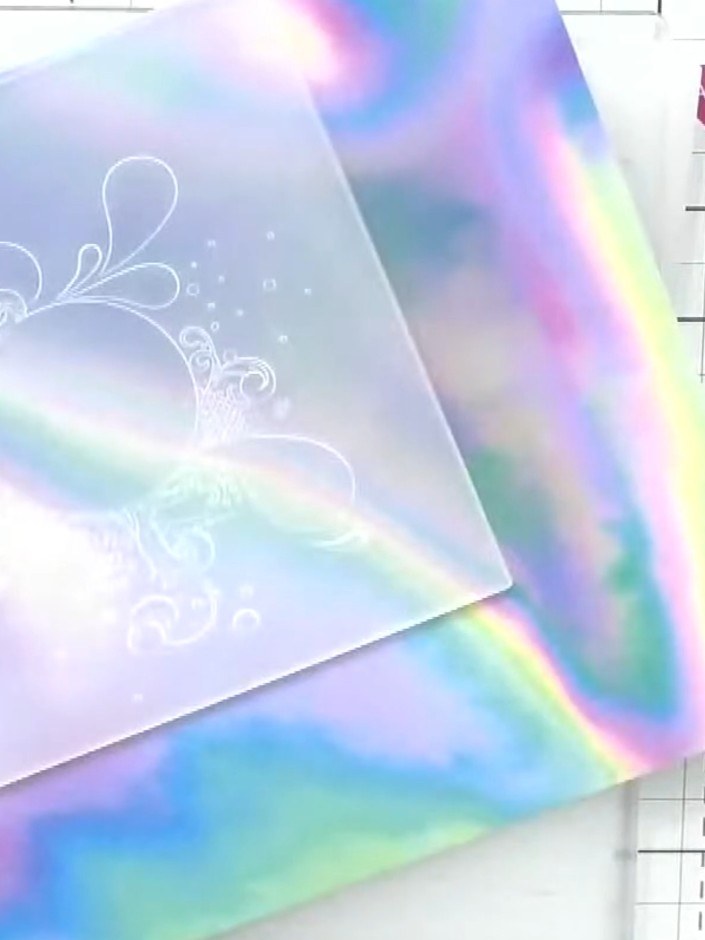
Place your stamped holographic paper into the embossing folder with the 'HD 3D' design, ensuring the white stamped image is facing up and positioned where you want the embossed pattern to appear.
▶ watch this step (50:00)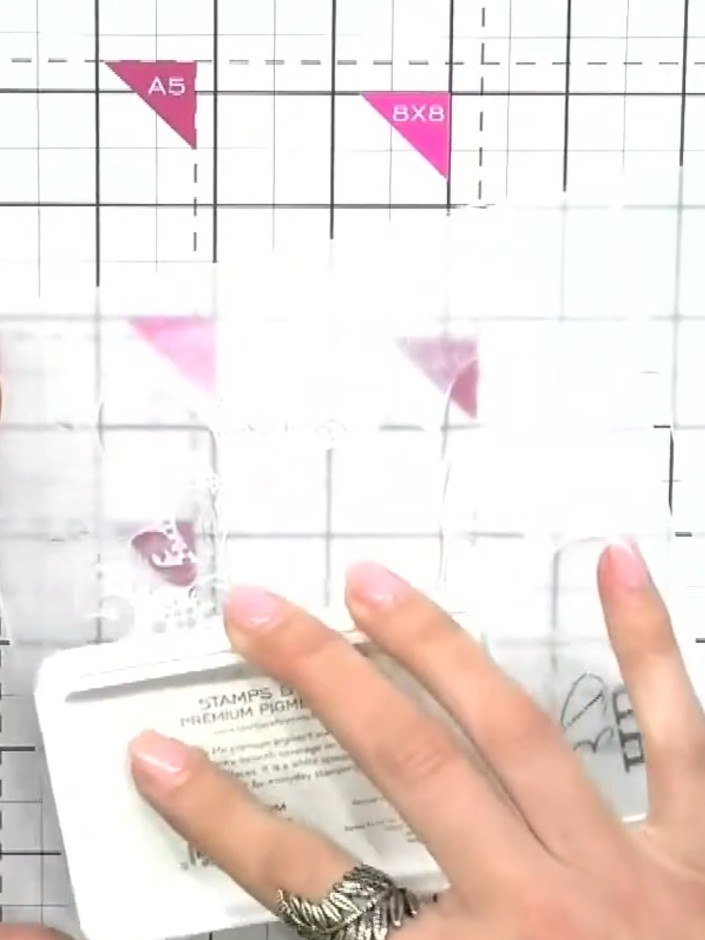
Run the embossing folder through your die-cutting machine to emboss the holographic paper.
▶ watch this step (50:15)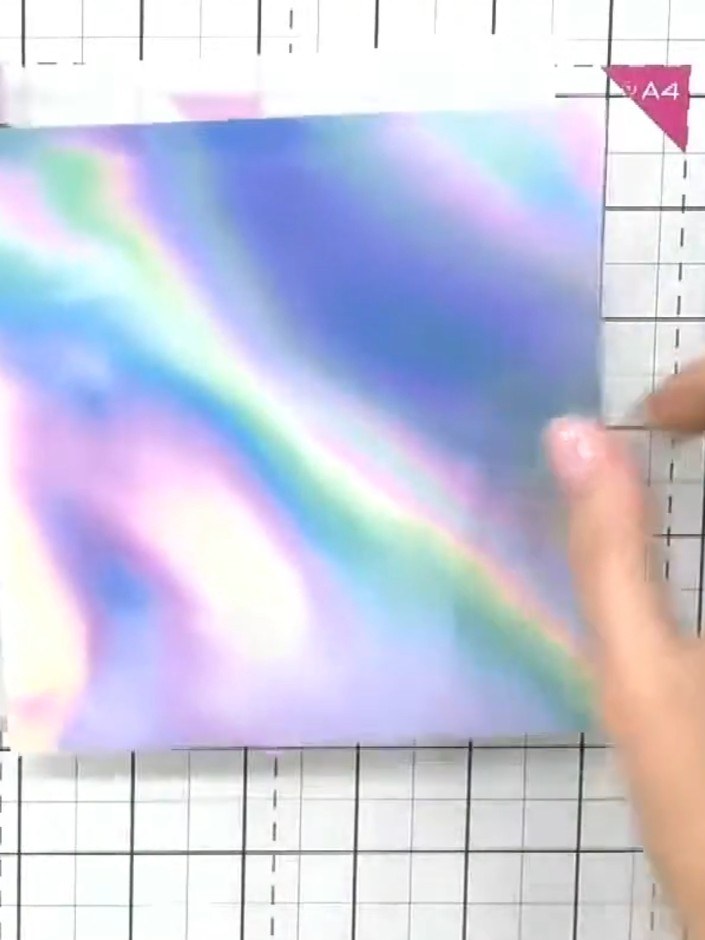
Remove the holographic paper from the embossing folder and examine the raised design. The pattern should show clear, dimensional detail across the iridescent surface.
▶ watch this step (50:30)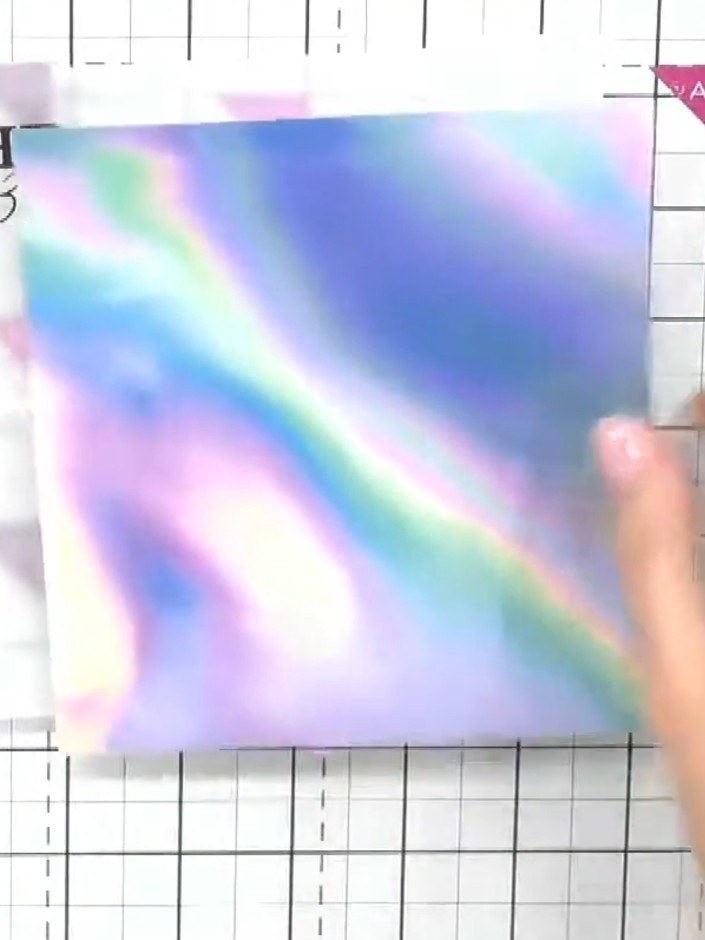
Load a white ink pad and gently dab it onto the raised areas of the embossed design on the holographic paper. Apply the ink lightly to highlight the embossed pattern.
▶ watch this step (50:45)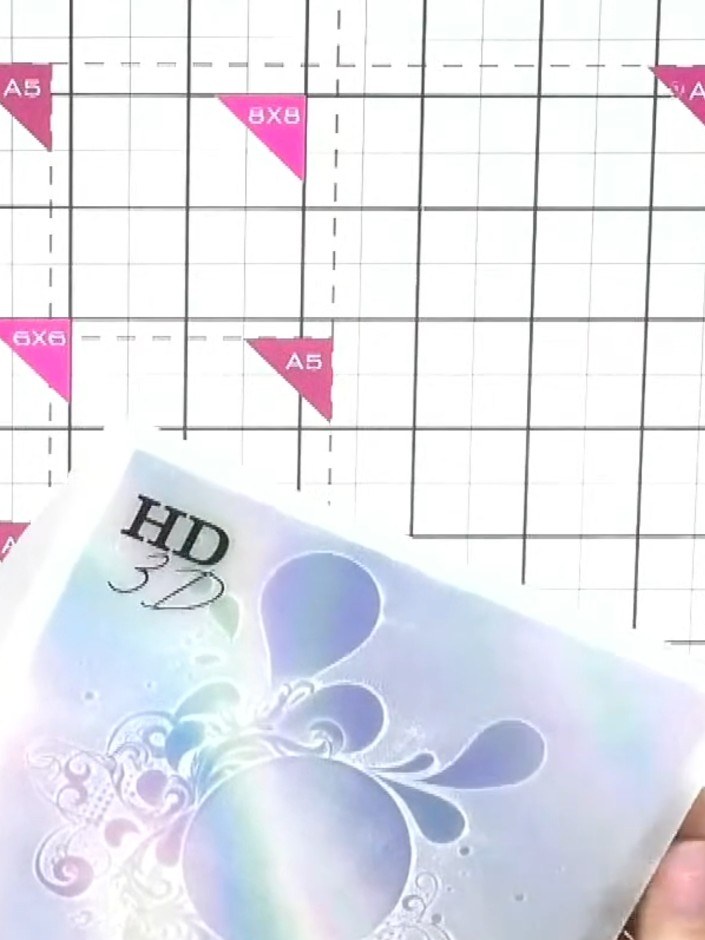
Using a light touch with the white embossing folder, gently press onto the holographic paper to create a subtle highlight effect that catches the light.
▶ watch this step (51:00)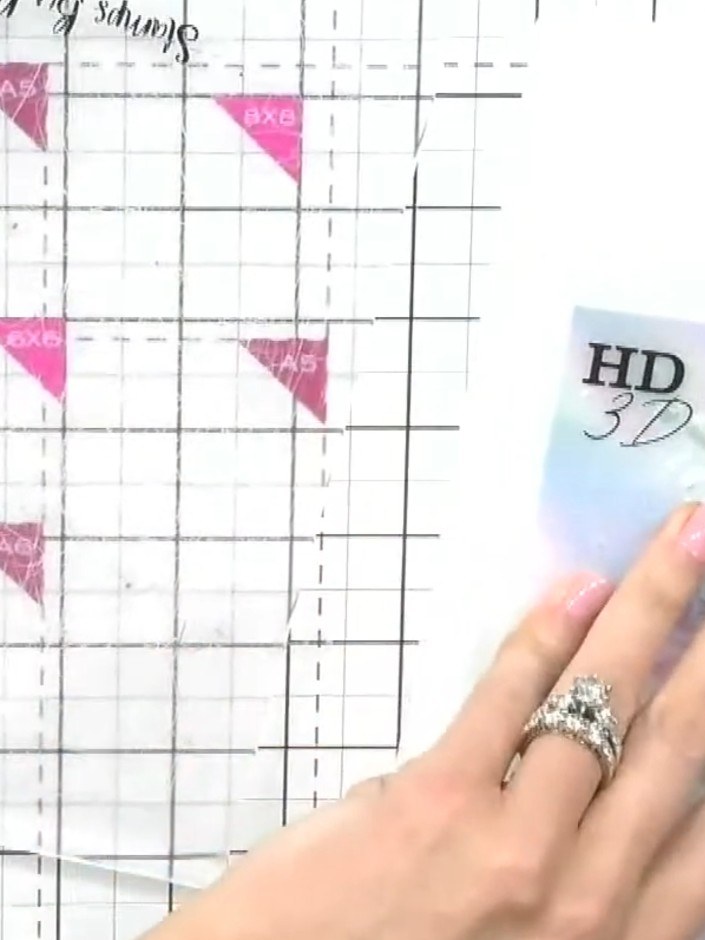
Mount your finished embossed holographic piece onto a card base. Add any additional embellishments as desired to complete your card.
▶ watch this step (51:30)Written up from the show itself. See every guide from our shows · free how-to guides · watch live on My Telly