Give your friends $10 off their first order!
Refer a FRIEND








A project from our live show CREATE AND CRAFT TV - Join Carley Duff for the brand new SBM launch show 3 - broadcast 26th Oct 23 · 10/26/2023 · watch it from 41:15
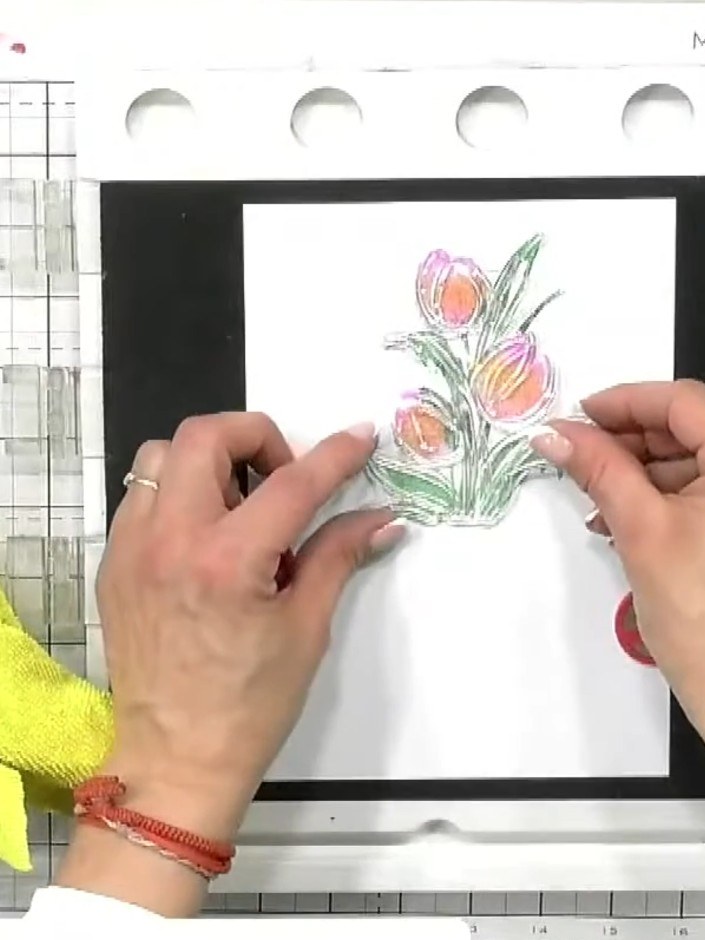
Create a stunning floral card featuring vibrant tulips with a beautiful ombre colour effect. Using the lamination stamp system, you'll apply multiple ink colours to create natural colour gradients on delicate tulip blooms. The finished card showcases watercolour-style flowers in coral and peach tones with fresh green foliage, mounted on a black mat for elegant contrast.
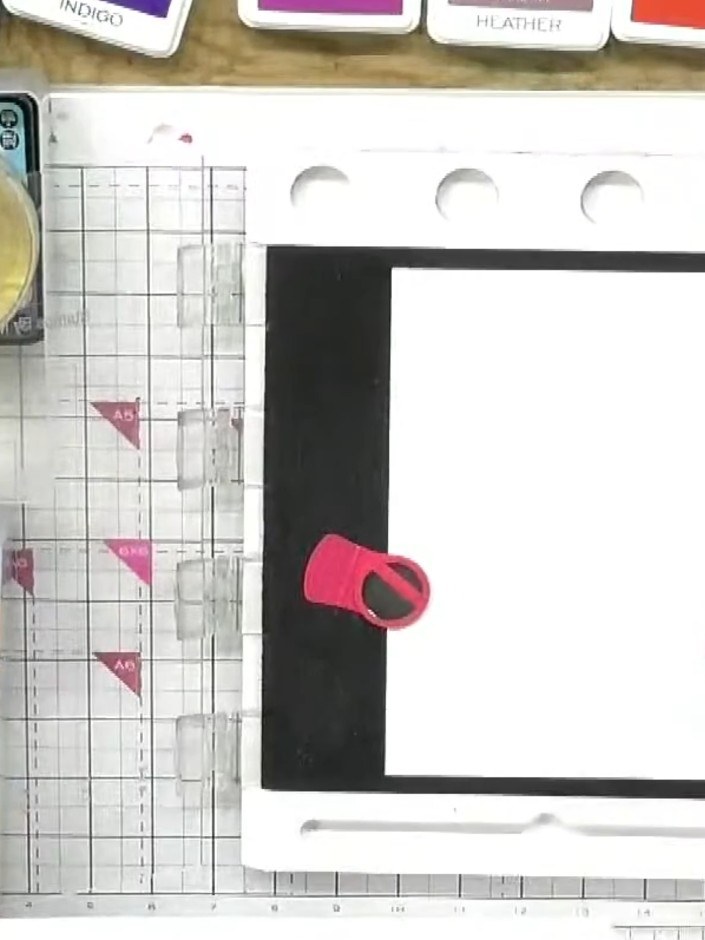
Pick up magenta ink on a dauber and apply it to the top portion of the tulip stamp.
▶ watch this step (41:30)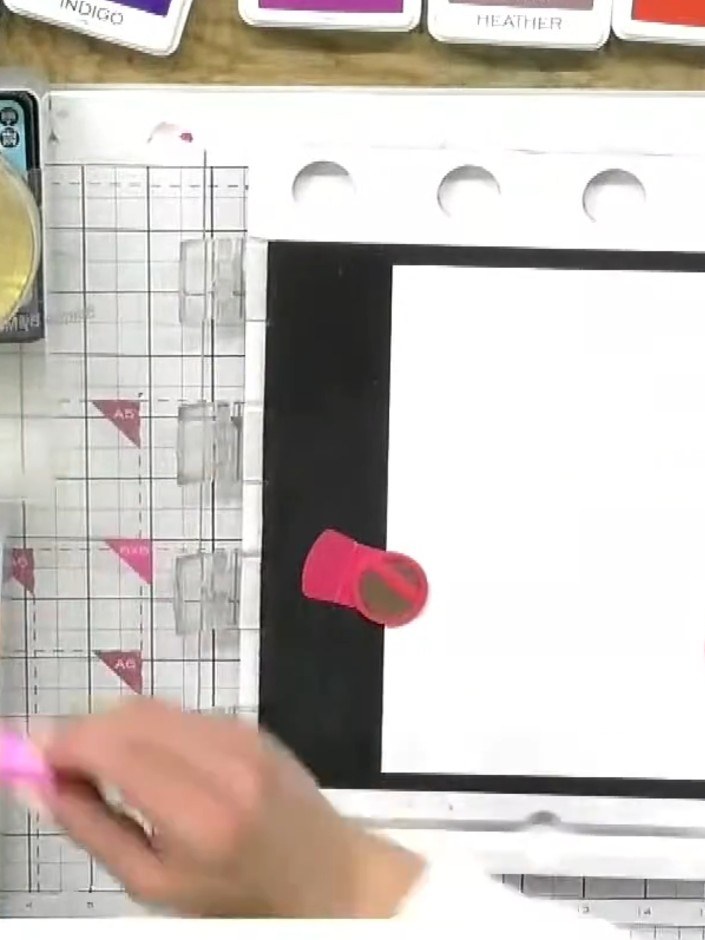
Apply fandango pink ink to the middle section of the stamp using the ink pad, blending slightly with the magenta ink already applied.
▶ watch this step (41:45)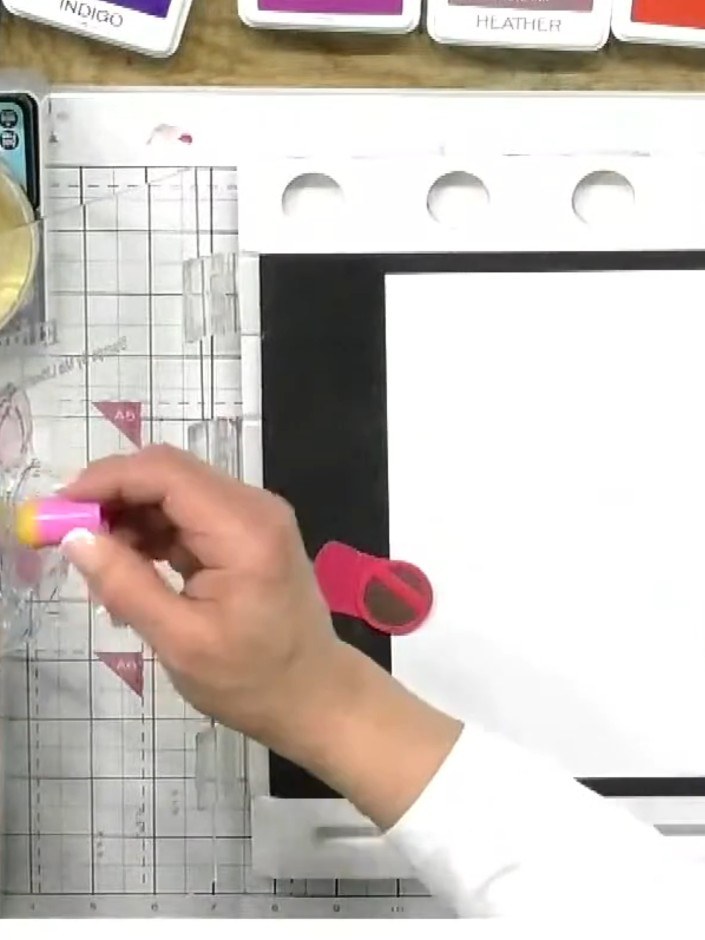
Add a touch of yellow ink to the centre point of the tulip stamp where the pink and white ombre colours meet. This creates a smooth colour transition in the middle of the flower.
▶ watch this step (42:00)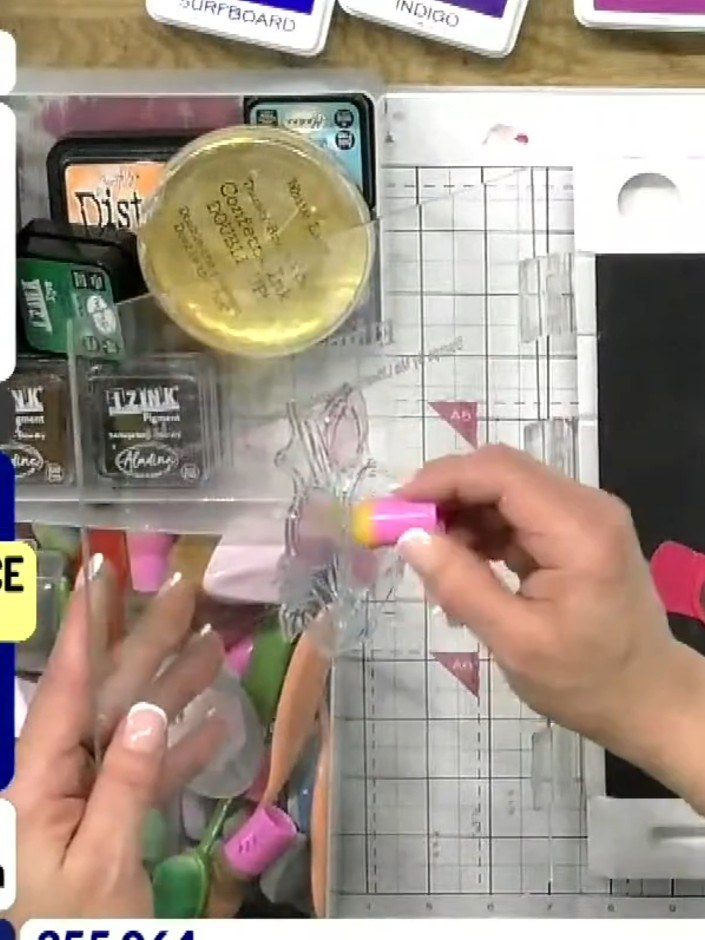
Apply green ink to the stem and lower petal areas of the tulip stamp. Use the green ink pad to colour the appropriate sections of the stamp before stamping.
▶ watch this step (42:15)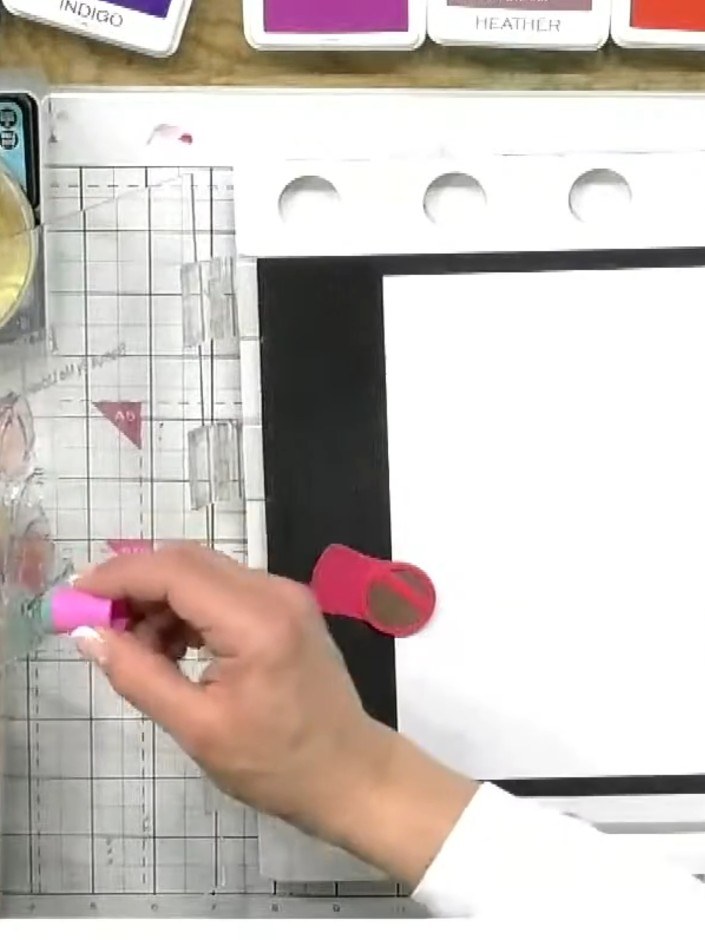
Stamp the coloured tulip image onto your white card base in a single, firm motion. Press down evenly to transfer the inked image clearly.
▶ watch this step (42:30)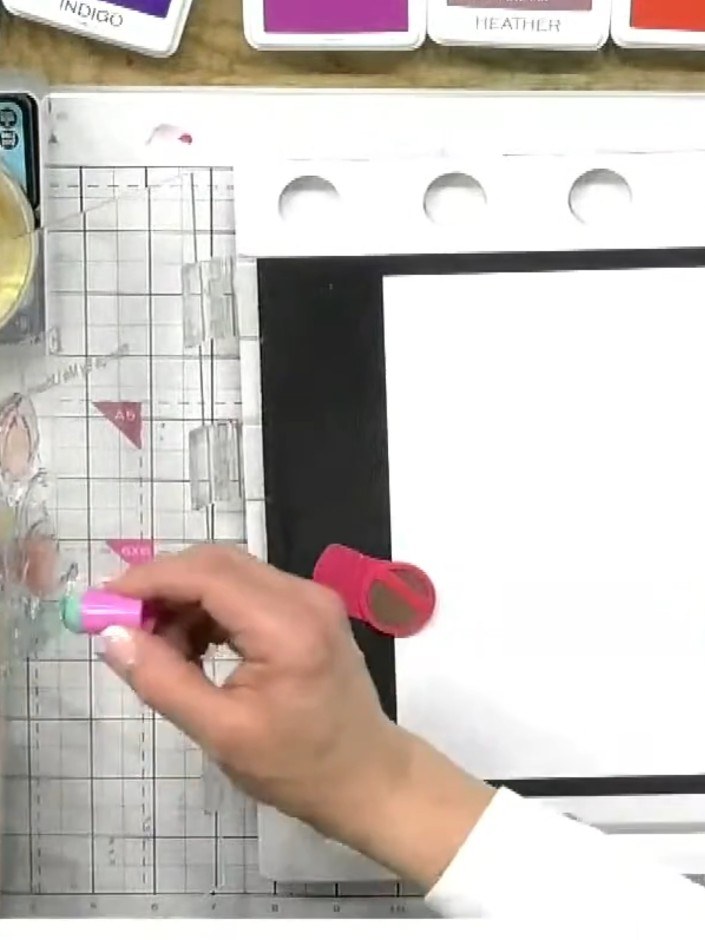
Line up the fine detail tulip stamp and stamp it in black ink directly over the coloured base layer to complete the tulip design.
▶ watch this step (42:45)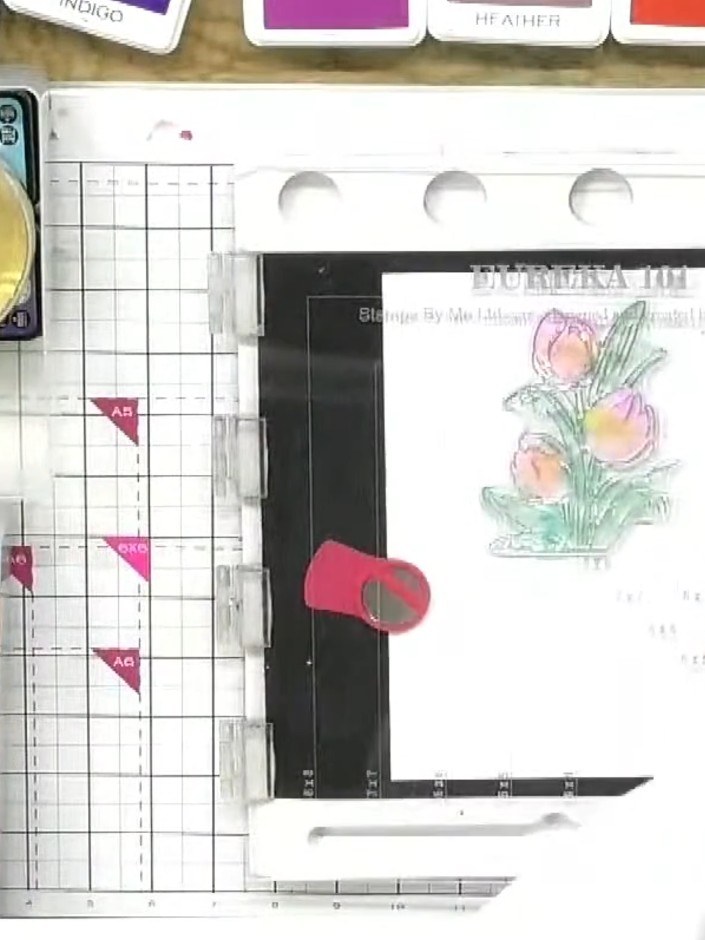
Add your chosen sentiment to the card. Position it appropriately on the card front to complete your design.
▶ watch this step (43:00)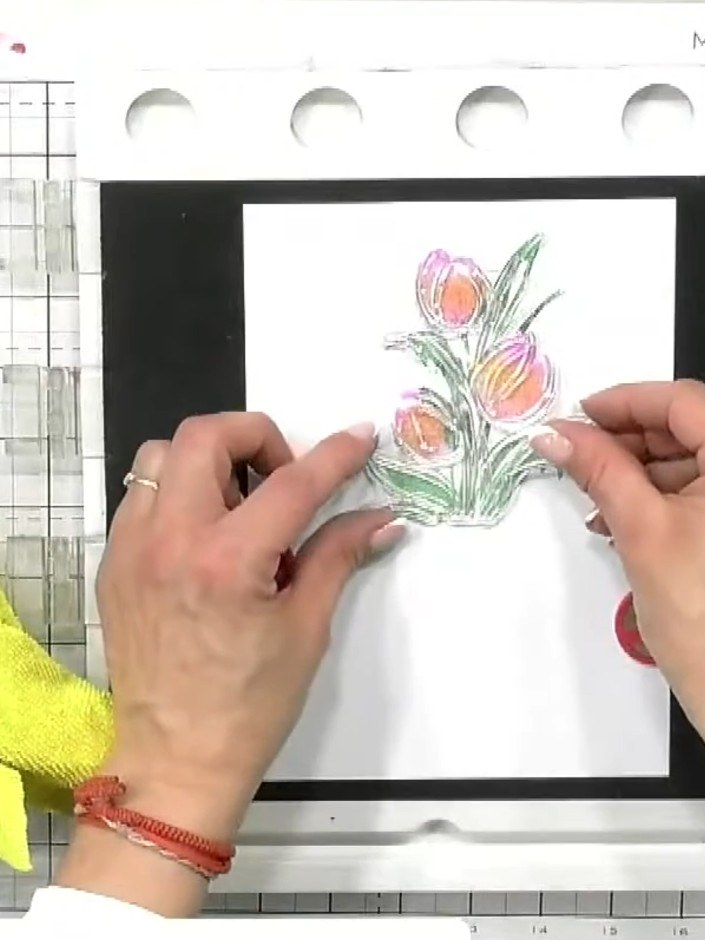
Use a white gel pen to add subtle highlights to the tulips and leaves to enhance the dimensional effect of your stamped image.
▶ watch this step (43:15)Written up from the show itself. See every guide from our shows · free how-to guides · watch live on My Telly