Give your friends $10 off their first order!
Refer a FRIEND








A project from our live show CREATE AND CRAFT TV - Join Carley Duff for the brand new SBM launch show 3 - broadcast 26th Oct 23 · 10/26/2023 · watch it from 36:00
Create a sophisticated layered card featuring a scenic boat design with a hummingbird motif. Using the lamination stamp system, you'll build up a beautiful multi-layered scene with coloured washes in blues, greens and pinks against a black and white background. The technique combines stamping, colour blending and precise layering to achieve a striking dimensional effect.
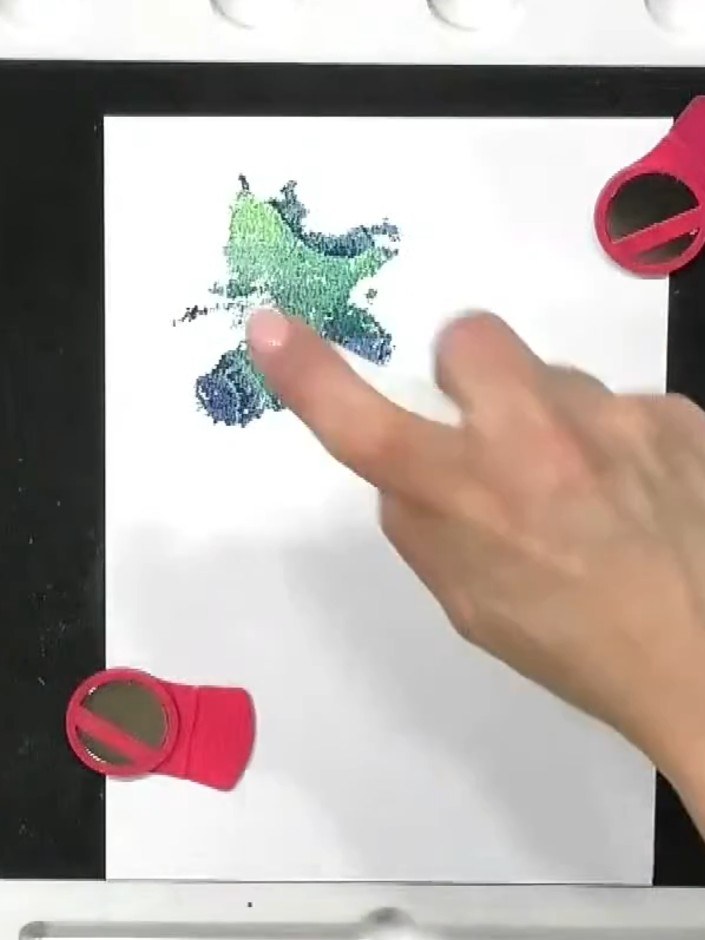
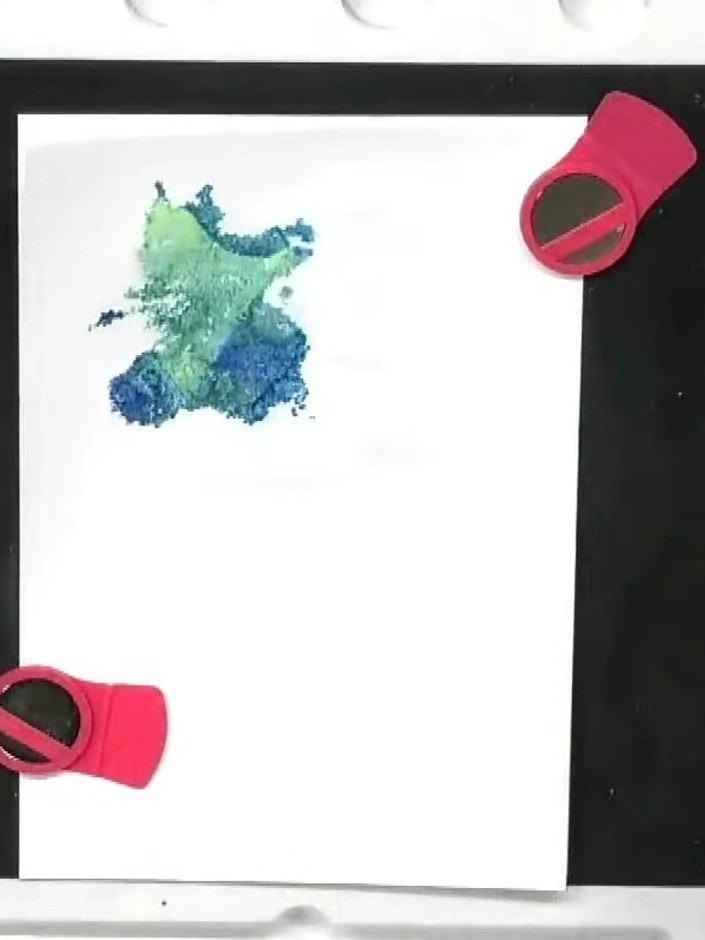
Stamp the decorative splat background stamp onto white card using black ink. Press firmly and lift straight up to avoid smudging.
▶ watch this step (36:00)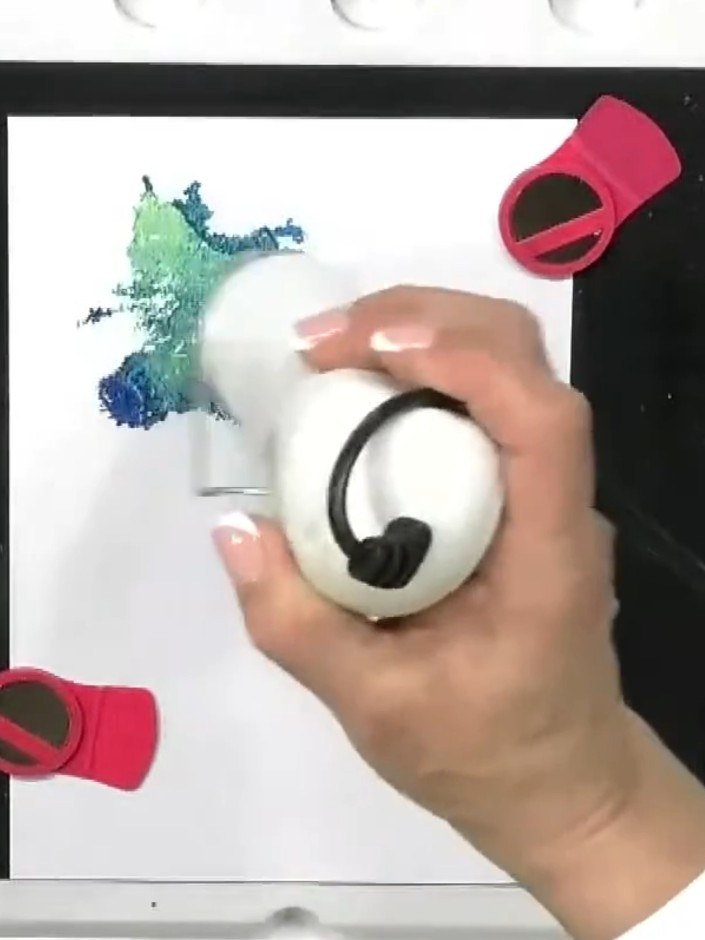
Apply multiple shades of blue ink to the background stamp. Press the stamp onto the white card to create a coloured splat effect with the different blue tones blending together.
▶ watch this step (36:15)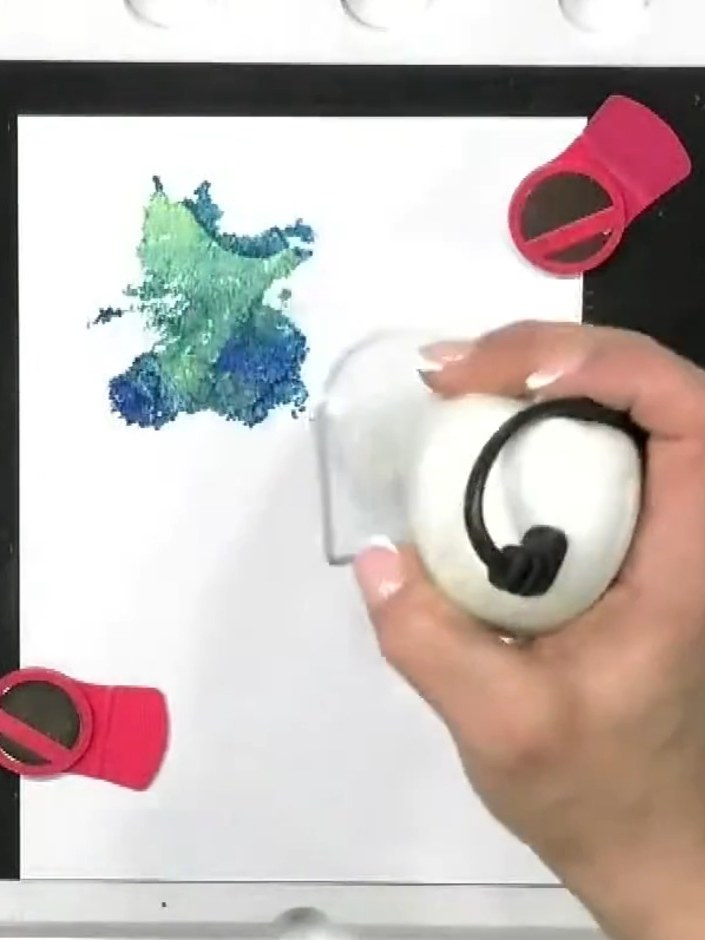
Lightly spray the stamped background with water using a spray bottle. This will blend the ink colours together and create a soft, atmospheric watercolour effect.
▶ watch this step (36:30)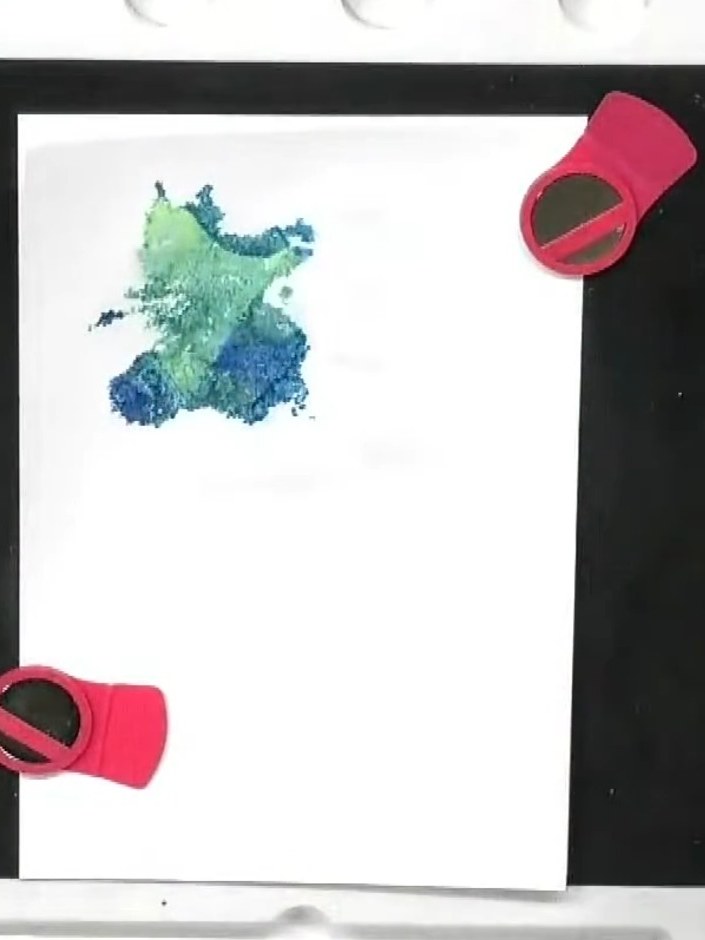
Allow the stamped background to dry completely before proceeding with the next layer. The green and blue stamped design should be fully dry to the touch.
▶ watch this step (36:45)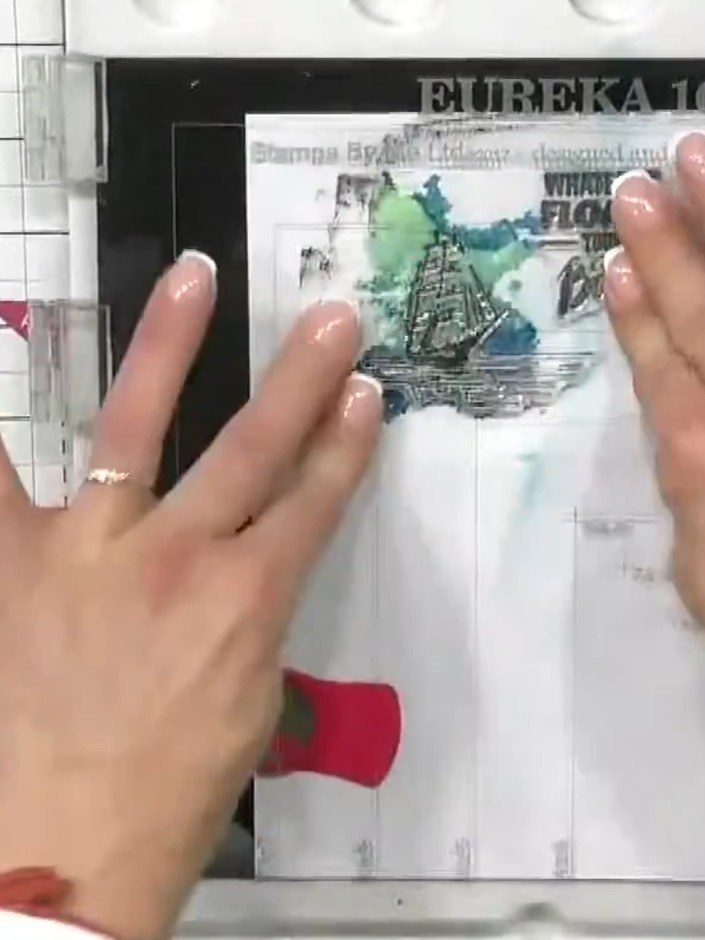
Stamp the boat image in black ink over the dried watercolour background, positioning it centrally as your focal point.
▶ watch this step (37:00)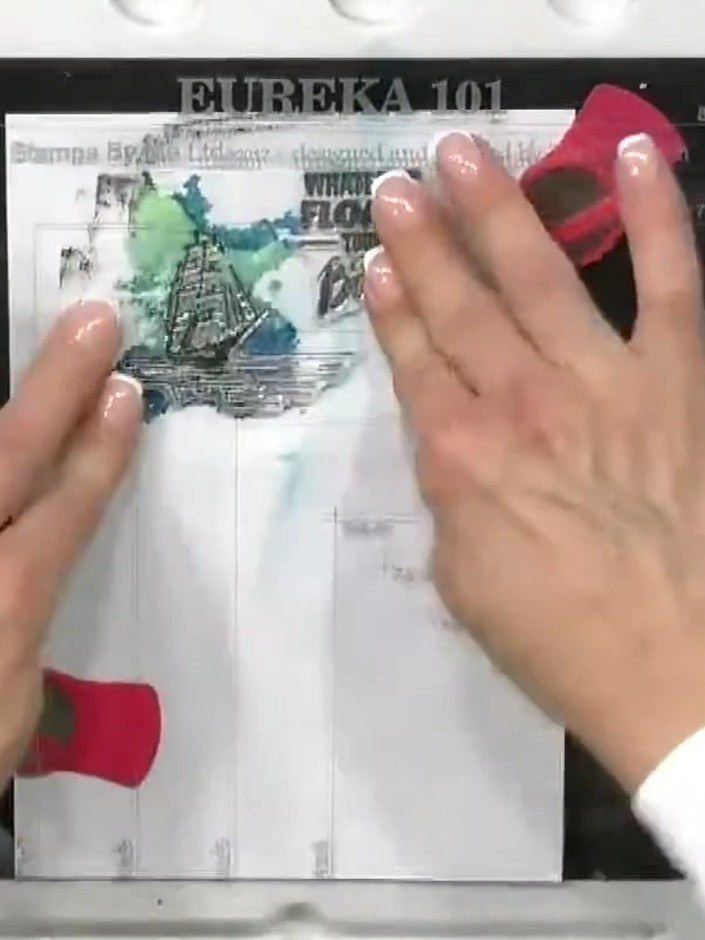
Add the sentiment stamp to the card. Position the 'Whatever Floats Your Boat' stamp in the upper right area of the white panel. Use pink ink to stamp the sentiment clearly onto the card.
▶ watch this step (37:15)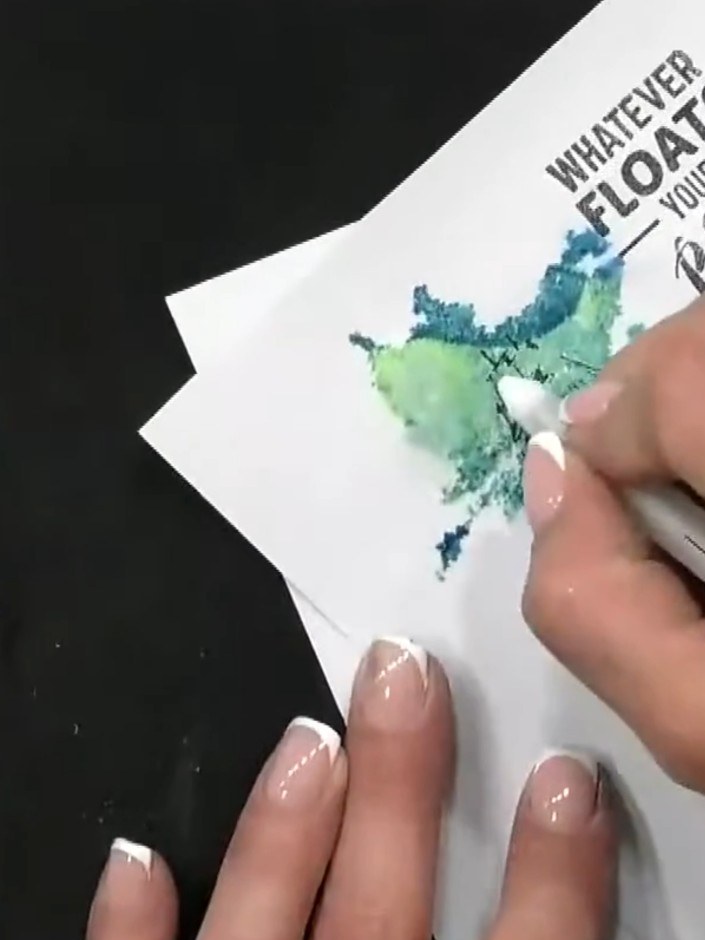
Use a white gel pen to add highlights and details to the boat, following the existing lines to add dimension and create a more three-dimensional effect.
▶ watch this step (37:30)Written up from the show itself. See every guide from our shows · free how-to guides · watch live on My Telly