Give your friends $10 off their first order!
Refer a FRIEND








A project from our live show HOBBYMAKER TV - Join us for the latest show - Broadcast 3 p.m. (UK) 13th July 2026 · 07/13/2026 · watch it from 46:00
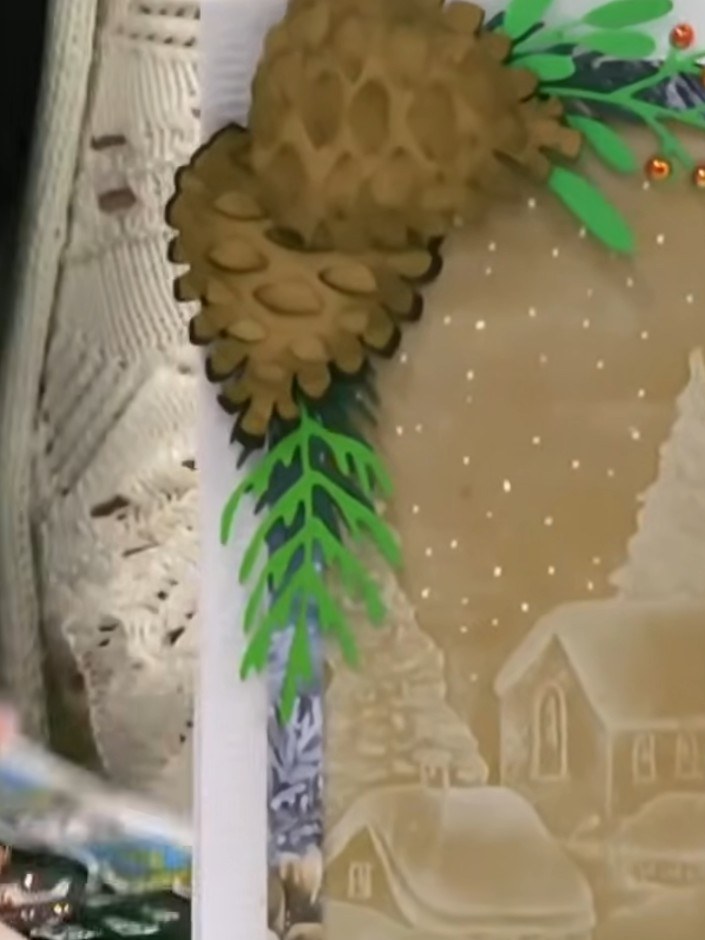
Create a sophisticated layered beer glass card using the Quattro D stencil system. This design features a realistic beer glass with golden tones and white foam, set against a decorative winter scene with pine cones and foliage. The four coordinating stencils layer together to build depth and dimension, making a professional-looking card that's surprisingly simple to achieve.
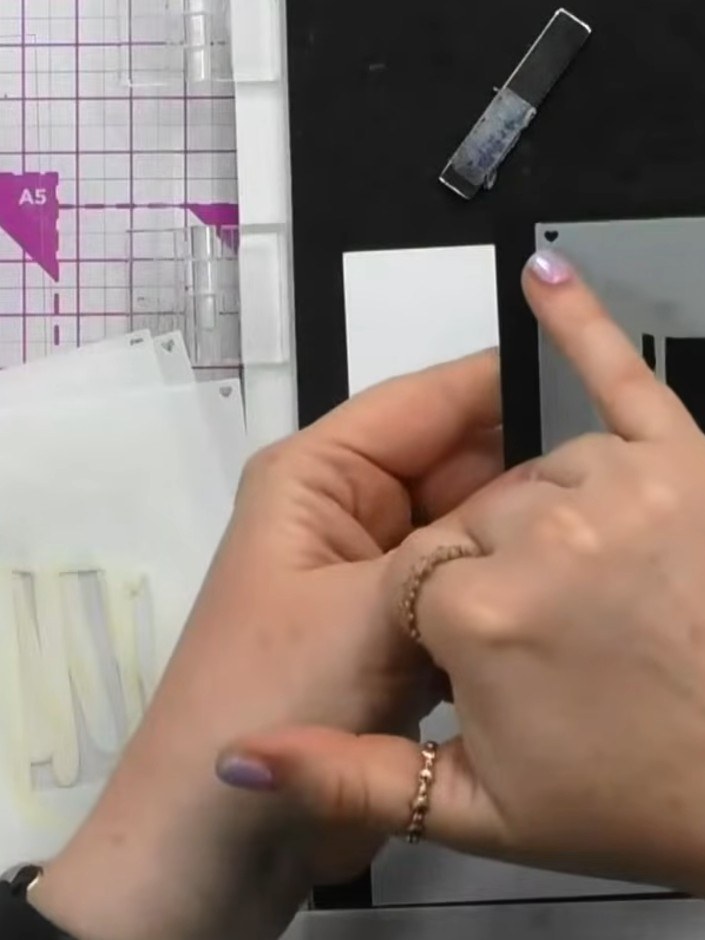
Position stencil number one on your card base. Using a blending brush, ink through the stencil with a light tan or cream colour ink.
▶ watch this step (46:15)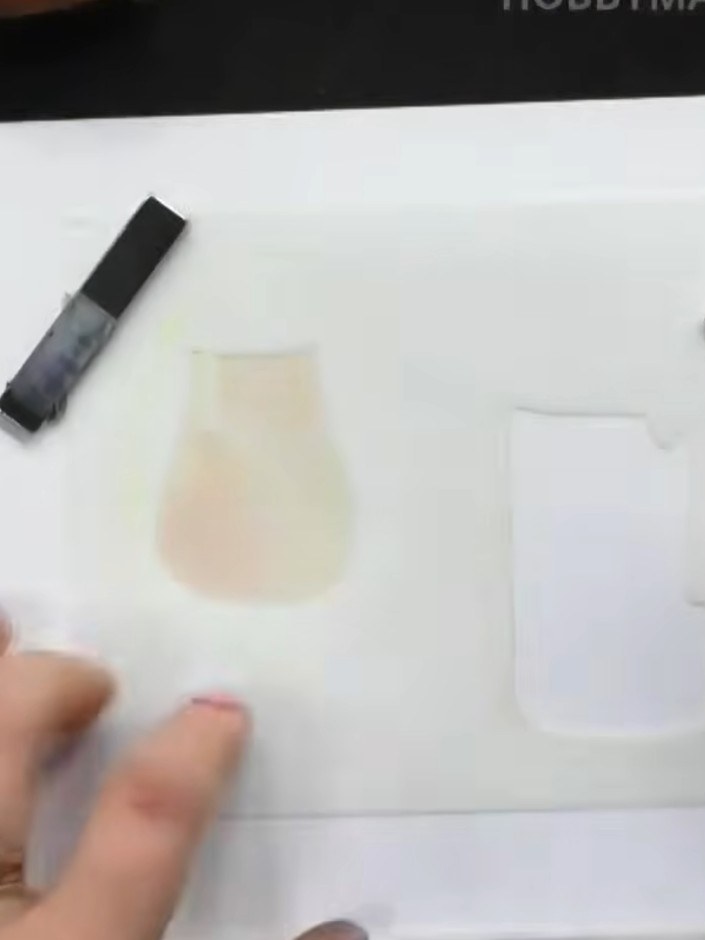
Position stencil number two over your card, aligning it using the heart registration marks. Apply a medium brown ink through the stencil to add depth and shading to your beer glass design.
▶ watch this step (47:00)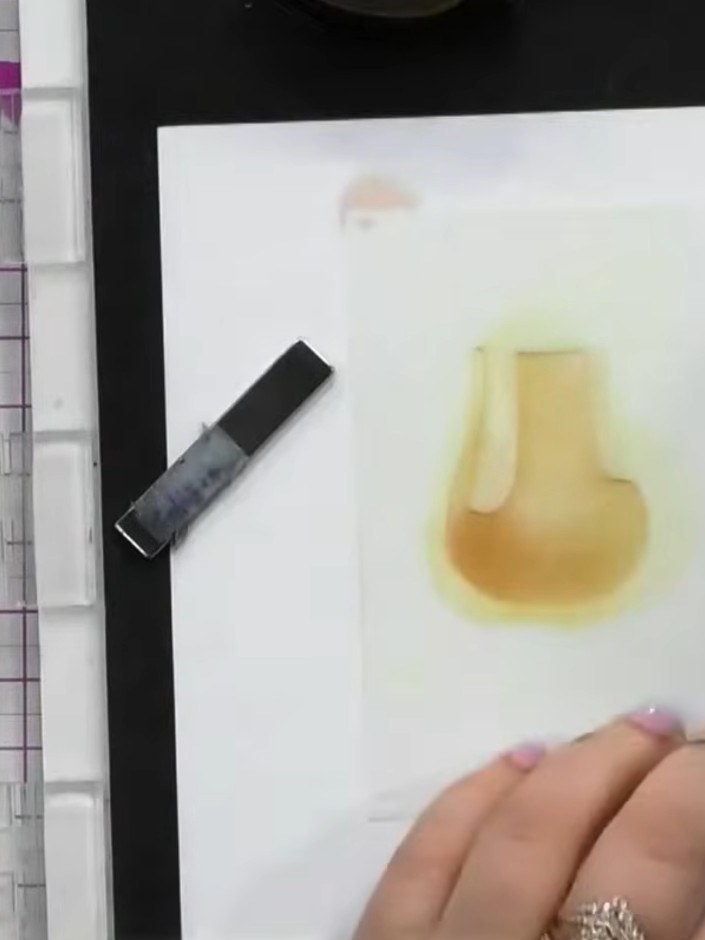
Position stencil number three over the card and apply a darker brown ink through the stencil to build depth and dimension to the beer glass.
▶ watch this step (48:00)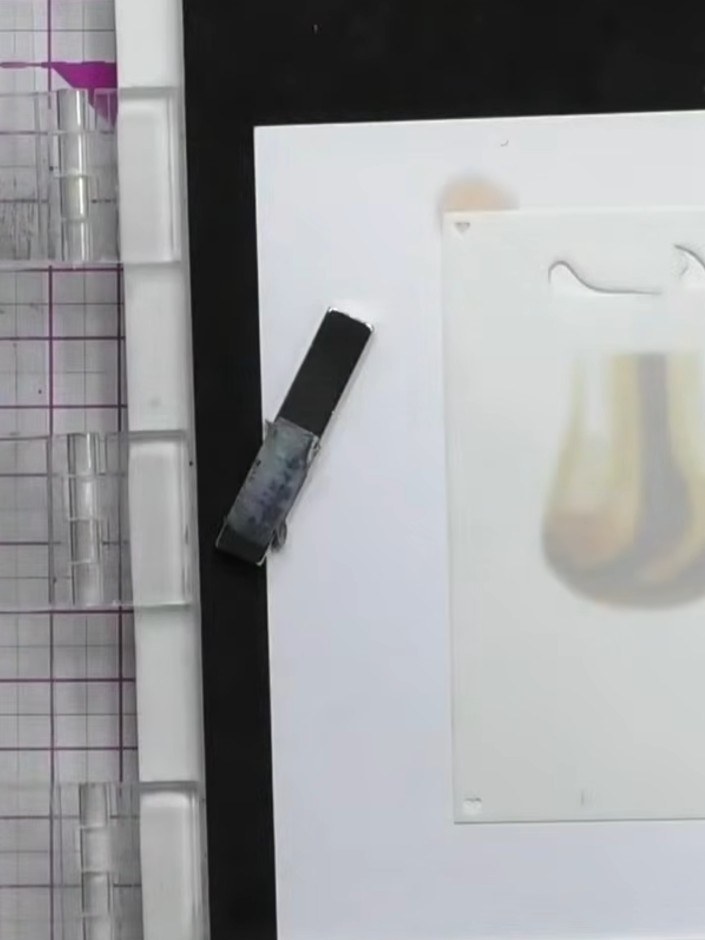
Apply the foam stencil using a light grey or faint ink to create the frothy head at the top of the beer glass.
▶ watch this step (49:30)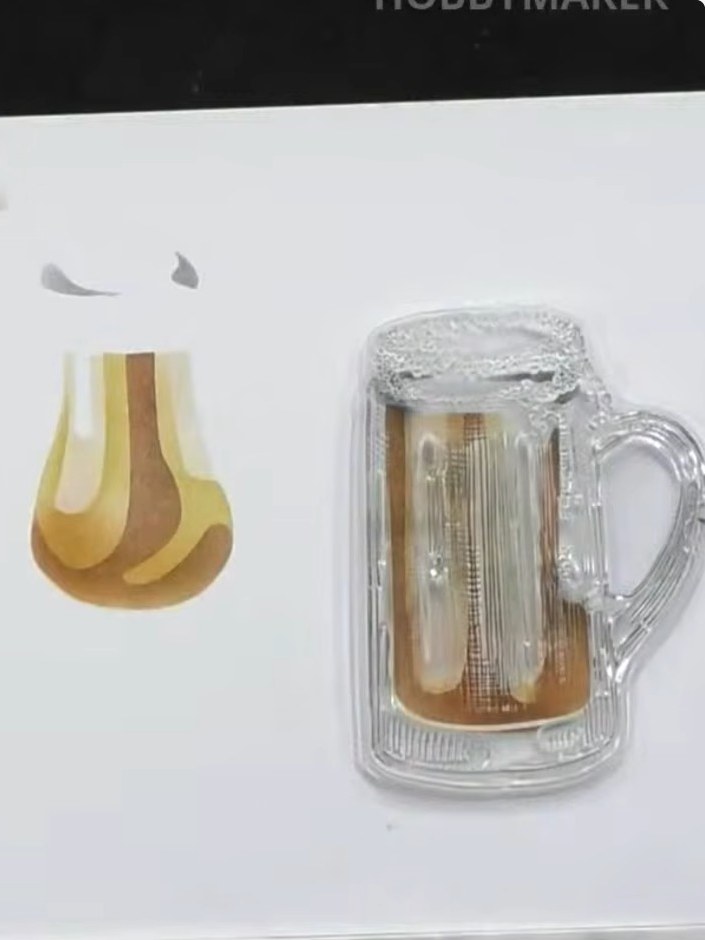
Stamp the sentiment and glass detail using black ink over the layered stencil work on your card. Position the beer glass stamp carefully to align with the stencilled layers beneath.
▶ watch this step (50:15)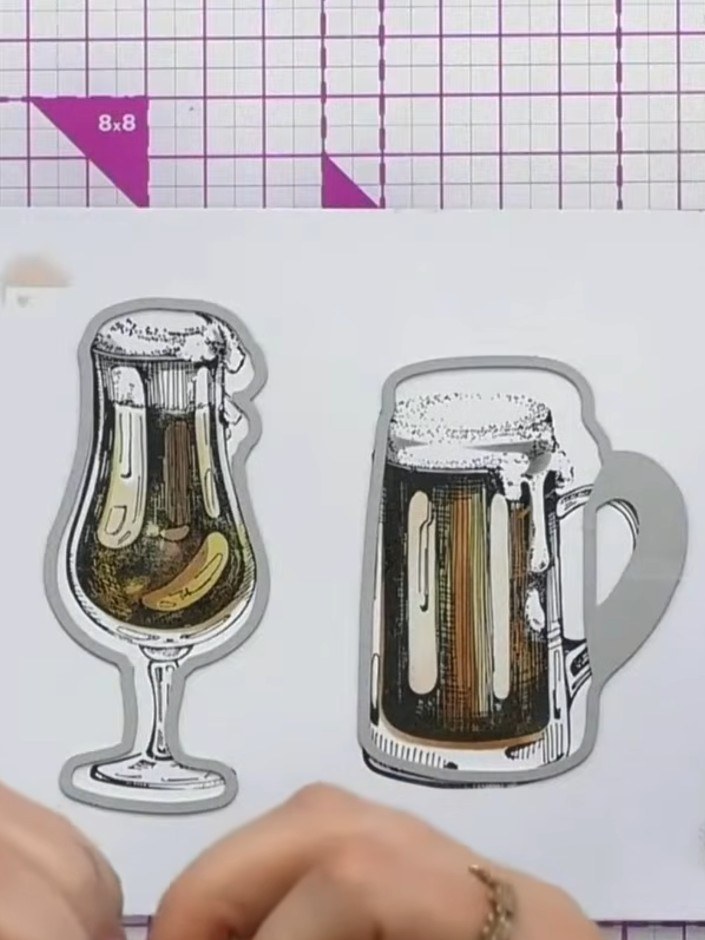
Die cut the stamped beer glass and mug images using the outline dies included in the Quattro D Cheers stamp set. Carefully remove the die-cut pieces from the cutting mat.
▶ watch this step (51:45)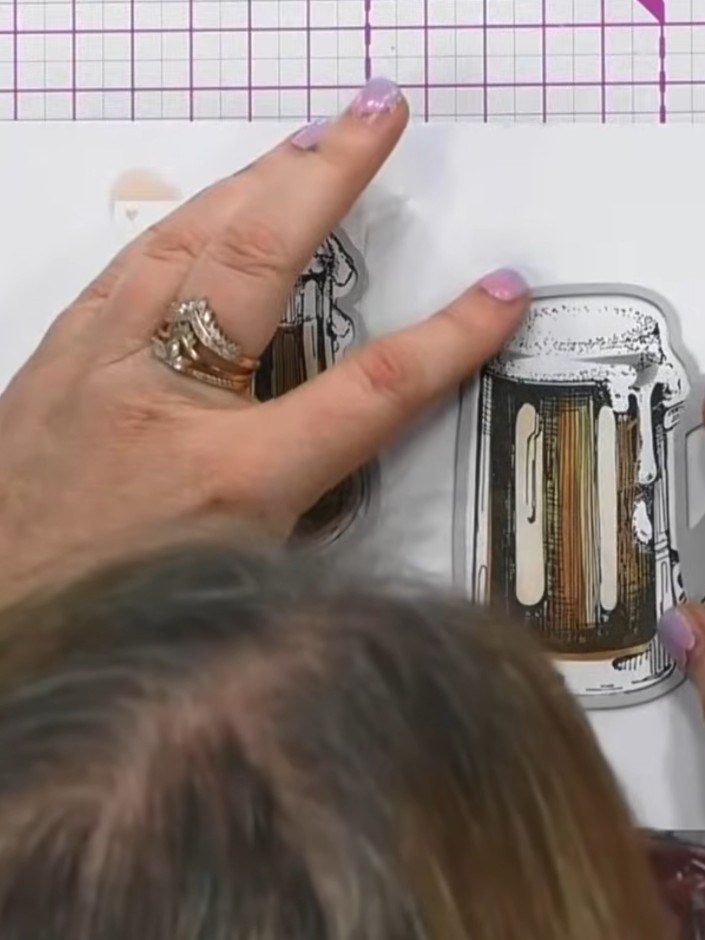
Place the die-cut beer glass pieces into the 3D embossing folder and run through your die-cutting machine to emboss them. This will add dimension and texture to the glass and foam details.
▶ watch this step (53:45)Written up from the show itself. See every guide from our shows · free how-to guides · watch live on My Telly