Give your friends $10 off their first order!
Refer a FRIEND








A project from our live show CREATE AND CRAFT TV - Join Toni for her brand new SBM launch show 2 - broadcast 2nd Jan 2024 · 01/02/2024 · watch it from 52:30
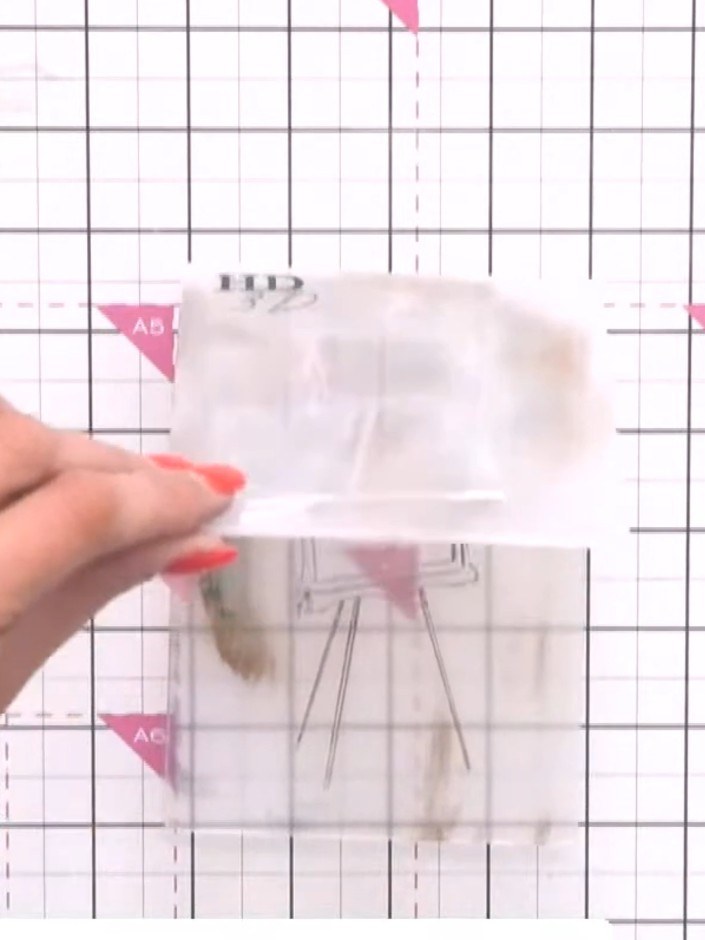
Create a stunning vintage-style easel card with a beautifully textured, grungy finish. Using the Easel embossing folder inked with brown and blue oxide inks, you'll create depth and character, then bleach sections with tissue for a distressed effect. Highlight with white ink and add a stamped sentiment to complete this artistic, vintage-inspired card with wonderful dimension and texture.
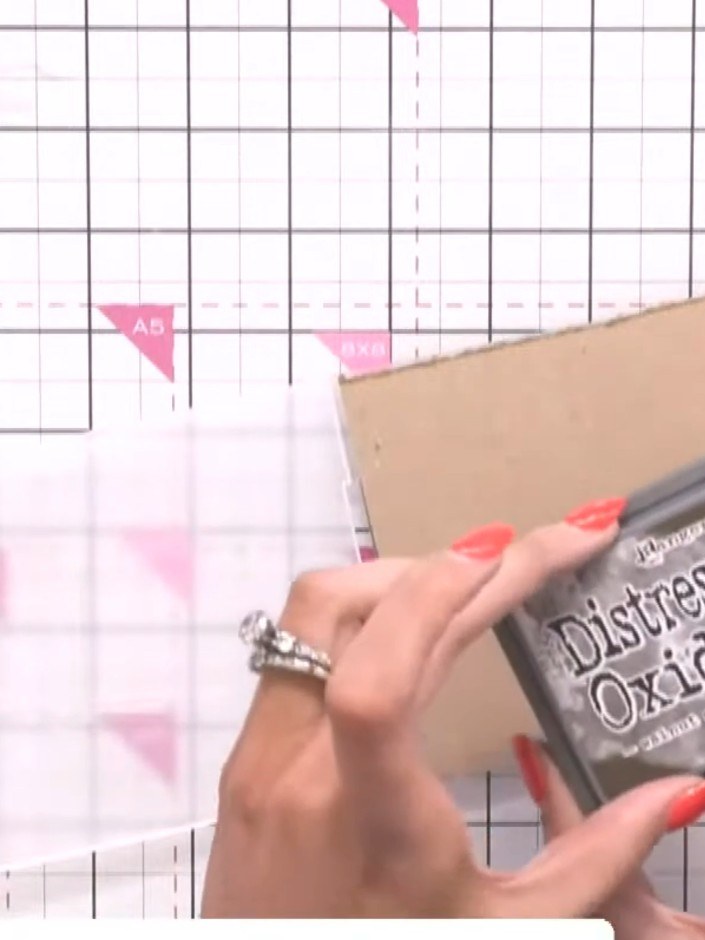
Ink the easel embossing folder with walnut stain Distress Oxide ink. Tap the ink pad across both the top and bottom sides of the folder to create a vintage effect.
▶ watch this step (52:45)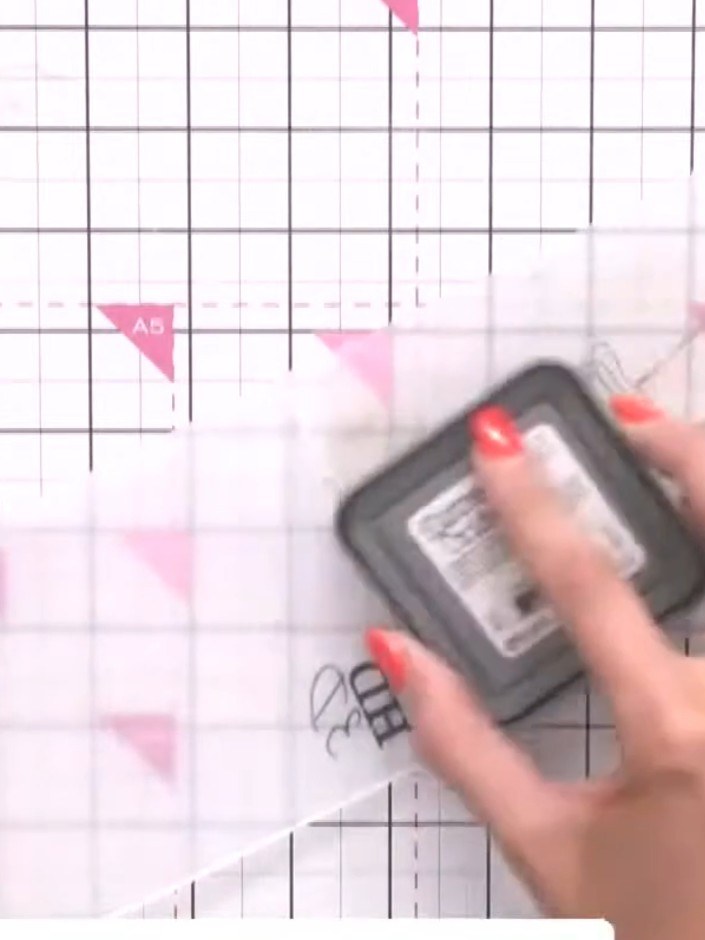
Apply blue oxide ink to one side of the embossing folder using an ink pad. This adds colour variation to your embossed design rather than leaving it plain.
▶ watch this step (53:00)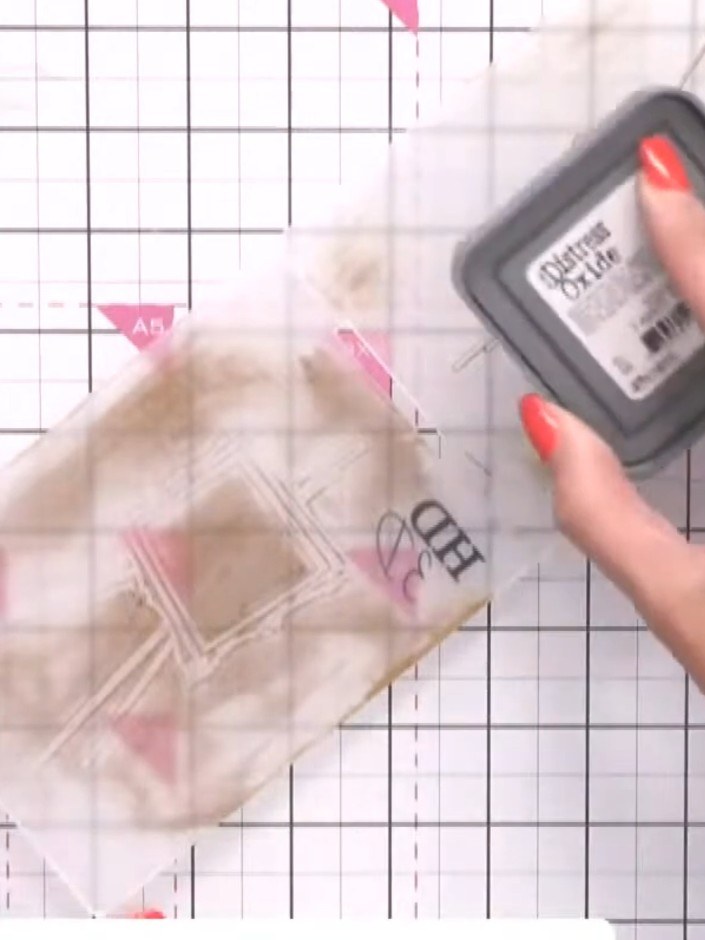
Place the craft card stock into the inked embossing folder. Position the card carefully within the folder before closing it.
▶ watch this step (53:15)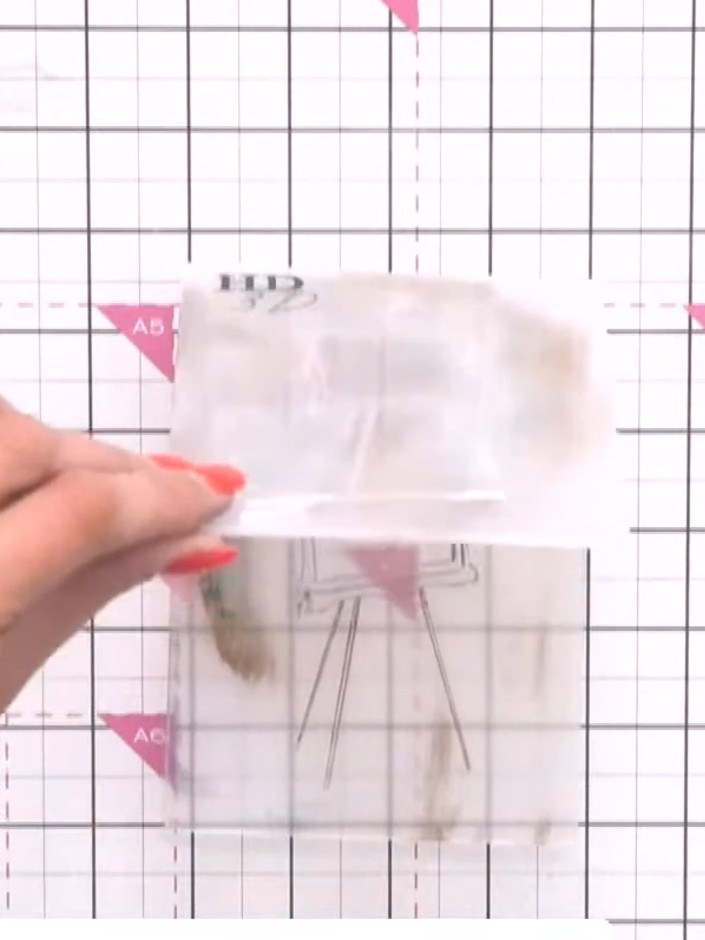
Place the stamped acetate pieces into the embossing folder without spraying them first. Run the folder through your die-cutting machine to create the embossed texture on the acetate.
▶ watch this step (53:30)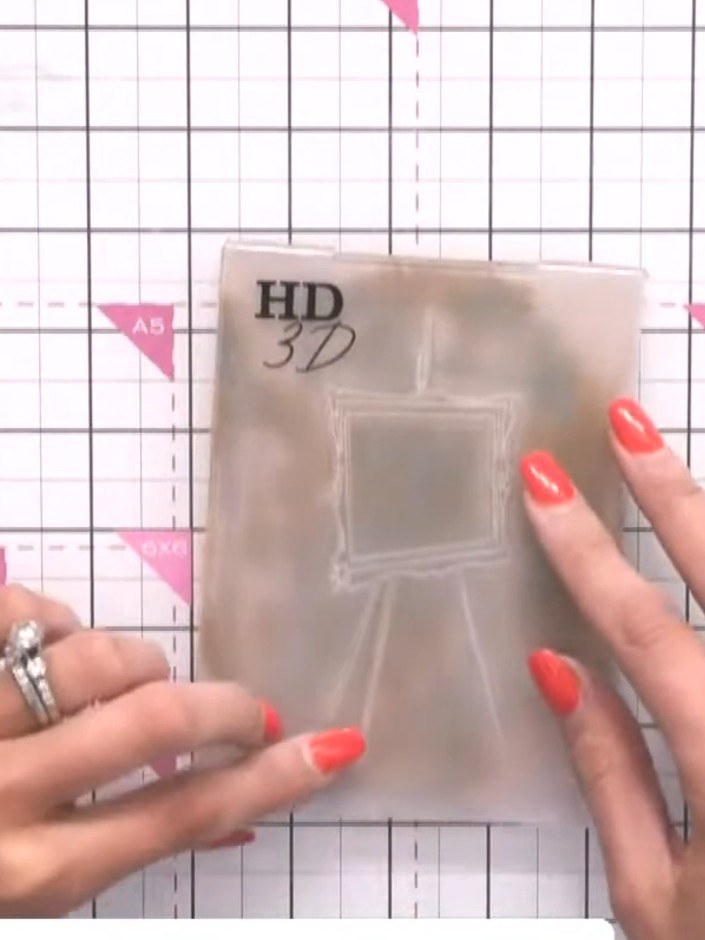
Use a tissue to gently dab and lift colour from the embossed design on your card, creating a distressed, grungy effect. Work carefully to reveal the lighter areas beneath the ink.
▶ watch this step (54:00)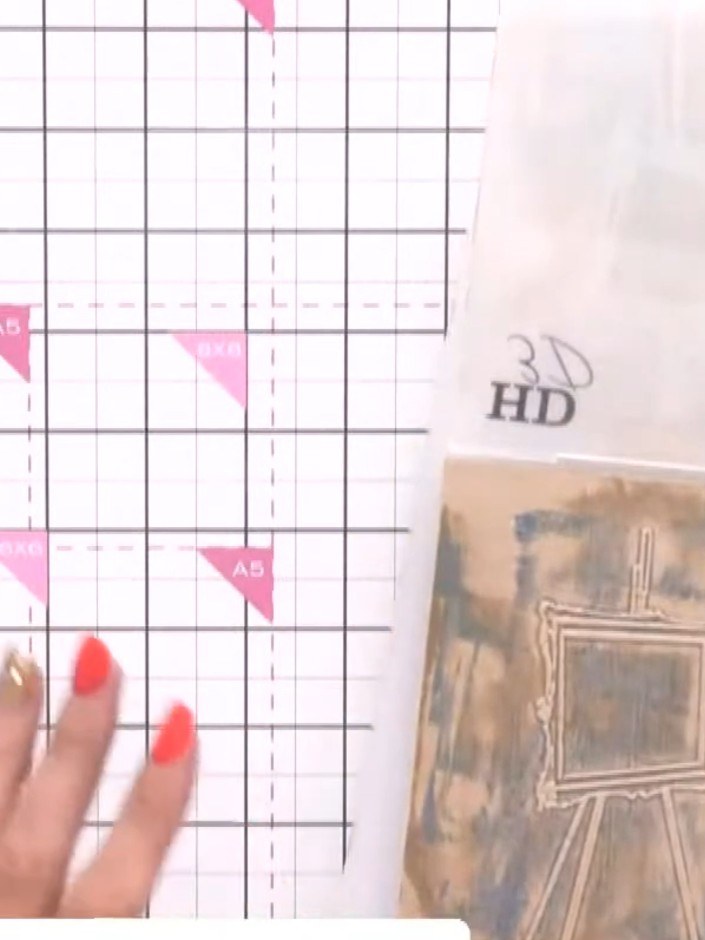
Use a white ink pad to swipe across the stamped easel design. This will highlight the easel and bring it to the foreground, creating depth in your design.
▶ watch this step (54:15)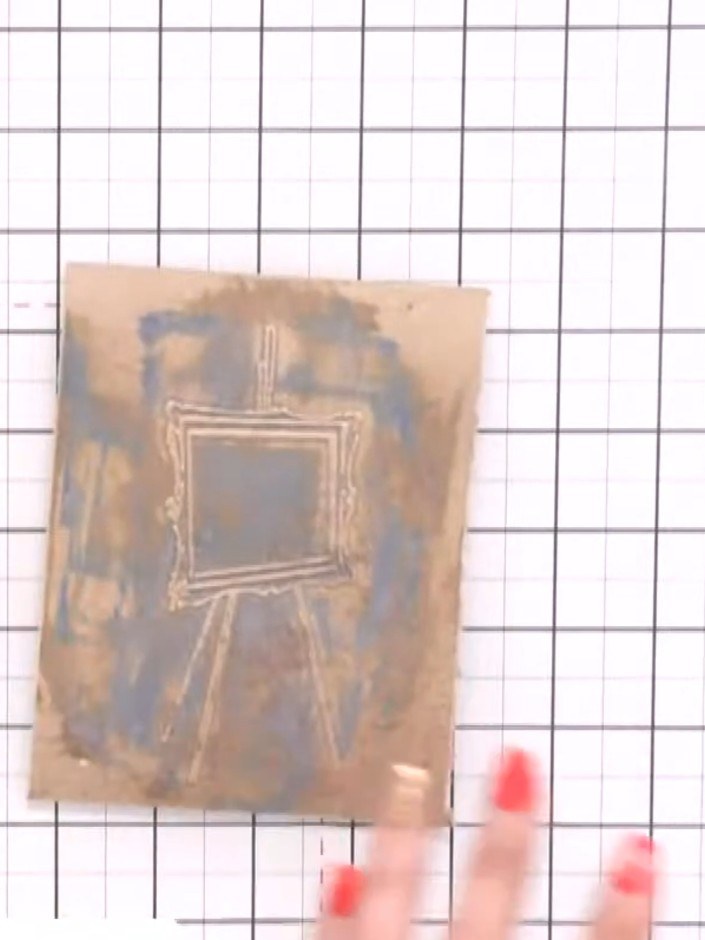
Stamp a sentiment such as 'You are amazing' into the easel opening using white ink. Apply the ink to the stamp using an ink pad, then press firmly onto the kraft card surface.
▶ watch this step (54:45)Written up from the show itself. See every guide from our shows · free how-to guides · watch live on My Telly