Give your friends $10 off their first order!
Refer a FRIEND








Prices change straight away. Every language is our own translation, not Google.
A project from our live show MY PODCAST - Catch my latest updates broadcast 15th December 2025 · 12/15/2025
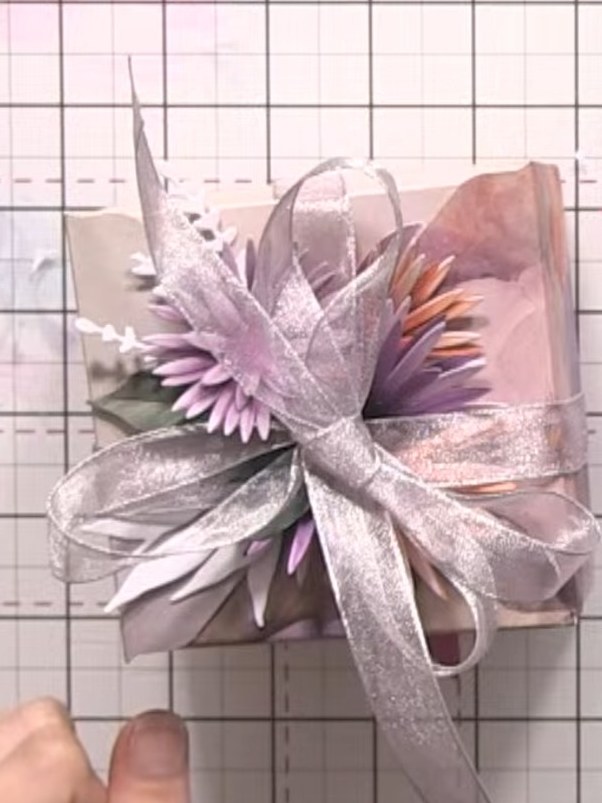
Create a beautiful 4x4 inch gift box decorated with an elegant floral arrangement on the lid. Using patterned cardstock and pre-cut dimensional flowers in soft pinks, purples, and metallics, you'll craft a stunning presentation box perfect for special gifts. The main techniques include box construction using a scoring tool and layering die-cut florals to create a three-dimensional bouquet effect.
 1
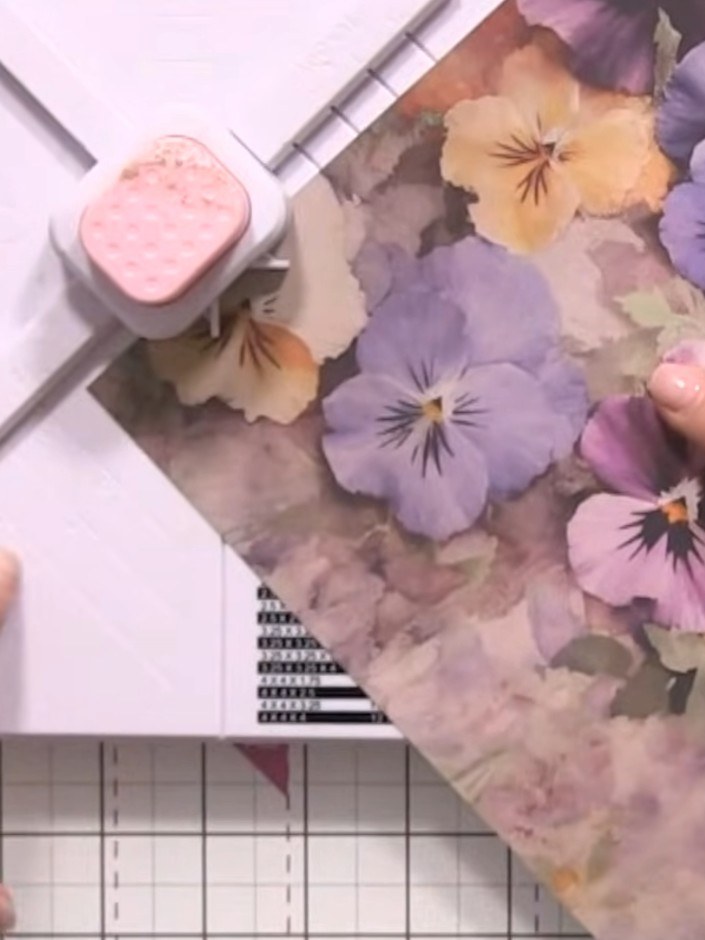
Place your 12 x 12 inch cardstock into the Box and Envelope Maker, lining it up at the XL marking on the board.
 2
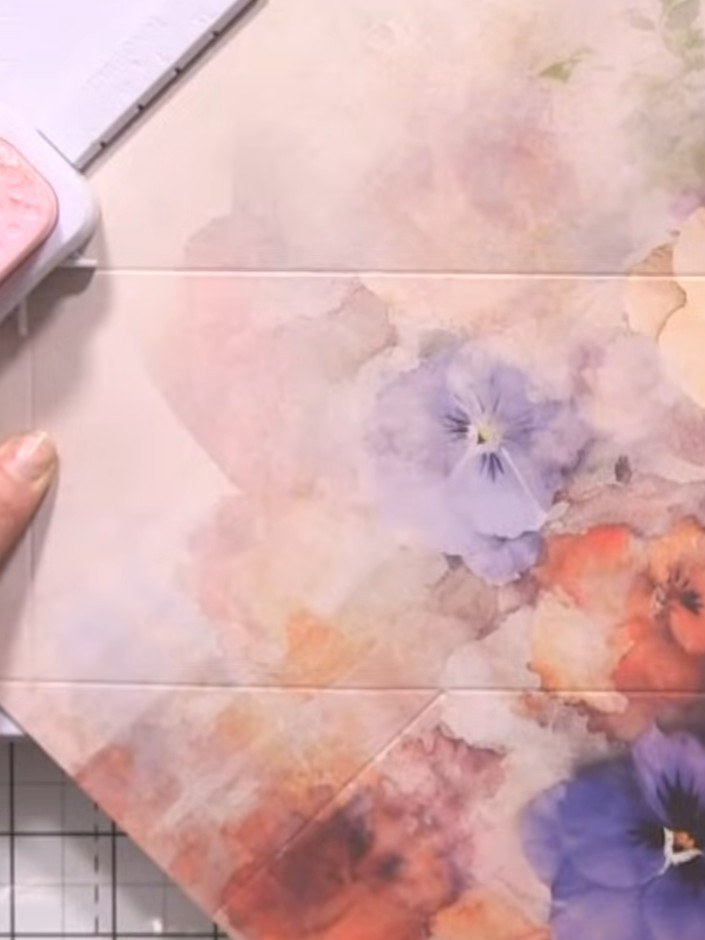
Using the XL scoring board, score down the first vertical line, then score across horizontally following the guide lines to create the box structure on your decorative paper.
 3
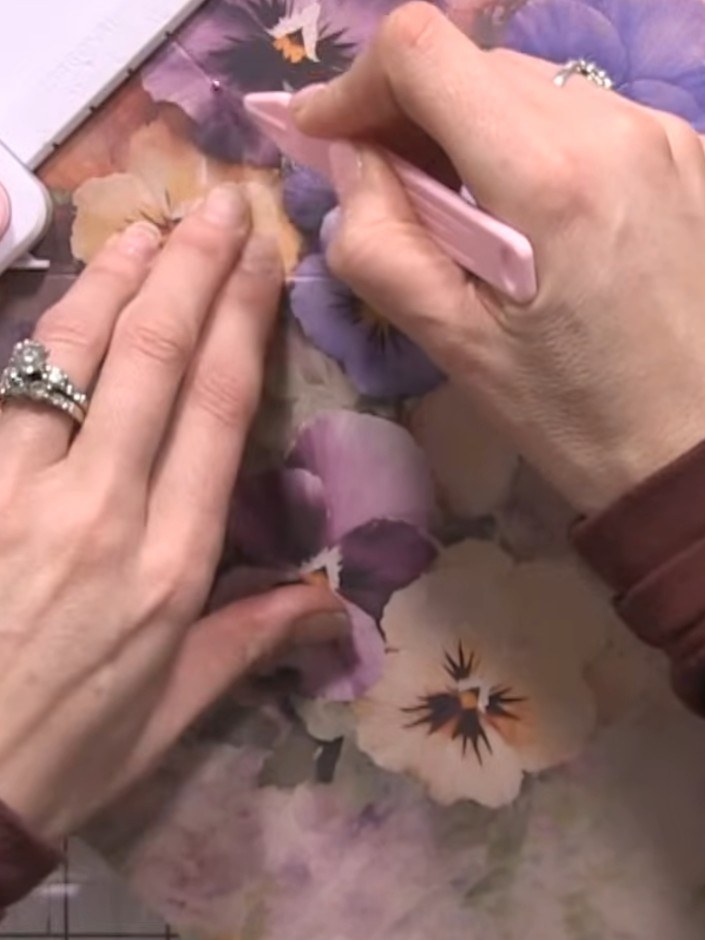
Position the decorative floral paper on your craft mat with the design facing up. Use the scoring tool to gently smooth and flatten the paper, working from the centre outwards to remove any creases or bubbles.
 4
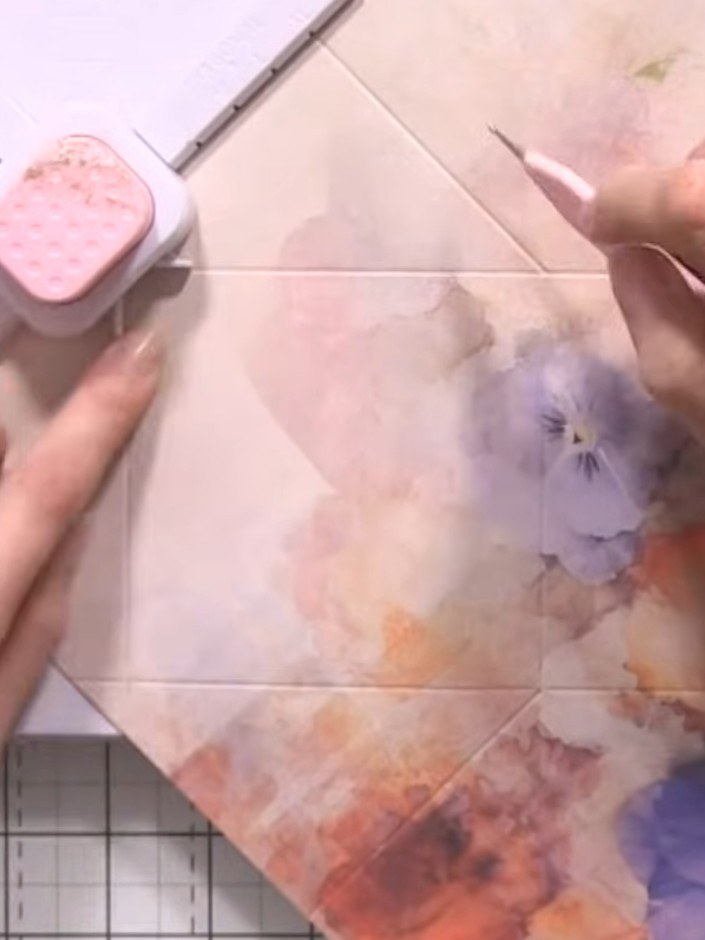
Turn the scored template over and score on the XL line from point to point, creating the second set of score lines to complete the box template.
 5
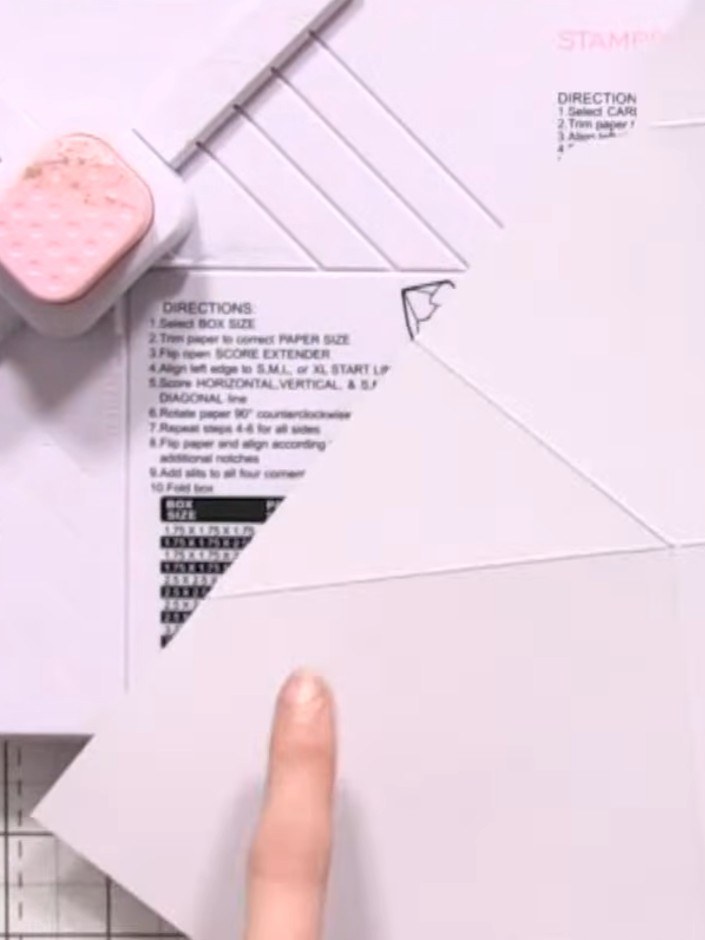
Turn the template over to the reverse side. Punch out the small recesses marked on the template using your fingers or a craft tool to create the box closure mechanism.
 6
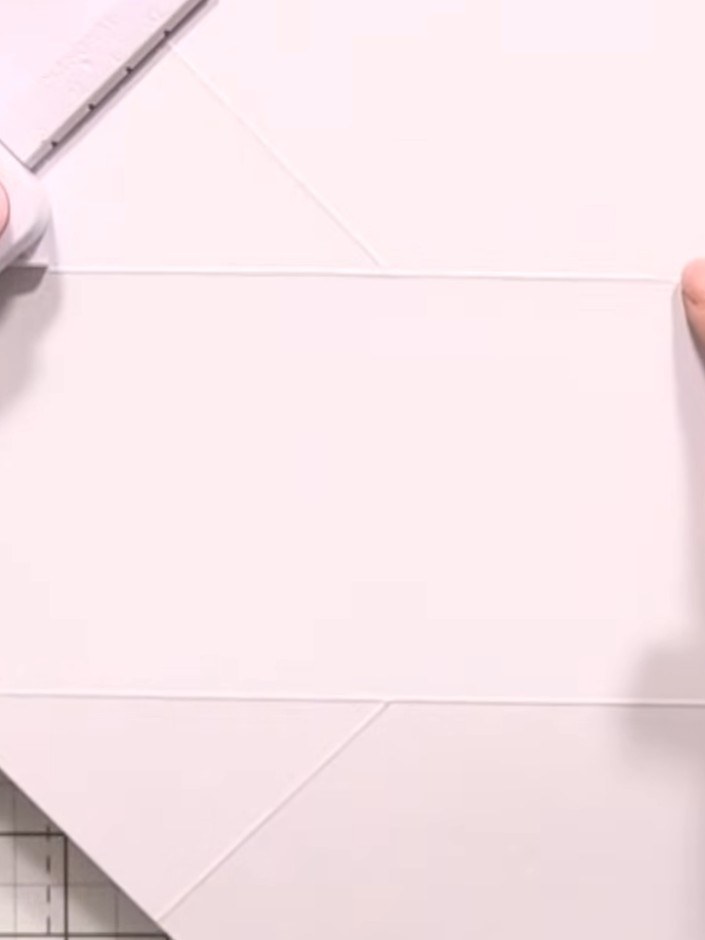
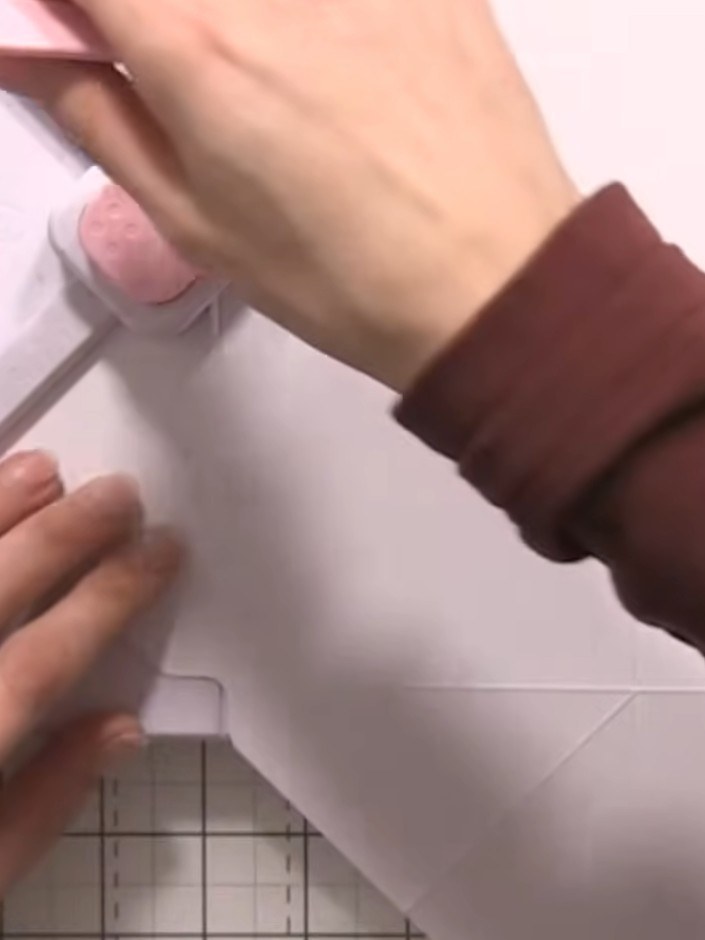
Fold along all the scored lines carefully to form the box shape, ensuring all creases are sharp and well-defined. Use your fingers to press firmly along each fold line.
 7
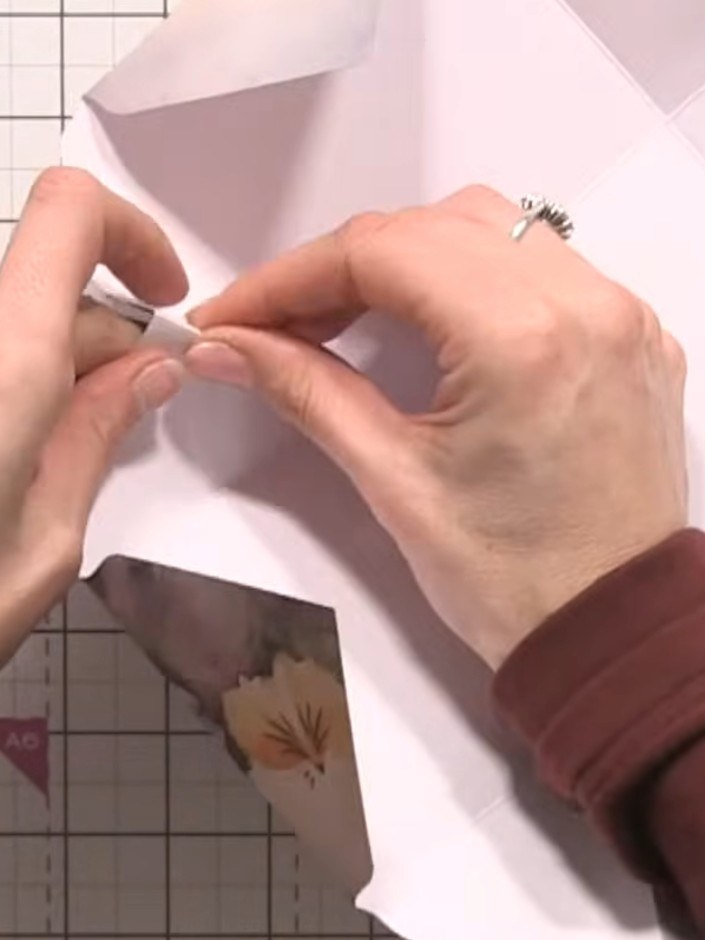
Insert the clasp from the back of the Box and Envelope Maker tool. Push the clasp through the punched holes to secure the closure mechanism for your gift box.
 8
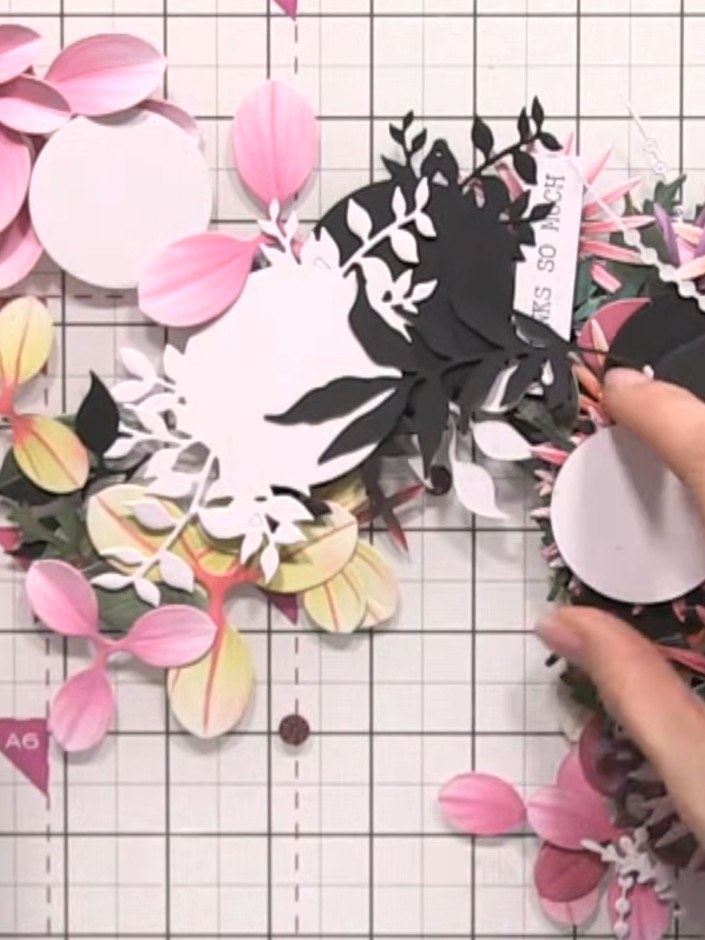
Take your pre-cut floral die-cuts in various colours and fold some of them in half to create dimension for your box decoration.
 9
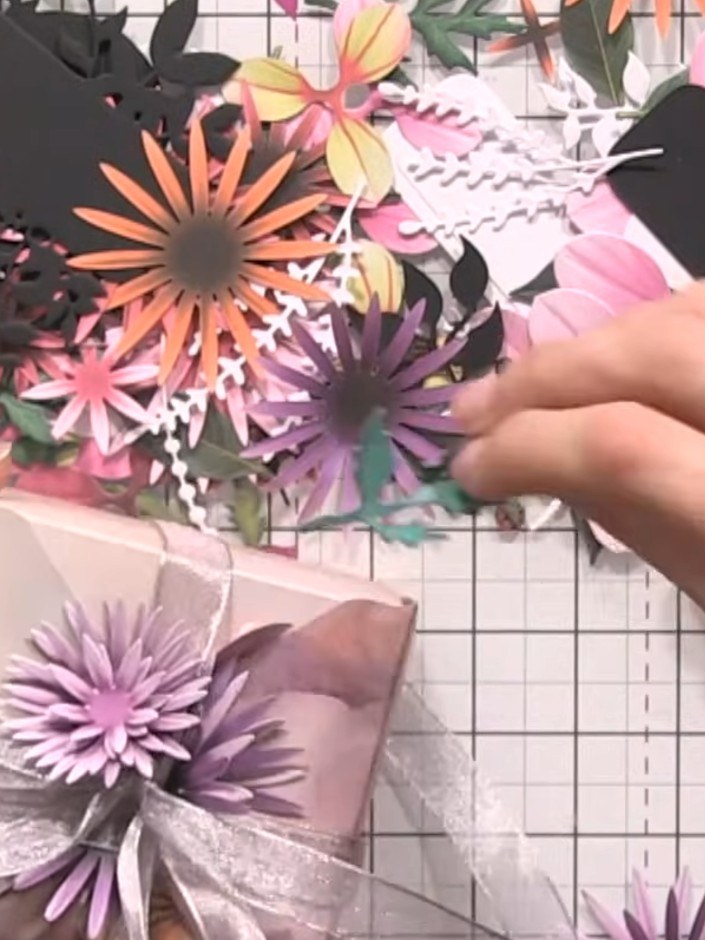
Begin layering the paper flowers onto the box lid. Tuck the flowers in amongst each other to create a full, dimensional bouquet effect, building up the arrangement with different sizes and colours.
 10
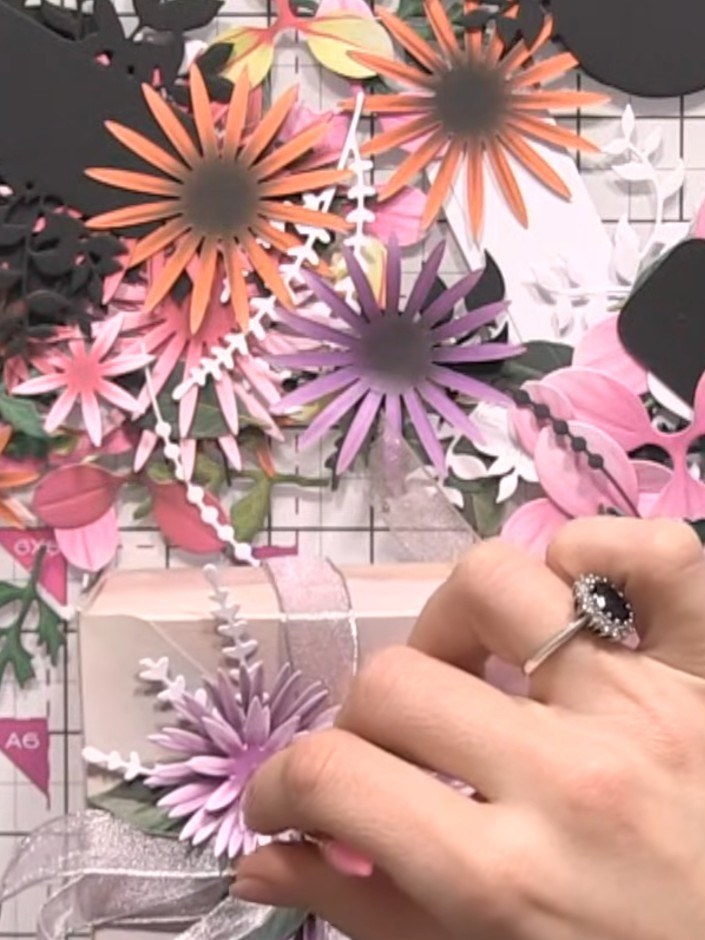
Add foliage pieces and banner die-cuts between the flowers to fill gaps and create depth. Position the greenery to frame the floral elements and add visual interest to the arrangement.
 11
Secure all floral elements to the gift box using a hot glue gun or adhesive pads. Ensure each purple chrysanthemum, pink flower, and foliage piece is firmly attached for durability. Position the elements to create a balanced and attractive arrangement.
 12
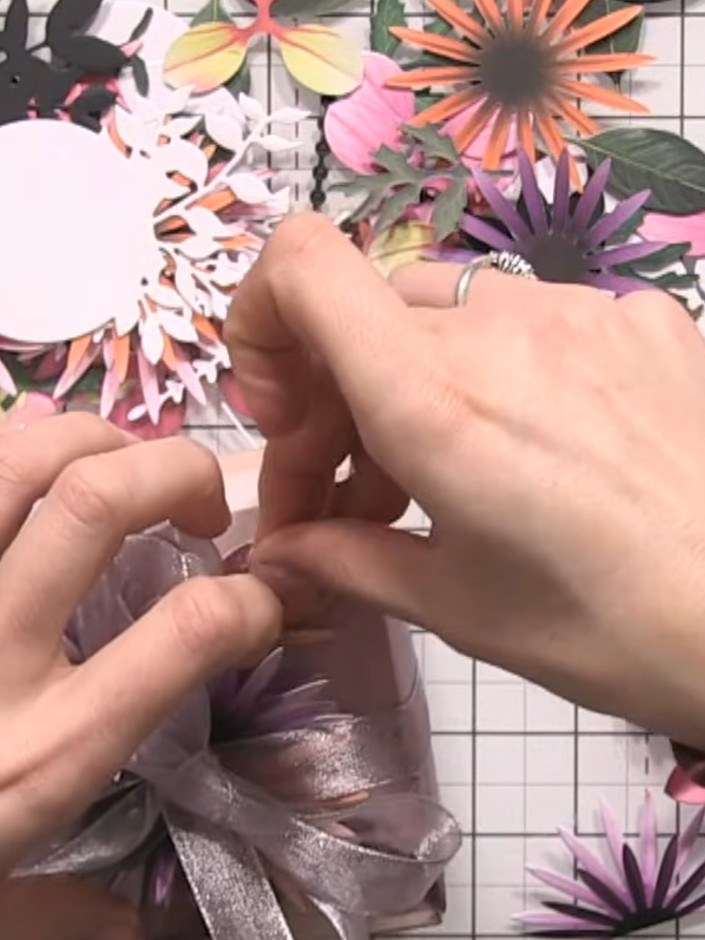
Add ribbon bows to the decorated box lid, tucking them in amongst the floral elements. Position the bows to balance the overall design whilst ensuring the box lid can still close properly.
Share your make with the Stamps By Me community - and keep this guide for next time.
Written up from the show itself. See every guide from our shows · free how-to guides · watch live on My Telly · the previous layout