Give your friends $10 off their first order!
Refer a FRIEND








Prices change straight away. Every language is our own translation, not Google.
A project from our live show THE BRAND NEW LAUNCH - Join Toni in her UK Studios - Broadcast 17th July 2026 · 07/17/2026 · watch it from 1:17:30
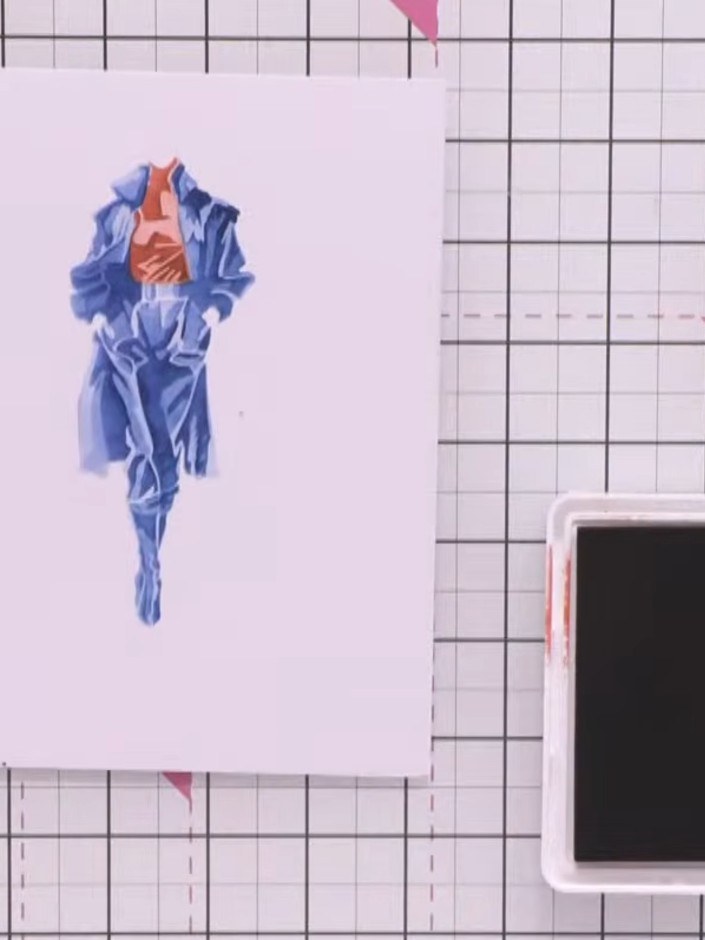
Create an elegant fashion illustration card featuring a stylish lady in flowing blue garments with coral accents. Master the art of stencil layering by building up dimension and shading through five numbered stencils applied in sequence with coordinating inks. Complete your design by stamping the figure on top to achieve a professional, gallery-worthy finish with remarkable depth and detail.
 Stamps By Me Stamp, Stencil & Die Set - Lily - 120425ASEE IT
 Stamps By Me Stamp, Stencil & Die Set - Stella - 120425CSEE IT
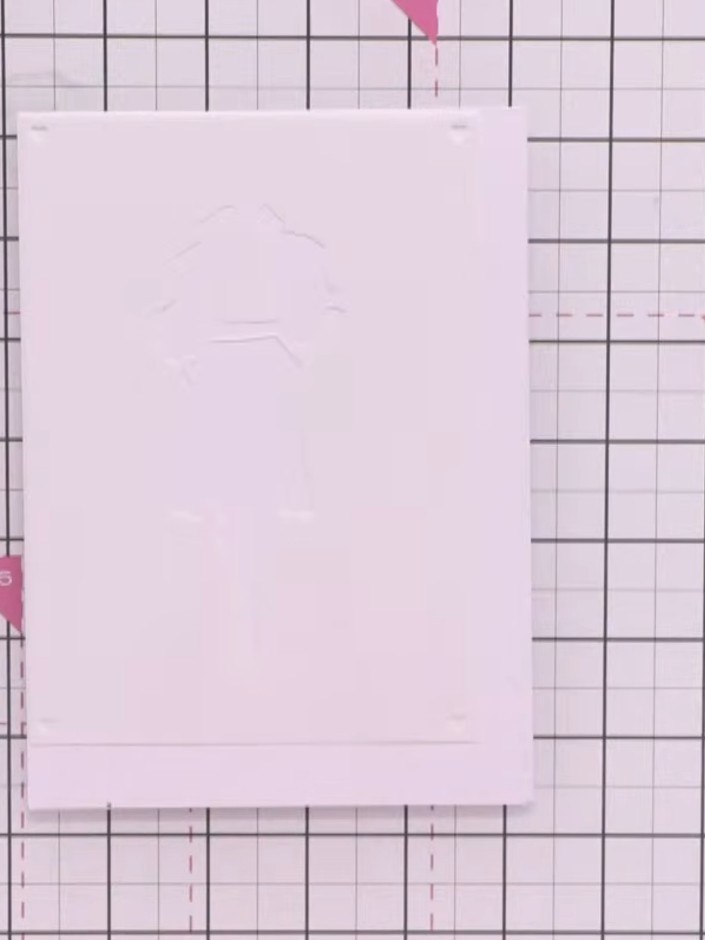
Lay out your five numbered stencils in order on your craft mat. Check that you can see the numbers facing you (not reversed on the back).
▶ watch this step (1:17:45)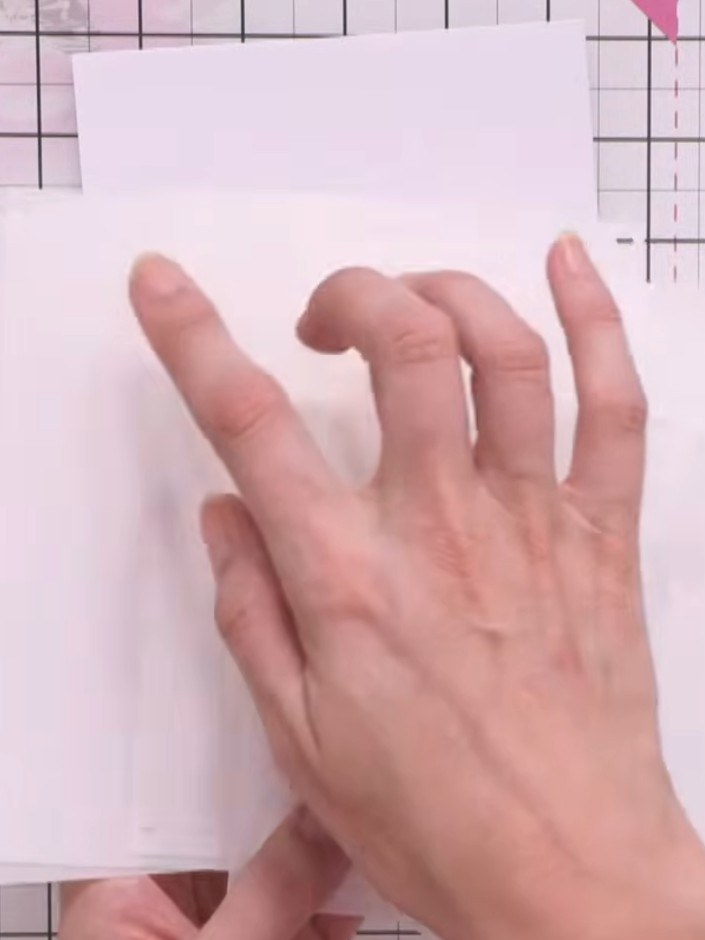
Position stencil number one in the top corner of your card blank, aligning it with the edge of the card.
▶ watch this step (1:18:00)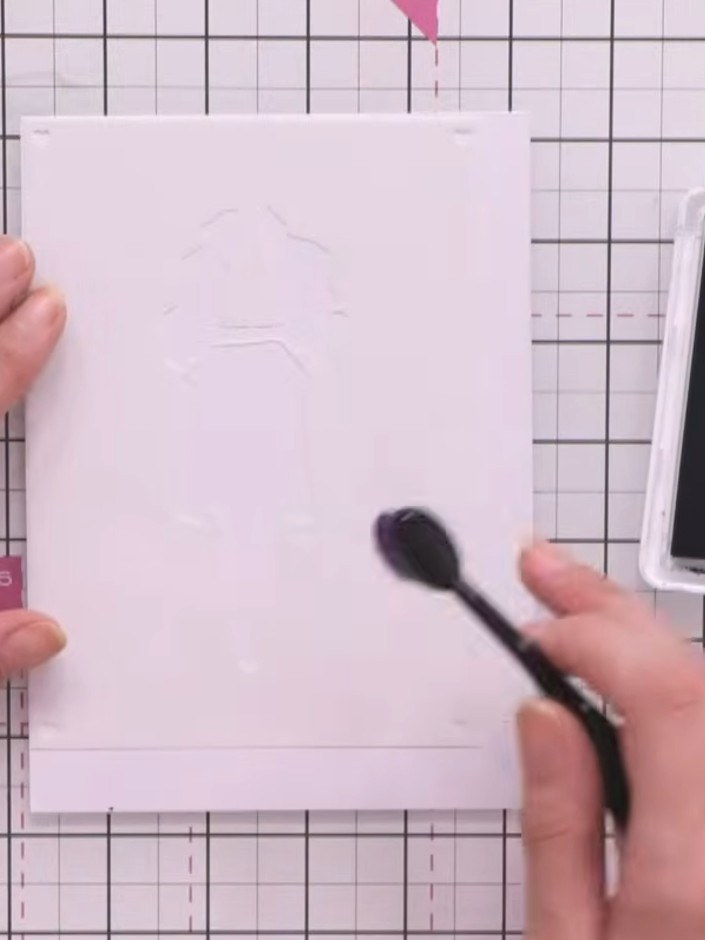
Apply a light shade of teal ink through the first stencil using an ink brush, pressing gently onto the card. Hold the stencil steady with your other hand whilst applying the ink.
▶ watch this step (1:19:00)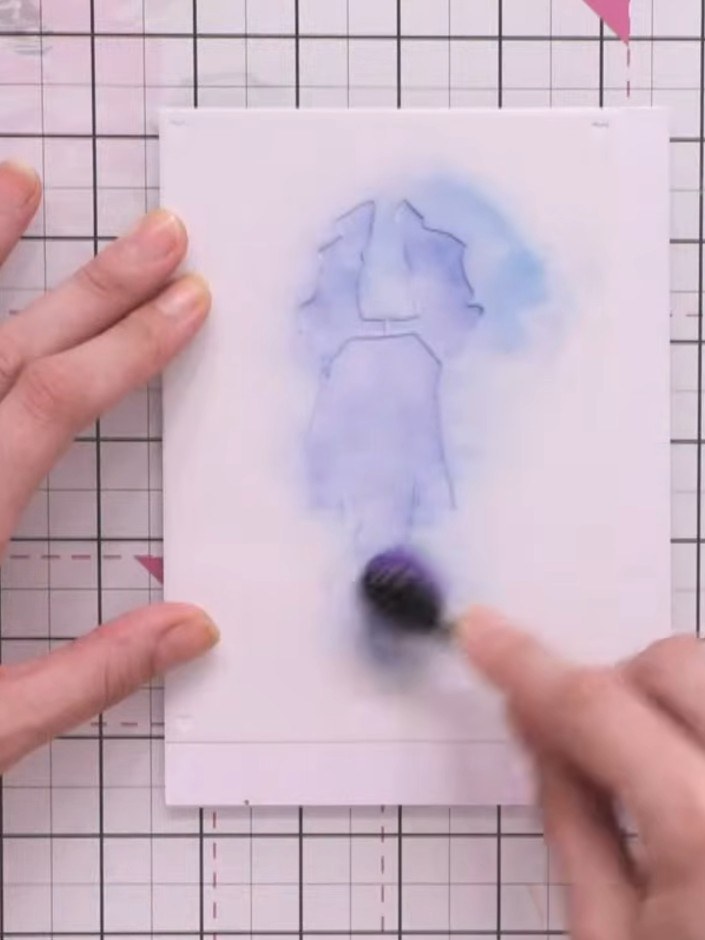
Remove the first stencil and position the second stencil directly beside where the first one was. Apply the same blue ink pad over the second stencil, pressing slightly harder for more colour intensity.
▶ watch this step (1:19:30)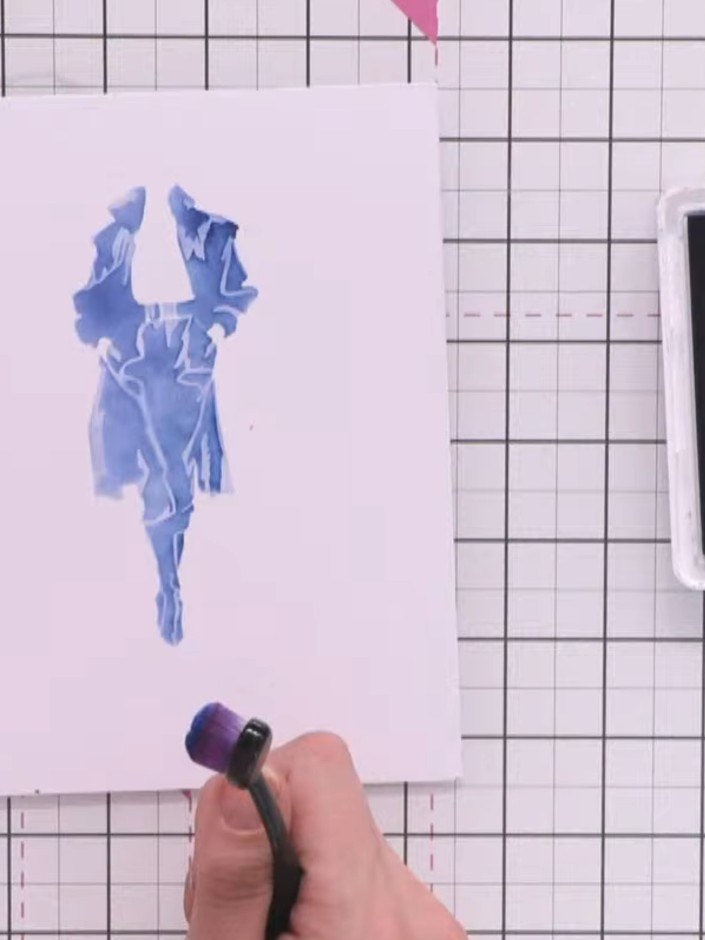
Continue layering with stencils three, four and five. Press progressively harder with each layer. For stencil four, change to a red or orange shade to add the interior jacket detail.
▶ watch this step (1:20:15)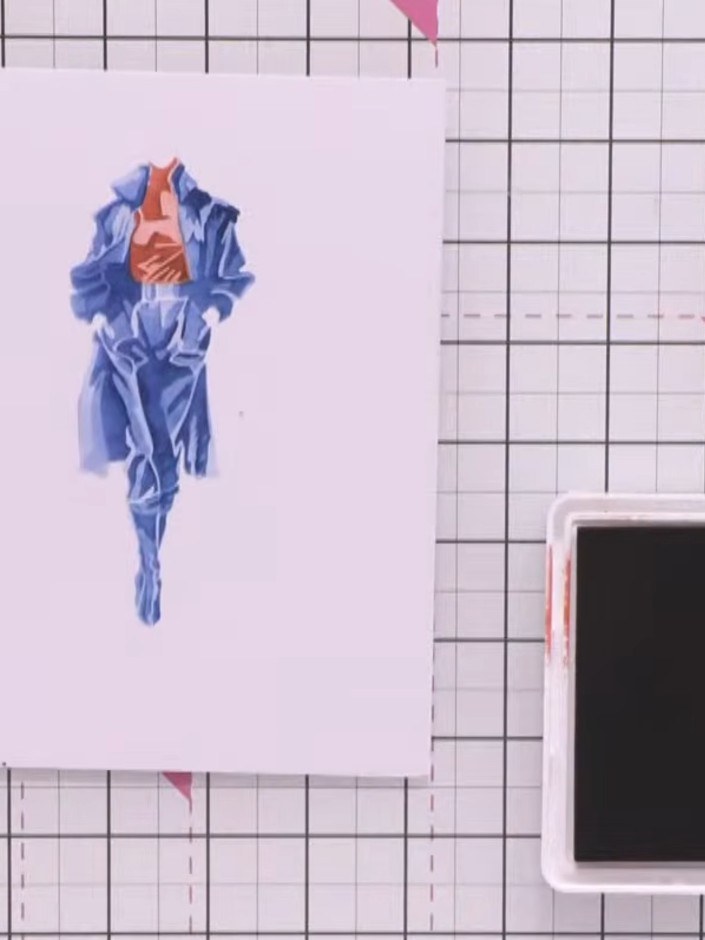
Stamp the Stella figure in black ink on top of the completed stencil layers. Position her so her chin sits in the neck of the roll neck jumper and her arms align with the layered shapes.
▶ watch this step (1:22:30)Written up from the show itself. See every guide from our shows · free how-to guides · watch live on My Telly


