Give your friends $10 off their first order!
Refer a FRIEND








Prices change straight away. Every language is our own translation, not Google.
A project from our live show THE BRAND NEW LAUNCH - Join Toni in her UK Studios - Broadcast 17th July 2026 · 07/17/2026
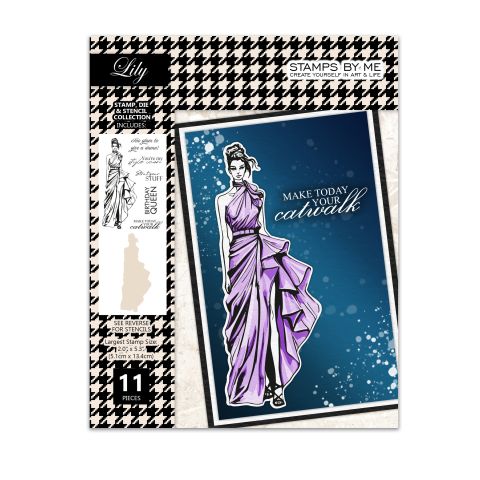
Create a striking fashion illustration card featuring an elegant lady figure in sophisticated black and white. This multi-layered project combines stamping with stencil layering techniques and patterned paper piecing to build dimension and visual interest. The finished card showcases a stylish figure in a textured outfit, perfect for fashion-forward greetings or art journal pages.
 1
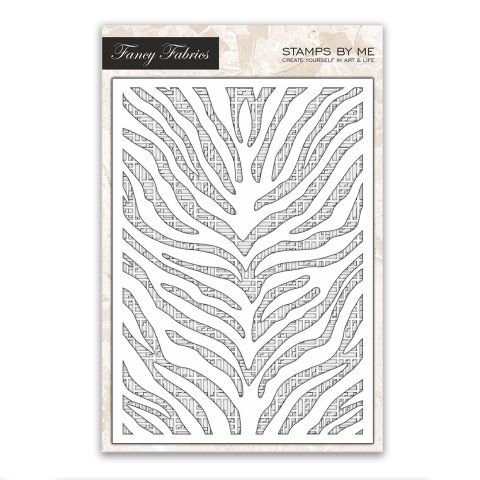
Lay out your five numbered stencils in order. Check that the numbers are facing you and not reversed on the back.
 2
Position stencil number one in the top corner of your white card blank, aligning it with the edge of the card rather than using the heart registration marks.
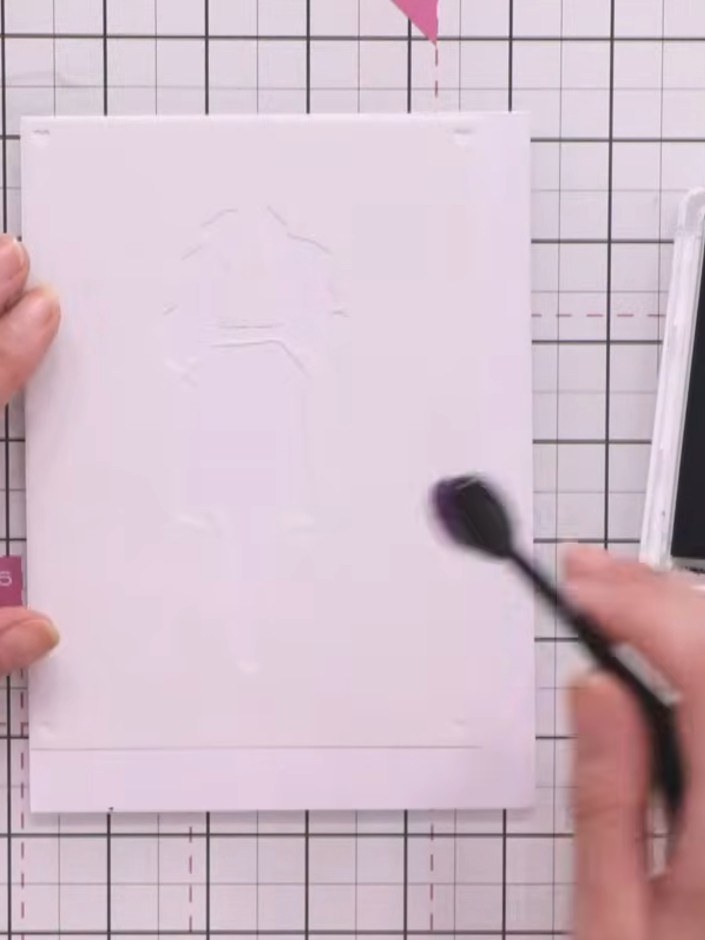 3
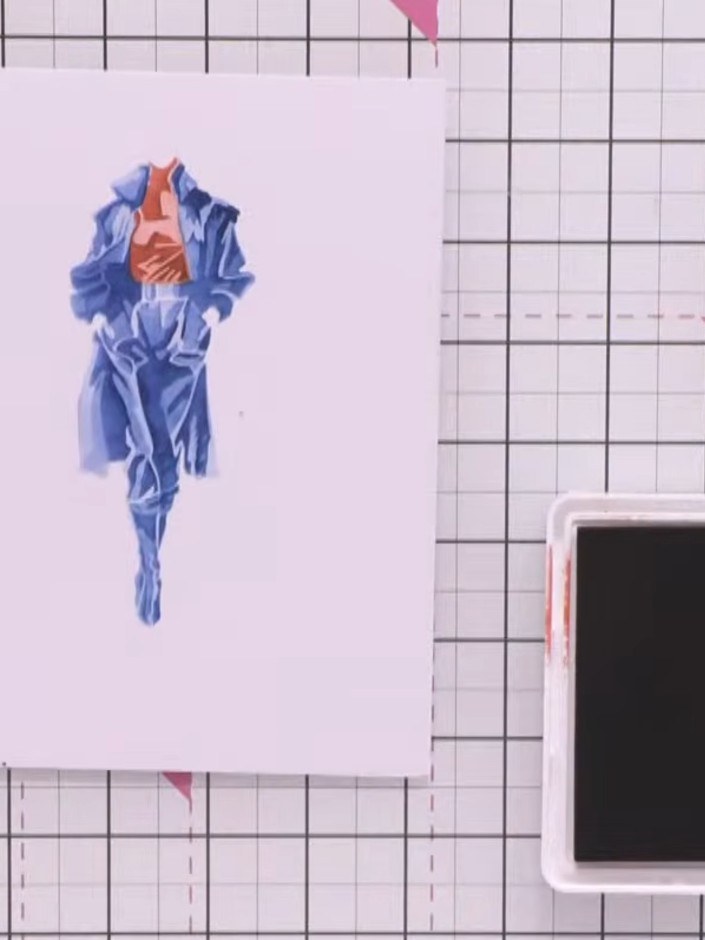
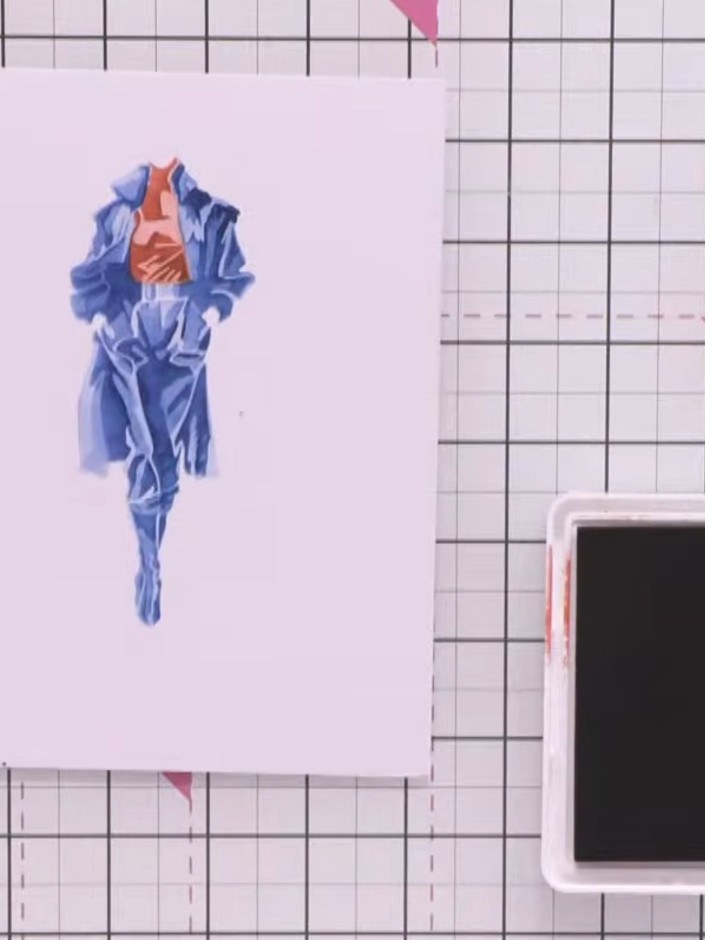
Apply a light shade of teal ink through the first stencil using a blending brush, pressing gently onto the white card. Hold the stencil steady with your other hand whilst working.
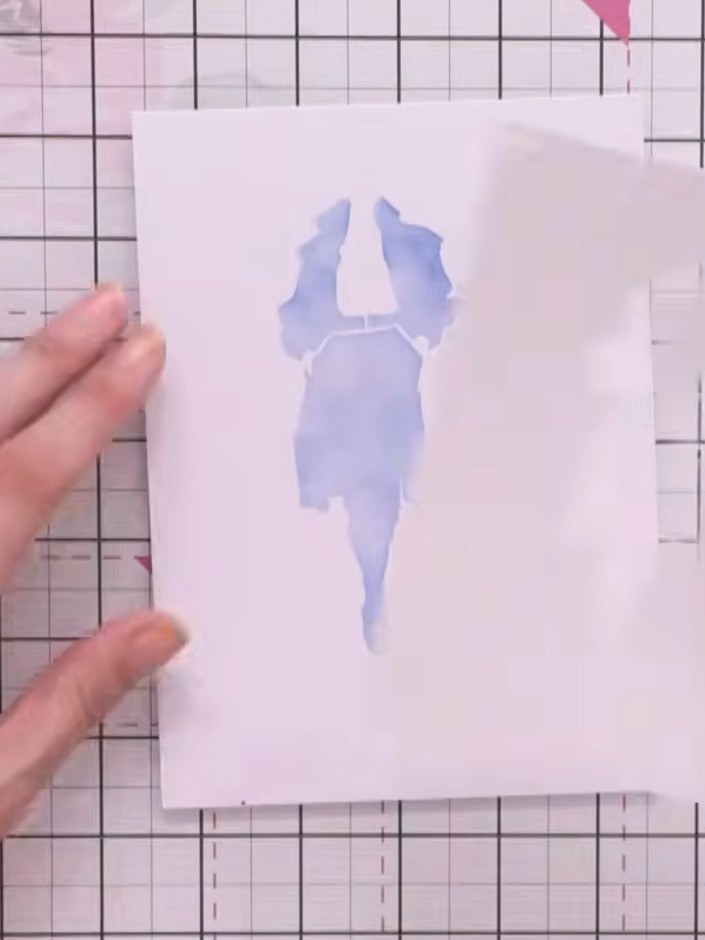 4
Remove the first stencil and position the second stencil directly beside where the first one was. Apply the same blue ink pad with slightly more pressure to create a darker impression.
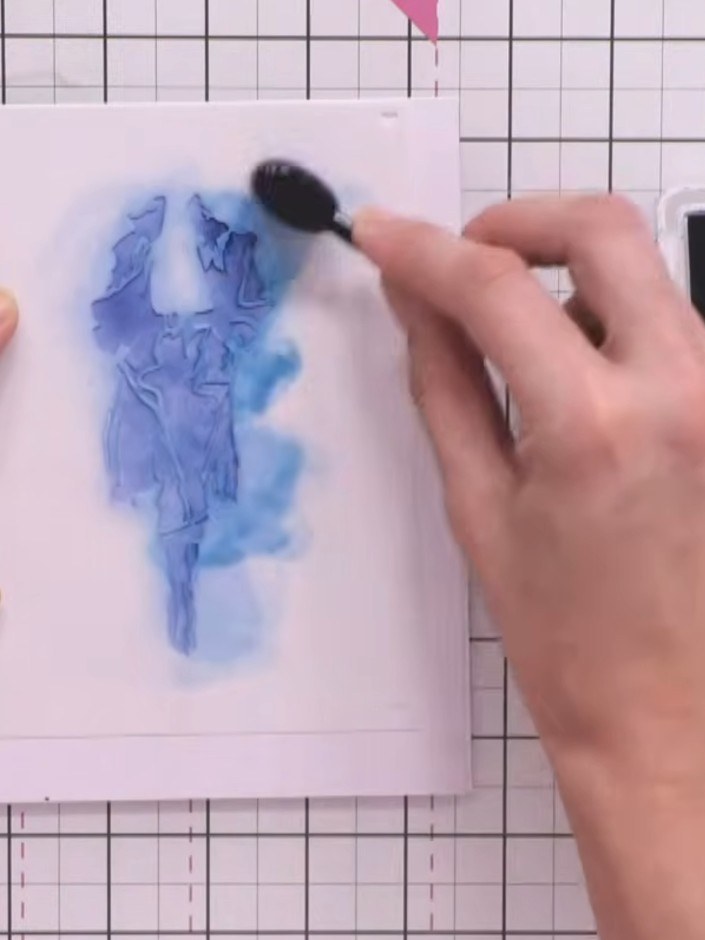 5
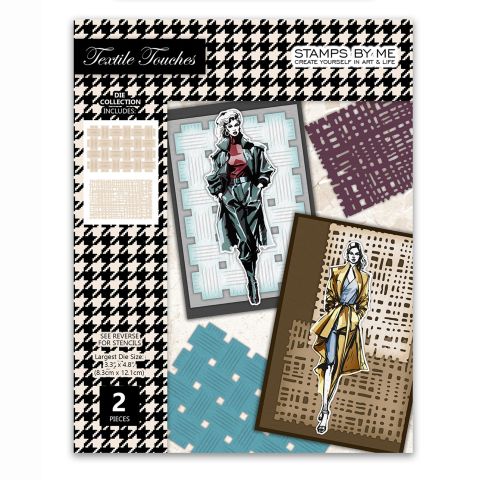
Continue layering with stencils three, four and five. Press progressively harder with each layer. For stencil four, change to a red or orange shade to add the interior jacket detail.
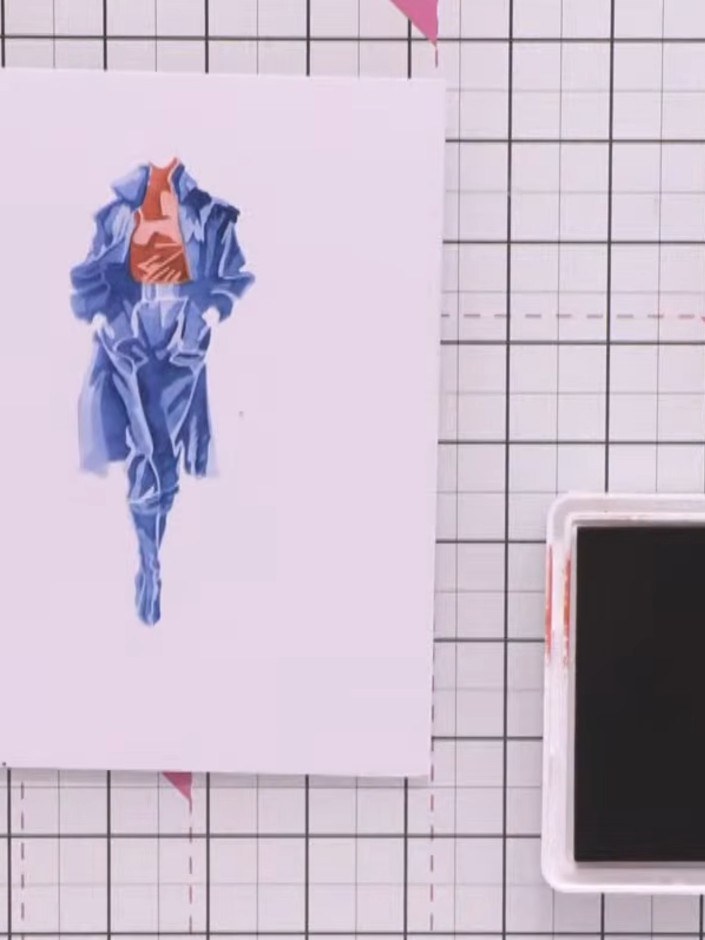 6
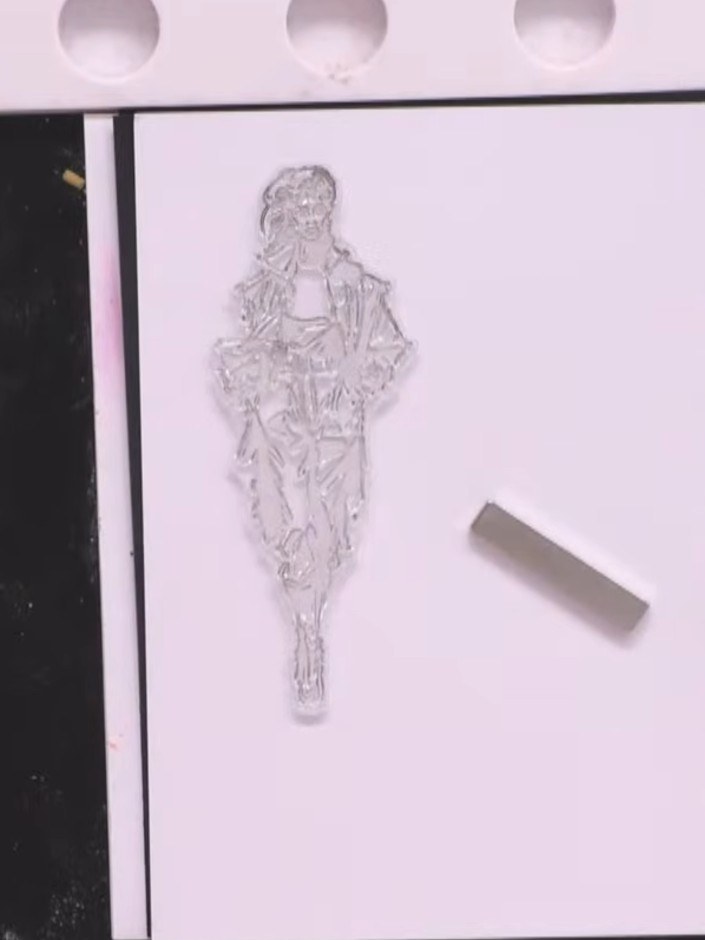
Stamp the Stella figure in black ink on top of the completed stencil layers, positioning her chin in the neck of the roll neck jumper and aligning her arms with the layered sleeve shapes.
 7
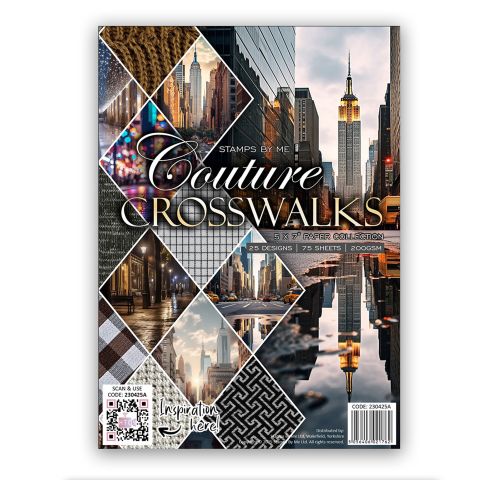
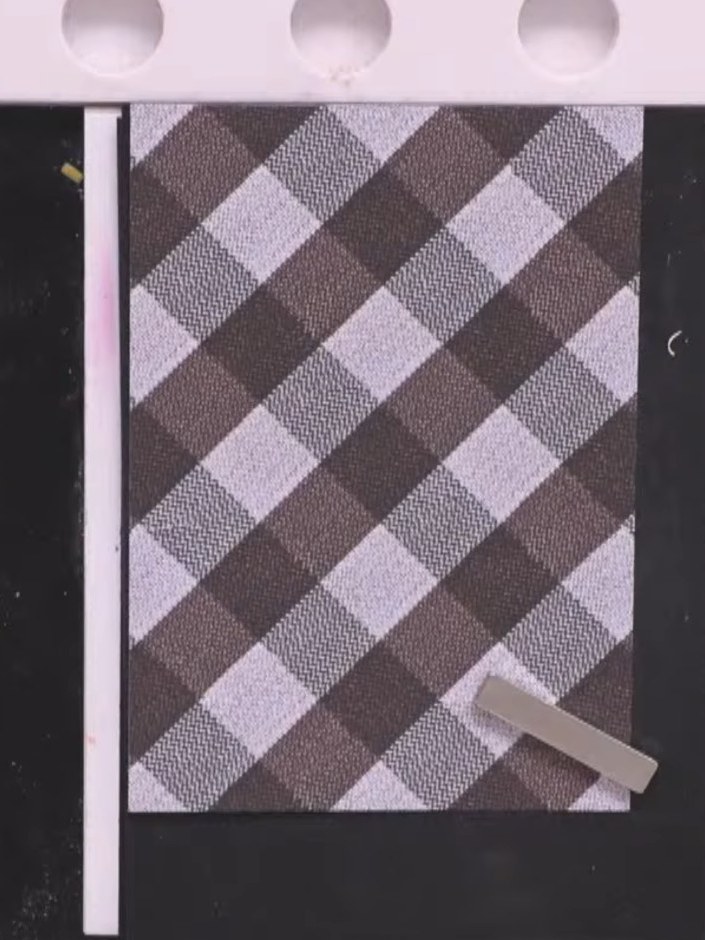
Stamp the Stella lady figure again using black ink onto white patterned paper from the Couture Crosswalks collection. Position the stamp carefully to ensure a clear impression.
 8
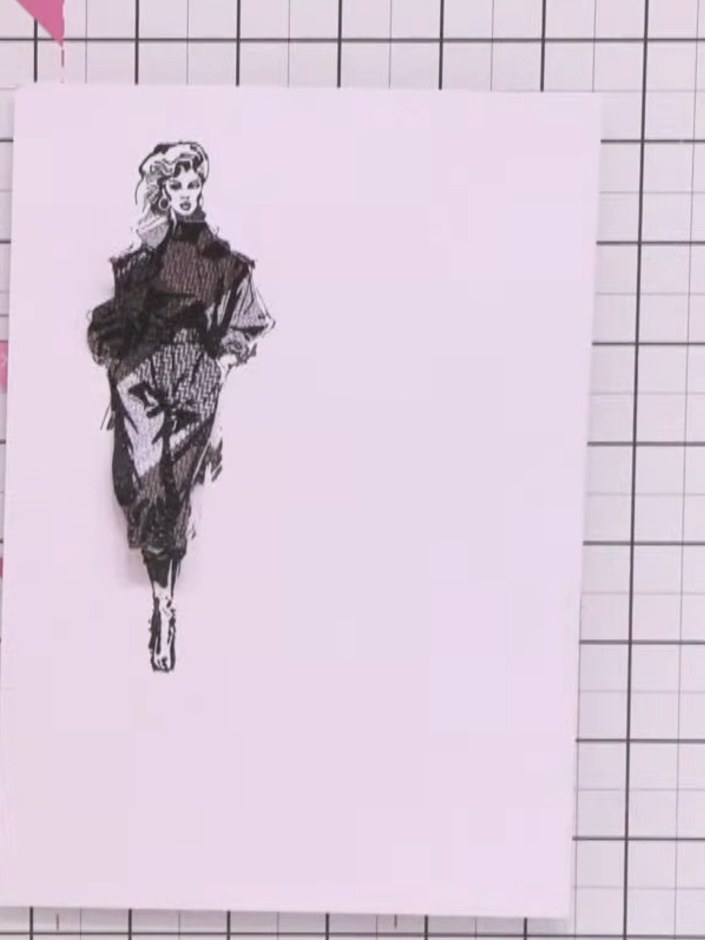
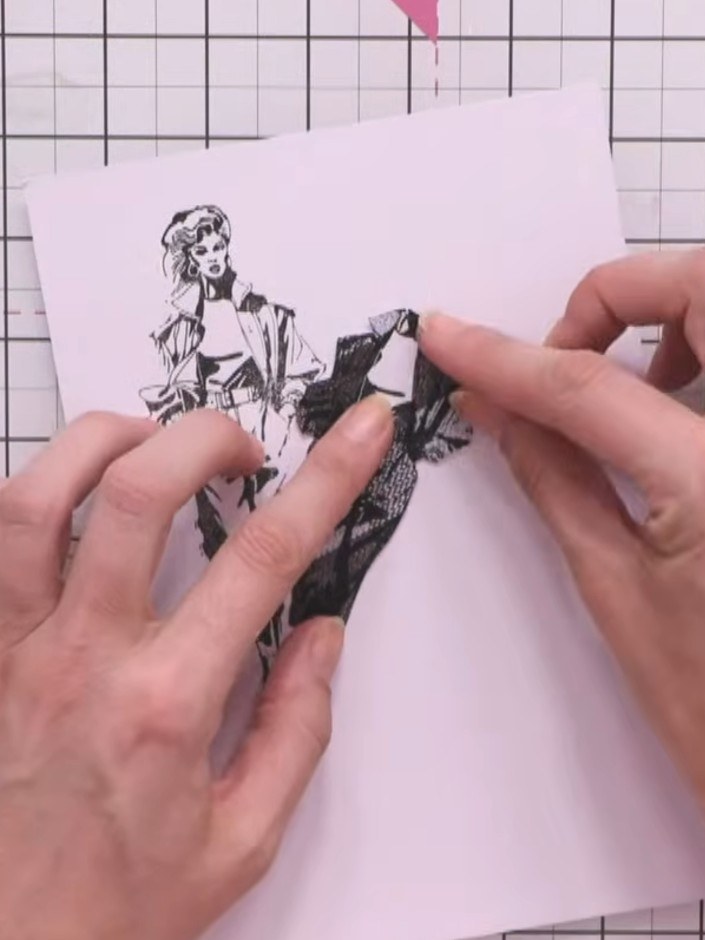
Cut out the jacket and trousers sections from the patterned paper piece, carefully cutting around the hands to keep them white.
 9
Stamp the Stella lady figure onto white card stock for a third time. This will be used to create the inner torso or jumper piece for layering.
 10
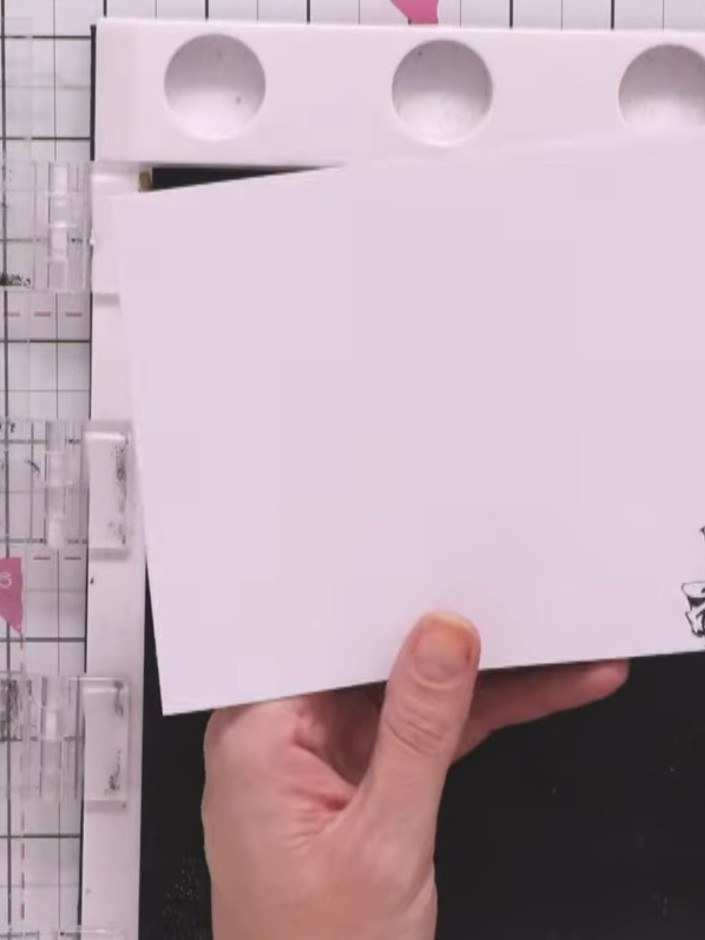
Cut out just the torso section from the white stamped piece, trimming around the figure's upper body.
 11
Layer and glue the patterned jacket and trousers piece onto the stencilled base image. Then layer the white torso piece on top to create the three-dimensional paper-pieced effect.
Share your make with the Stamps By Me community - and keep this guide for next time.
Written up from the show itself. See every guide from our shows · free how-to guides · watch live on My Telly · the previous layout