Give your friends $10 off their first order!
Refer a FRIEND








A project from our live show Create and Craft TV - IMALA LAUNCH - Join Carley Duff - Broadcast 30th April 24 · 04/30/2024 · watch it from 19:15
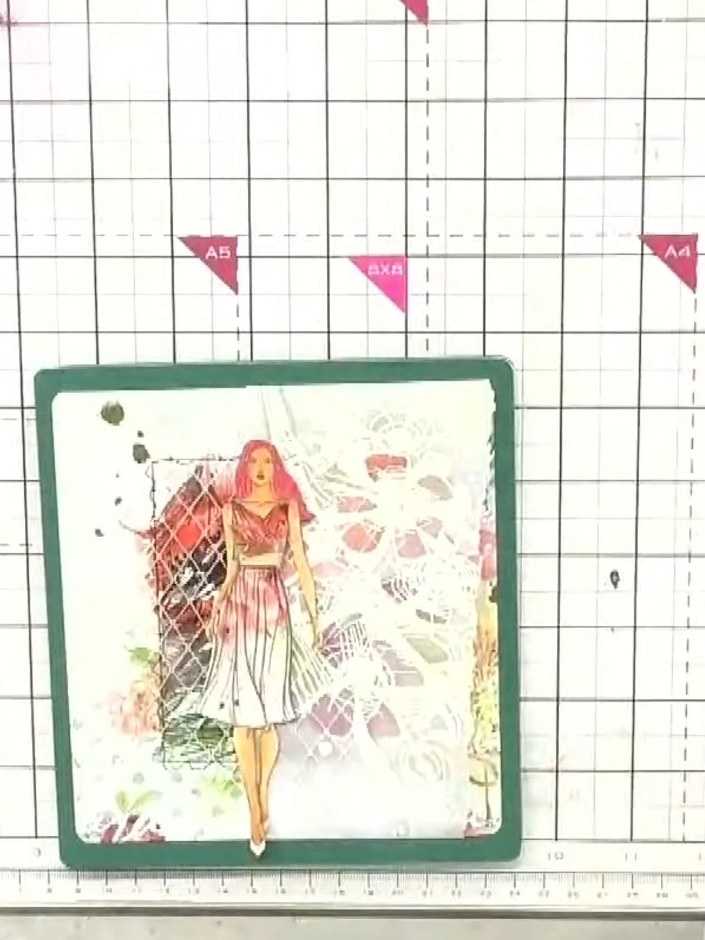
Create an elegant layered card featuring delicate tulip stamps and decorative florals with watercolour accents. This sophisticated design combines patterned papers in soft pinks and greens with an embossed vellum overlay, creating a beautiful dimensional effect. The finished card showcases artistic stamping techniques and hand-painted details for a truly special handmade greeting.
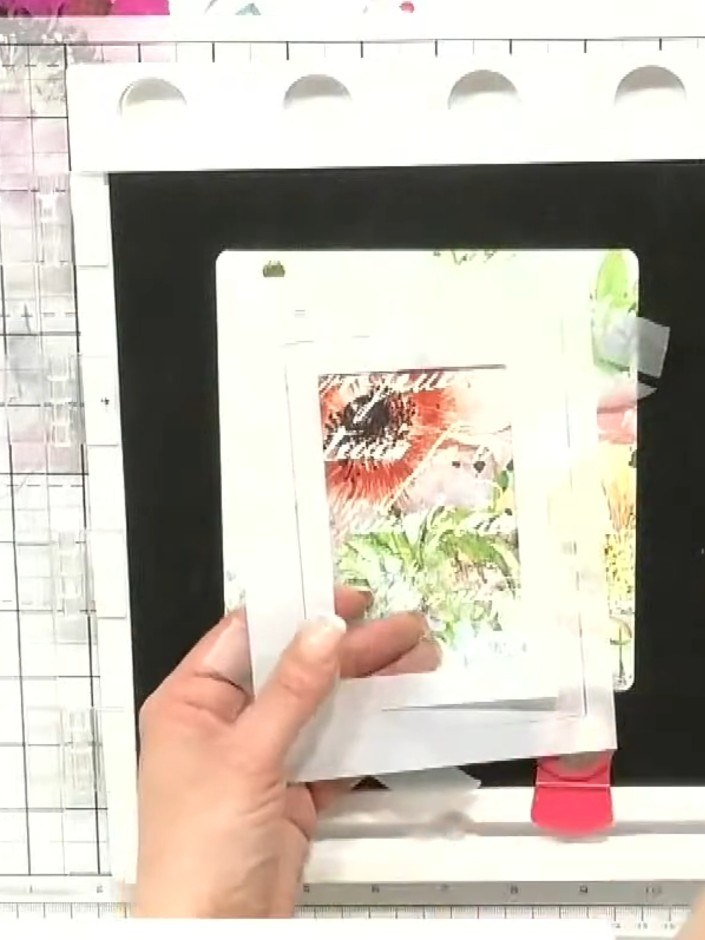
Take three white aperture stencils and tape them together to create a thicker frame. Position the layered frame over your floral patterned paper and secure it in place using magnets.
▶ watch this step (19:30)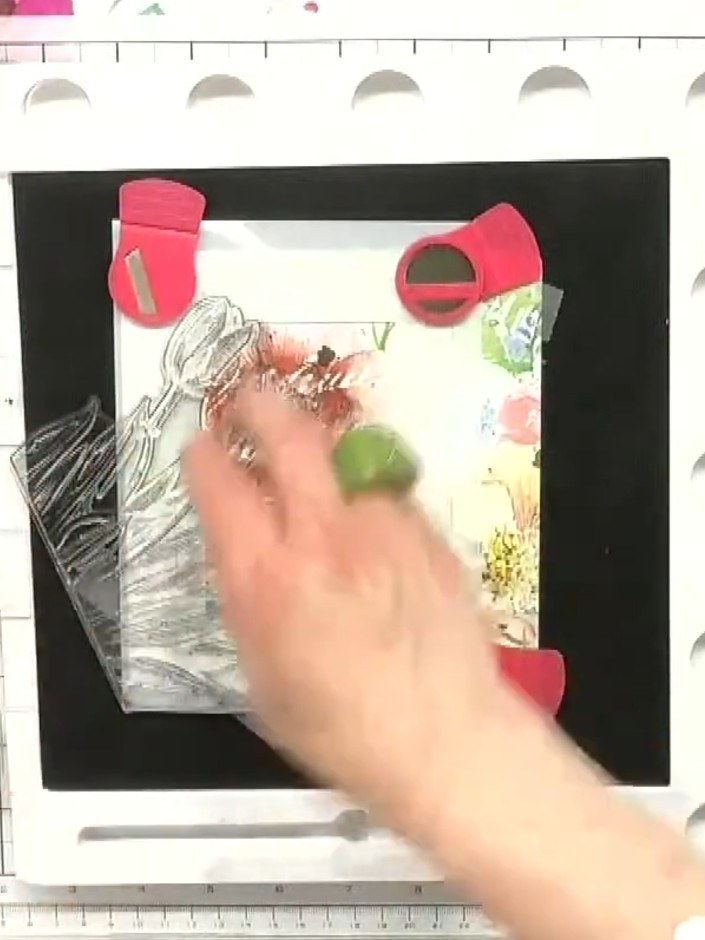
Using embossing ink, stamp the tulip detail stamp through the stencil frame onto the floral panel. Apply four taps to ensure full coverage of the ink.
▶ watch this step (20:15)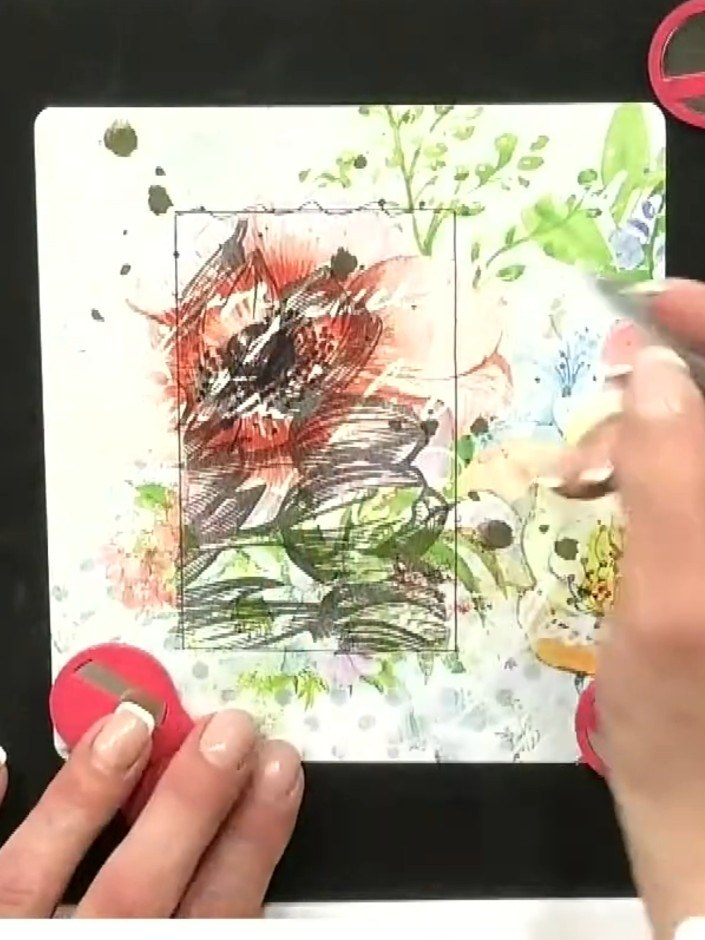
Stamp the floral spiral design onto vellum using embossing ink. Apply off-white embossing powder and heat emboss to set.
▶ watch this step (23:15)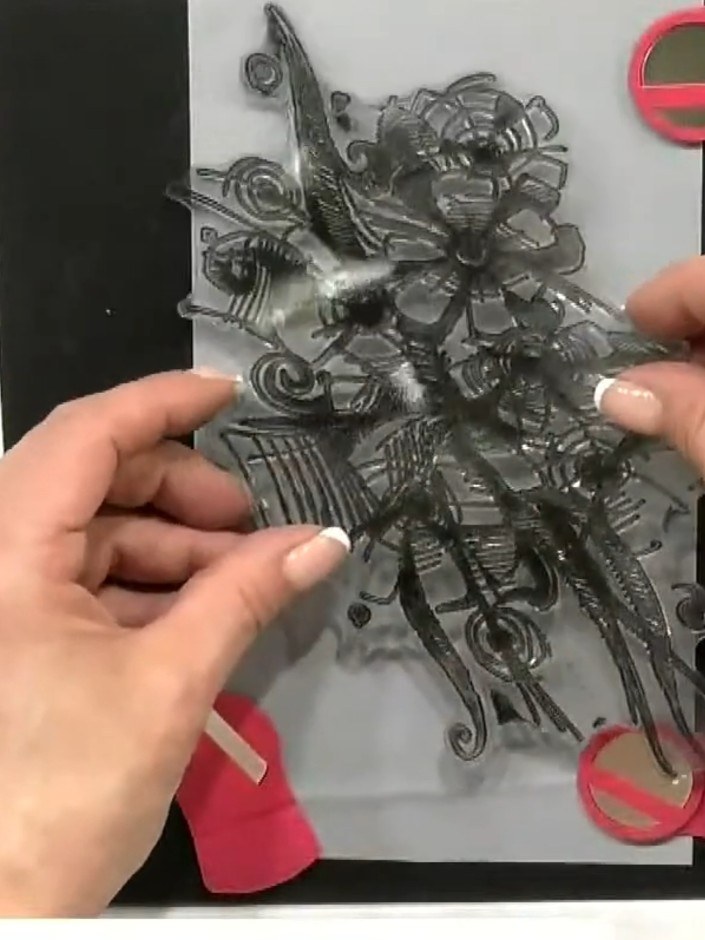
Apply watercolour paint to the embossed vellum. Start with pink tones on the tulips, then add green details to accent the foliage elements.
▶ watch this step (24:00)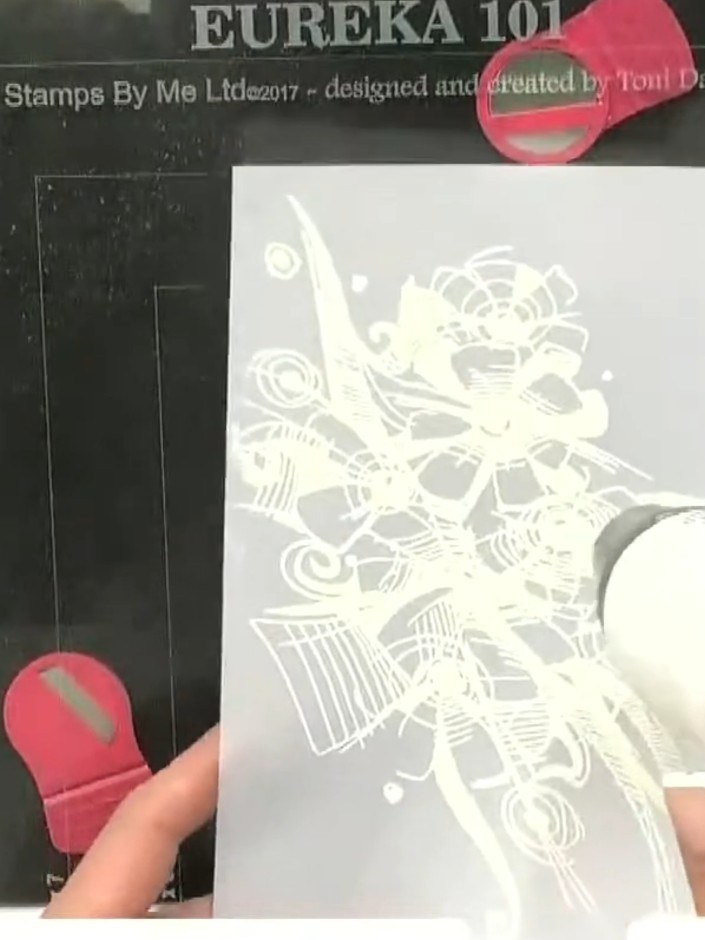
Dilute the blending ink with water and apply additional colour washes to the vellum using a brush or sponge. Build up layers of colour to create depth and dimension on the stamped design.
▶ watch this step (24:45)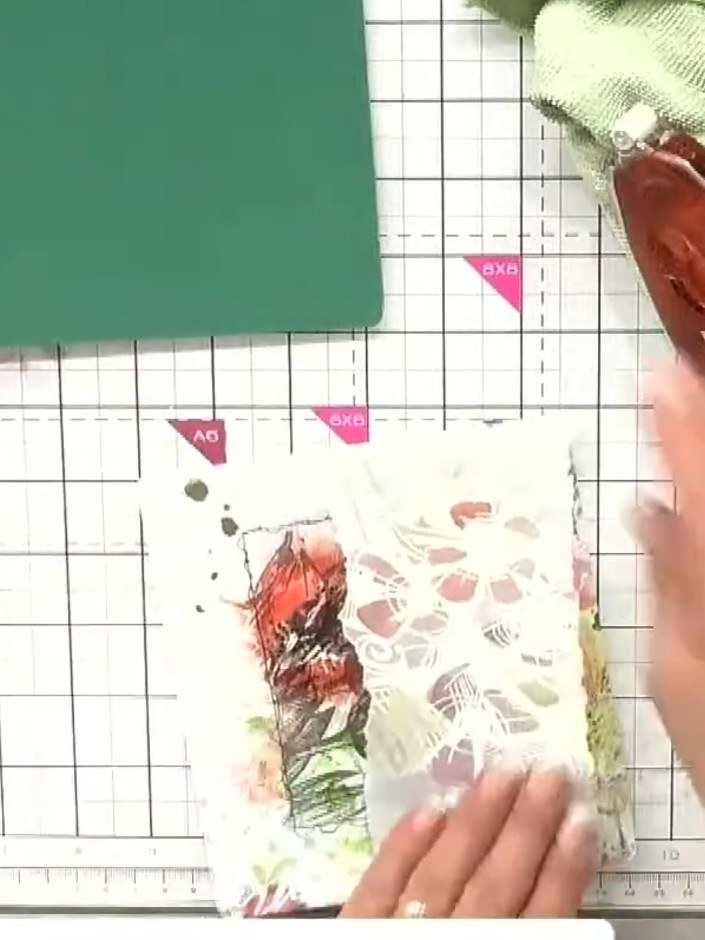
Fold the painted vellum over and adhere it to the card from the back only. This allows the vellum to maintain freedom of movement rather than being stuck down flat.
▶ watch this step (30:45)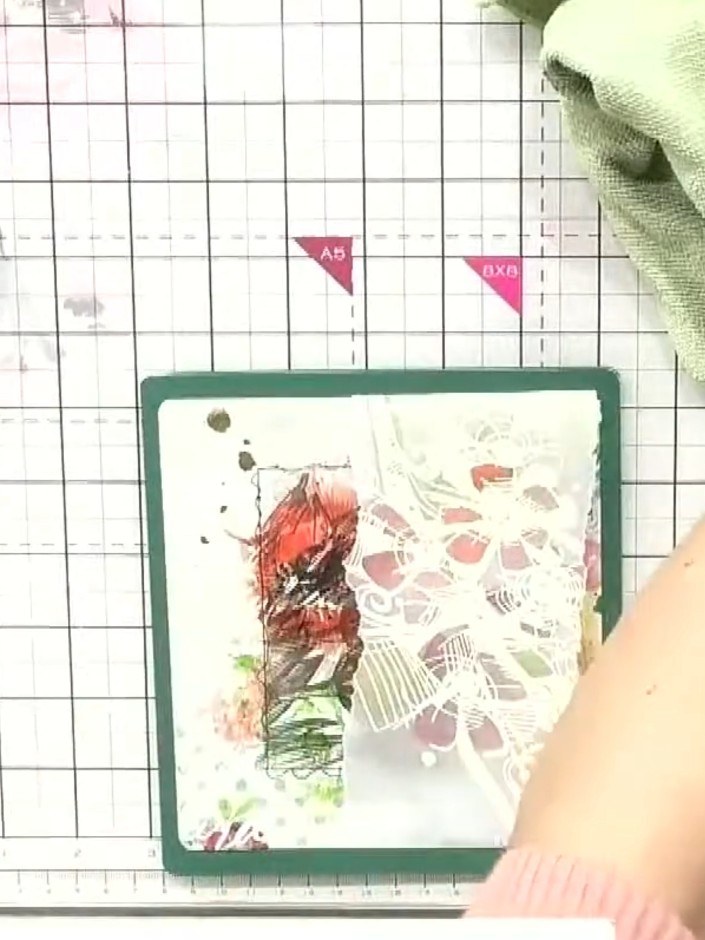
Add decorative mesh and embellishments to create mixed media texture on your card. Layer the green mesh fabric and any additional dress-up elements onto the card base to complete your layered floral design.
▶ watch this step (31:00)Written up from the show itself. See every guide from our shows · free how-to guides · watch live on My Telly