QUICK LINKS

info@howtocraftnetwork.com
We just got smarter - shop and watch with the SBM appGET THE APPWatch us live on your smart TVSEE HOWDiscover our dedicated IPTV channel - go to my-telly.comWATCHCollect loyalty points on every orderFIND OUT MORE
Welcome to the How to Craft Network
 
SBM SHOP
FOLLOW US
GIVE YOUR FRIENDS $10 OFF REFER A FRIEND › DISCOVER MY-TELLY.COM › WE JUST GOT SMARTER GET THE APP › AWARD WINNING CHANNEL ON YOUR TV › JOIN THE CLUB FOR SAVINGS ›
 

Storytelling Card with Layered Trees

A project from our live show CRAFT BATTLE USING THE BOOKAZINE - Join the fun, chaos and intense creativity as Toni and Sarah go HEAD-TO-HEAD - broadcast 30th May 24 · 05/30/2024 · watch it from 33:45
Storytelling Card with Layered Trees - the finished project
The finished project

Create a beautiful storytelling card featuring layered tree silhouettes reflected in water. This elegant design uses warm sunset tones of yellow, orange and red combined with deep forest greens to create a serene landscape scene. The project demonstrates stamping techniques for creating mirror-image reflections and layering colours to build atmospheric depth.

You will need

867853 - HSN - Inspirational Magazine Kit867853 - HSN - Inspirational Magazine KitSEE IT Inspirational Bookazine Kit - Magazine - 110324AInspirational Bookazine Kit - Magazine - 110324ASEE IT

DOWNLOAD THIS GUIDE (PDF)

Step by step

  1. Step 1: Select your card base from the Inspirational Magazine Kit. Consider the story or emotion you want to convey wi

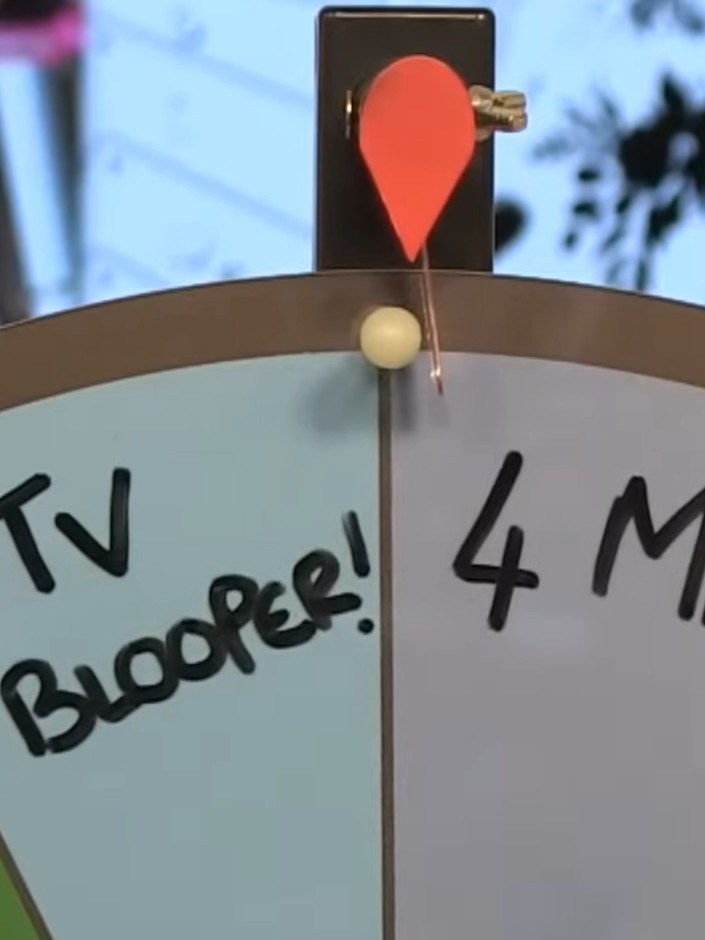
    Select your card base from the Inspirational Magazine Kit. Consider the story or emotion you want to convey with your card. The time wheel can help you decide how much time you have for your project.

    ▶ watch this step (34:00)
  2. Stamp the reflection trees onto your card base using your primary ink colour. Position the stamps to create a mirrored forest effect across the bottom portion of the card. ▶ watch 34:30
  3. Add secondary stamping with a contrasting or complementary colour to create layers. Stamp the tree image again using a different ink colour to build depth and dimension in your design. ▶ watch 35:15
  4. Apply distress ink to the card panel using a blending tool in gentle circular motions. Work the ink across the surface to soften edges and create atmospheric effects around the stamped tree image. ▶ watch 36:00
  5. Select a sentiment stamp from your kit that complements your card's theme. Stamp it onto the card using black ink, positioning it appropriately to complete your storytelling design. ▶ watch 37:30
  6. Mount your finished design onto a grey card base for added impact. This creates a contrasting border that frames the tree scene beautifully. ▶ watch 38:45
  7. Review your finished cards to ensure the storytelling elements are clear and the design is balanced. Check that the layered tree reflections create a cohesive scene and the sentiment complements the imagery. Make any final adjustments to the positioning or colour placement if needed. ▶ watch 39:30

Tips from the show

More from this show

Written up from the show itself. See every guide from our shows · free how-to guides · watch live on My Telly







