Give your friends $10 off their first order!
Refer a FRIEND








A project from our live show CREATE AND CRAFT TV - Join Toni for her brand new SBM launch - broadcast 21st June 24 · 06/21/2024 · watch it from 50:30
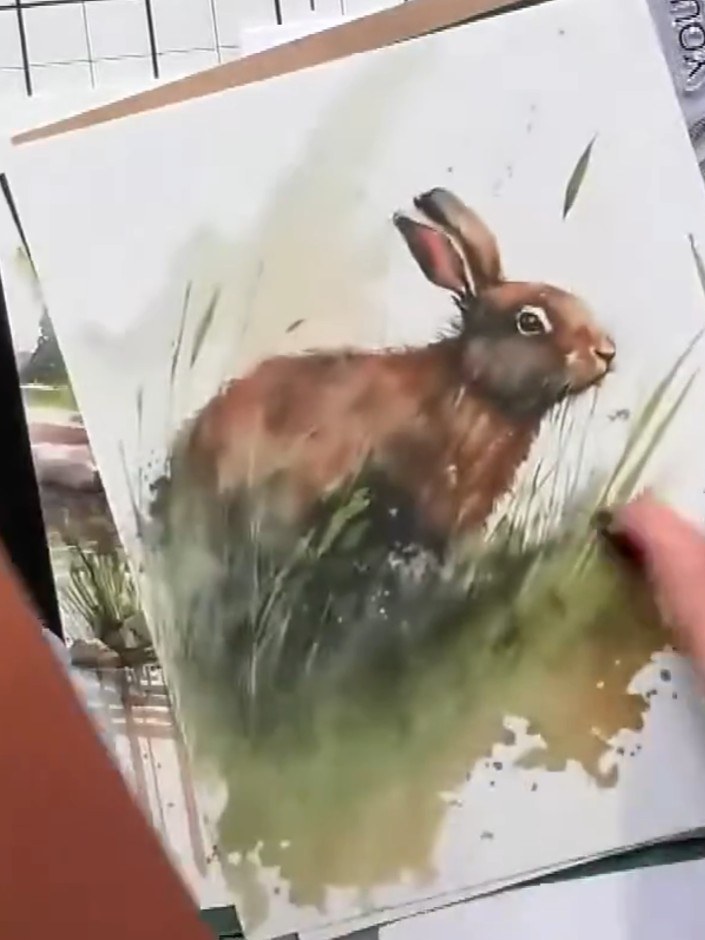
Make an elegant wildlife card featuring a beautiful watercolour owl on a green card base with a 'Joyeux Noël' sentiment banner. The design combines rich autumn colours of green, orange and brown with a sophisticated layered look. Using stamps and stencils from the Woodland Wildlife collection, you'll create depth through masking and layering techniques.
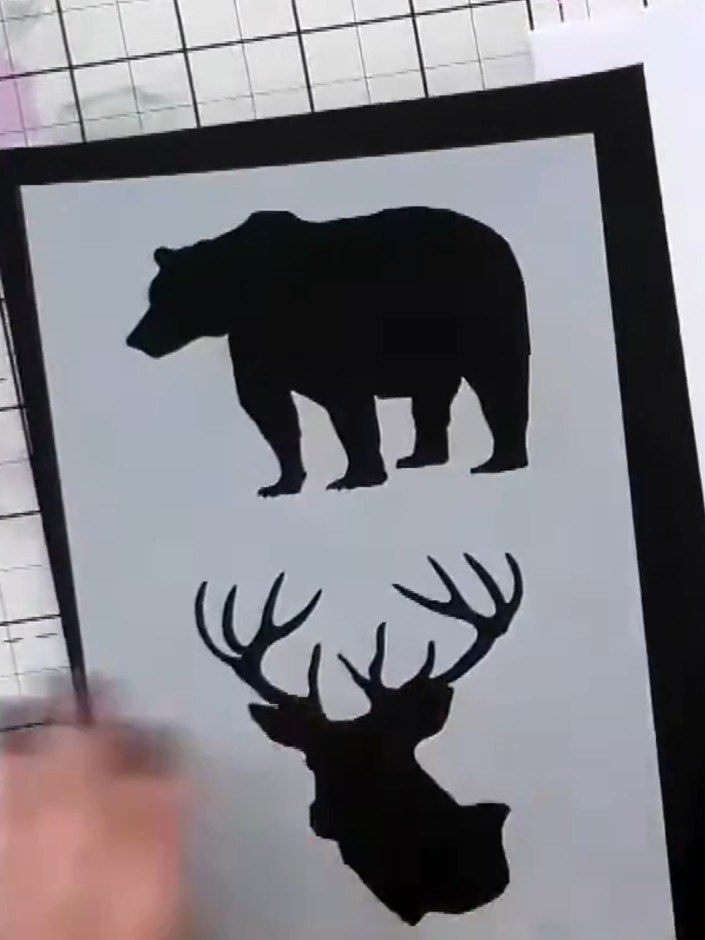
Select a piece of grey card stock from the Woodland Wildlife bumper paper pack as your base. Place it on your craft mat with the embossing folder showing the bear and deer silhouettes.
▶ watch this step (51:00)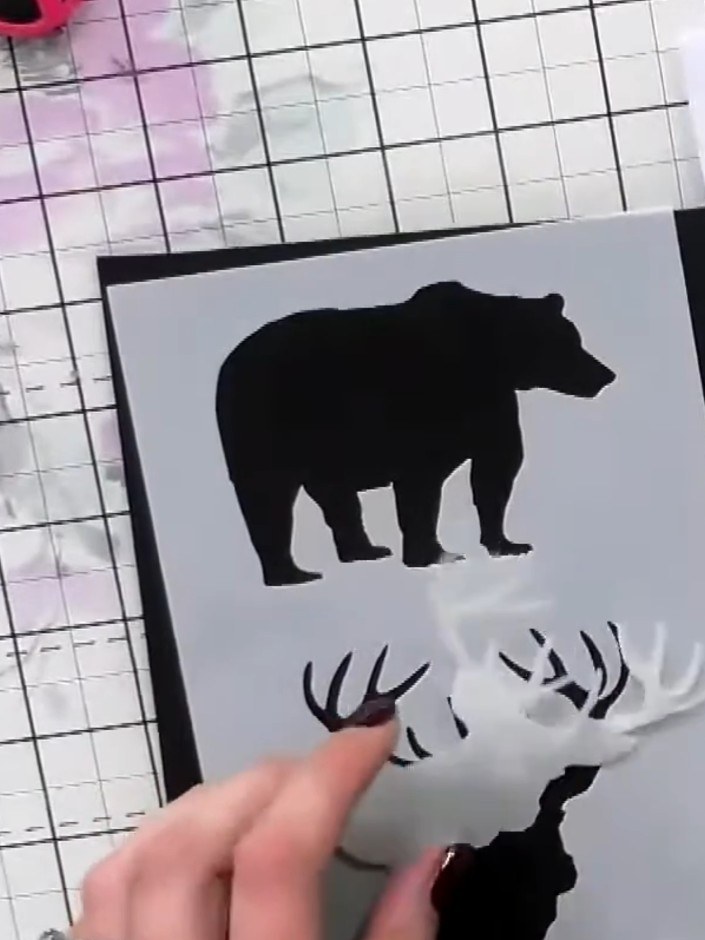
Position the stencil mask over your card to define the area where you will stamp. The mask creates a frame for your wildlife scene.
▶ watch this step (51:15)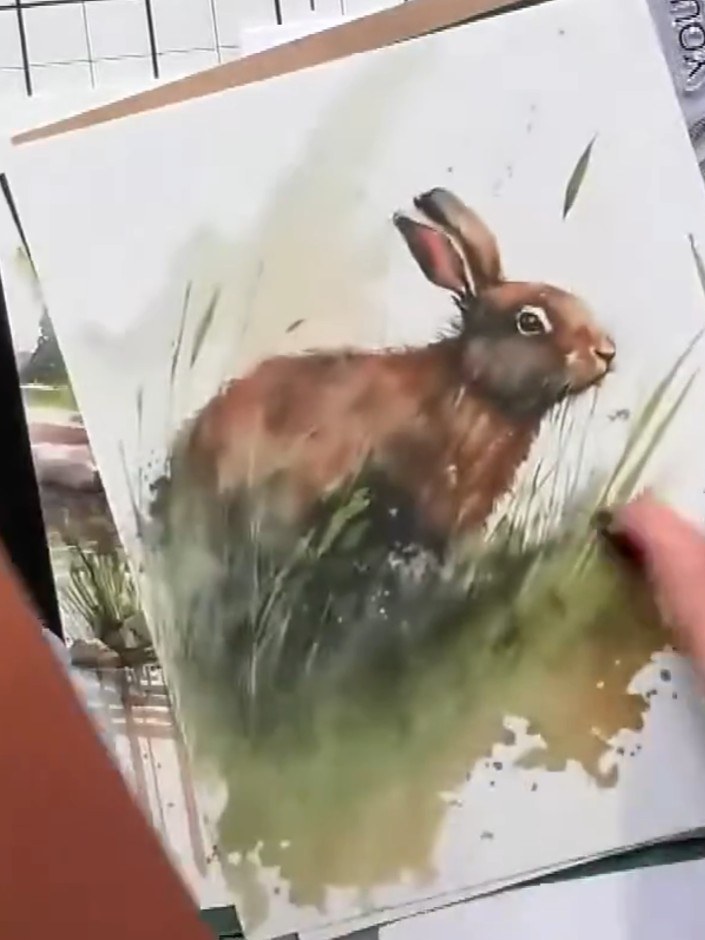
Stamp your chosen animal design (bear, stag, or rabbit) using black ink onto the watercoloured background. Position the stamped image within or around the masked area to create your focal point.
▶ watch this step (51:30)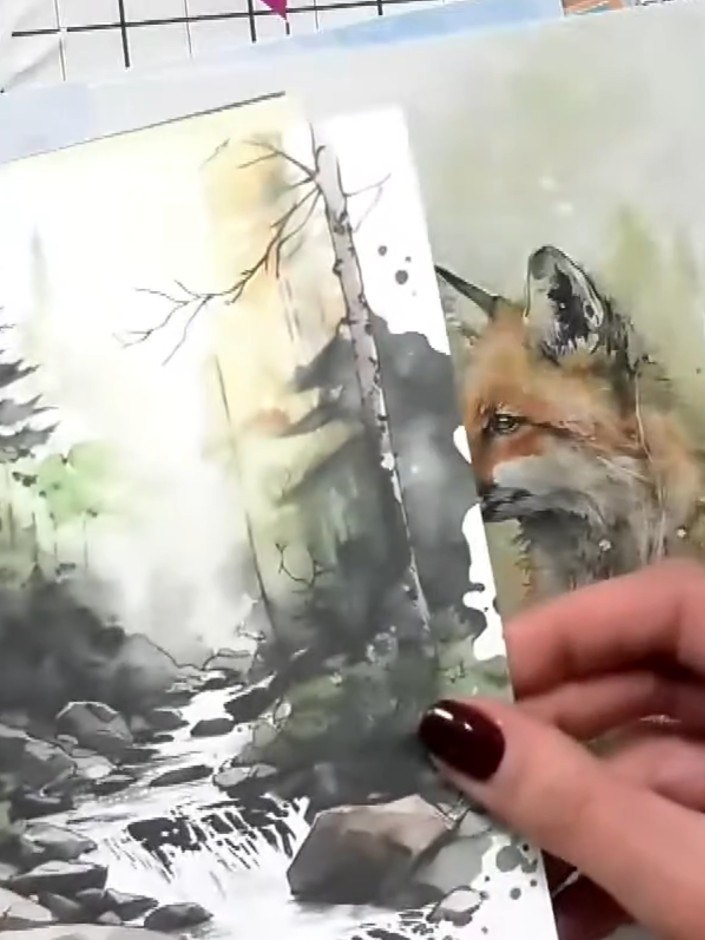
Carefully peel away and remove the masking paper to reveal the stamped woodland scene beneath, showing the fox and forest background.
▶ watch this step (52:00)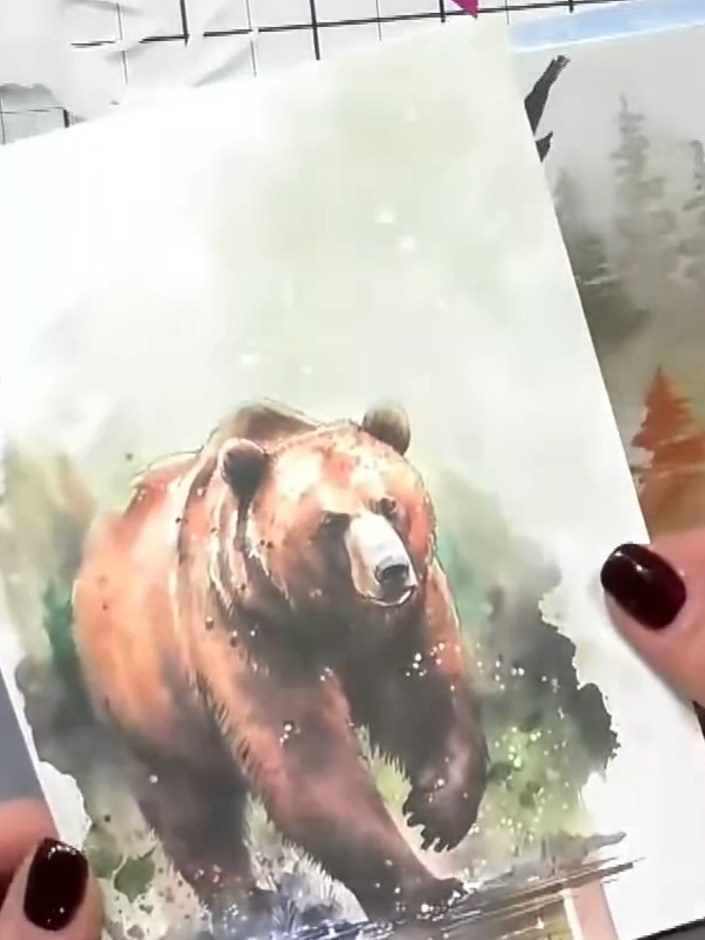
Use a stencil to add atmospheric effects around your stamped animal. Position the stencil over the image and apply ink through it to create a soft glow or add additional design elements like trees or foliage.
▶ watch this step (52:15)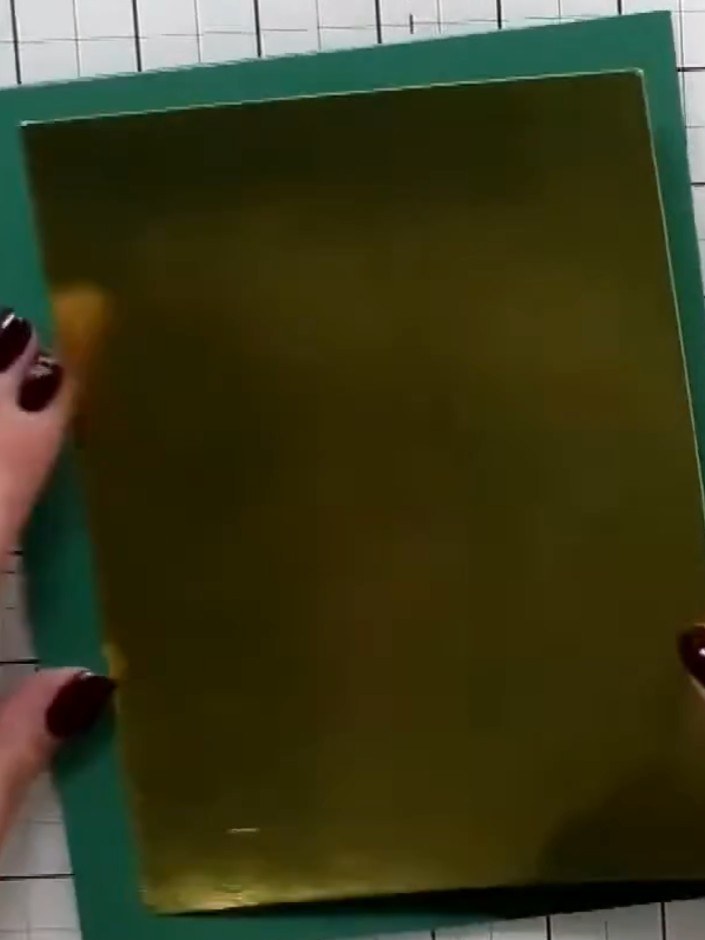
Mount the stamped wildlife panel onto a teal card blank using adhesive. Ensure the panel is centred on the card base.
▶ watch this step (52:45)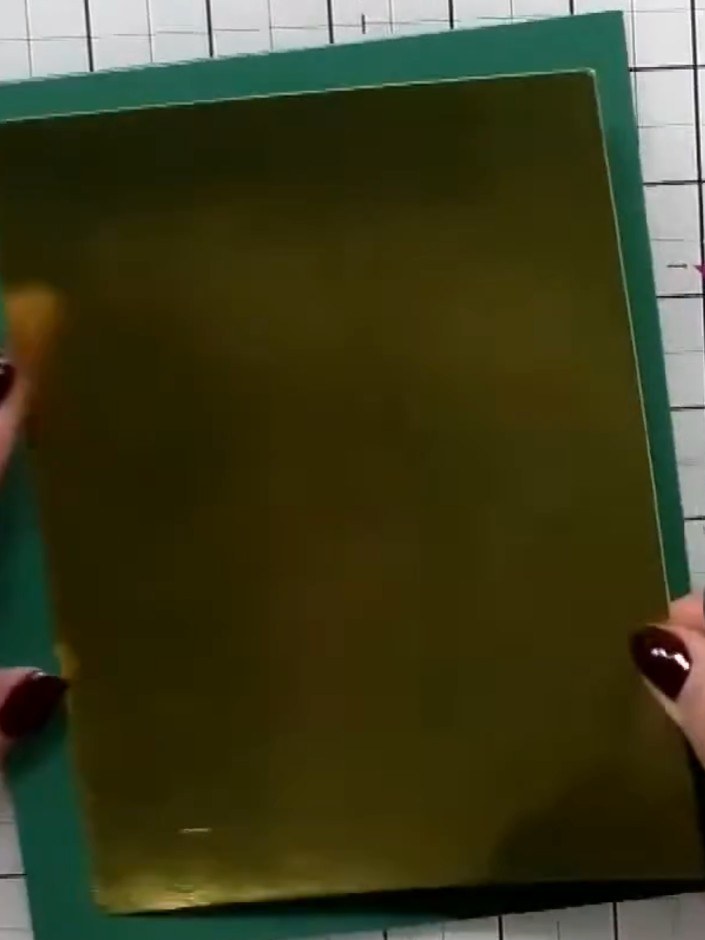
Apply glue to the back of your gold foil panel and attach it to the teal card base, creating a contrasting metallic border around the edges.
▶ watch this step (53:00)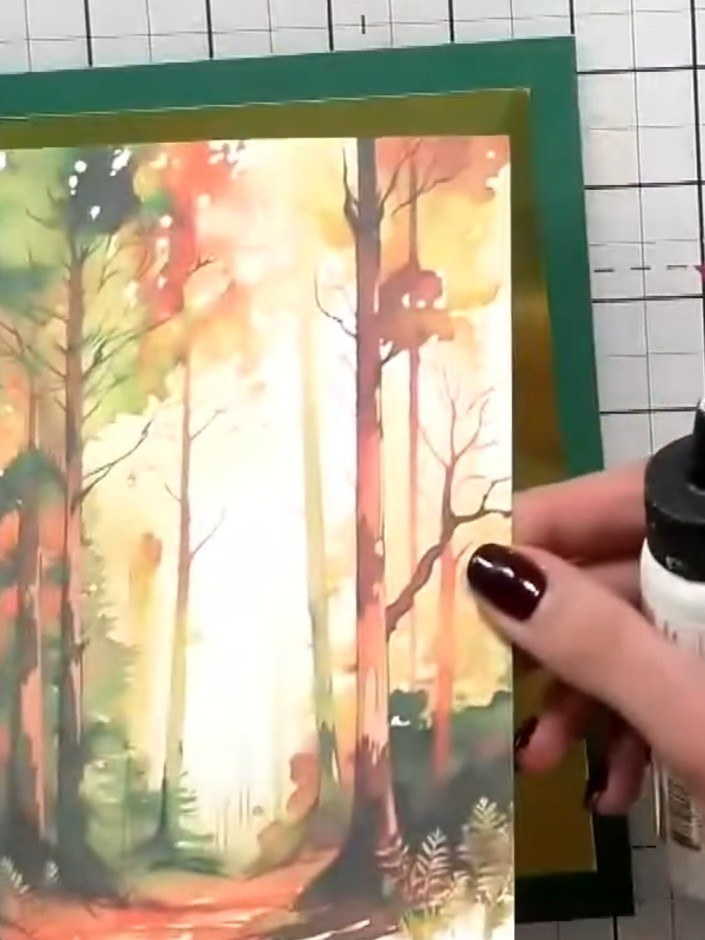
Select a sentiment stamp from the stamp set and stamp it onto white cardstock using black ink. Attach the sentiment to your card to complete the design.
▶ watch this step (53:30)Written up from the show itself. See every guide from our shows · free how-to guides · watch live on My Telly