Give your friends $10 off their first order!
Refer a FRIEND








A project from our live show CREATE AND CRAFT TV - Join Toni for her brand new SBM launch - broadcast 21st June 24 · 06/21/2024 · watch it from 40:15
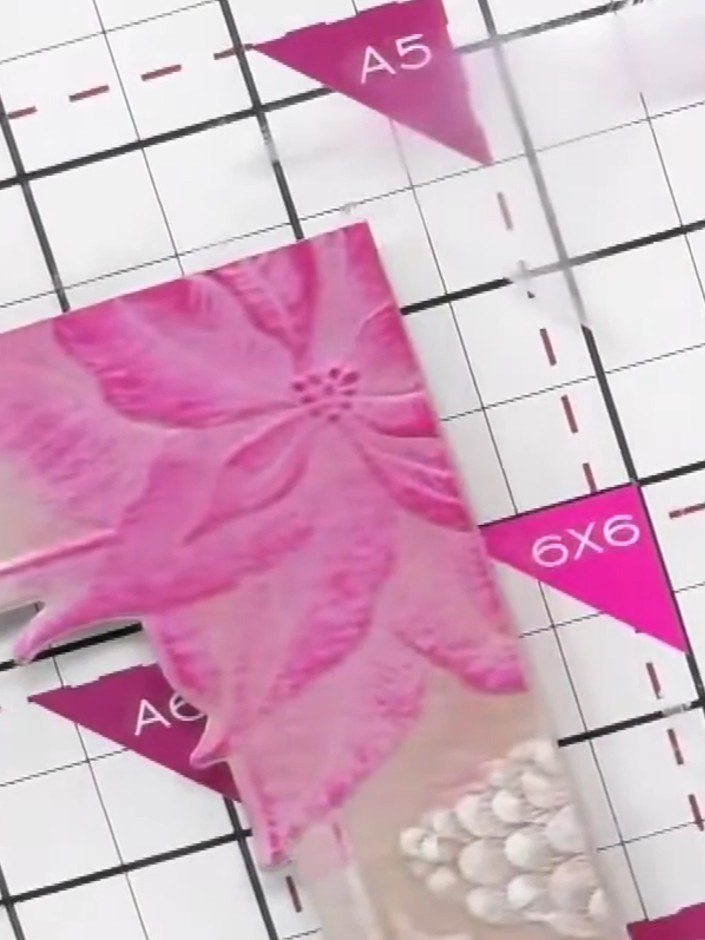
Create a stunning white embossed card featuring a delicate poinsettia design from the Winter Forest collection. This elegant card combines the crisp texture of embossing with subtle watercolour accents in pink and coral tones to add depth and dimension. The technique uses white ink dusting on craft card stock to create a sophisticated, dimensional finish perfect for winter celebrations.
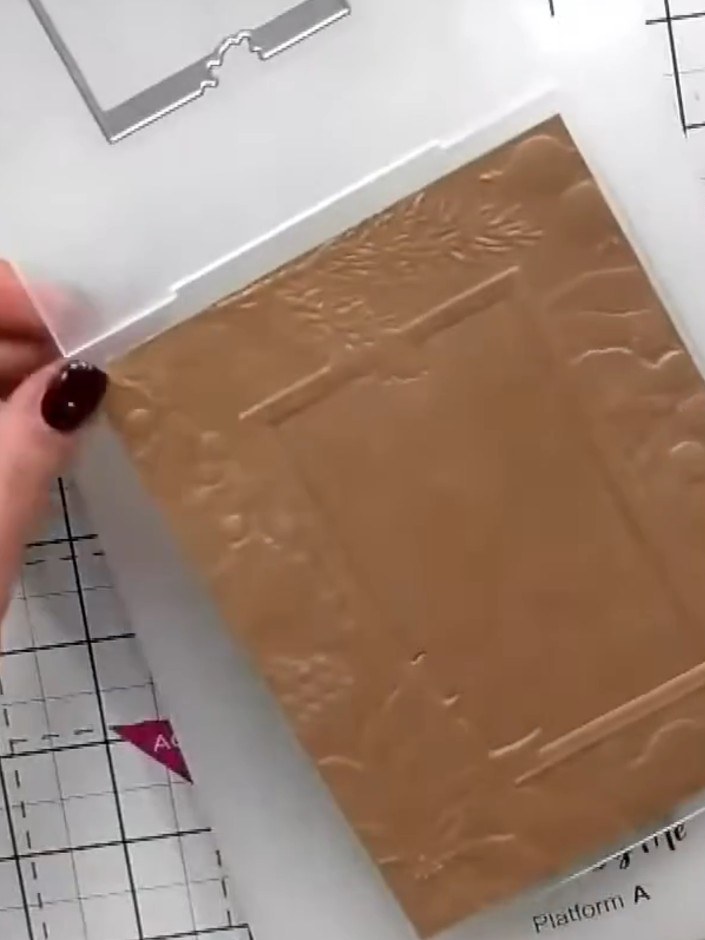
Place your white craft card into the Winter Forest embossing folder. Run the folder with the card through your die-cutting machine to create the embossed texture.
▶ watch this step (40:15)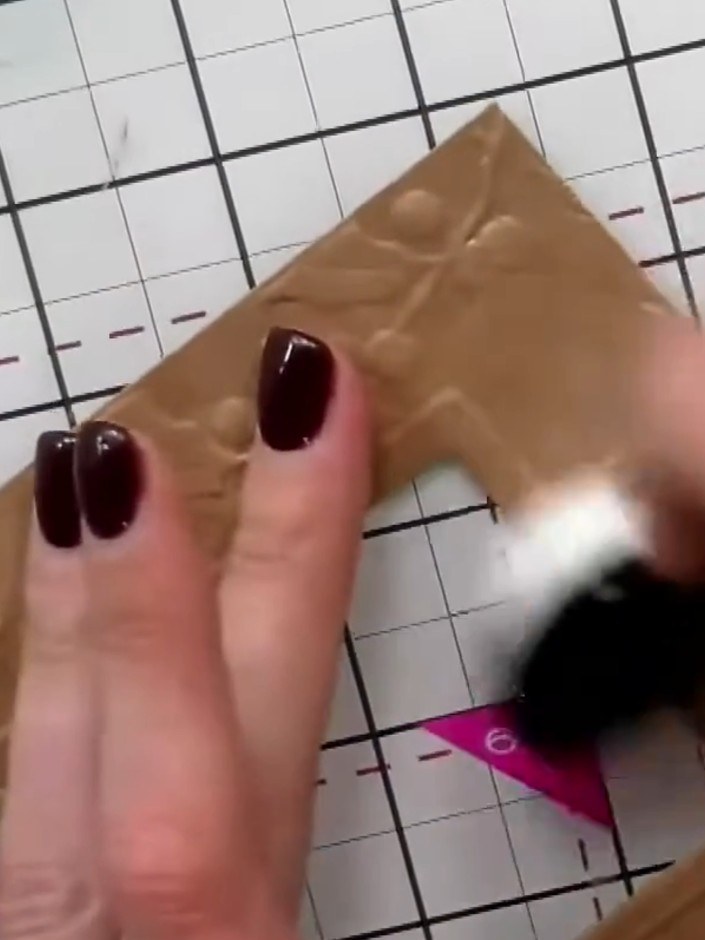
Using a brush, dust the entire embossed surface with white ink to create a ghostlike background effect over the whole piece.
▶ watch this step (41:00)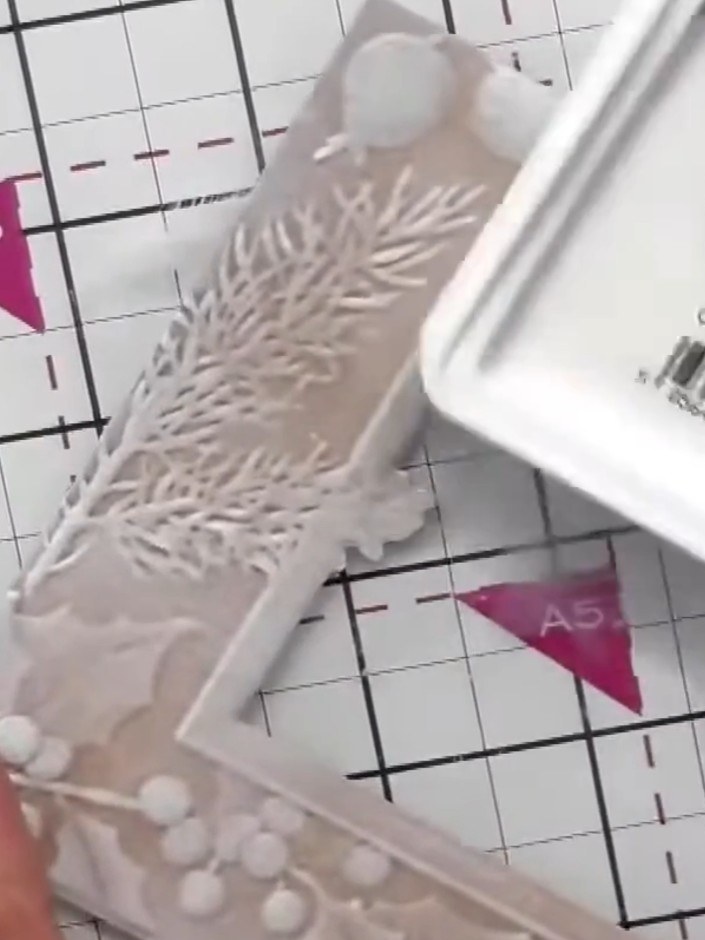
Using white pigment ink, tap the ink pad directly onto the raised embossed areas of the design to highlight the details and bring them to life.
▶ watch this step (42:00)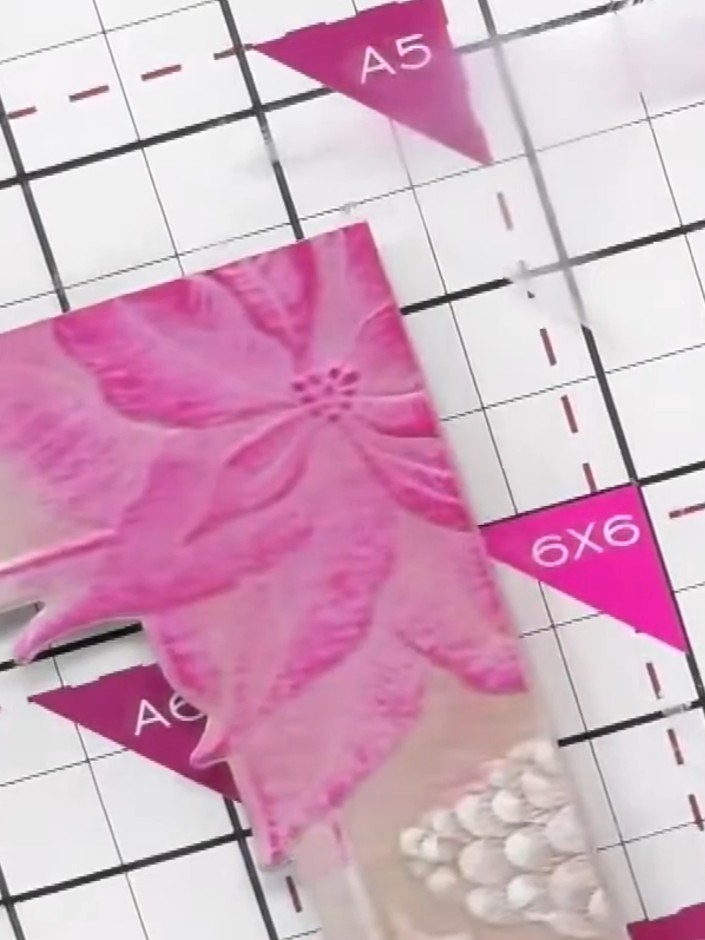
Apply pink ink to the centre of the embossed flower bud using the applicator tool to add colour to the design.
▶ watch this step (42:45)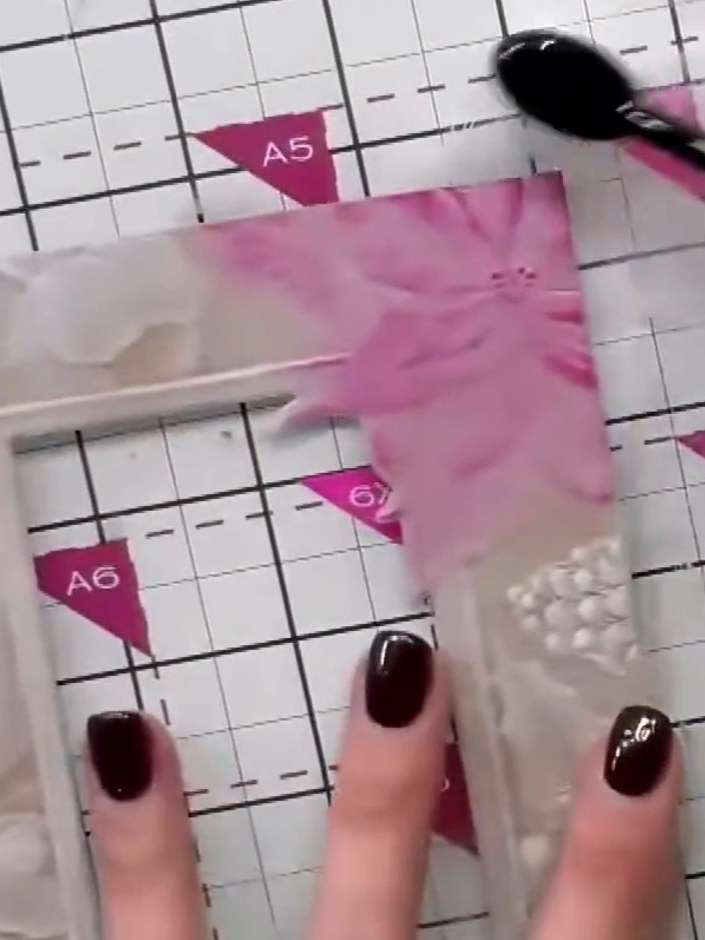
Use a blending brush to soften and blend the pink ink outward from the flower centre, creating a gentle gradient effect on the petals.
▶ watch this step (43:00)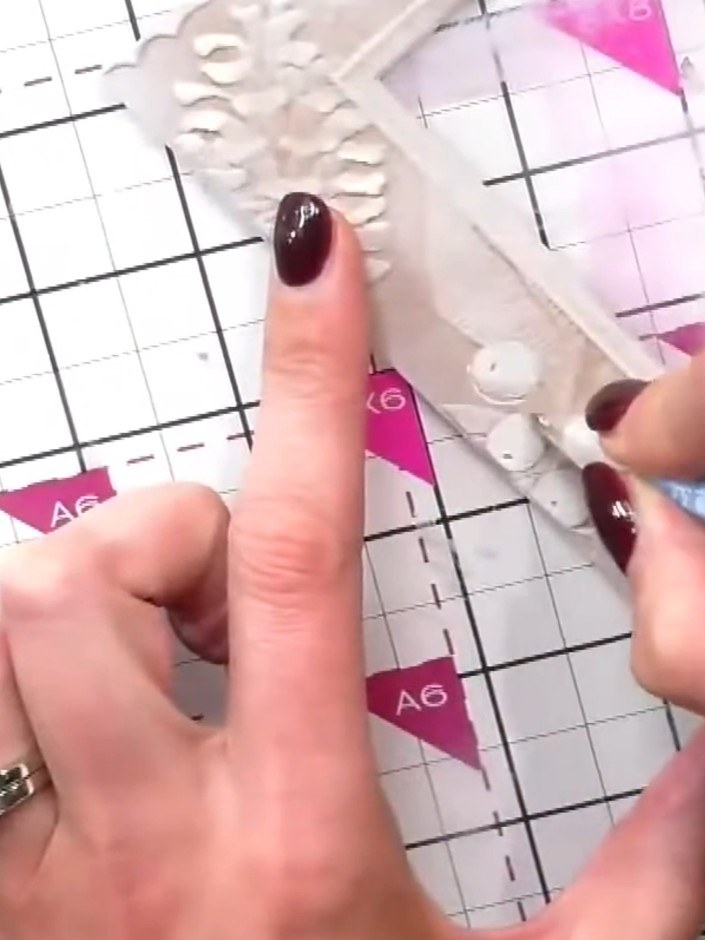
Mount the finished embossed poinsettia panel onto your card base to complete the card.
▶ watch this step (44:00)Written up from the show itself. See every guide from our shows · free how-to guides · watch live on My Telly