Give your friends $10 off their first order!
Refer a FRIEND








A project from our live show MY PODCAST - Catch my latest updates broadcast 24th June 2024 · 06/24/2024 · watch it from 30:00
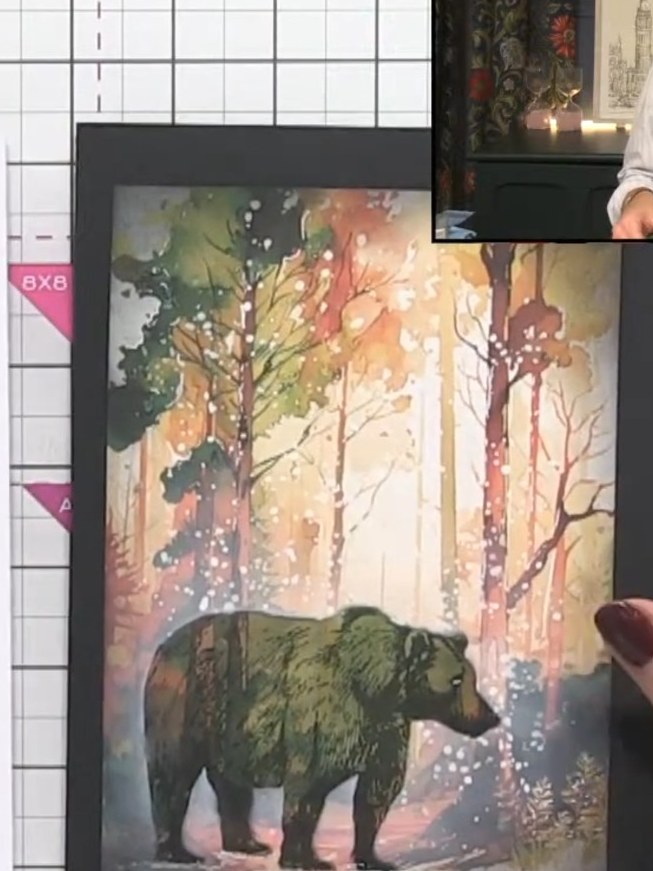
Create a stunning Christmas card featuring a majestic bear silhouette set against an enchanting autumn forest scene with warm oranges, golds and greens. This project uses stamp and stencil masking techniques to build beautiful layers of depth, enhanced with delicate white snow splatters for a magical seasonal effect. The finished card is mounted on a black mat for a professional, striking presentation.
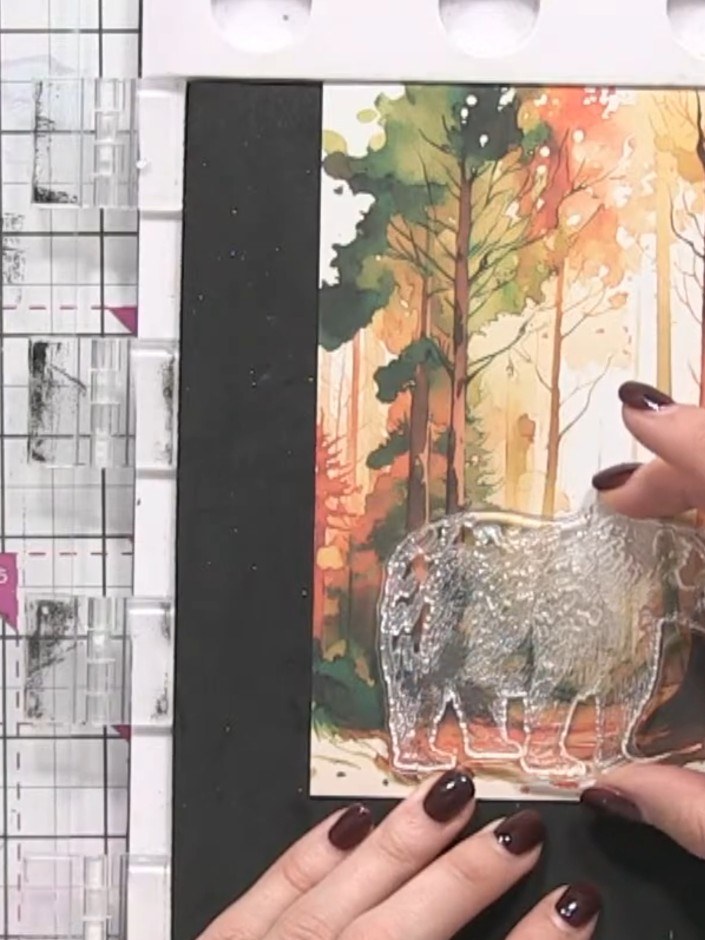
Stamp the bear image onto patterned Christmas paper using a brown ink pad. Position the bear towards the bottom of the paper, ensuring it is clearly stamped.
▶ watch this step (31:45)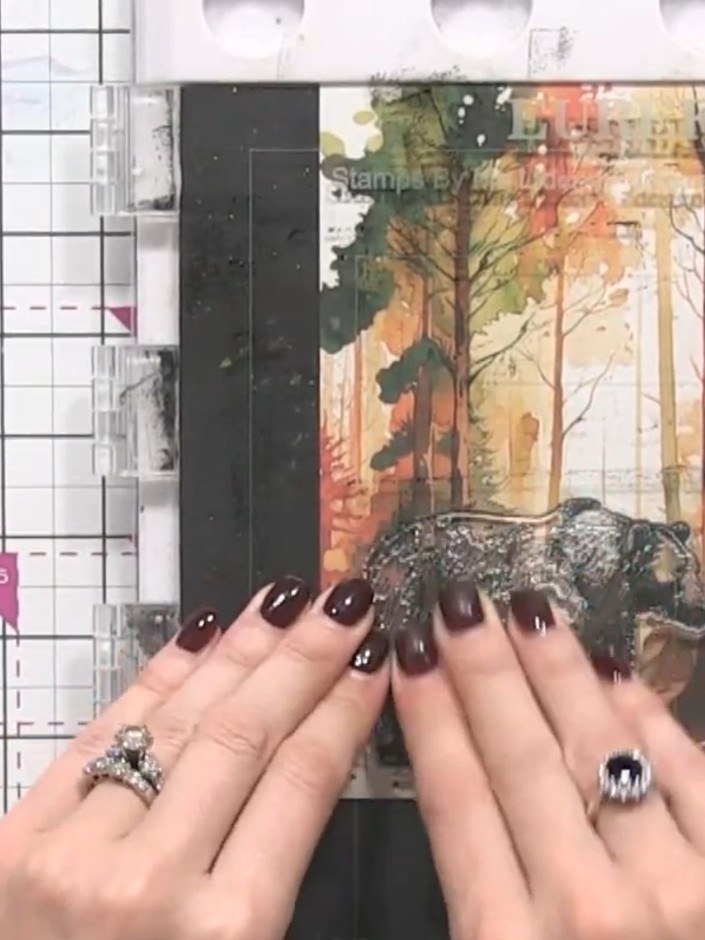
Position the exterior stencil mask over the stamped bear image on the black card to create a defined outline around the bear.
▶ watch this step (32:00)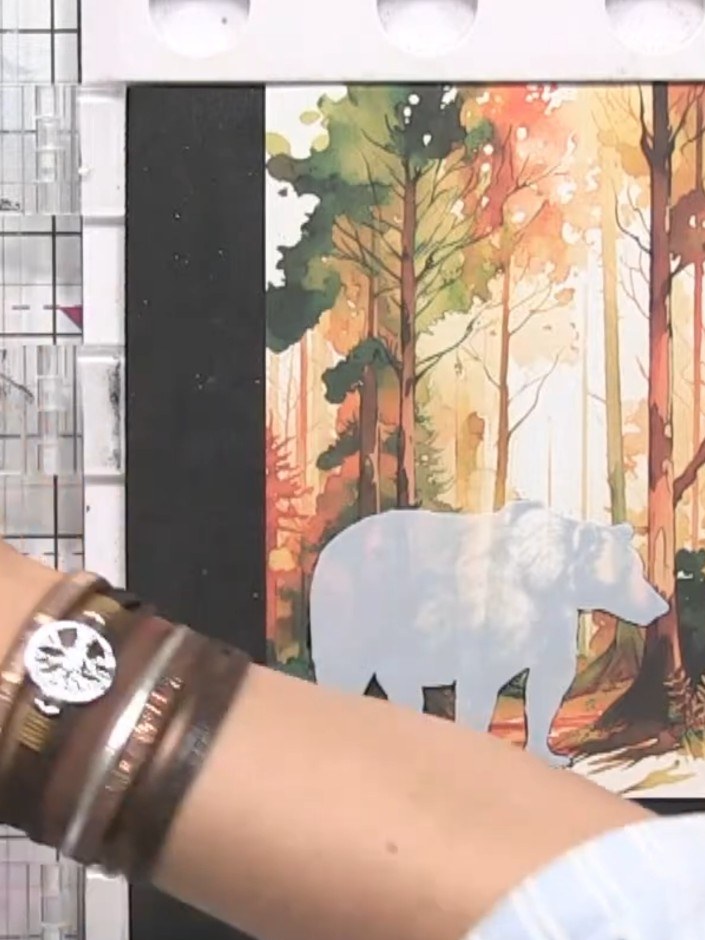
Using a small brush, apply white pigment ink around the edges of the bear die-cut to create a soft halo effect. Blend the ink outward so it fades naturally into the background image.
▶ watch this step (34:30)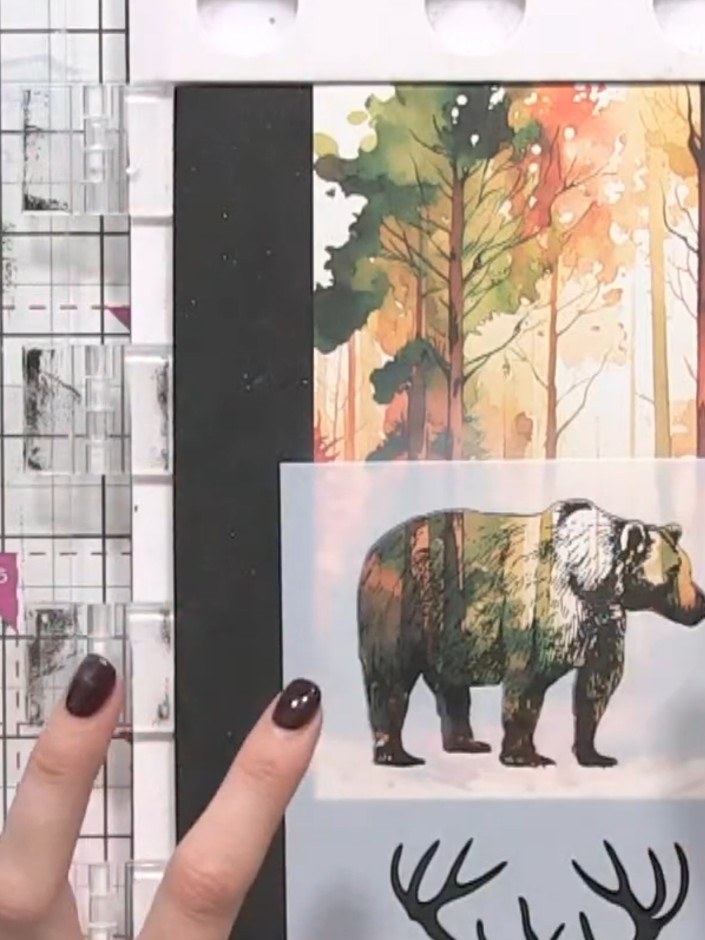
Carefully remove the stencil mask by lifting it straight up, taking care not to drag it across the artwork to avoid smudging the ink.
▶ watch this step (36:45)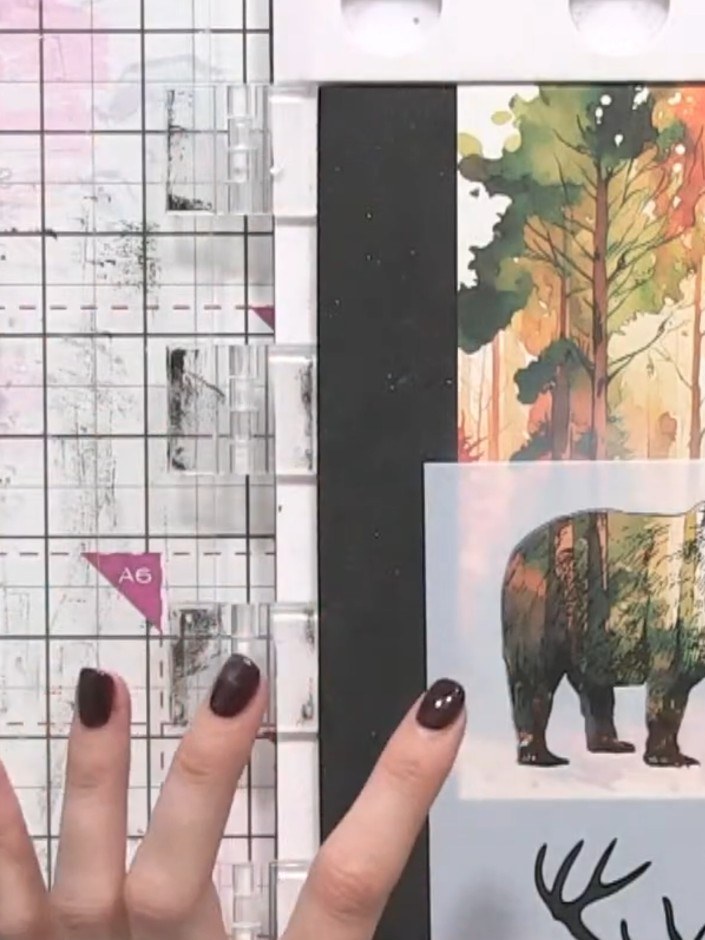
Apply black or dark brown ink around the edges of the bear image using a small ink pad or applicator. Work the ink around the perimeter to darken and define the forest scene, drawing focus towards the centre of the design.
▶ watch this step (37:00)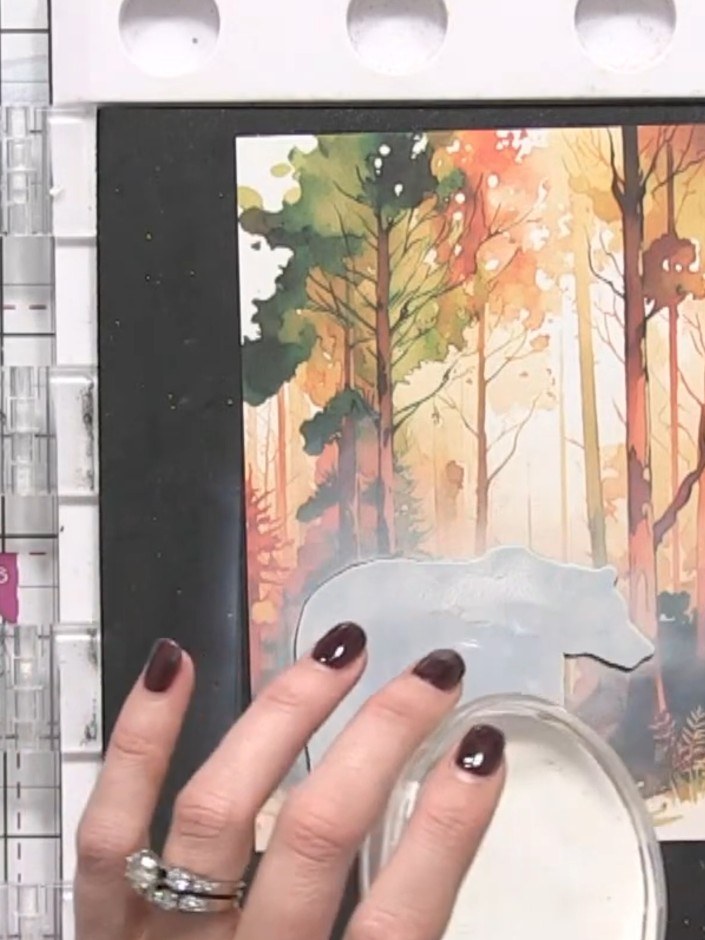
Using a brush, apply white gesso or watercolour paint to create falling snow effects across the forest scene and bear. Add small dots and splashes to simulate snowflakes throughout the image.
▶ watch this step (41:15)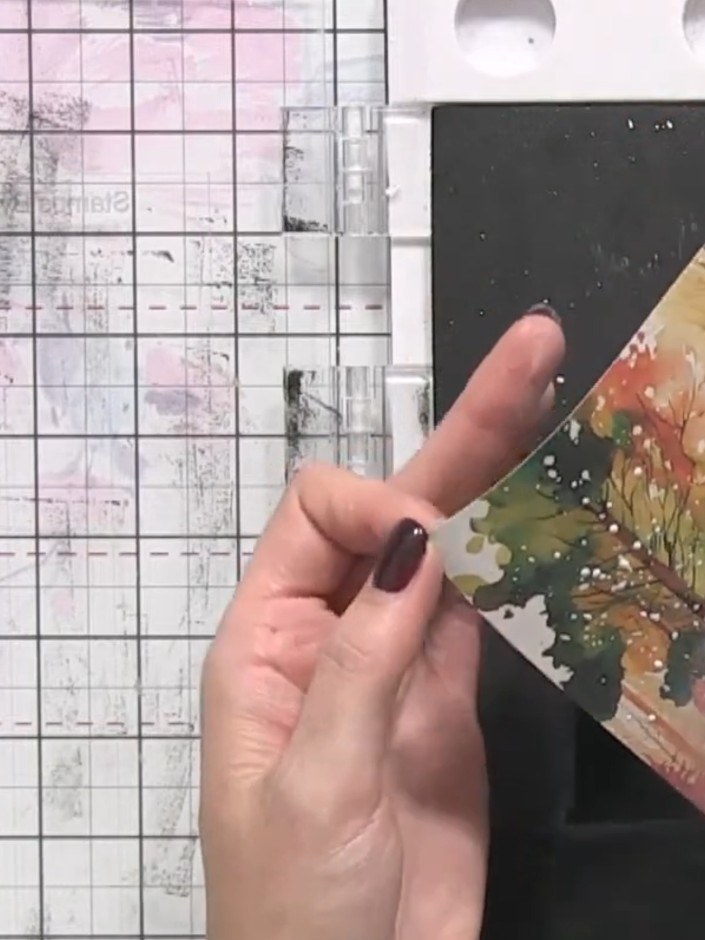
Carefully peel away the stencil mask from the card to reveal the white snow effect beneath. Allow the white paint or ink to dry completely before continuing with the next step.
▶ watch this step (43:45)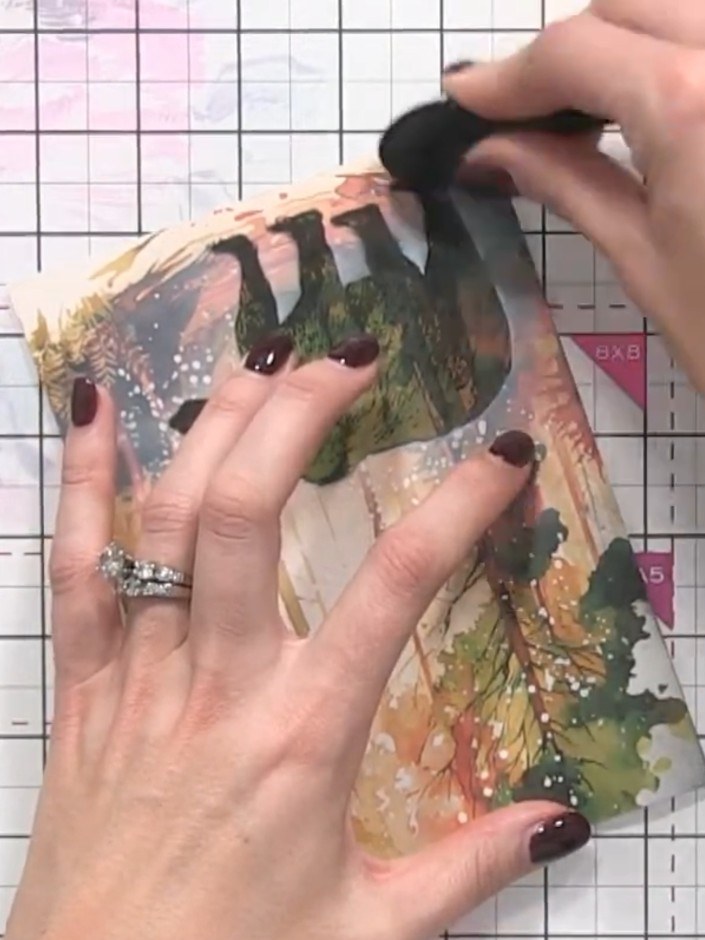
Using black ink, darken the outer edges of the card to create a moody vignette effect that frames the bear. Work the ink around all four edges to add depth and atmosphere to the scene.
▶ watch this step (45:15)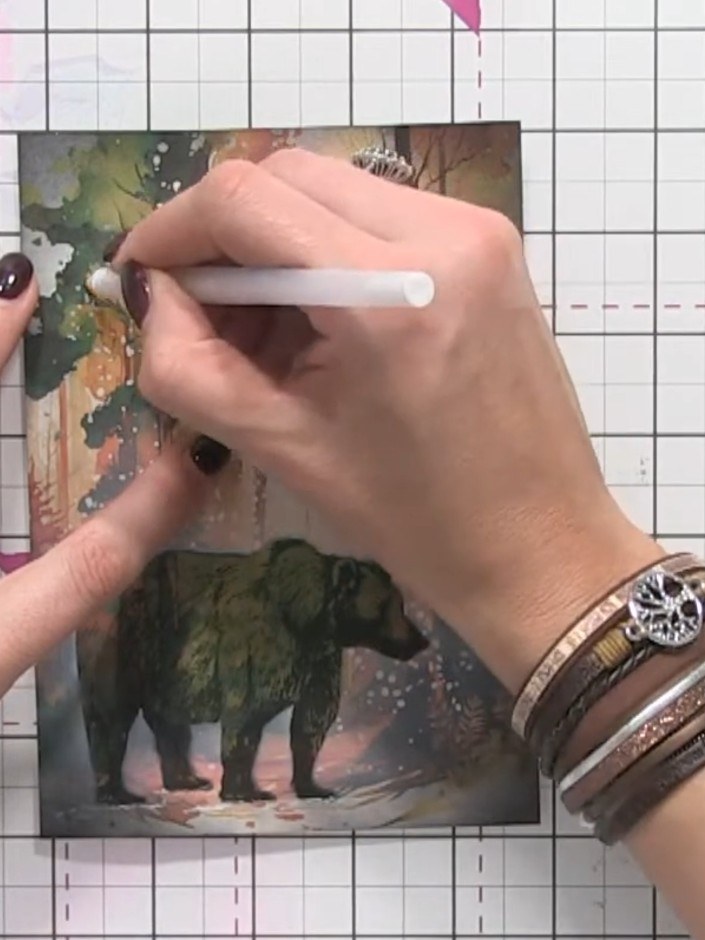
Using a white gel pen, add highlights to the bear's feet and tree details to ground the image and create sparkle. Work carefully to enhance the dimensional effect of the scene.
▶ watch this step (47:30)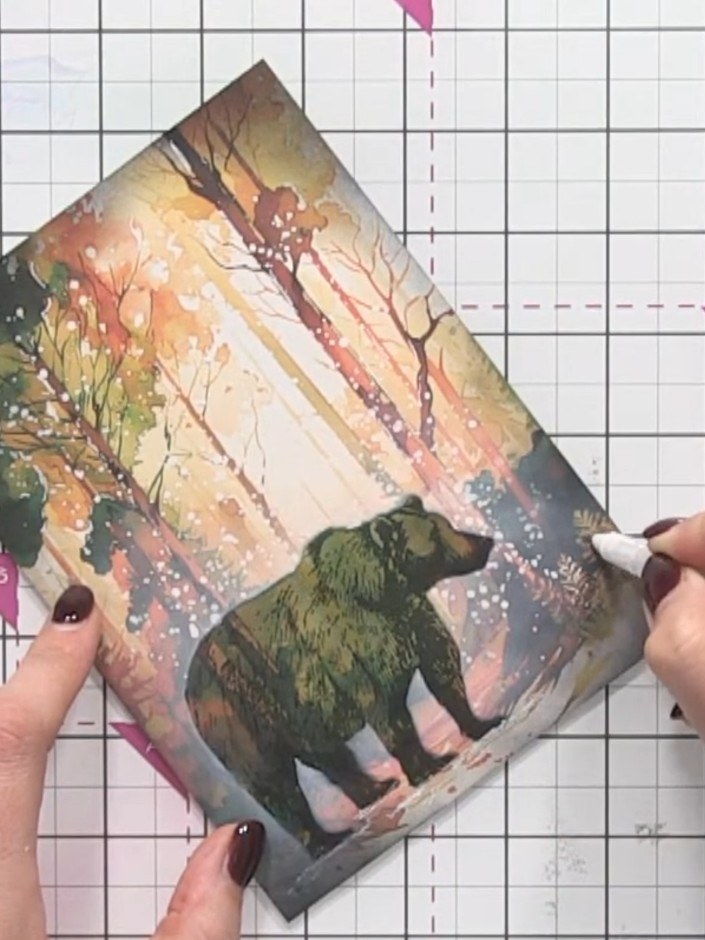
Apply glitter glue or clear glue with glitter to selected areas of the card, such as the falling snow effect, to add extra dimension and festive sparkle. Use a fine-tipped applicator for precise placement.
▶ watch this step (48:15)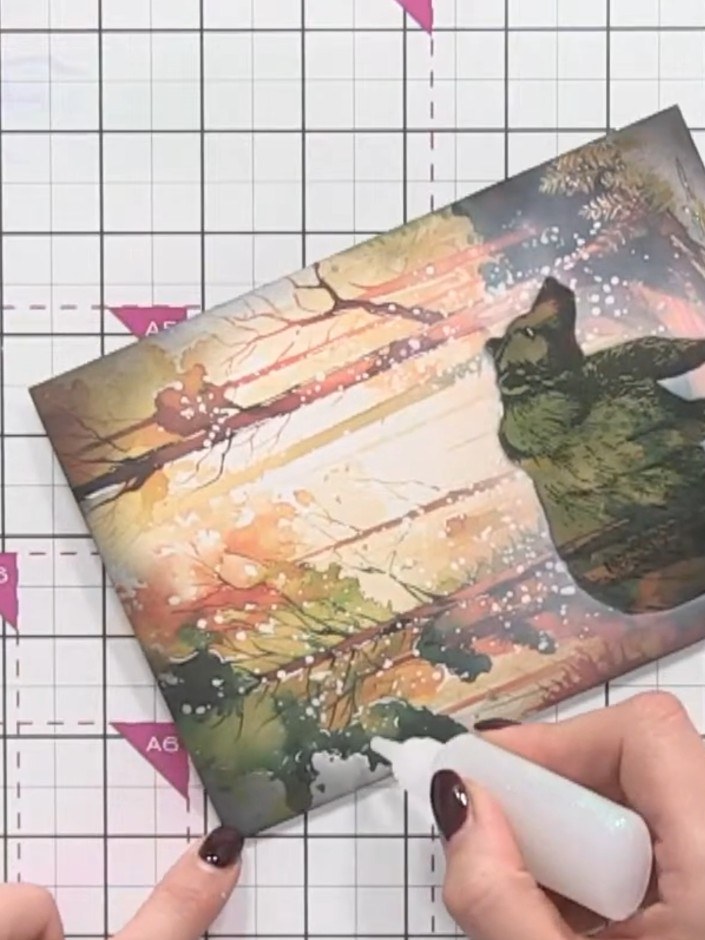
Mount the finished bear and forest artwork onto a white or black card blank using adhesive to complete your Christmas card.
▶ watch this step (49:00)Written up from the show itself. See every guide from our shows · free how-to guides · watch live on My Telly