Give your friends $10 off their first order!
Refer a FRIEND








A project from our live show SBM EXCLUSIVE ONE DAY SPECIAL - Join Toni in the studio broadcast August 2nd 2024 · 08/02/2024 · watch it from 45:30
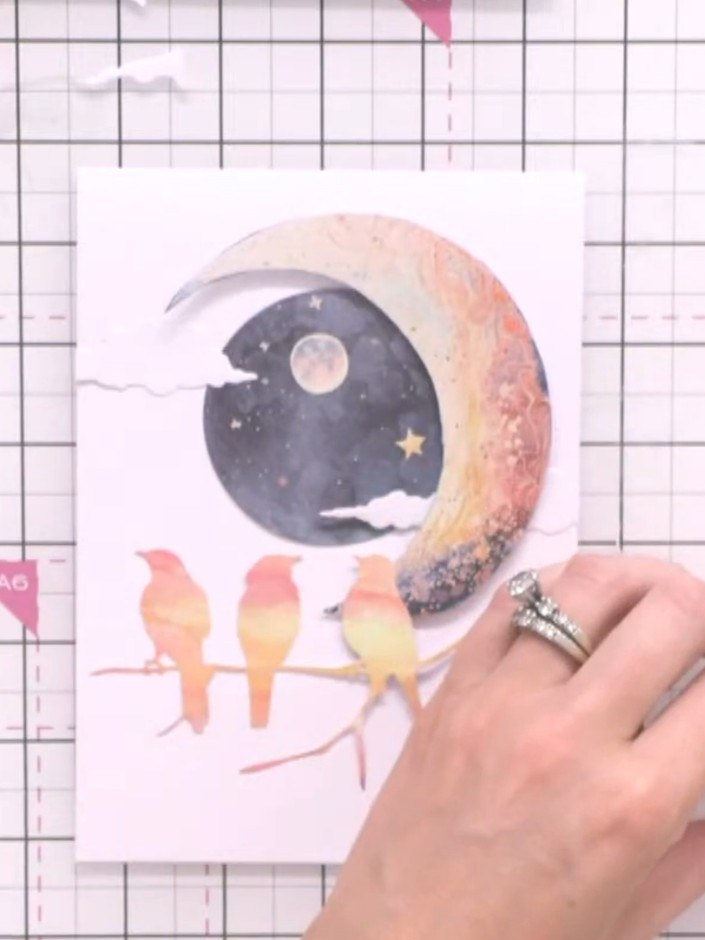
Create a charming nighttime scene card featuring a crescent moon with birds perched on a branch. This whimsical design uses soft peach and navy tones with fussy-cut elements layered to build depth. The main techniques include fussy-cutting patterned paper, layering die-cut shapes, and adding embossed details to create a complete narrative scene.
 Stamps By Me - We Can Dream - 5 X 7 Paper Pad - 040124CSEE IT
 Stamps By Me - to the Moon and Back Stamp Set - 030124ASEE IT
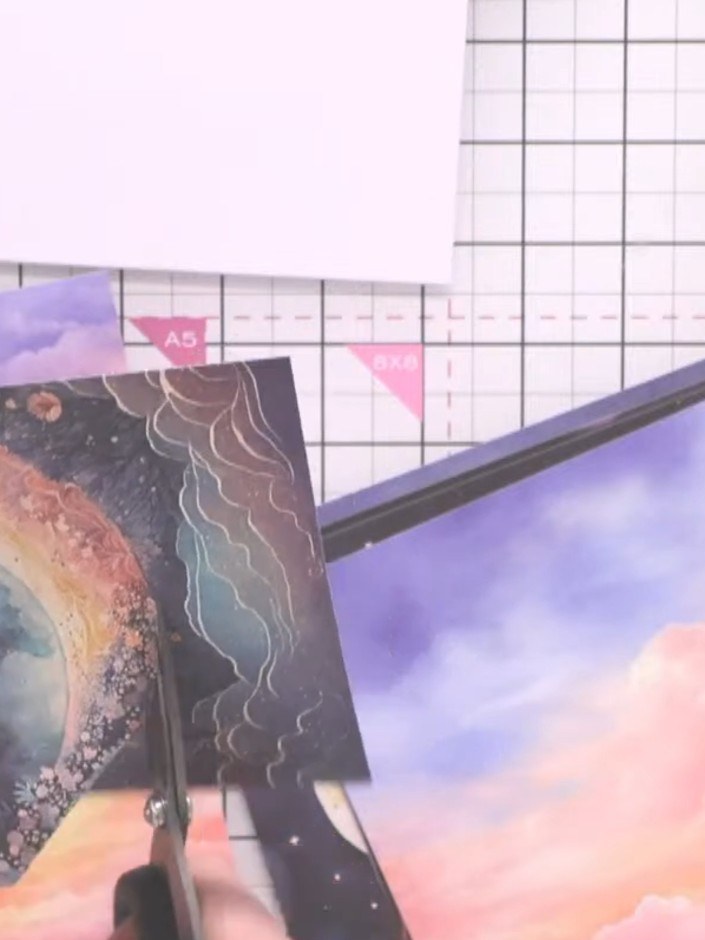
Select a patterned paper featuring a moon design from the We Can Dream paper pad. Choose a sheet with a celestial scene showing a crescent moon against a dark starry sky.
▶ watch this step (46:00)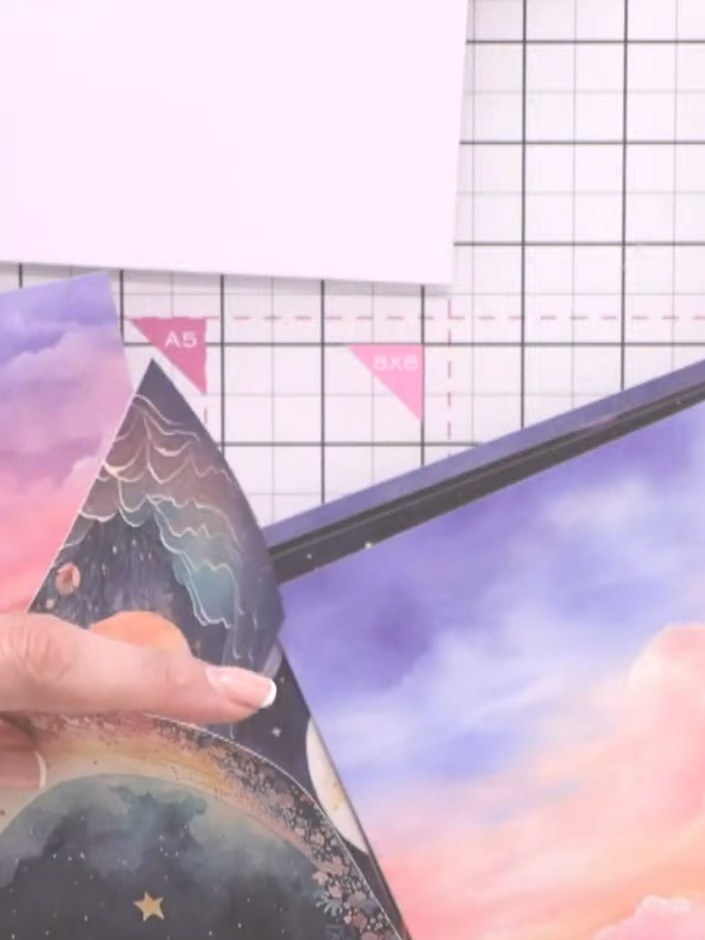
Carefully fussy-cut around the moon shape from the printed paper using scissors, following the outline of the crescent moon design.
▶ watch this step (46:15)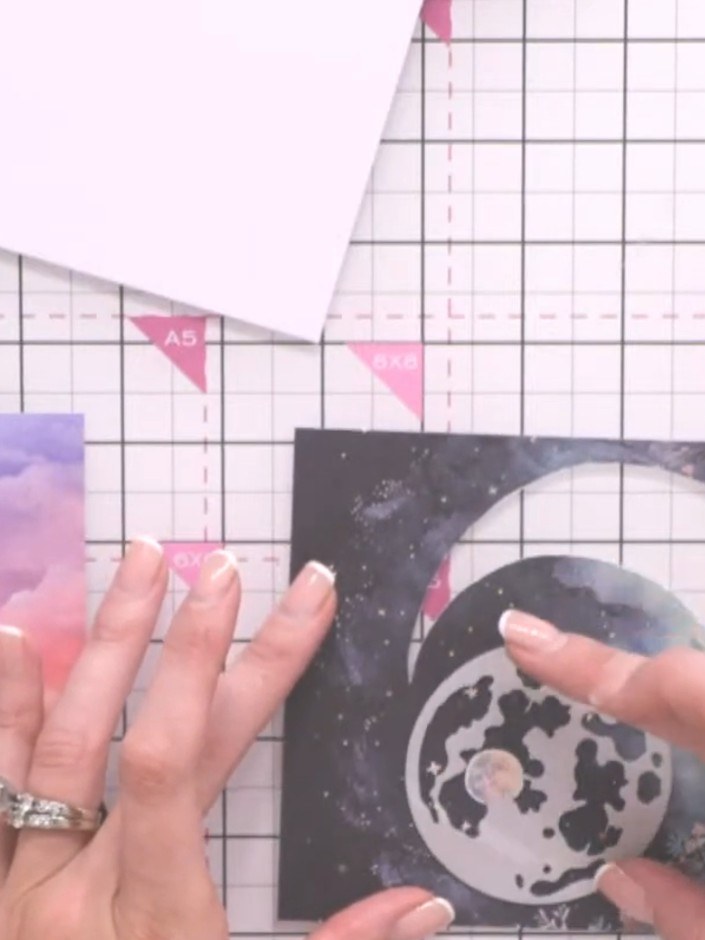
Place a piece of scrap cardstock underneath the moon paper. Run it through the die-cutting machine to emboss the detail into the moon using the moon die from the Moonlit Skies die set.
▶ watch this step (47:30)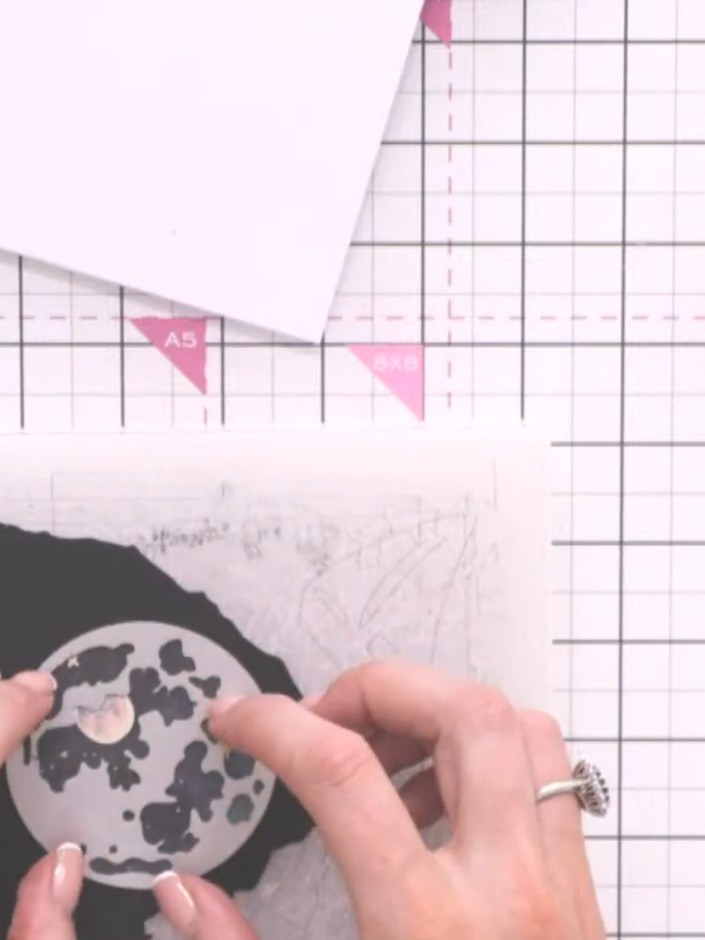
Cut the birds die from the Moonlit Skies die set using black cardstock or ombre paper. The die will cut through the paper pad easily.
▶ watch this step (48:45)
Cut cloud shapes from white or light-coloured paper. You can either fussy-cut them by hand or use a die-cutting machine if you have cloud dies available.
▶ watch this step (49:30)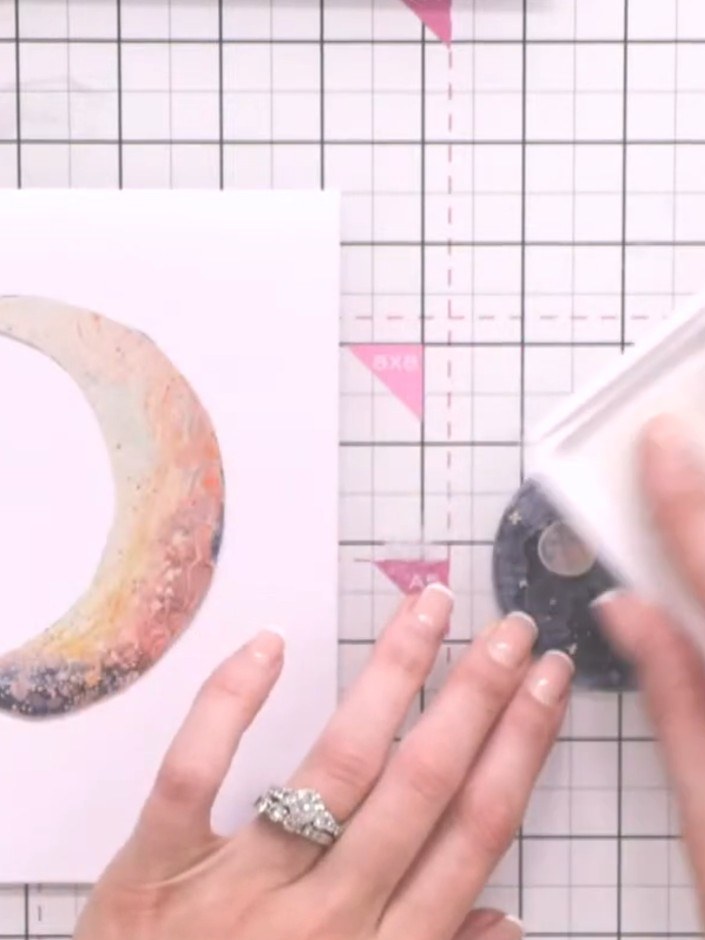
Apply white pigment ink to the embossed moon using an ink pad to highlight the embossed detail.
▶ watch this step (54:00)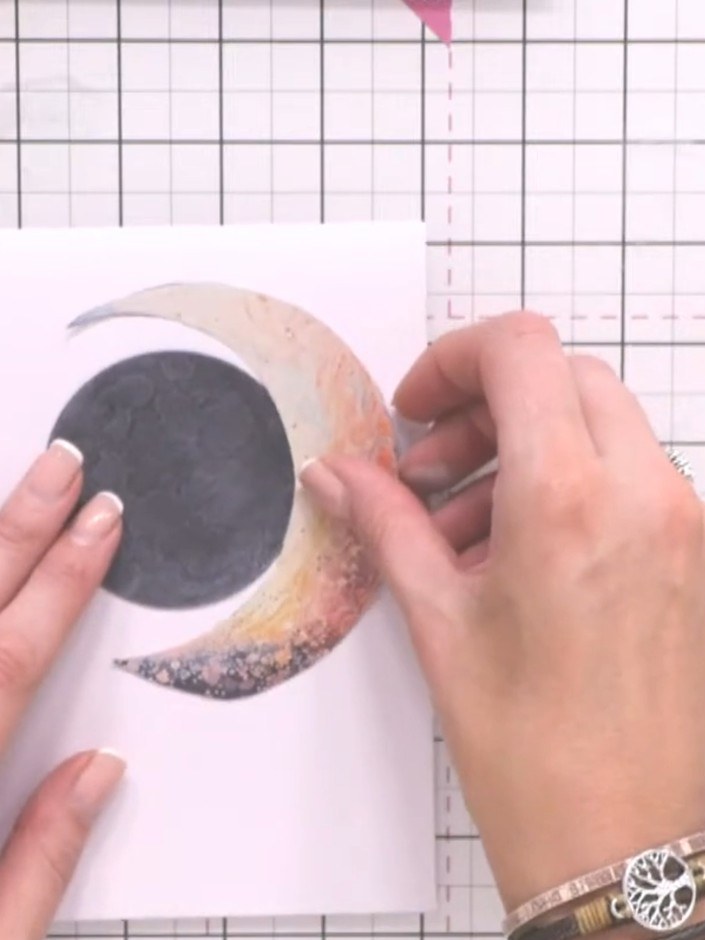
Arrange the fussy-cut elements on your card base. Position the moon first, then add the birds and clouds, building up your scene.
▶ watch this step (55:00)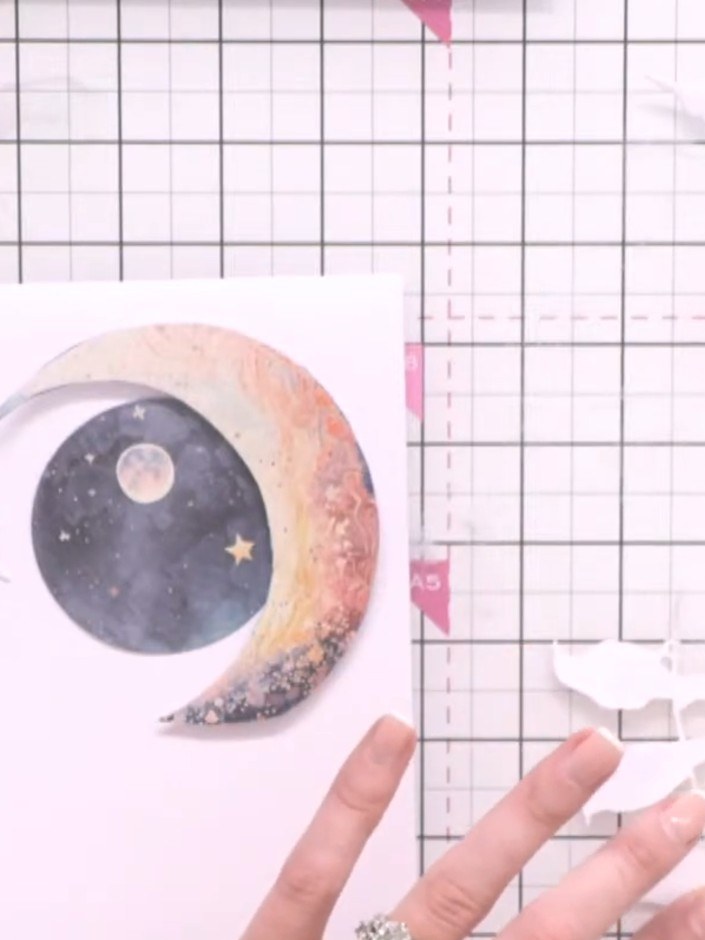
Attach the fussy-cut moon flat to the card base using adhesive tape, positioning it centrally on the card front.
▶ watch this step (56:30)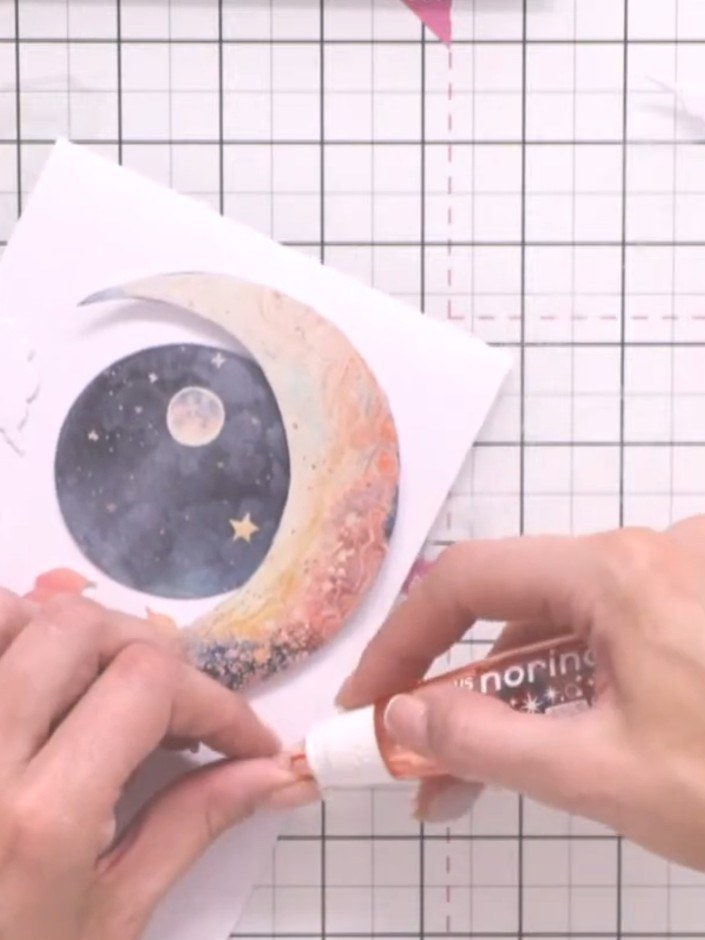
Layer one of the fussy-cut birds on top of the moon using foam pads to create 3D dimension.
▶ watch this step (57:00)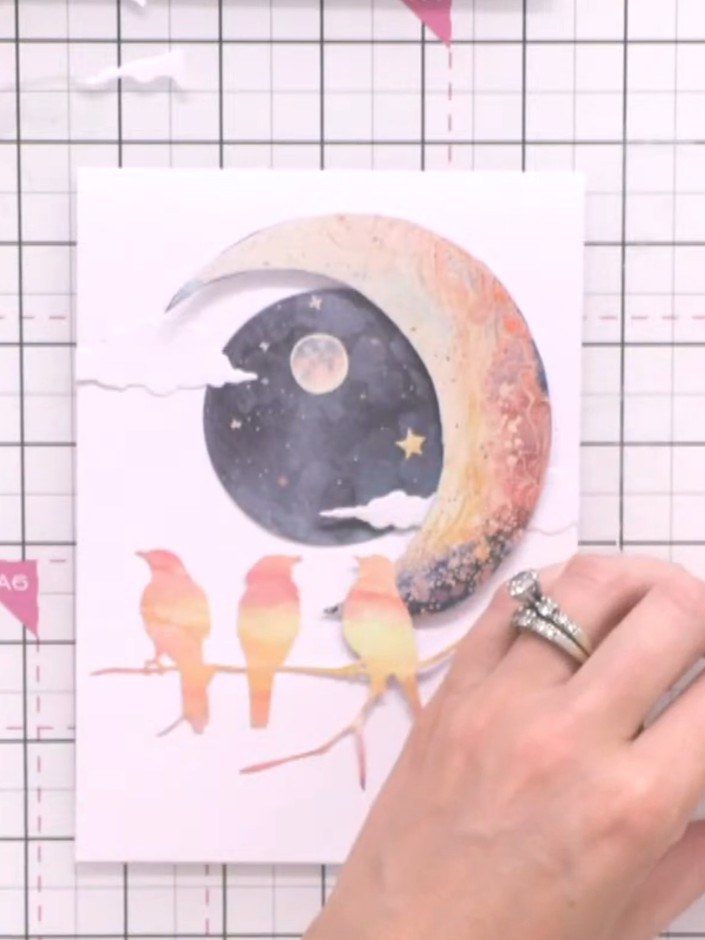
Stamp a sentiment from the To the Moon and Back stamp set onto the card front using black ink.
▶ watch this step (58:00)Written up from the show itself. See every guide from our shows · free how-to guides · watch live on My Telly