Give your friends $10 off their first order!
Refer a FRIEND








Prices change straight away. Every language is our own translation, not Google.
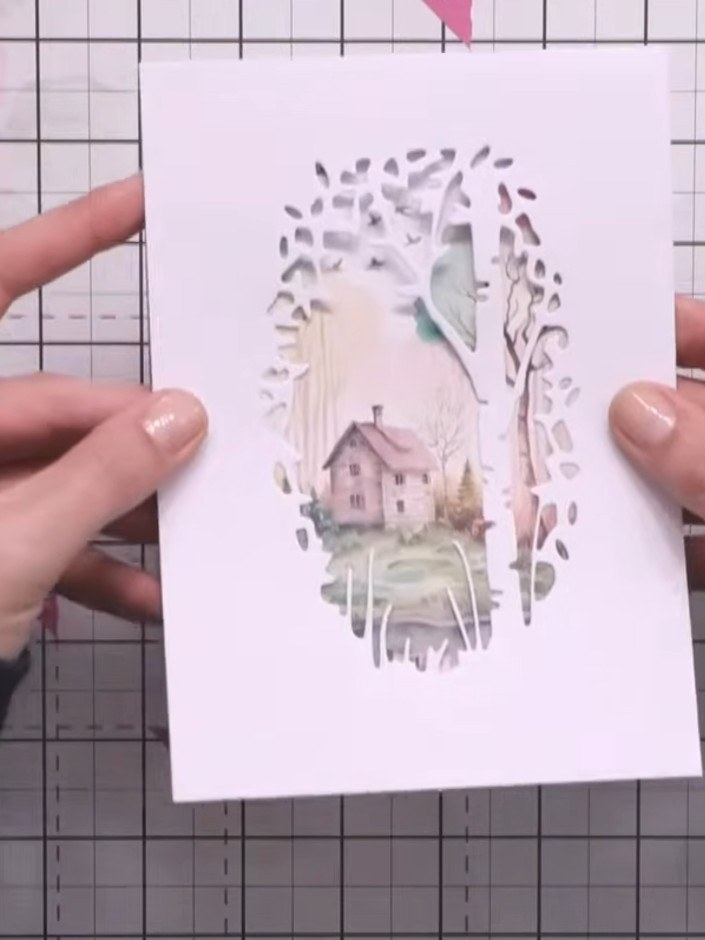
A project from our live show THE THURSDAY DROP - Latest Products from Toni - Broadcast 6th August 2026 · 08/06/2026
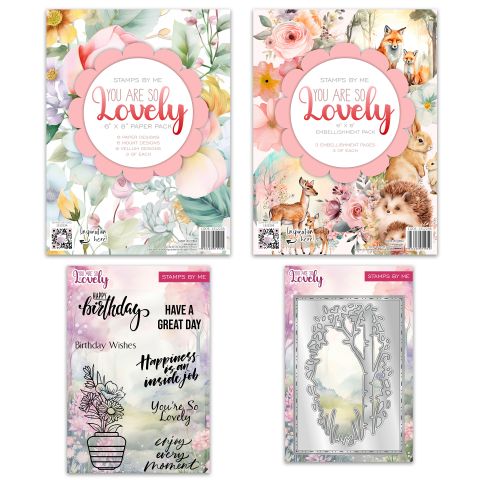
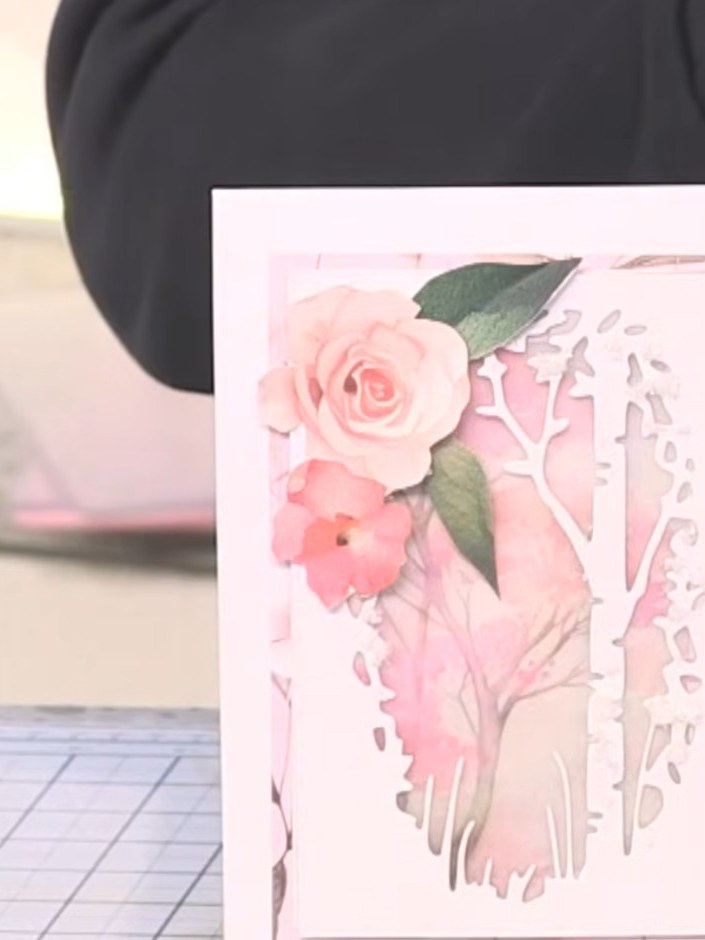
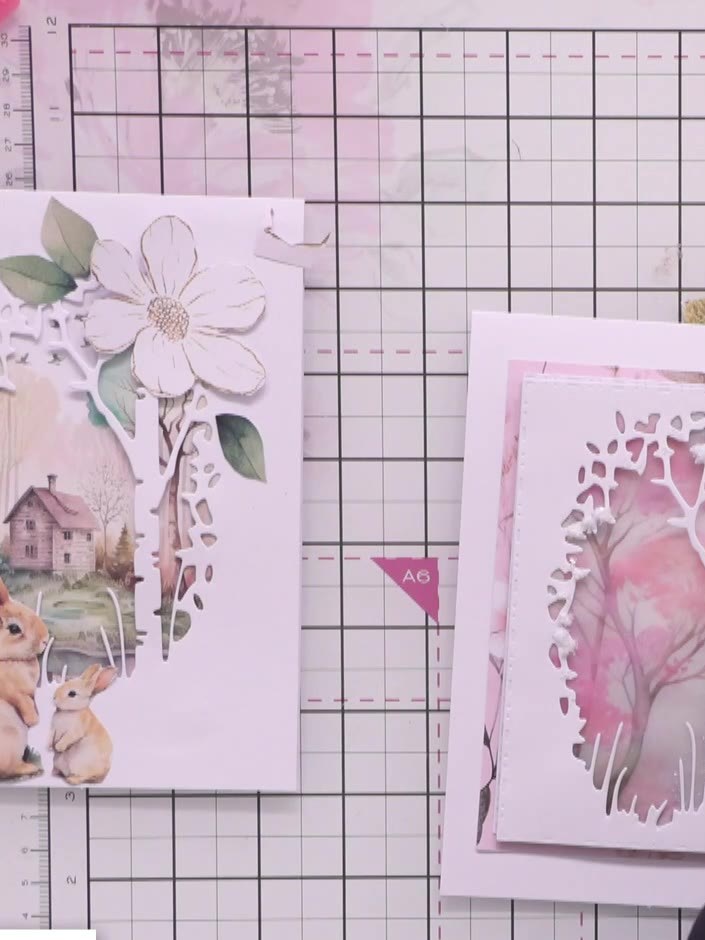
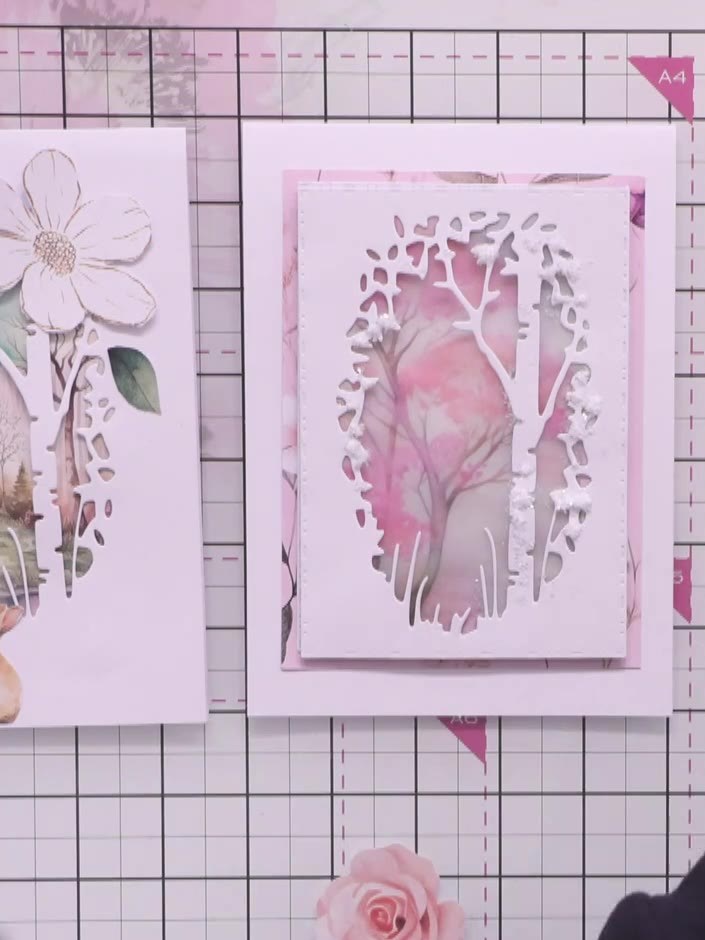
Create a beautiful shaker card featuring an elegant woodland scene with a tree silhouette aperture. This charming design combines layers of vellum, watercolour backgrounds in soft pinks and purples, and delicate fussy-cut woodland elements to create depth behind the decorative die-cut window. The shaker element is filled with glitter and embellishments that move freely, adding an interactive touch to your handmade card.
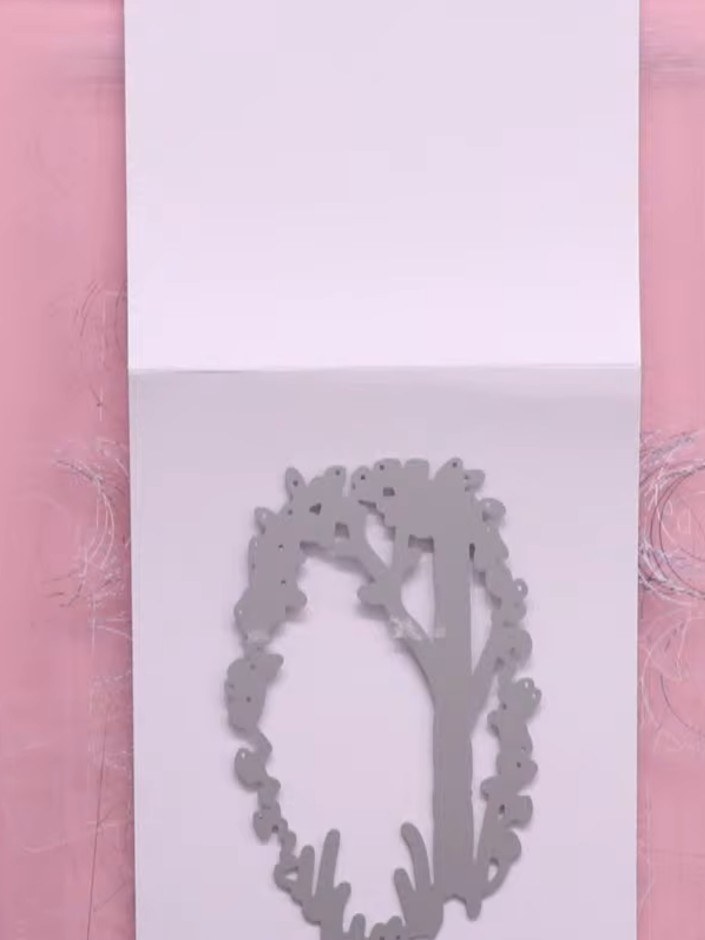 1
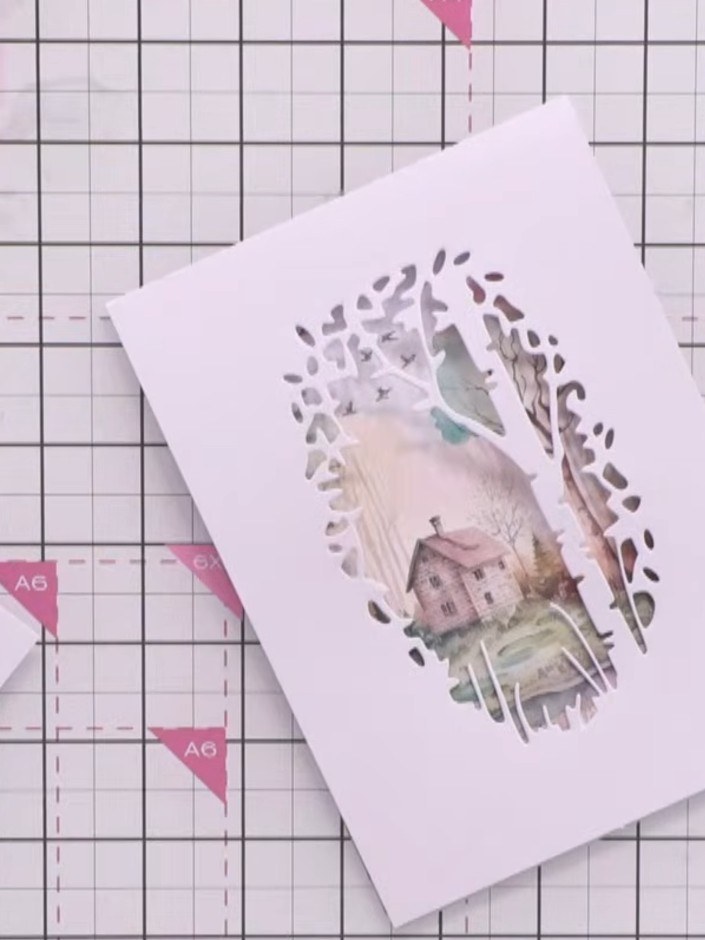
Cut the aperture die into white card stock using your die cutting machine. This creates a shaped window featuring a decorative frame with tree and woodland details.
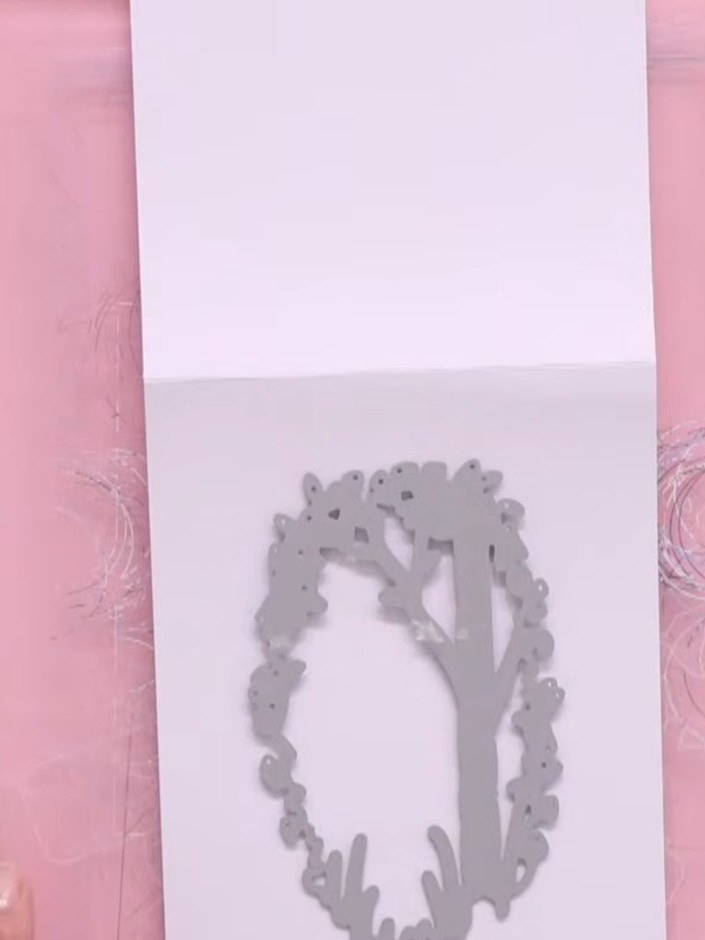 2
Cut a second matching aperture shape using the same die. This will form the back layer of your shaker card.
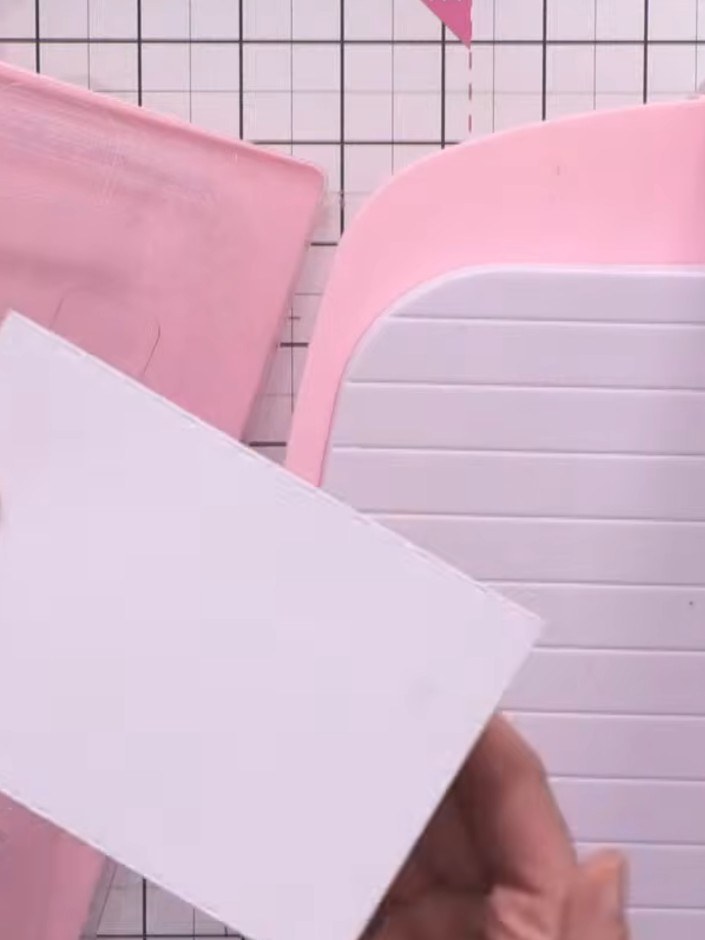 3
Select a piece of patterned paper from the bundle featuring a house or woodland scene. Cut it to fit behind the aperture of your card front.
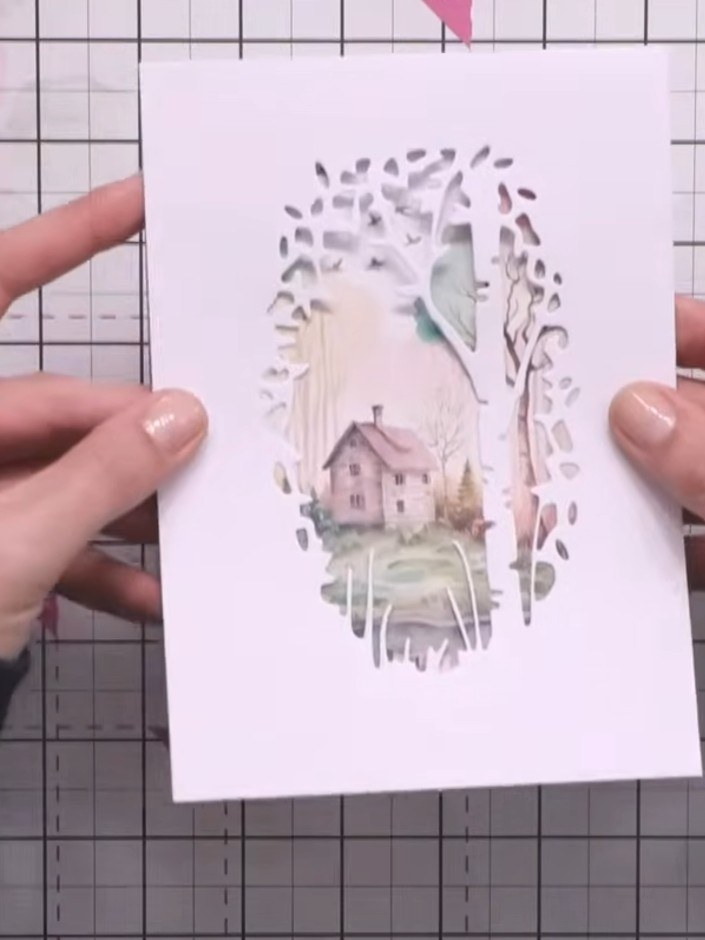 4
Apply glue stick to the back of the white die-cut aperture piece. Position and adhere the patterned paper piece behind the aperture so the woodland scene shows through the oval opening.
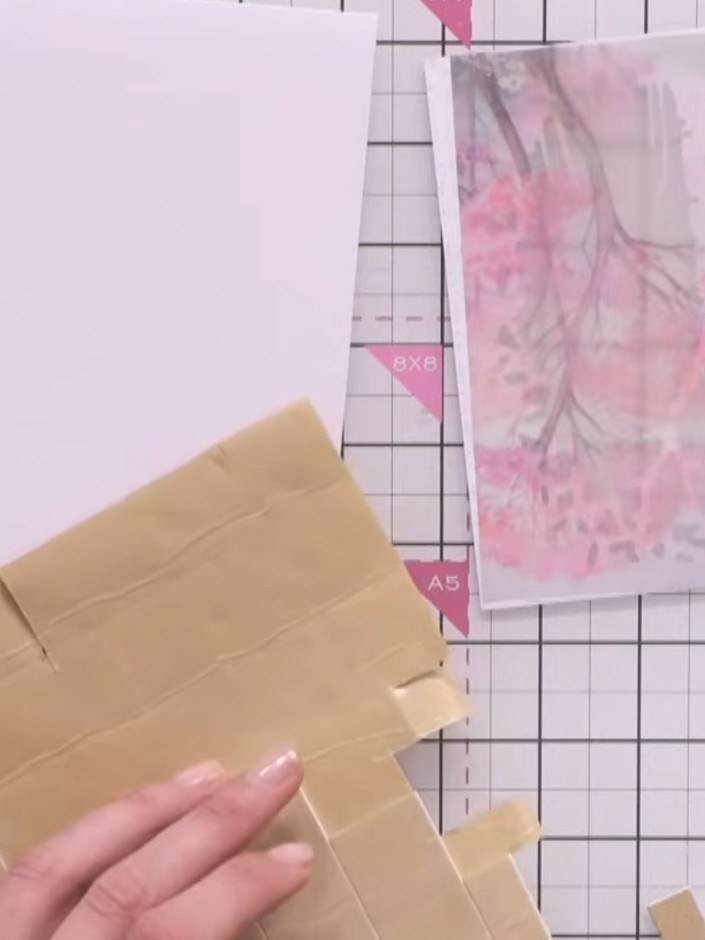 5
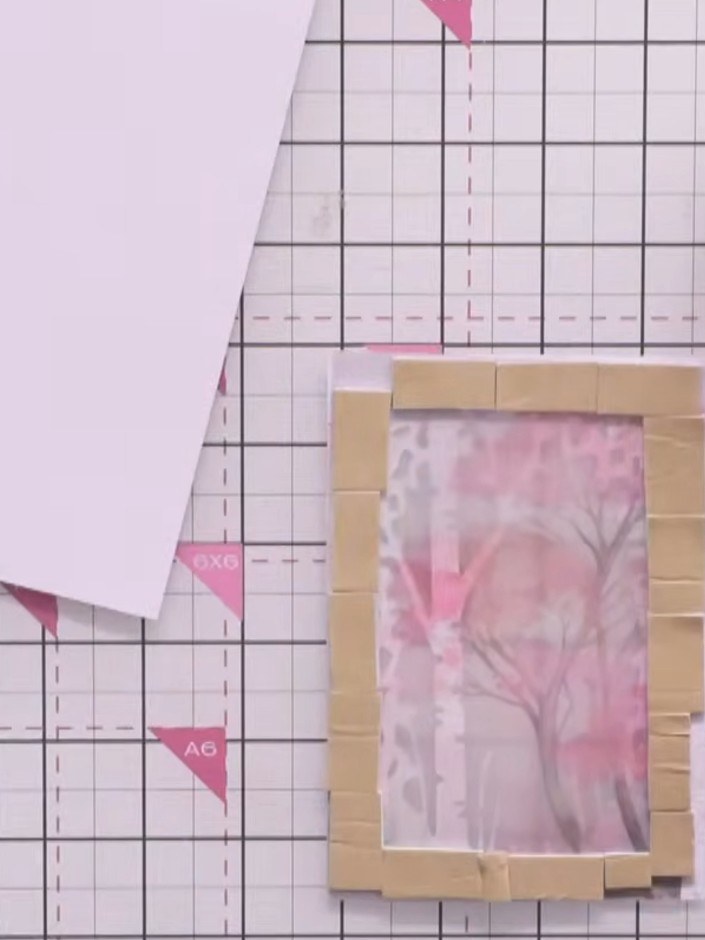
Build a frame of foam pads around the entire back edge of the aperture on the kraft card base, ensuring they connect all the way around to create a sealed shaker chamber.
 6
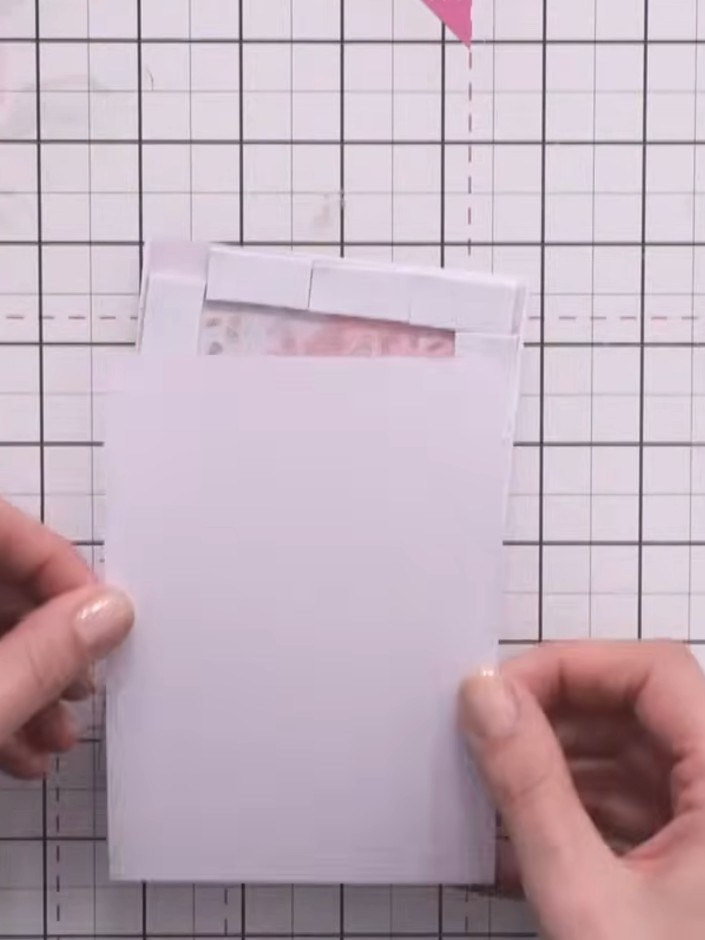
Pour colourless glitter into the shaker chamber, filling it partially so the contents can move freely when the card is shaken. Secure the acetate frame with masking tape around all edges to seal the shaker compartment.
 7
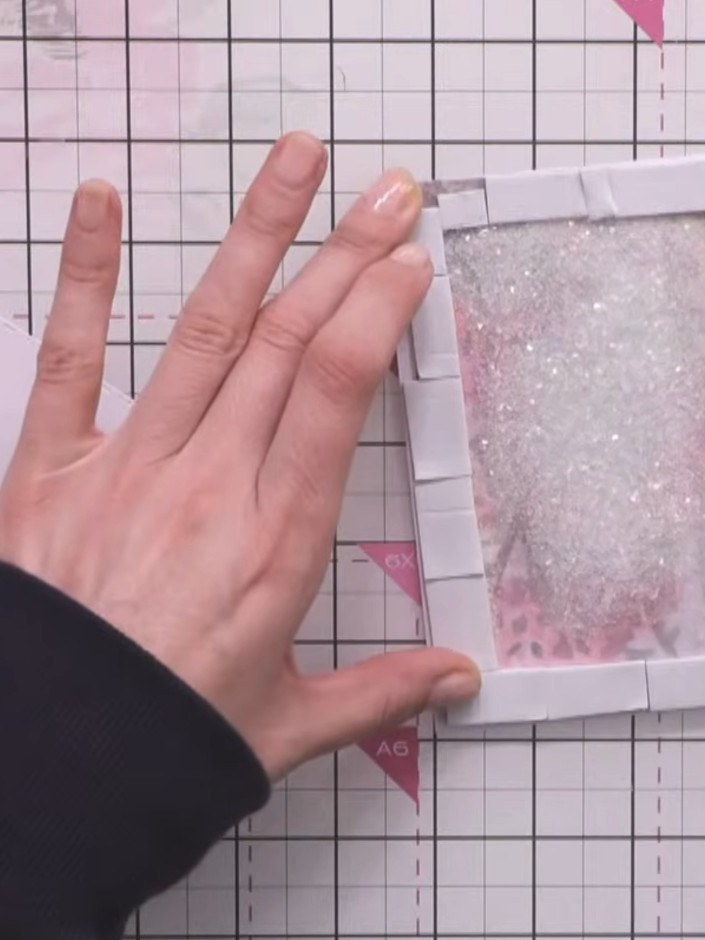
Place the second aperture frame piece on top of the foam pad frame, aligning it carefully. Press down firmly around all edges to seal the shaker element inside, creating a complete sandwich structure.
 8
Add a decorative border strip around the edges of your shaker card. You can use vellum or patterned paper to frame the shaker window and complete your card.
Share your make with the Stamps By Me community - and keep this guide for next time.
Written up from the show itself. See every guide from our shows · free how-to guides · watch live on My Telly · the previous layout