Give your friends $10 off their first order!
Refer a FRIEND








A project from our live show MY PODCAST - Catch my latest updates broadcast August 19th 2024 · 08/19/2024 · watch it from 38:30
Create a stunning slimline card featuring an intricate floral design embossed on black cardstock and highlighted with white ink. The 3D embossing creates beautiful raised texture across the entire card front, with delicate flowers and leaves creating an elegant monochrome effect. This sophisticated technique combines embossing and stamping to produce a striking contrast perfect for special occasions.
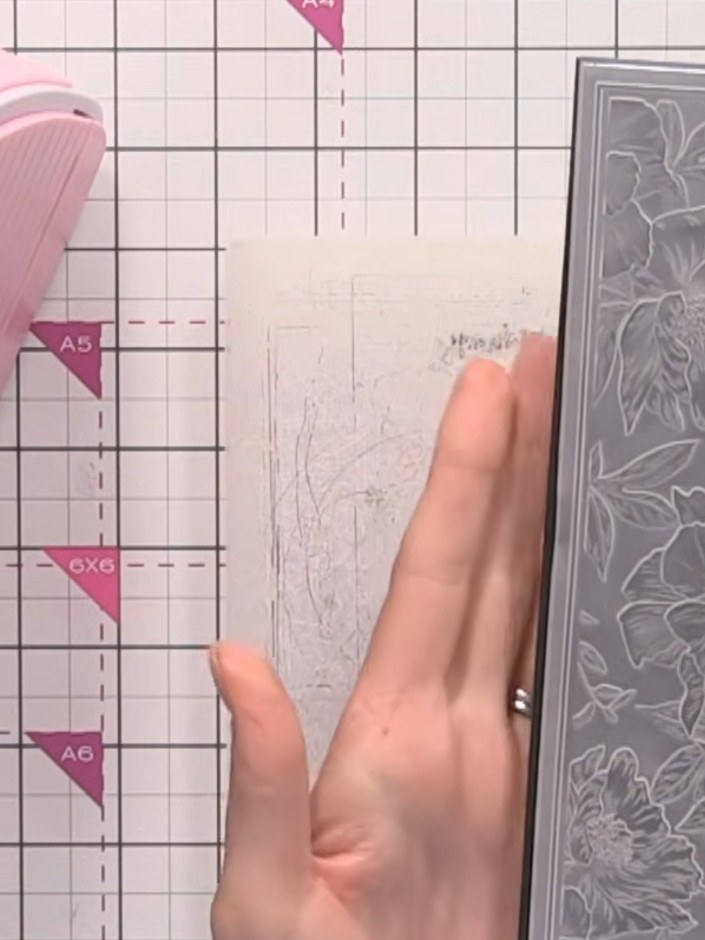
Cut your black cardstock to the appropriate size to fit your slimline embossing folder.
▶ watch this step (39:00)
Place the black card into the embossing folder with the floral design, ensuring it sits flat and centred within the folder.
▶ watch this step (39:15)
Run the embossing folder with your card through your die-cutting machine to create the embossed floral detail. The embossing creates a lovely chamfered edge around the design, adding an elegant finishing touch.
▶ watch this step (39:30)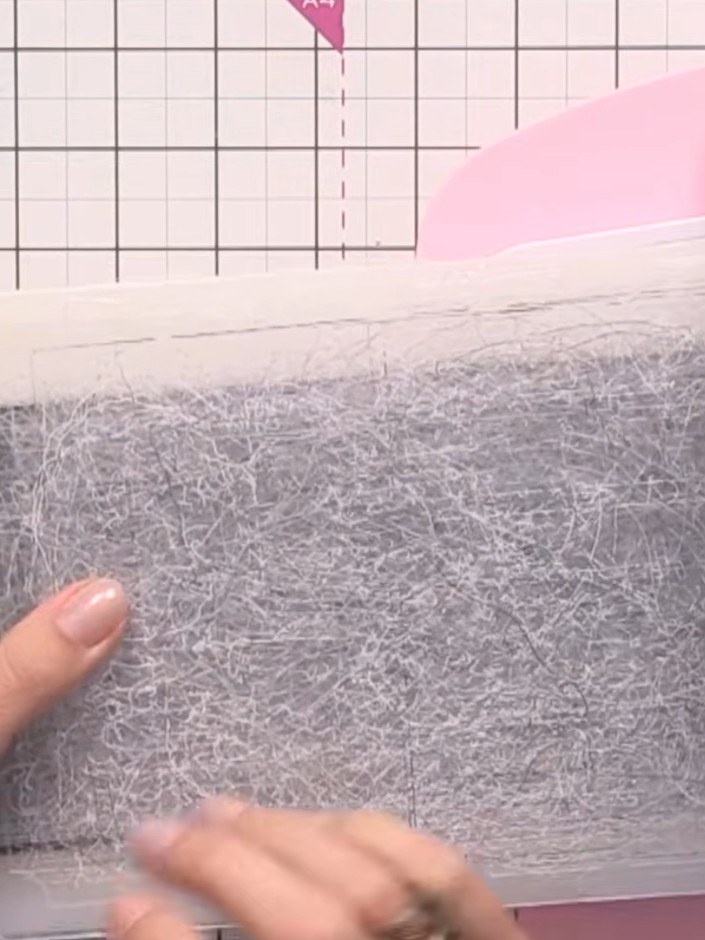
If your card is too large for your die-cutting machine, run it through twice, repositioning the card to capture both ends of the embossed design.
▶ watch this step (40:00)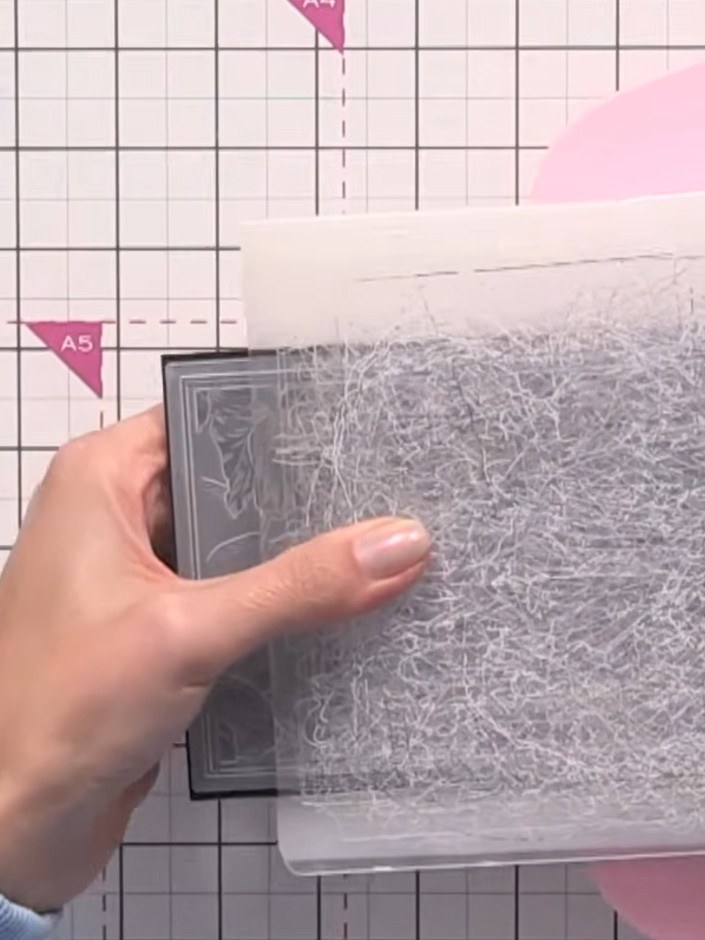
Apply white ink pad directly to the embossed surface, swiping across the raised and recessed areas to catch the detail of the embossing.
▶ watch this step (40:30)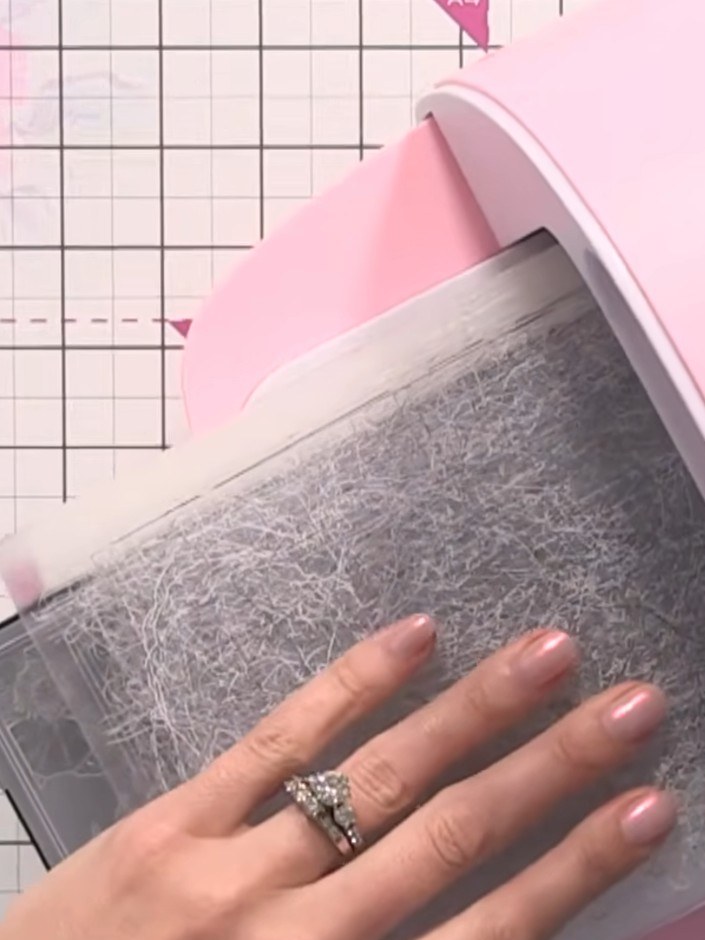
Gently tap the white ink pad across the embossed design to ensure full coverage of all the raised detail.
▶ watch this step (41:00)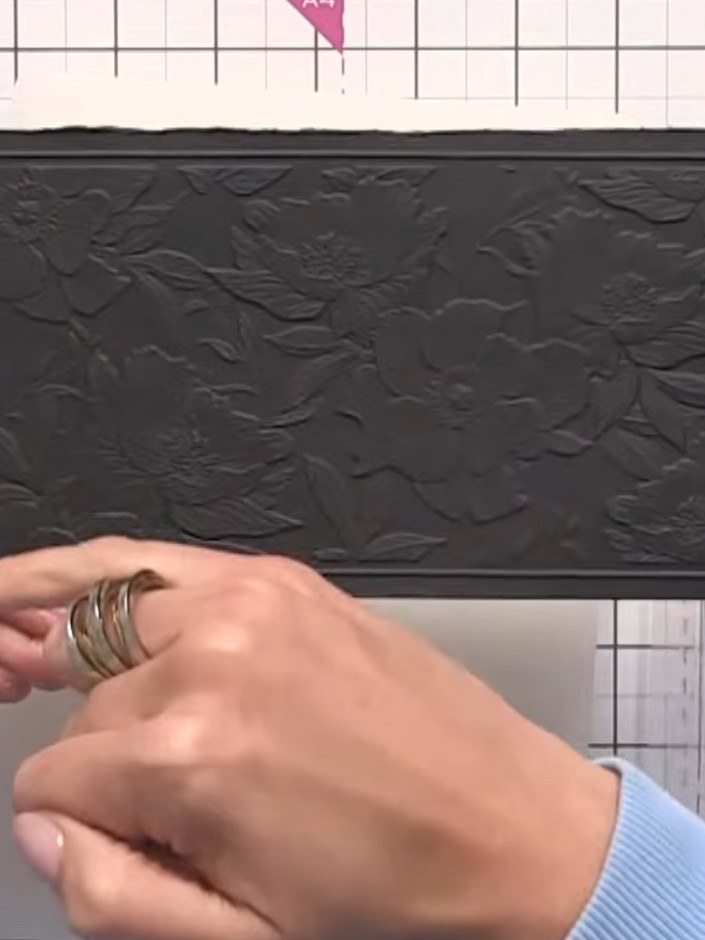
Admire the beautiful contrast between the white embossed floral detail and the black cardstock. The embossed design creates an elegant, sophisticated finish with the raised pattern standing out against the dark background.
▶ watch this step (41:30)Written up from the show itself. See every guide from our shows · free how-to guides · watch live on My Telly